I love photo crafts. They take a boring household item or gift and turn it into something special or meaningful. I just did my first tile photo coasters and think they are great for your own home or even as gifts for grandma and grandpa. They can be used as coasters, hung from the wall or just as a decorative piece of art. They are totally unique and fun to make!

Supplies
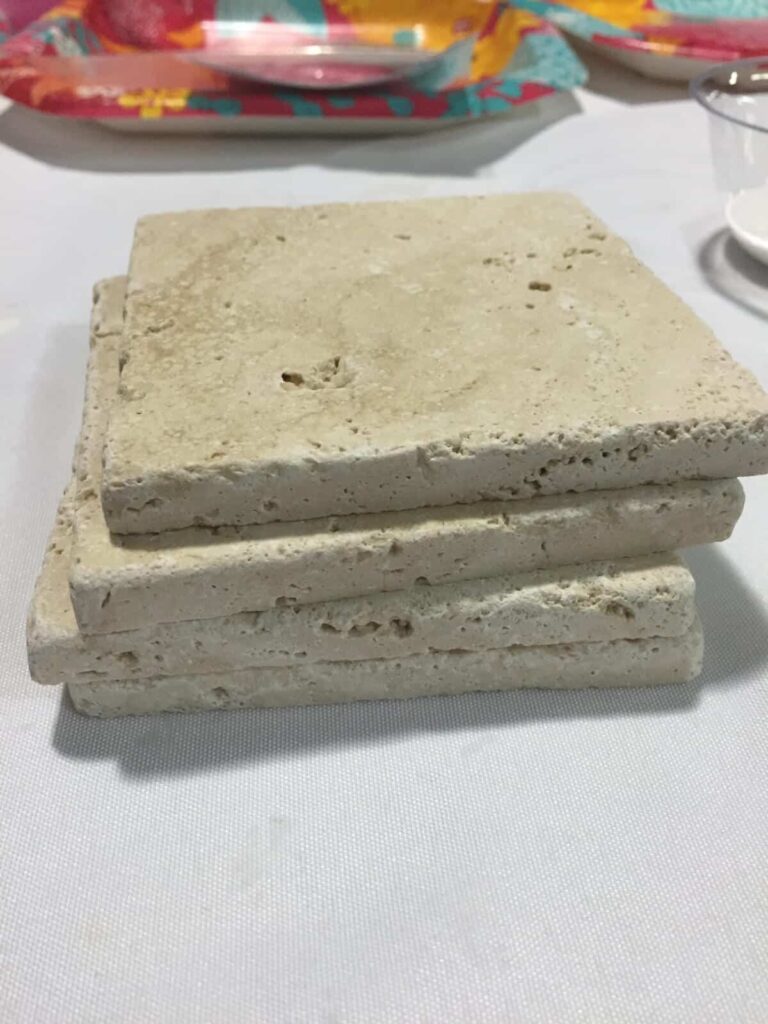
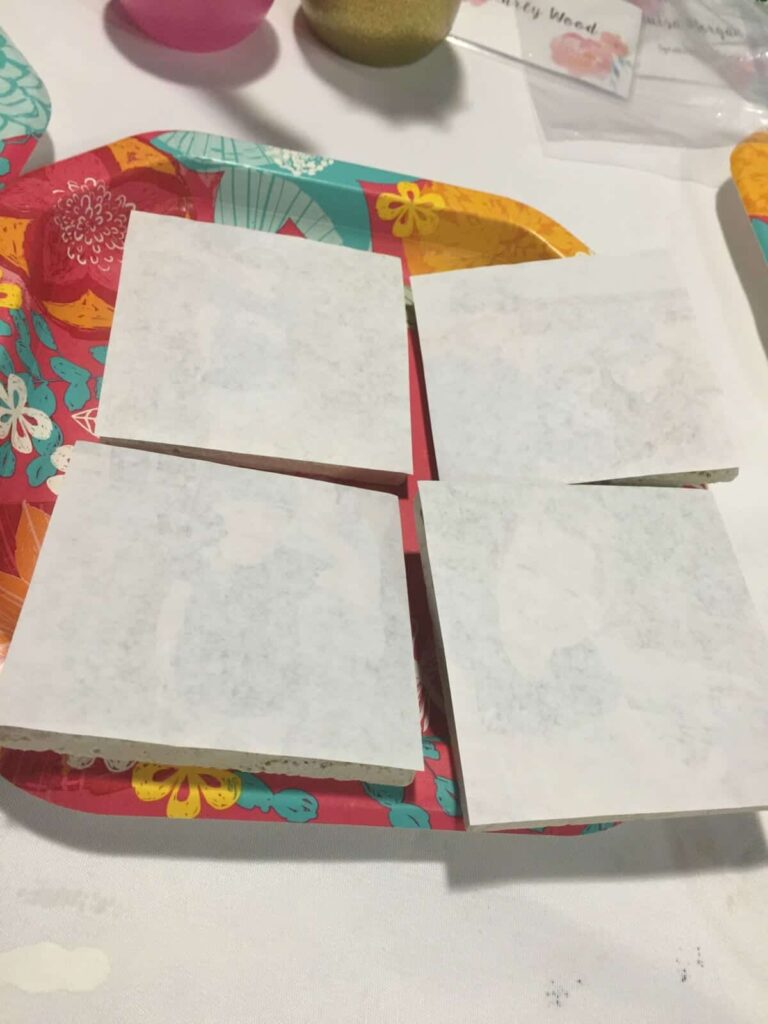
4 4×4 Tumbled Marble Tiles (can be found at home improvement stores for usually $1 a piece)
4 4×4 Photos printed with ink jet printer on plain white paper (laser ink and regular photos on photo paper will not work)
Matte Modge Podge
Foam Brush
Acrylic Sealer
Old credit card
Felt or Cork for backing
Craft Glue
Spray bottle with water
Steps
Preheat oven to 170 degrees and begin by cutting out all your photos to match the size of your coasters. They don’t have to be perfect and can hang over the edge a bit.
Use your foam brush and apply two light coats of Matte Modge Podge to your coasters. Be sure not to apply the layers too thick as they will disturb the photo transfer process.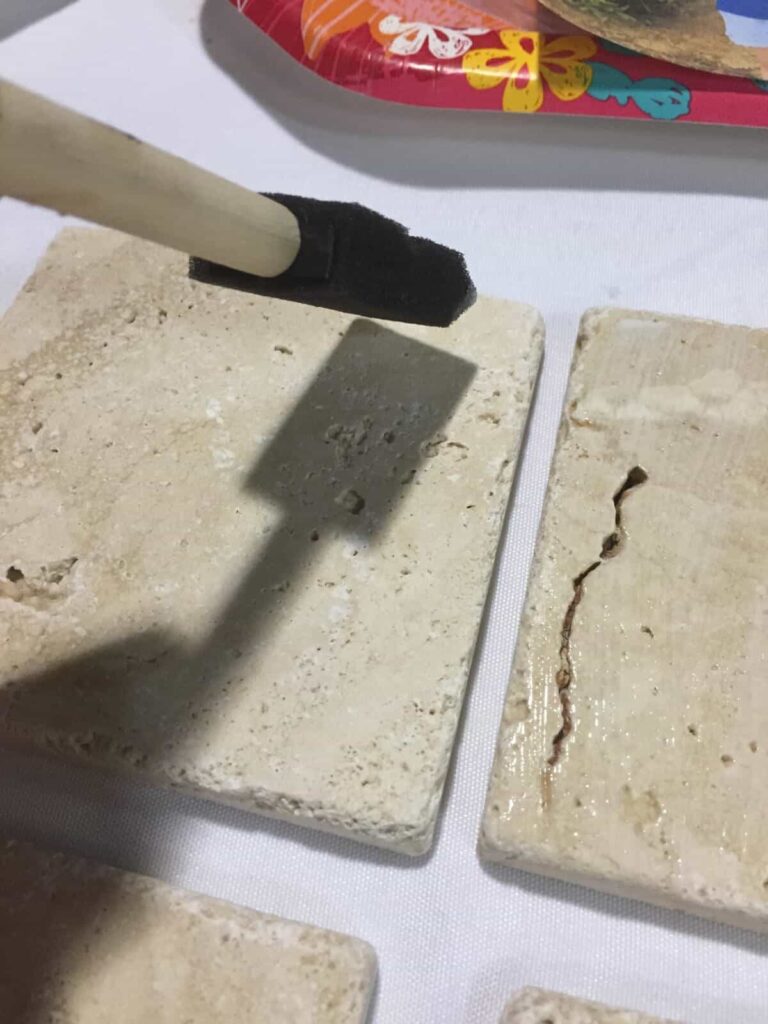
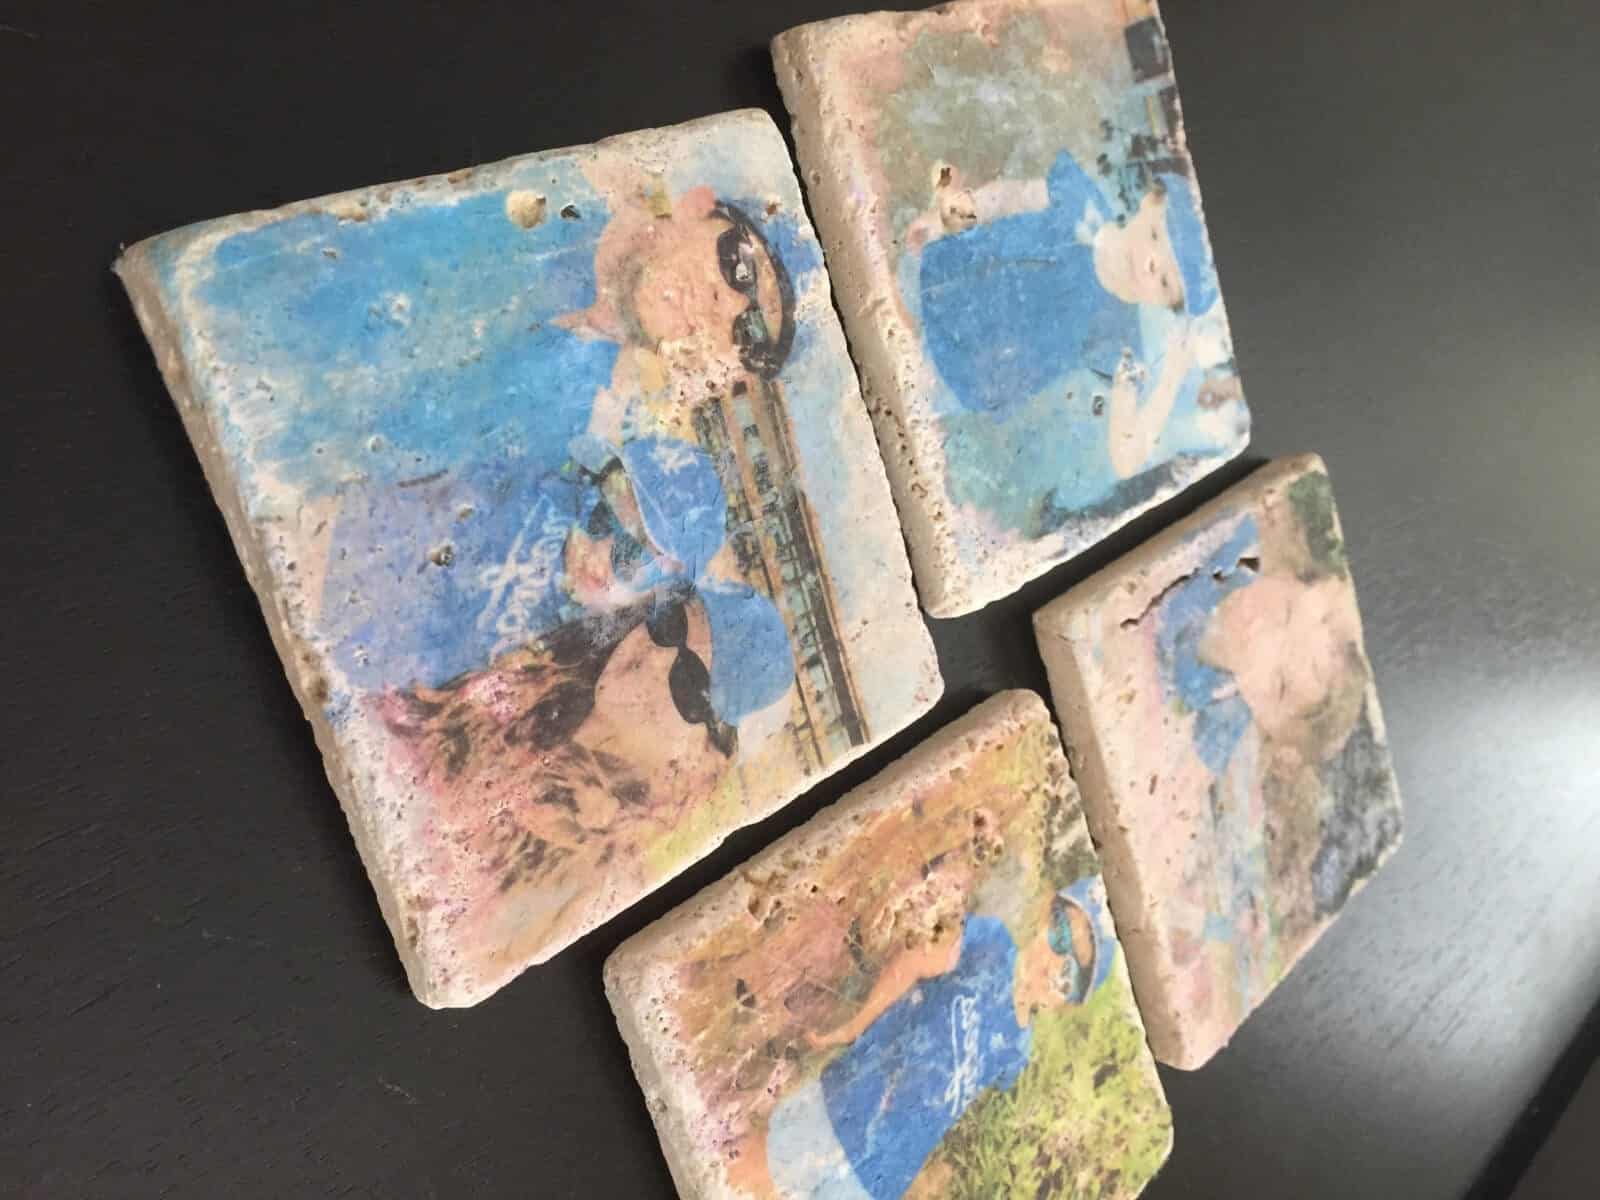
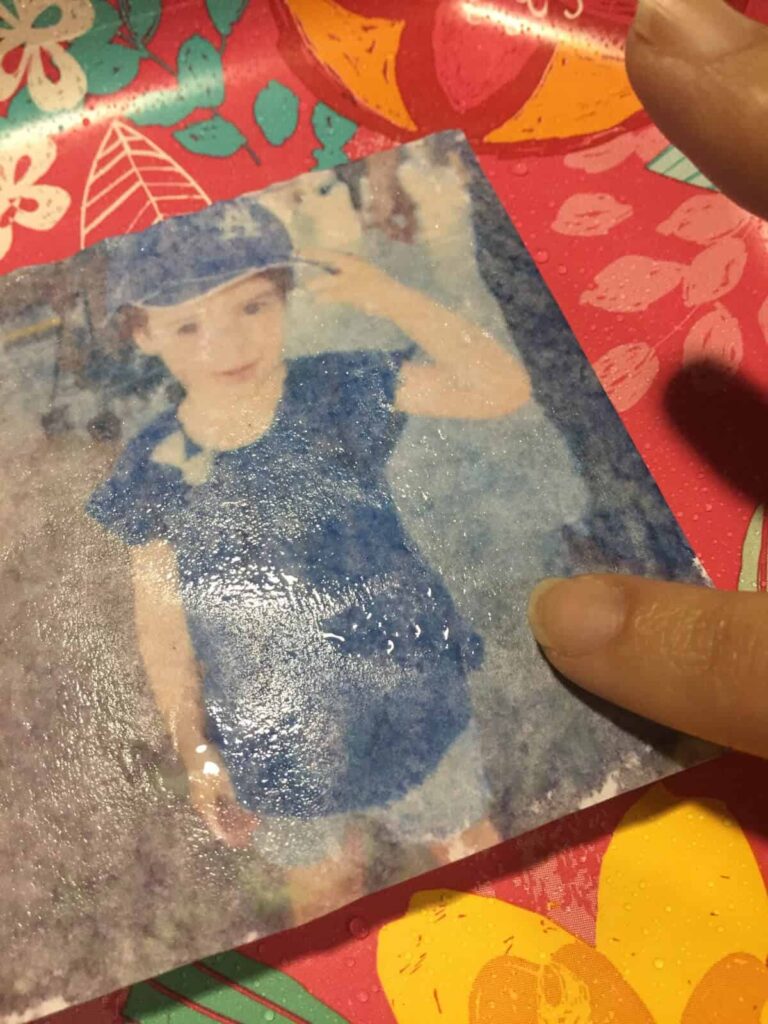
Lay your photos FACE DOWN on the tiles. Take careful note of whether your tile has natural holes or cracks, and do your best to lay your photos so that faces are not lying in a natural blemish of the tile. I did not realize this when doing mine, and one of my tiles ended up making a hold in the middle of a face! Also, high contrast photos work the best for this craft. Black and white and photos with detailed backgrounds look wonderful. Photos with washed out faces do not transfer as well, so keep in mind as you select your photos. Also note that since you are laying photos face down, any text will be reversed and look backwards- something I also didn’t consider when printing my photos! You can easily flip your photos so they print backwards, but will show up correctly on your coasters.

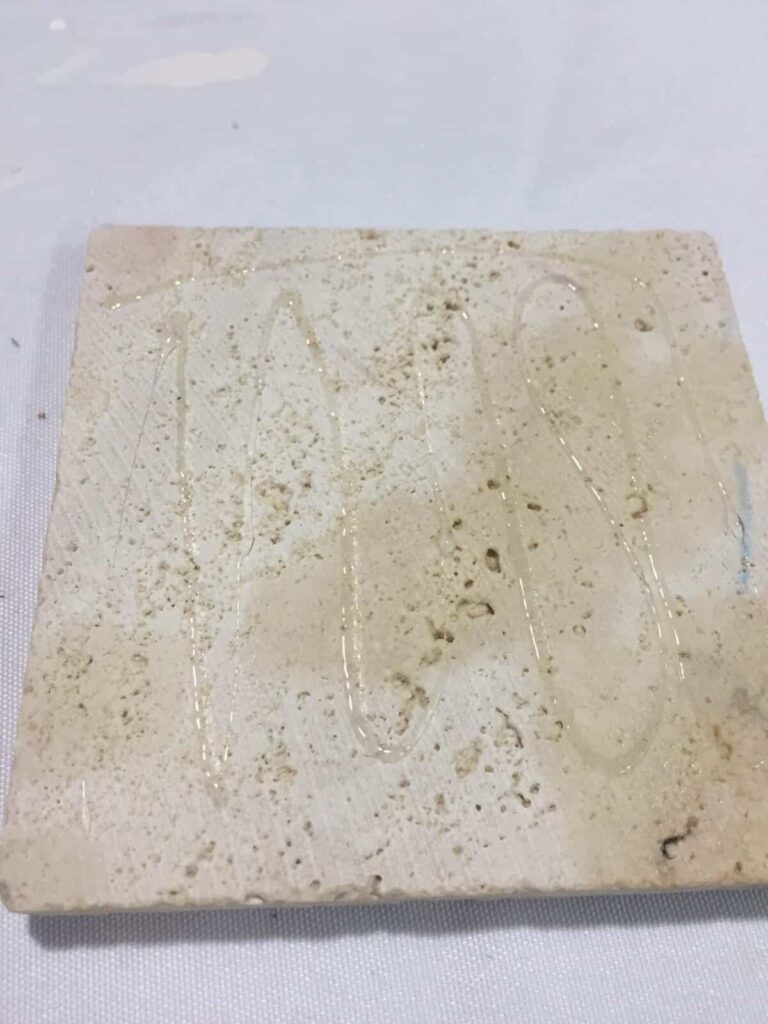
Use an old credit card to smooth out any bubbles or wrinkles in each photo.
Once all of your tiles have their photos affixed, place them in the oven for 20-30 minutes at 170 degrees.
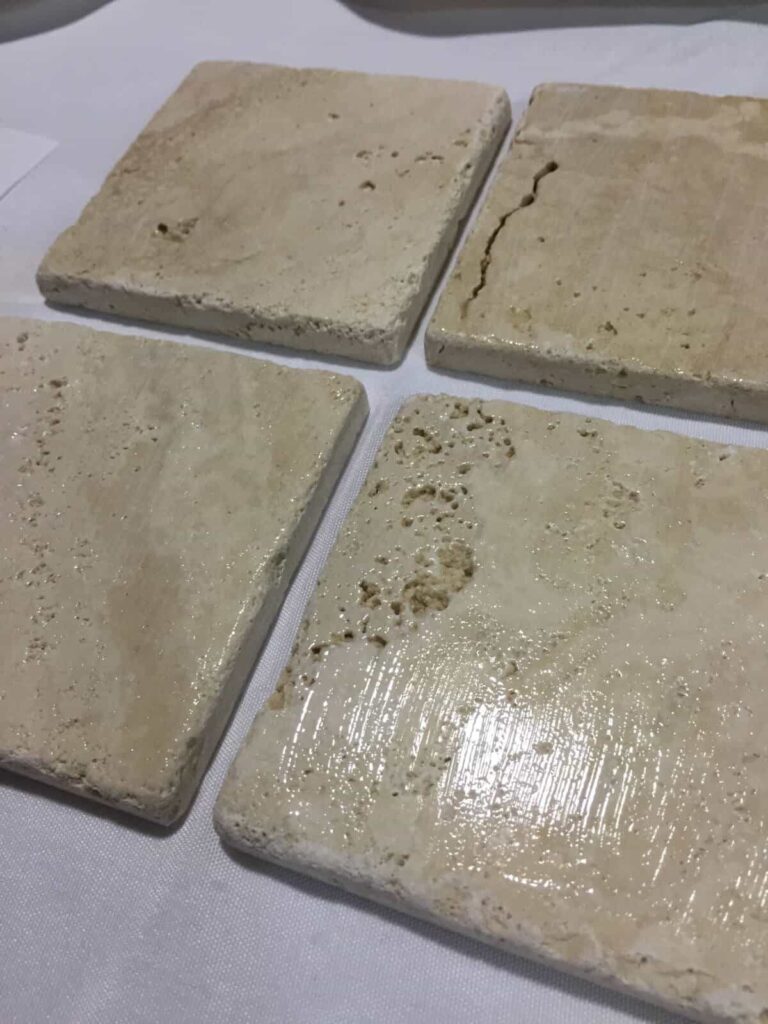
Remove from oven and let cool for at least 20 minutes. Once cool, take a spray bottle and wet your entire coaster with a small amount of water. You don’t want to saturate the coaster but the surface areas needs to be entirely wet.
Begin rubbing the coaster with your finger until the paper starts to rub off. Do not use your nail because you could remove the entire image, instead of leaving the ink behind. 
The longer you rub, the more the paper will start to peel and rub off completely. Be careful to not rub so hard you remove the image! You can rub until you have the distressed look you want- the more you rub, the less vibrant the image.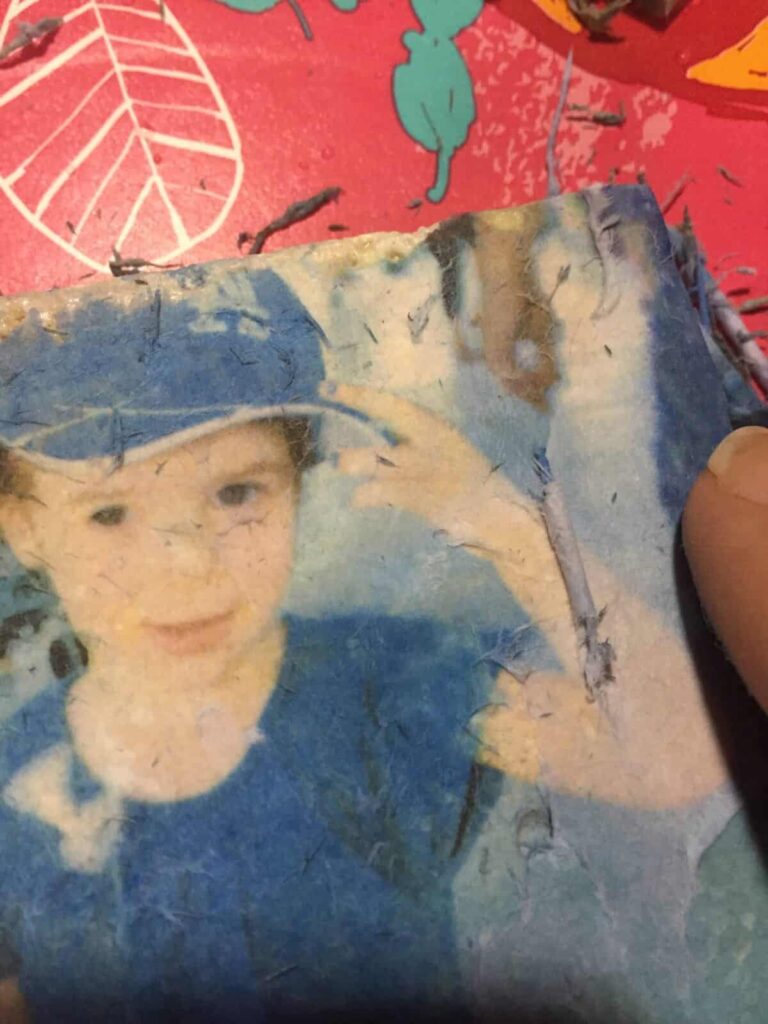
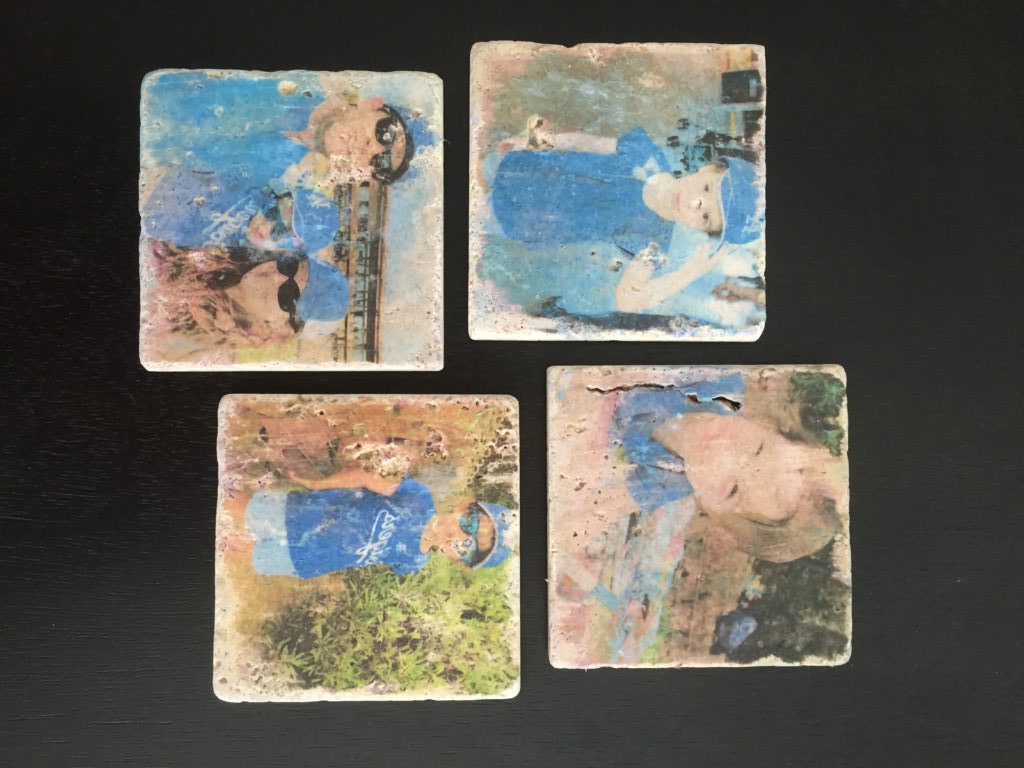
This style of coaster is going to look vintage, so don’t worry if you do not rub off every scrap of paper. I selected 4 photos that had a theme and I feel the result was gorgeous!
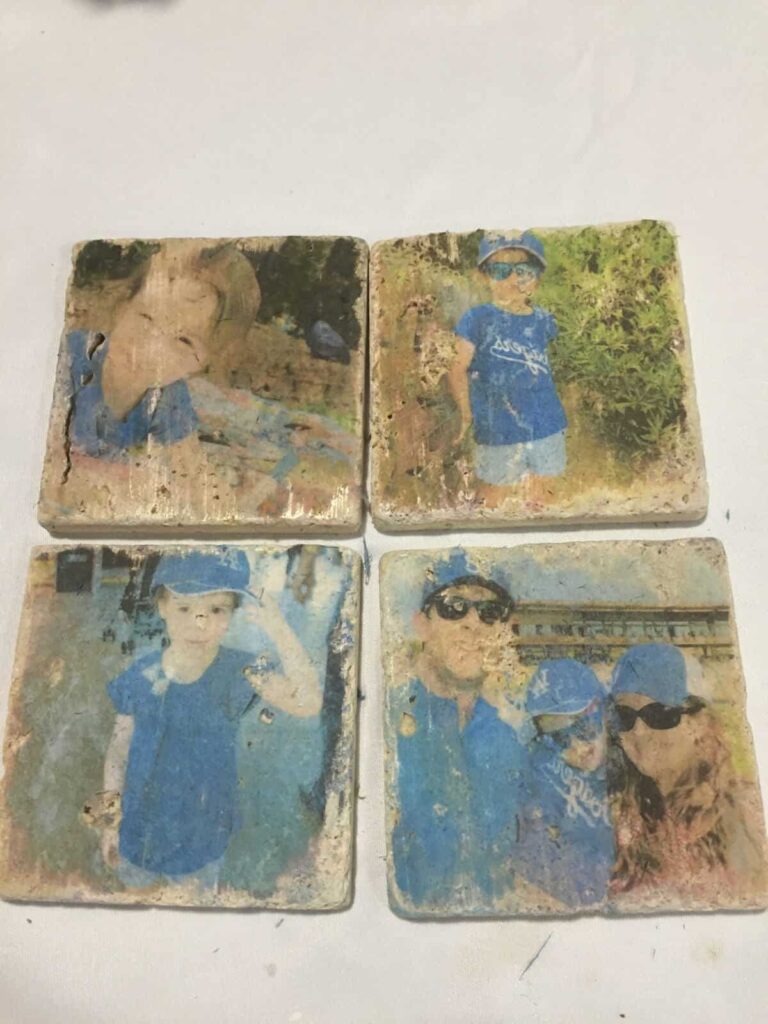
Once your tiles have all be scraped and dried, go to a well ventilated area and apply a spray acrylic sealer to protect against moisture and heat (Modge Podge makes a great one). Allow to completely dry and then apply some craft glue to the back.
Glue on your felt or cork squares to protect your nice furniture from the rough edges of the marble tiles.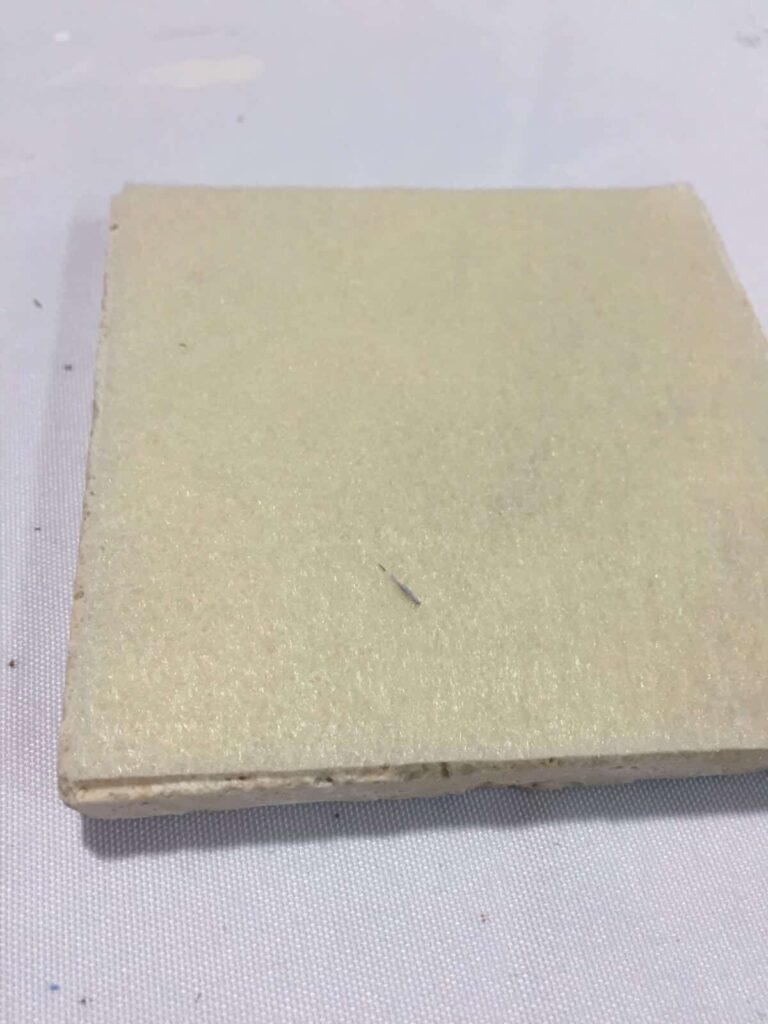
Let the glue and backing dry and you’re done! You have one of a kind coasters that are perfect as a gift or even just a cute desk ornament. I hope you enjoy!

Karly Wood
Latest posts by Karly Wood (see all)
- 15 Wonderful White Kitchens - January 14, 2019
- We Want All These Spring Manis And We Want Them Now - January 8, 2019
- DIY Heart-Shaped Valentine’s Day Wreath - January 4, 2019
Related Images:
Karly Wood
Latest posts by Karly Wood (see all)
- 15 Wonderful White Kitchens - January 14, 2019
- We Want All These Spring Manis And We Want Them Now - January 8, 2019
- DIY Heart-Shaped Valentine’s Day Wreath - January 4, 2019