With Fourth of July quickly approaching, I’ve constantly been thinking about what to wear for the parties we have that day. I have been searching for the perfect thing to wear, but haven’t really had any luck. I wanted some sort of graphic t-shirt, but couldn’t find exactly what I wanted. I didn’t want it to be too serious, but more humorous and cute. As a result I decided to make my own shirt for Fourth of July. Surprisingly, this project was incredibly easy and only took me about 30 minutes to make. It’s the perfect last minute shirt to make if you don’t have anything to wear and need something quick. Plus, it only cost me $4.88! Follow along to see how I made this shirt so you can make your own version.
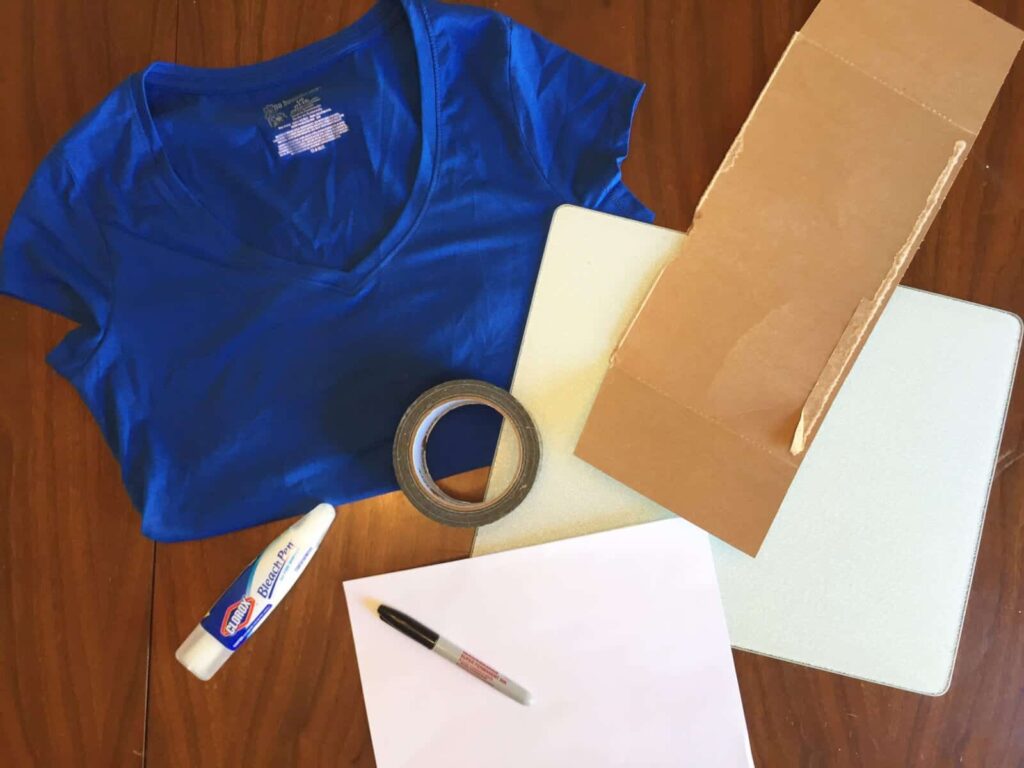
First thing’s first, here are the supplies you’ll need to make this shirt:
-T-shirt or tank top of your choice (I purchased mine from Walmart for only $4.88!)
-Clorox bleach pen (I already had one in my laundry room)
-Blank paper
-Marker
-Scrap piece of cardboard
-Cutting Board
-Tape
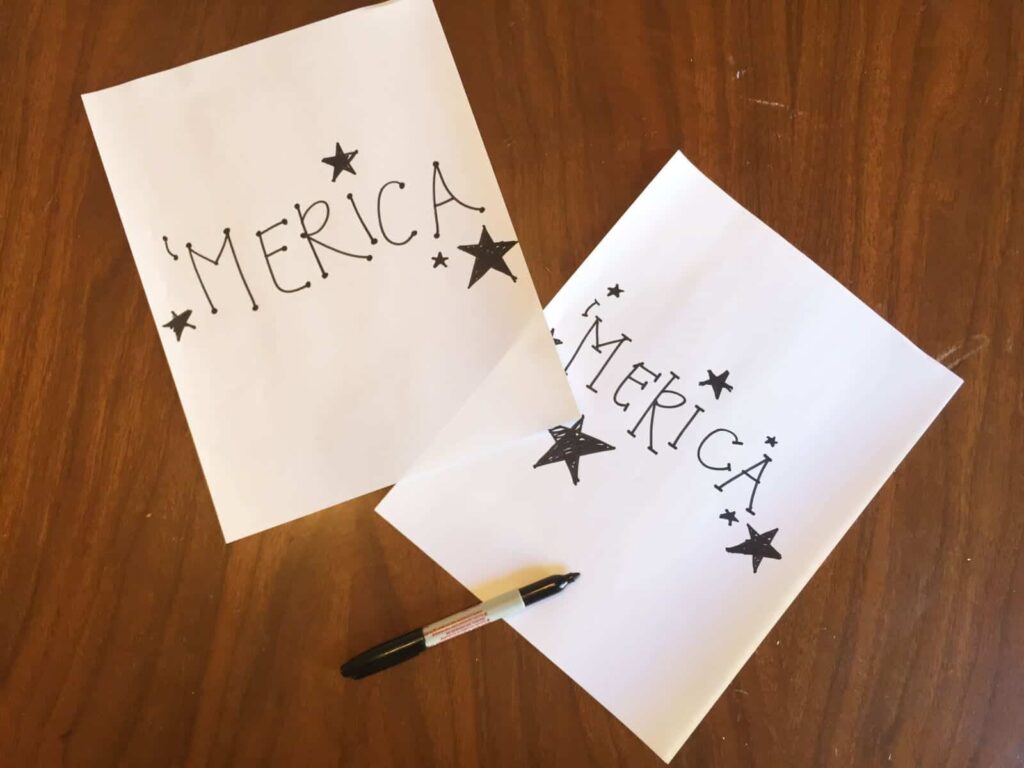
Once you have all your supplies ready, you’ll want to start practicing what you are going to write on your shirt. To do this I used blank white paper and a permanent marker. I had an idea of what I wanted so I began to sketch out my idea.
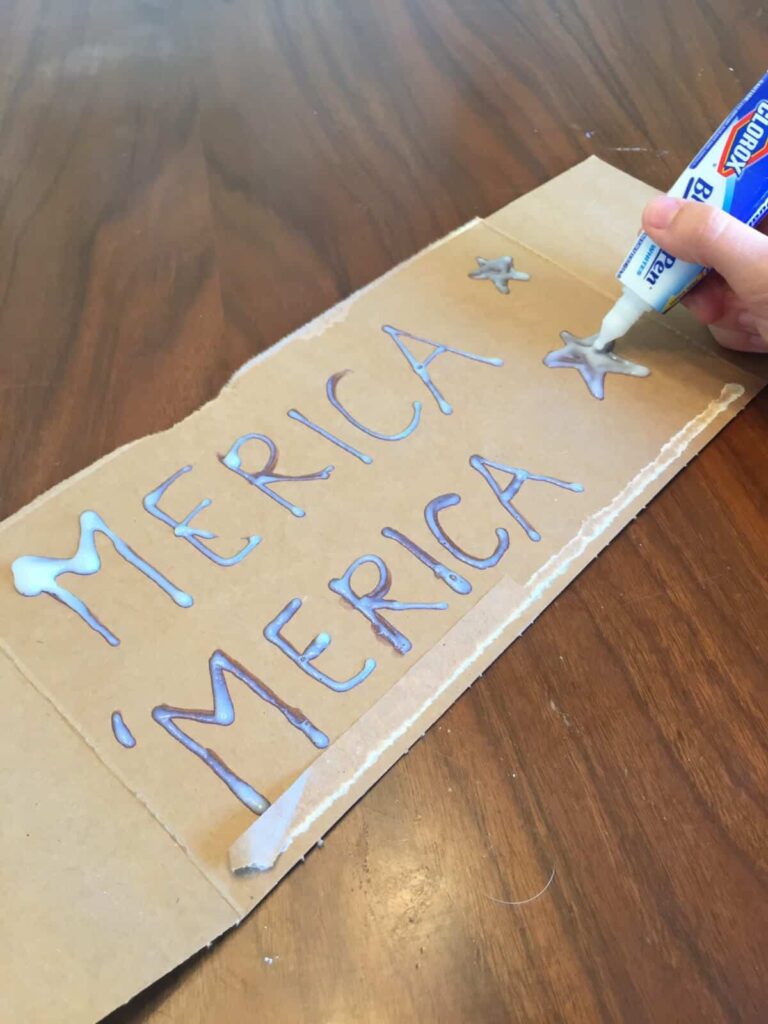
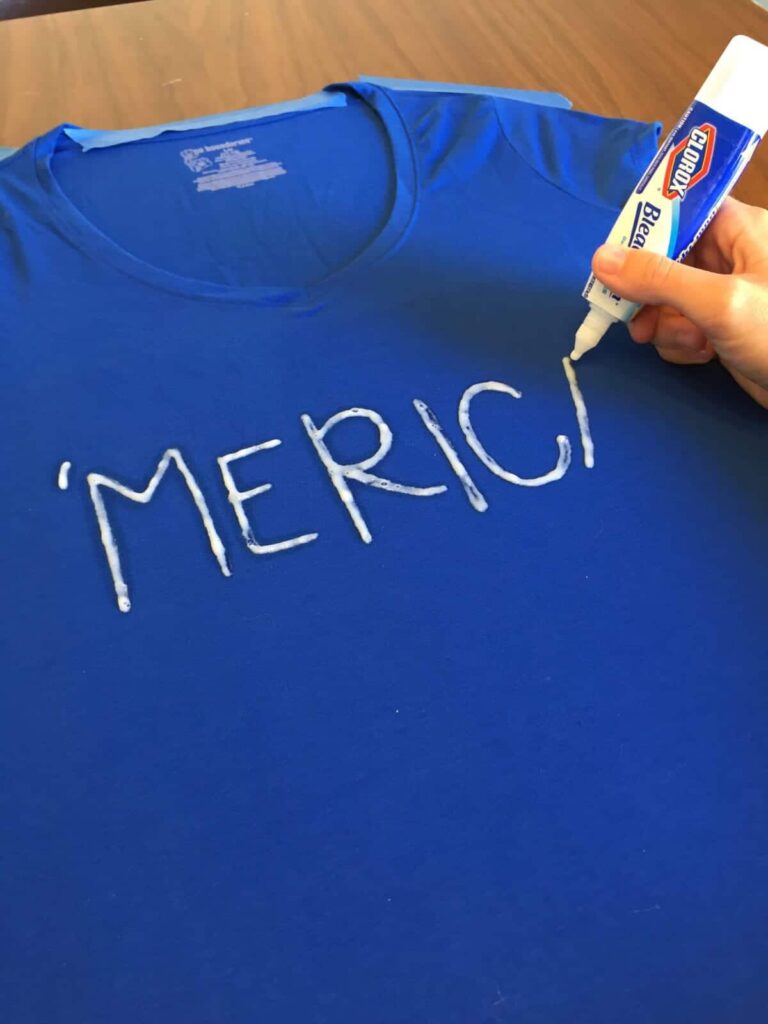
Once I knew exactly what I wanted, I practiced writing with the Clorox pen on the scrap piece of cardboard. I did this so I would know how the bleach solution would come out as I wrote. This is extremely important because if you’ll notice in my picture when I first started writing with it a whole lot of bleach came out at once and made a huge blob.
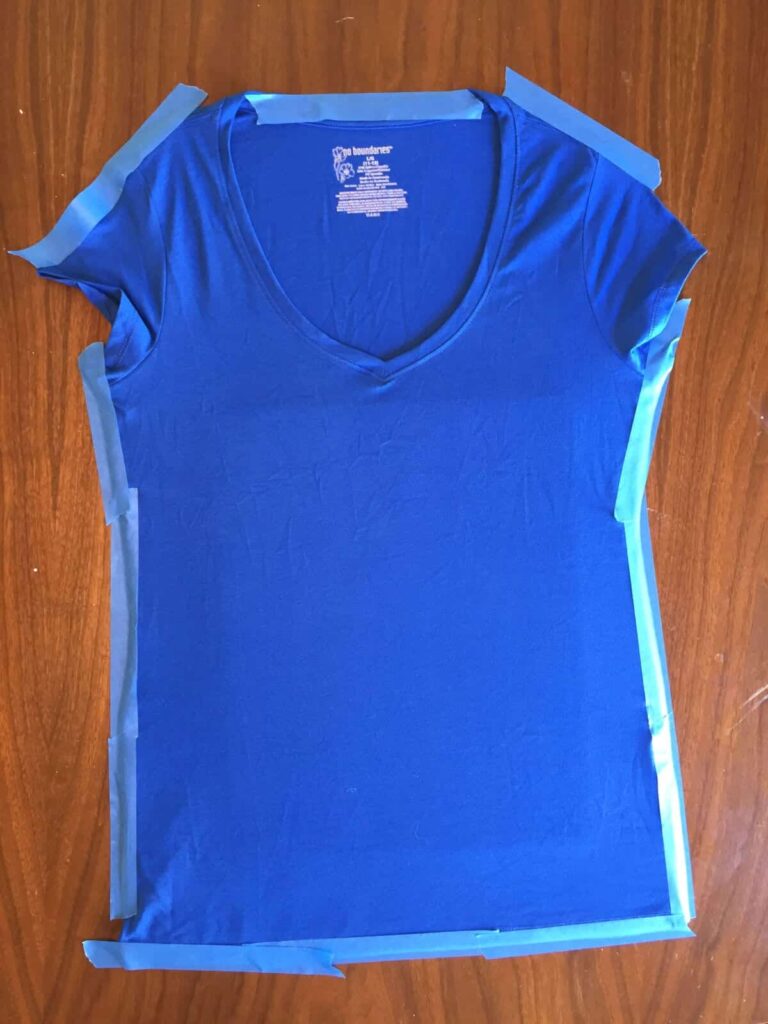
After practicing a few times I felt I was ready to write on the shirt, so I began to set up the t-shirt. In order to ensure that the bleach pen wouldn’t leak through to the back side of the shirt as I wrote on it, I slid a cutting board between the shirt. My cutting board was glass, but if yours is a porous surface, be sure to cover it with something so it doesn’t stain your cutting board.
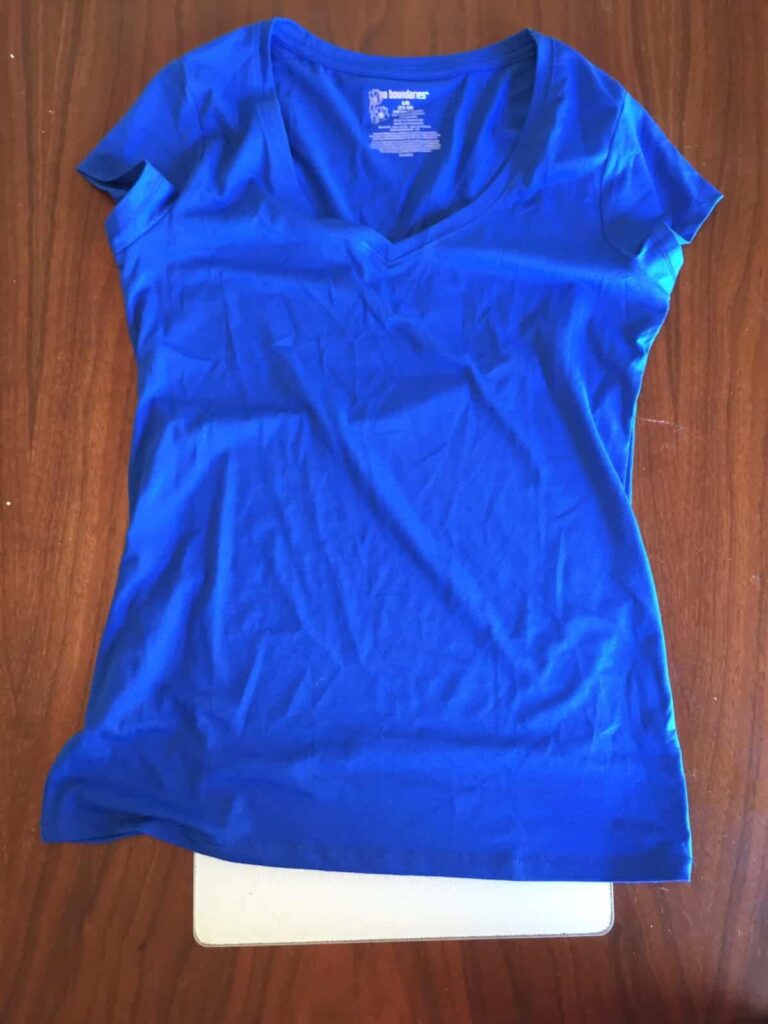
Once your cutting board is in place, tape down the t-shirt so it doesn’t move around as you write on it. I taped down all the edges to make sure it wouldn’t move at all, but you can probably tape less if you want.
Now that your shirt is ready to write on, begin writing on your shirt with the Clorox bleach pen. Go very slowly as you write so as not to make a mistake.
Once you’re done writing on the shirt, let it sit and dry for 1 hour. As the shirt dries the consistency of the bleach will begin to harden and turn into a paste.
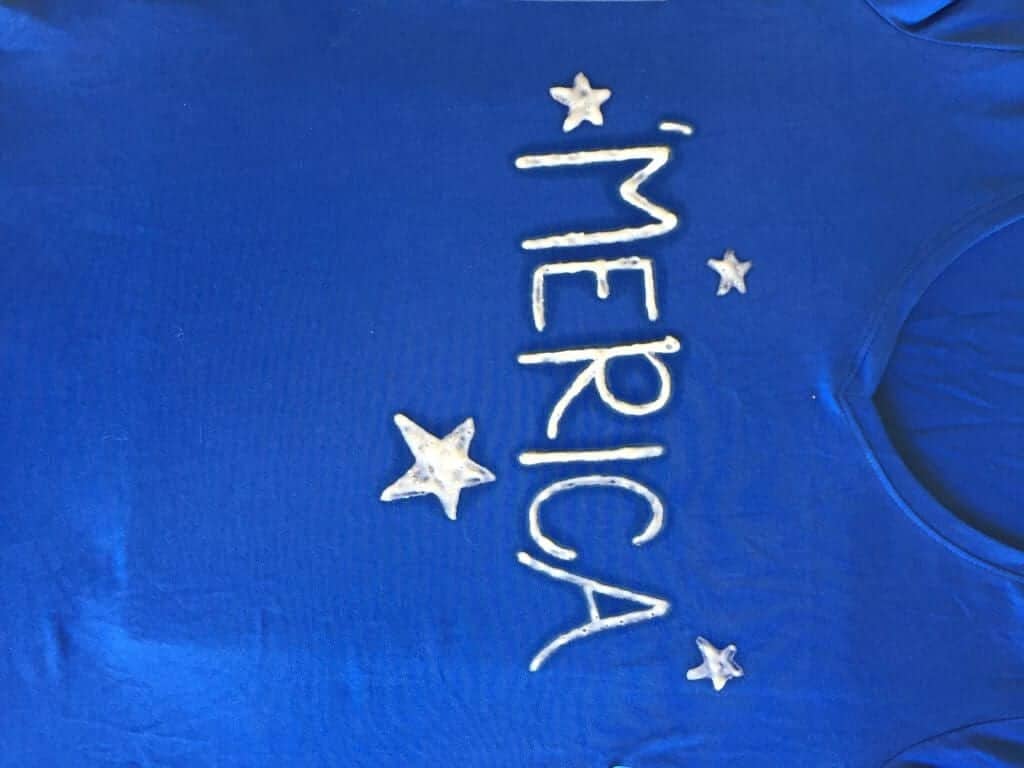
Once the shirt is dry, place the part of the shirt that has the writing on it under some water to rinse off the bleach paste. Then you can throw the shirt in the wash and run your washing machine as normal without detergent. After it’s done washing, place it in the dryer and once it’s dry, your shirt is ready to wear!
I actually decided that I wanted to make my shirt a little more boho looking, so I decided to cut some fringe on the bottom. This is very simple to do. Lay your shirt out, then cut straight lines from the bottom towards the top of your shirt. You can make the fringe as short or as long as you want depending on how far up you cut it. I made about 2 1/2 inch cuts along the bottom. Here is the final result:
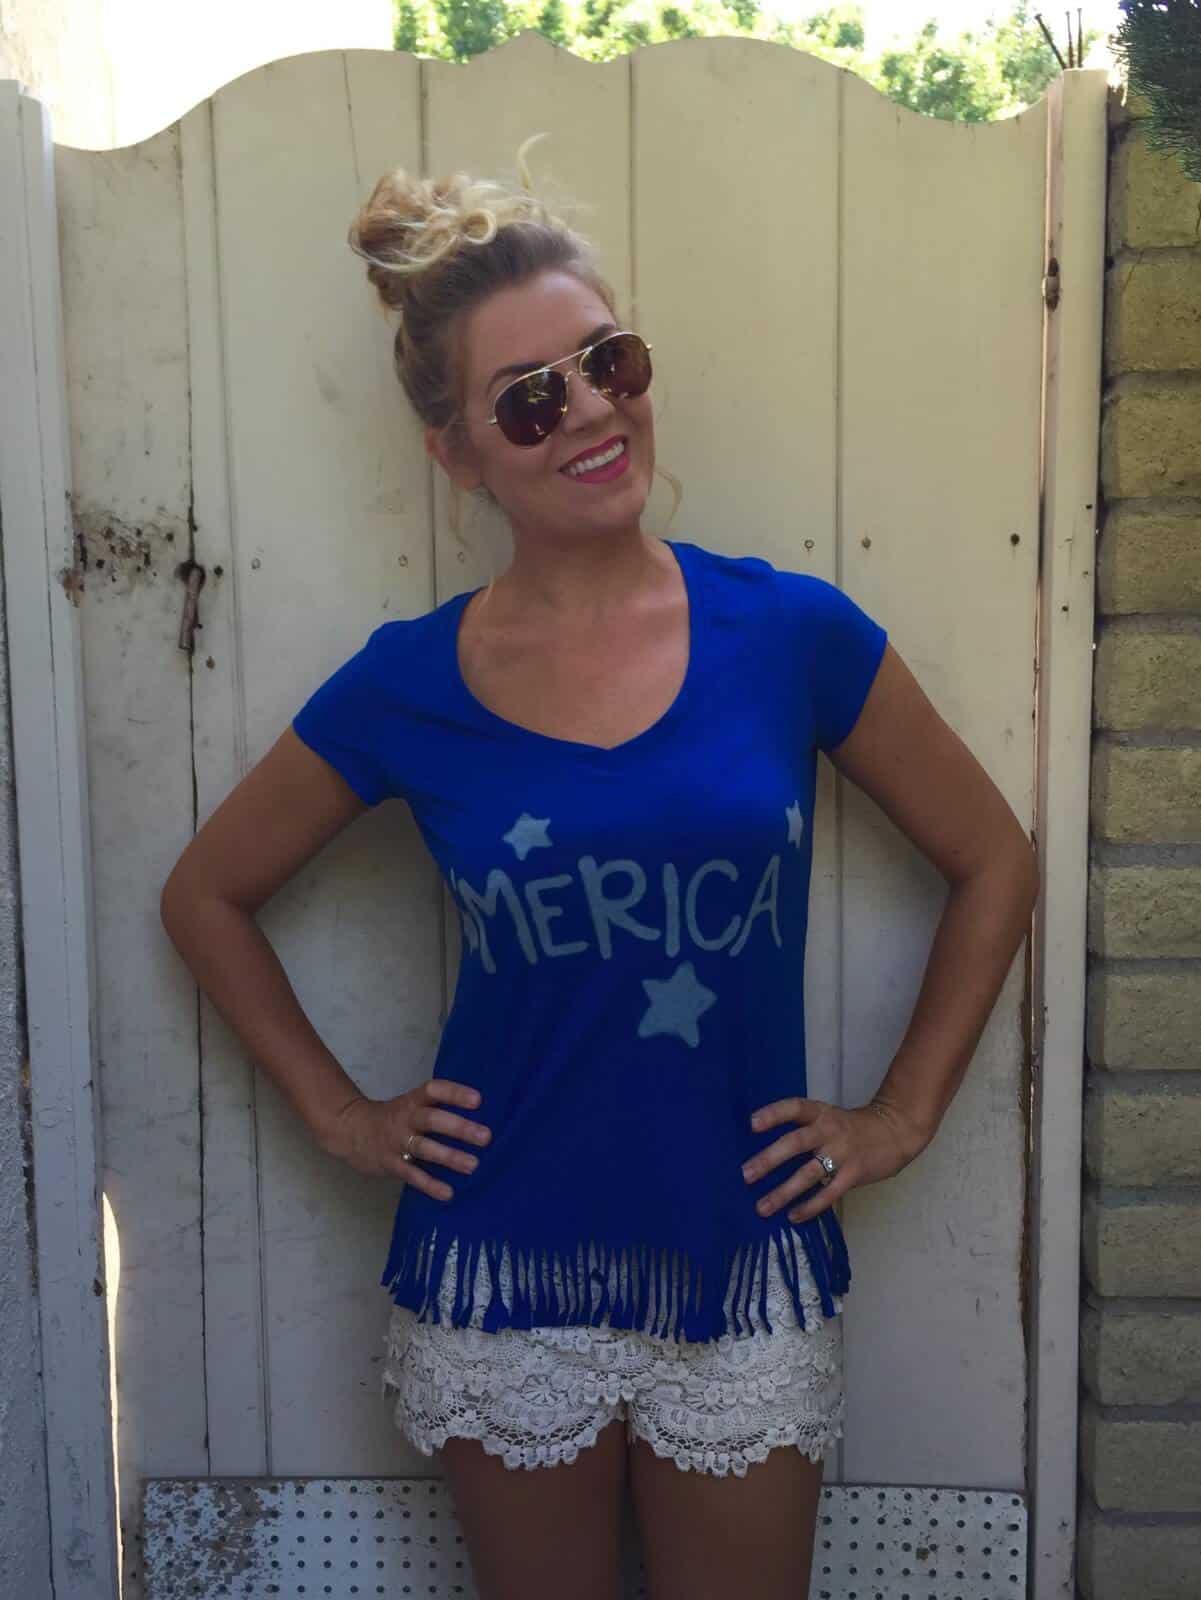
I am so pleased with how this turned out. I can’t wait to wear it on the Fourth of July. The great thing about this DIY project is that you can really create your own depending on your taste. Instead of writing “‘Merica” you can write “Freedom” or “USA.” You also don’t have to make the fringe at the bottom if you don’t want. Those were just the little touches that I personally wanted on my shirt.
Have fun and enjoy!

Related Images:

Mary Mulroney
Latest posts by Mary Mulroney (see all)
- 5 Easy Changes To A Healthier You - October 12, 2020
- 7 Great Resources For Affordable And Beautiful Rugs - October 12, 2020
- Tips For Switching To A Dairy-Free Diet - September 29, 2020