As someone with a background in interior design, it is very frustrating to be living in a place where we can’t paint the walls. My husband and I are currently renting the place we live in and our landlord won’t let us paint. All of the walls in our home are white. Every last one of them. While I can appreciate white walls in moderation, having the through out the whole entire home drives me a little crazy. One day I couldn’t take it anymore and had to do something to them. I really liked the look of polka dot wall decals that I had seen on our handy dandy website, Pinterest. As I searched for decals I realized that I could use contact paper and make my own. Contact paper is perfect for renters because it is easily removable. I was able to buy a whole roll of contact paper for only $8 instead of only a limited amount of pre-made decals for the same price. As a result, I decided to make my own decals.
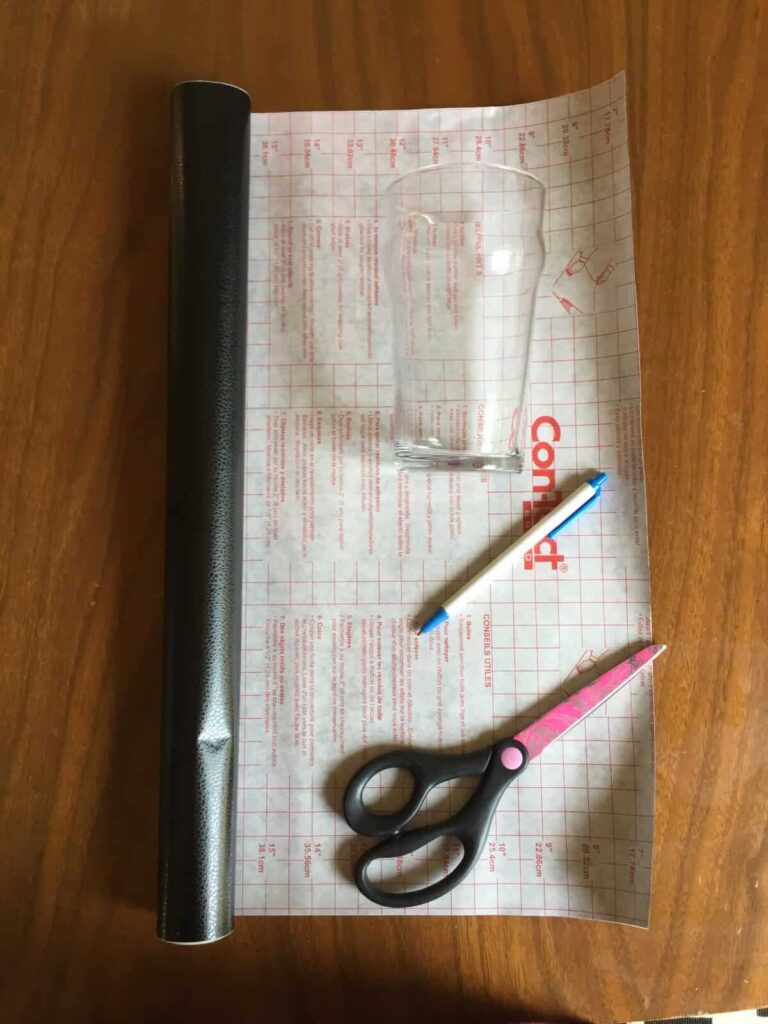
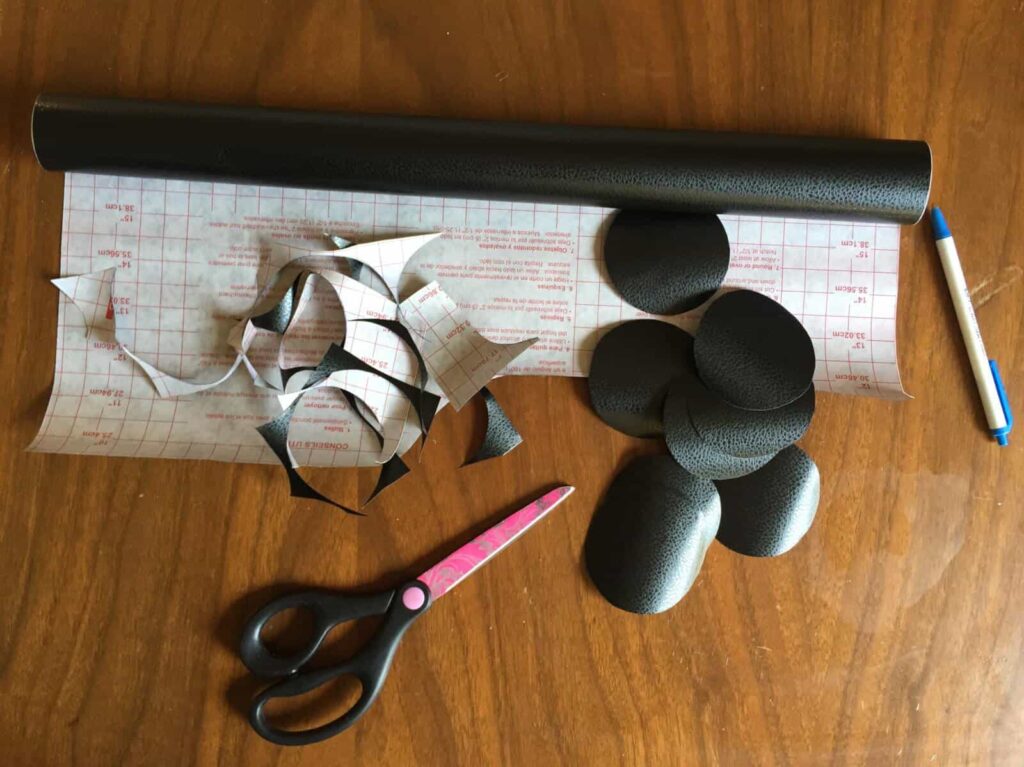
Here’s what you’ll need to make your own polka dot wall decals:
-Contact Paper (I bought mine at Home Depot)
-A cup to trace to make your dots
-A Pen
-Scissors
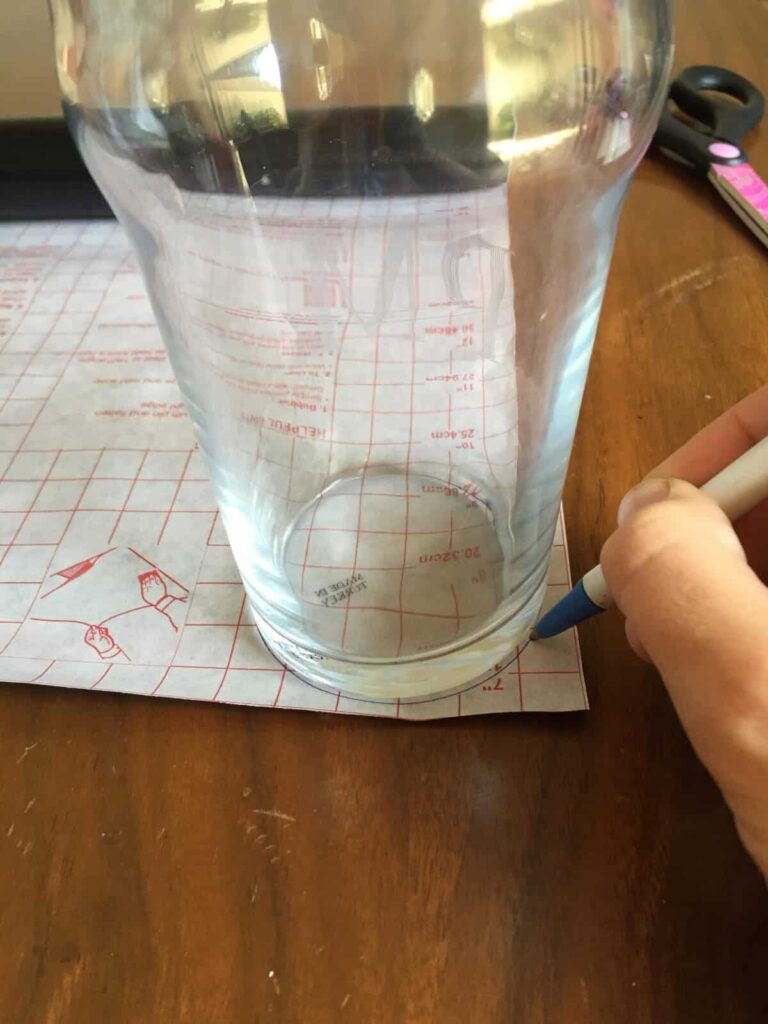
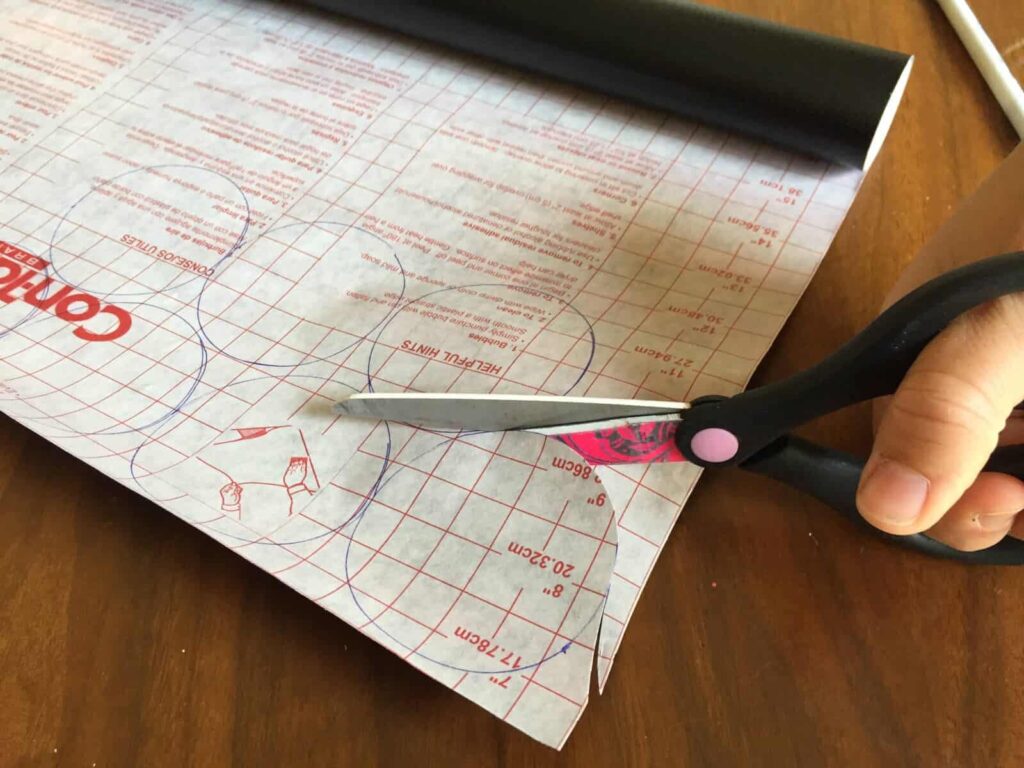
Once you have the contact paper, you need to decide how big you want your dots to be. I wanted mine to be mid sized, but a little on the smaller size. I found a cup with a bottom that would make the perfect sized circle to use. I placed the bottom of the cup on the contact paper and began tracing it over and over again. You won’t know exactly how many dots you will need to cover your wall, so just trace a good amount to begin with (about 30) and then if you need more later you can always trace more.
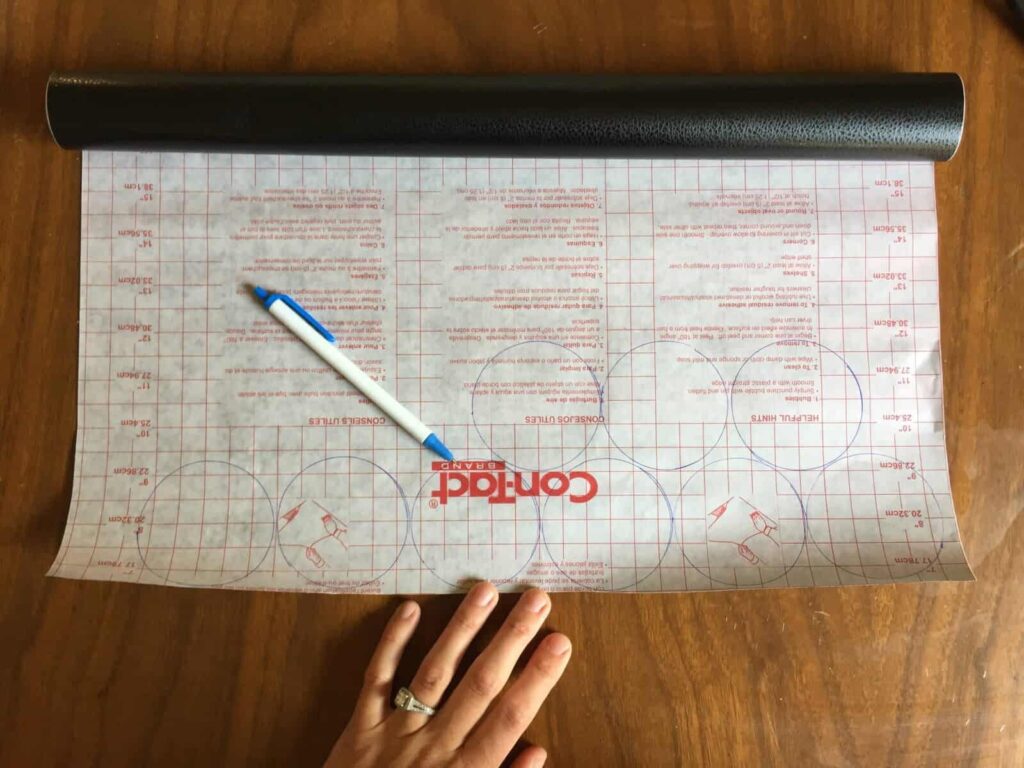
Once you have quite a few circles traced, you can begin cutting them out. Don’t stress too much about making them look absolutely perfect and round. Once they are up on the wall you won’t notice that they aren’t perfectly round.
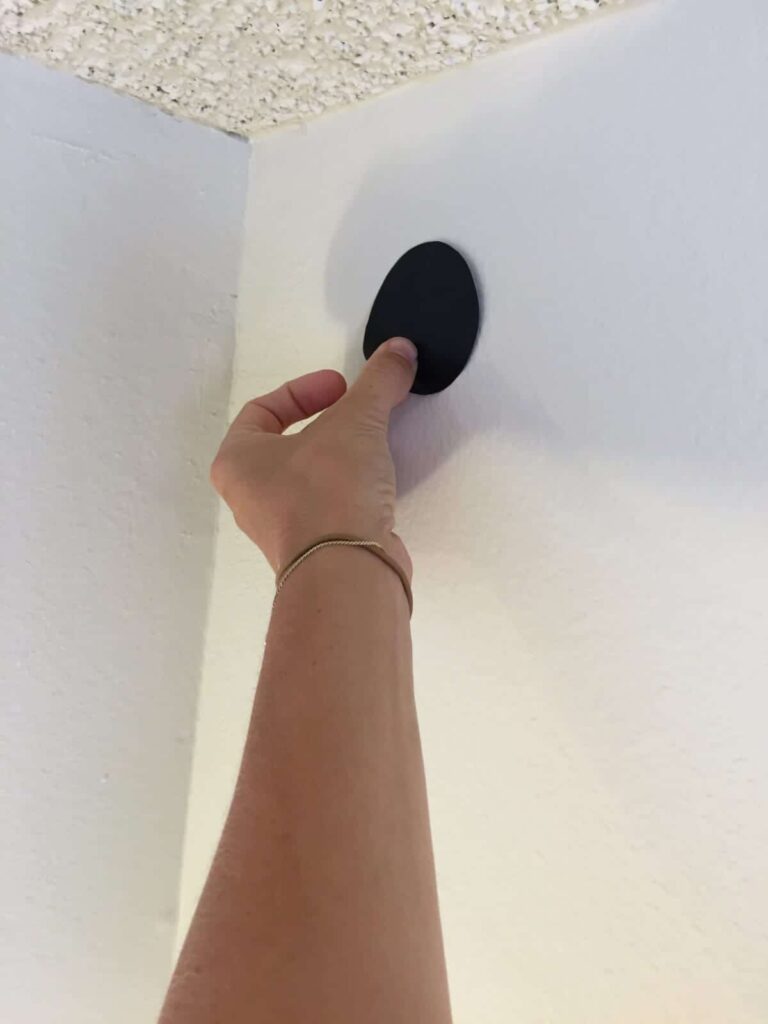
Once you have a large amount of dots cut out, you can begin pulling off the backing and sticking them on the wall. I just began in one corner of the room and worked my way out. I placed the first dot a few inches down from the ceiling and a few inches away from the corner. Next, I placed a dot approximately 18 inches directly below that dot, and so on until I reached the floor. For the next column of dots I moved it to the left about 18 inches and about 9 inches down from the dot in the top corner, then continued adding dots below that one. You can measure out exactly where you want your dots to be if you’d like, but I just eyeballed mine. I figured once all the dots where up, you wouldn’t be able to tell if they were exactly the same distance away from each other.
When you have a few columns and rows up on the wall it should start to create a pattern as if it were the number five on a piece of die from a board game.
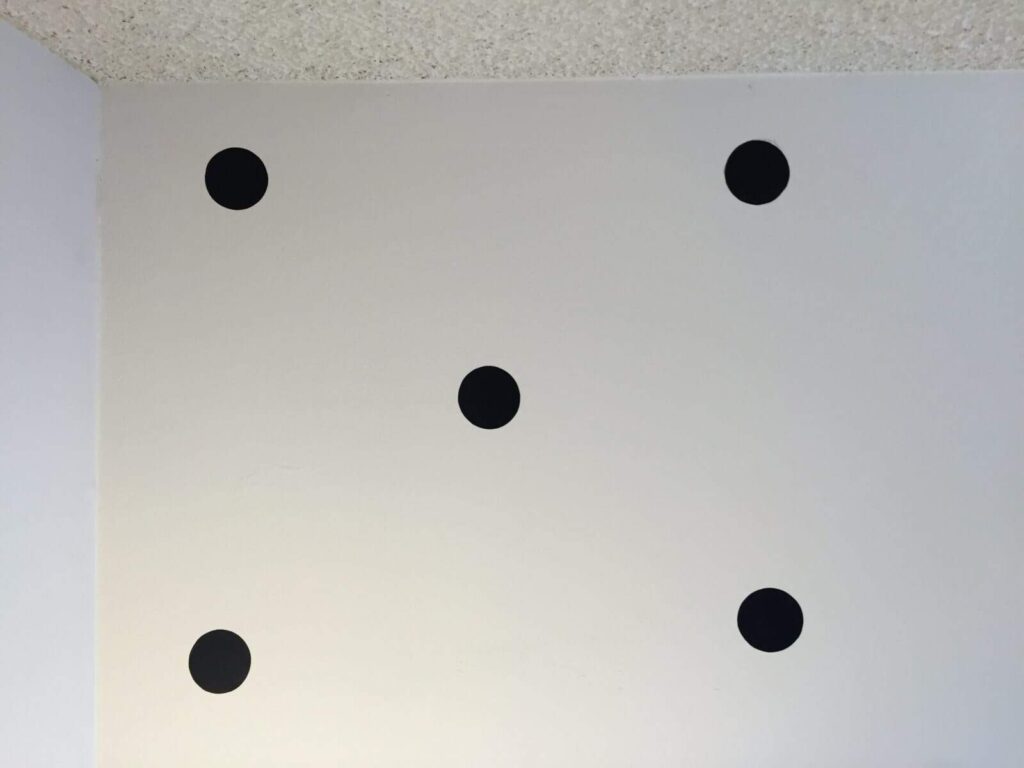
Continue this pattern until all of the wall is covered. You may have to go back to trace and cut more dots if you don’t have enough to start with. Once the wall is covered in your pattern, stand back and see if any of the dots need to be adjusted to look more in line with the others. However, like I said before, most likely you won’t notice if the dots are in perfect line with each other or not. Mine certainly are not, but you can’t really even tell unless you stare closely at it.
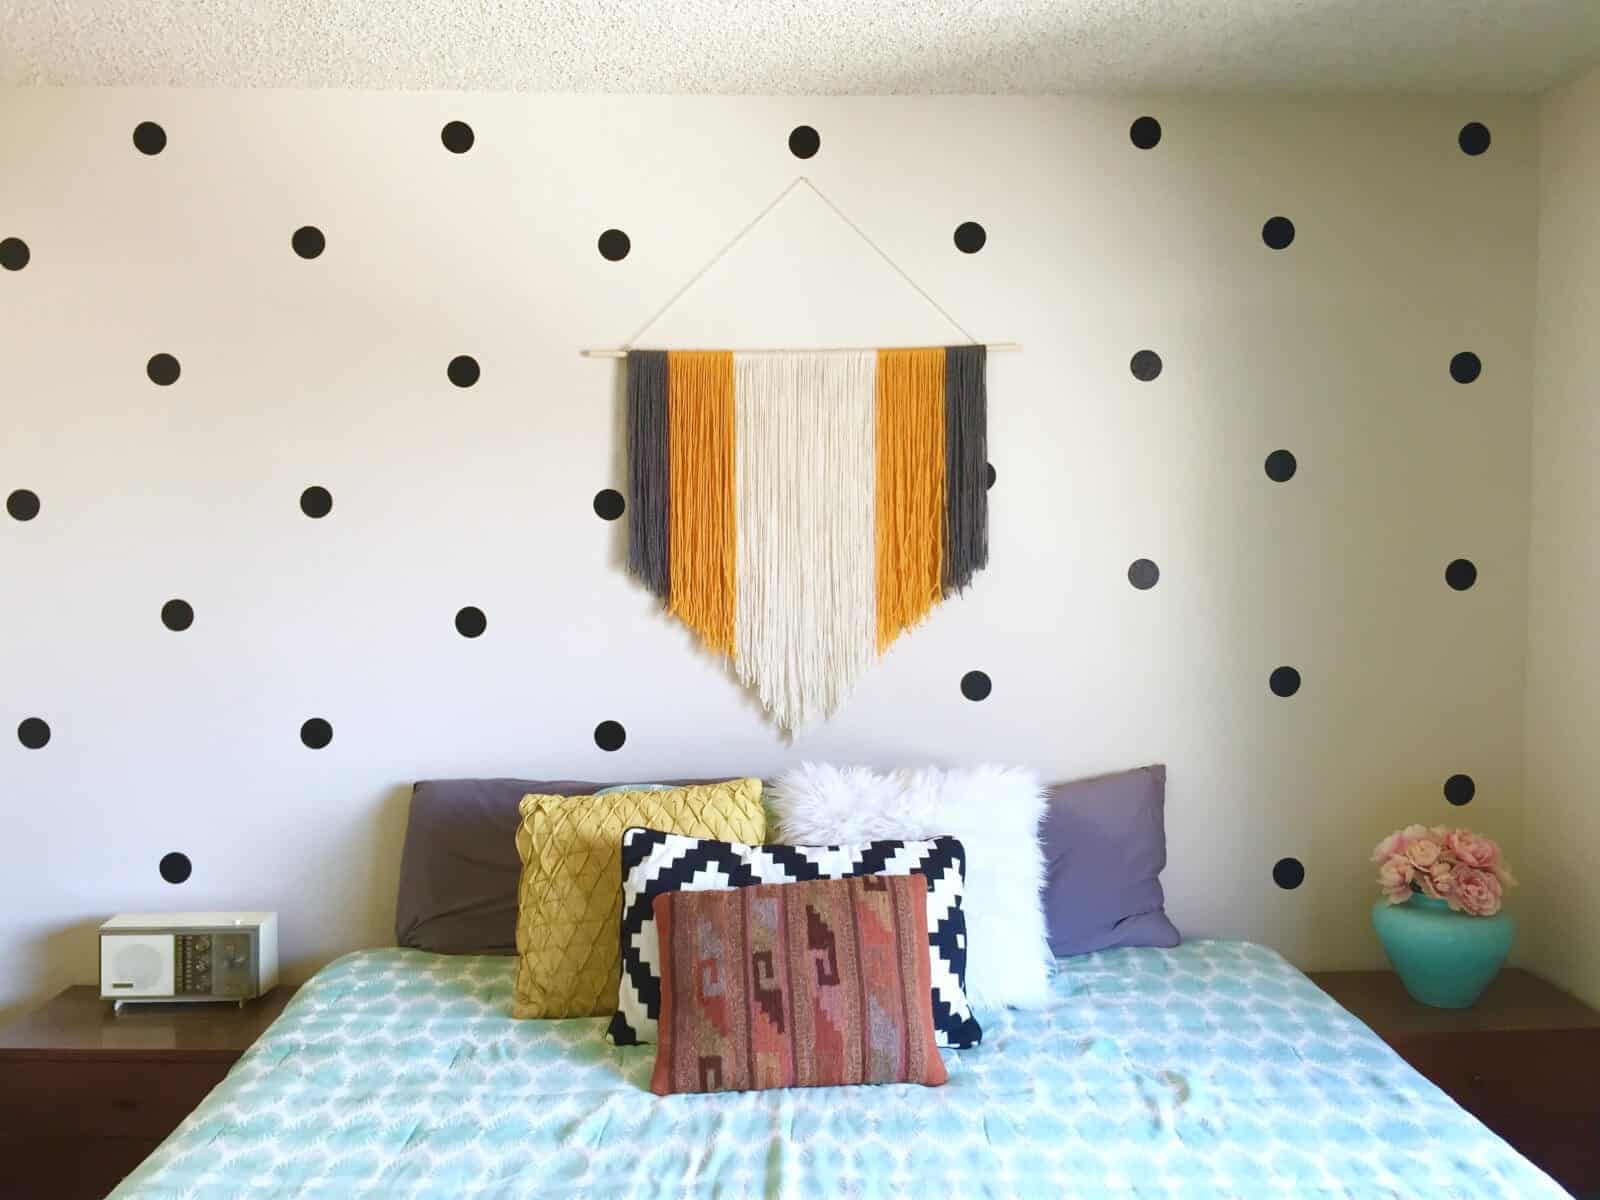
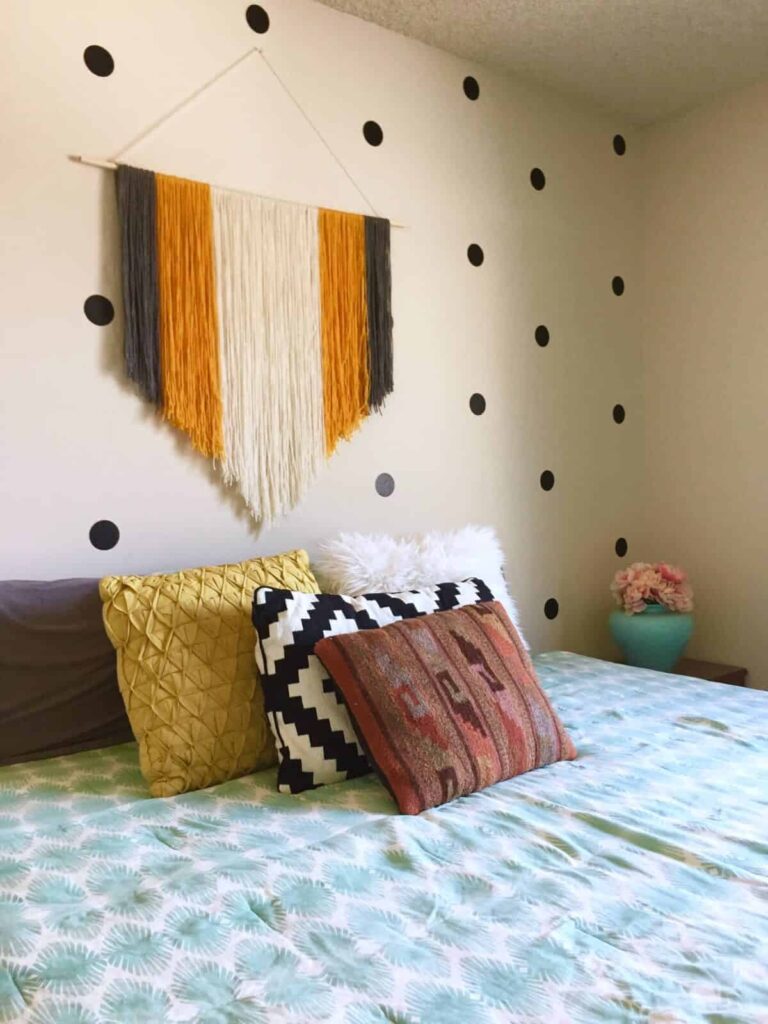
Here is what the final product will look like:
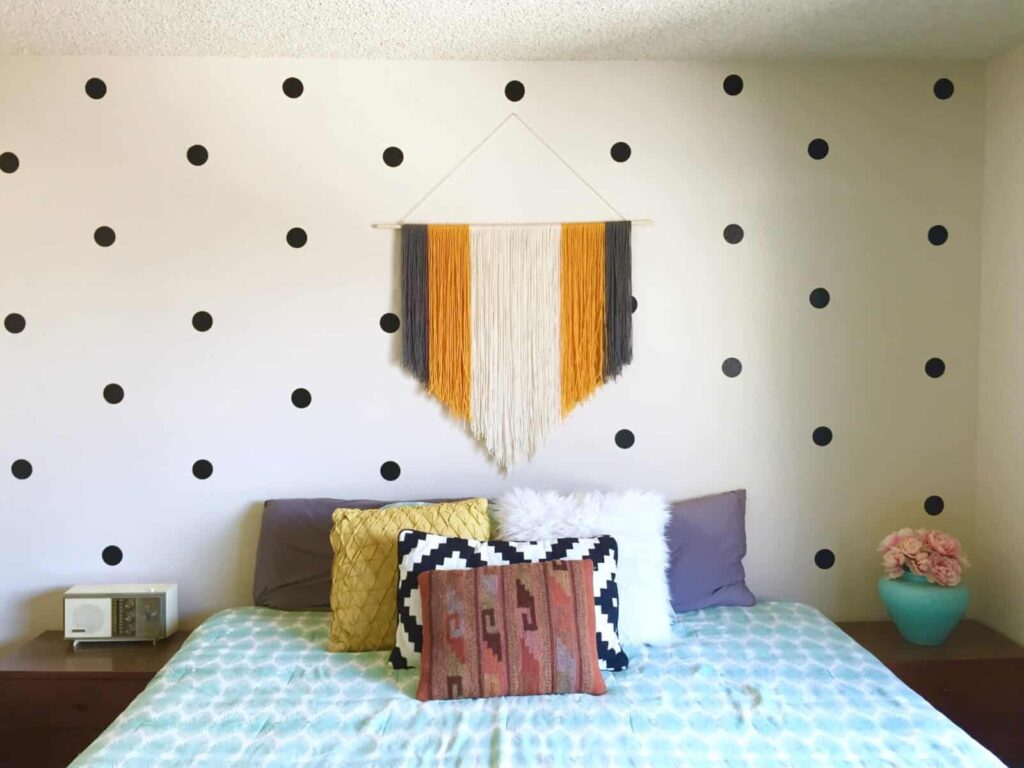
This DIY project was extremely easy to do and I did it within about an hour. A great advantage to buying the contact paper and making your own is that you can make any shape you would like. You can make triangles, plus signs, squares, etc. Have fun, be creative and enjoy your new wall!
Related Images:

Mary Mulroney
Latest posts by Mary Mulroney (see all)
- 5 Easy Changes To A Healthier You - October 12, 2020
- 7 Great Resources For Affordable And Beautiful Rugs - October 12, 2020
- Tips For Switching To A Dairy-Free Diet - September 29, 2020