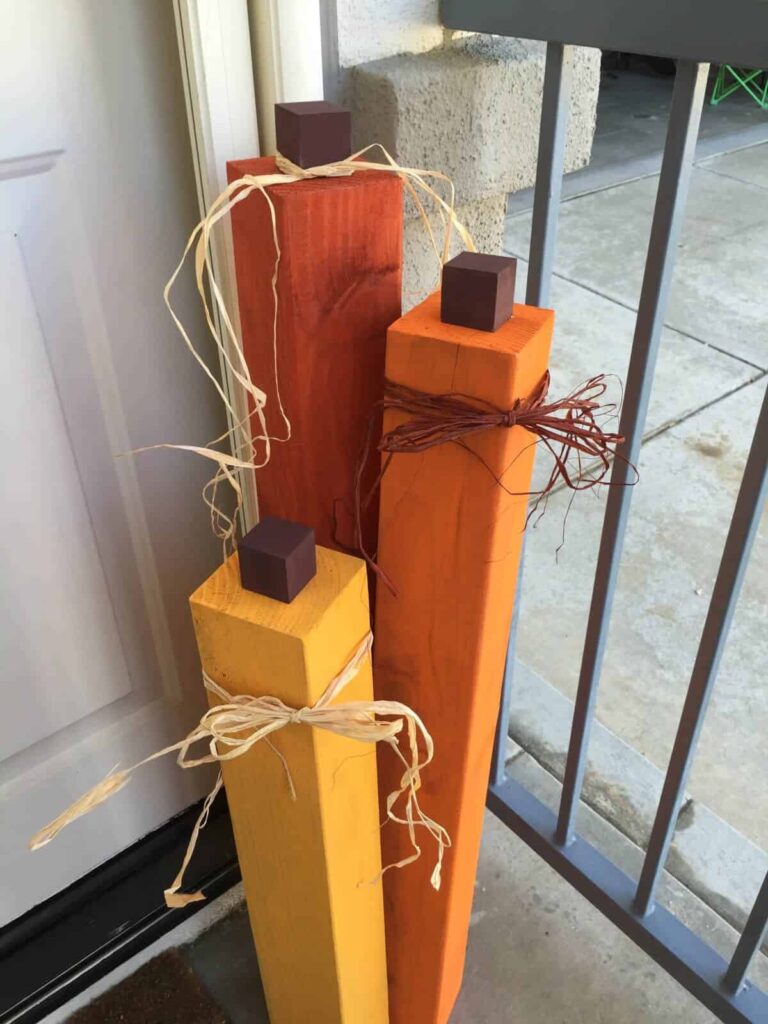
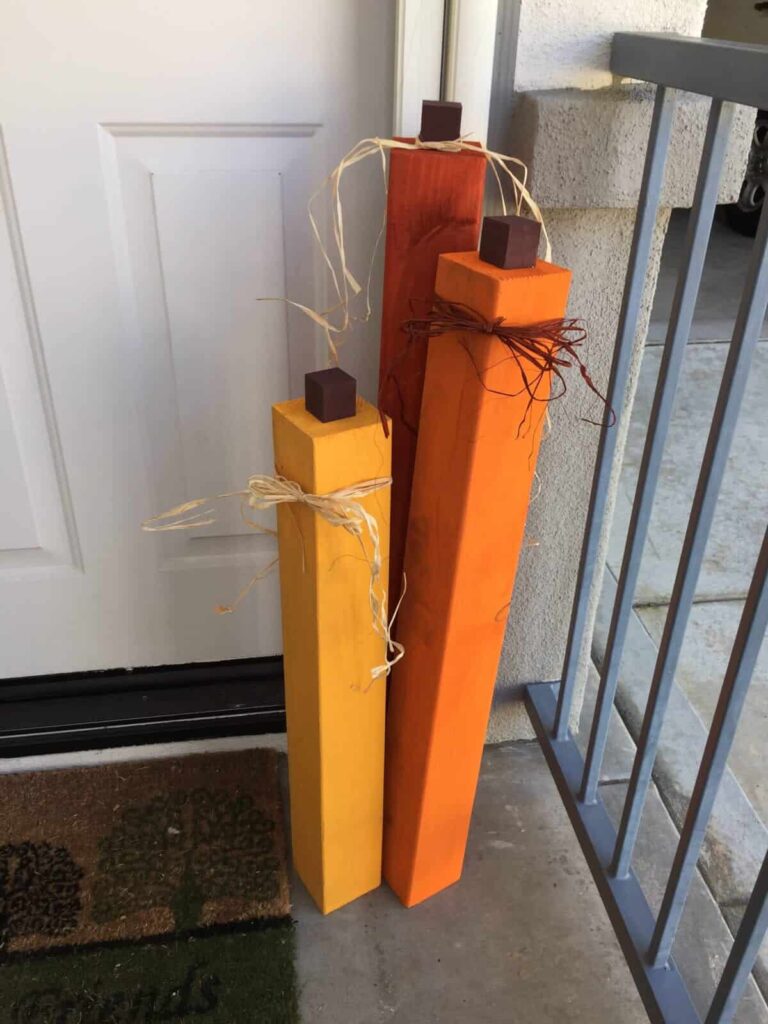
Fall is upon us, along with hundreds upon hundreds of beautiful and creative decorations. While I love purchasing gorgeous decor from my local stores, making them is half the fun (and usually half the cost!). Over the years, I’ve amassed a small collection of handmade decorations but I am always looking for ways to make new baubles for my home that are unique and creative. This year, I decided to make something new and for my porch! These wooden pumpkins are easy and will be the envy of all your neighbors!
Here’s What You’ll Need:
– 4×4 piece of wood, cut into 3 pieces. I wanted large pumpkins so I cut one 8-foot piece into 36 inches, 33 inches, and 27 inches. Most home improvement stores will cut the piece for you for free!
– 3 small blocks of wood for the stems (I got mine at Michales for $1.25 a piece)
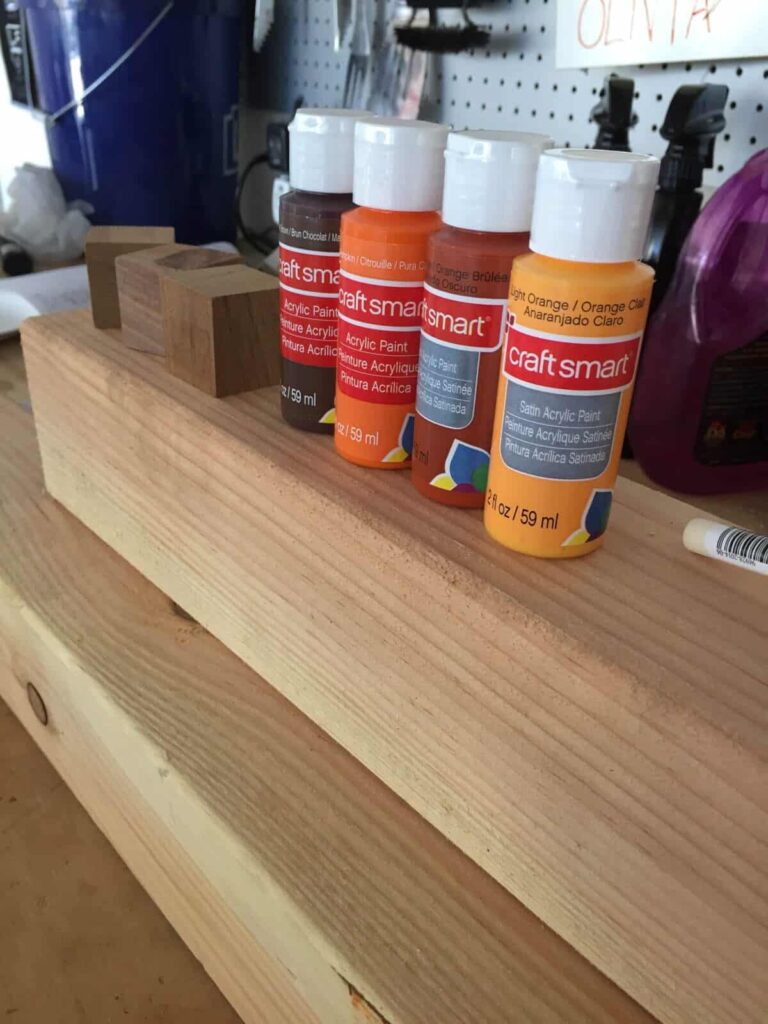
– Craft Paint & Brushes
– Hot glue or craft glue
– Sandpaper
– Extra decorations like fake flowers, leaves, ribbon or raffia.
Begin by lightly sanding your 4×4 pieces. You don’t have to break a sweat doing these because they are going to look rustic and will be on your front porch. You basically want to make sure you sand off the jagged end pieces where the wood has been cut and any other naturally rough areas that will make it hard to paint.

I did one quick round with 60 grit paper to get any large pieces off then followed up with 150 (super fine) grit. It took me less than 10 minutes and I could have gone longer but didn’t care too much!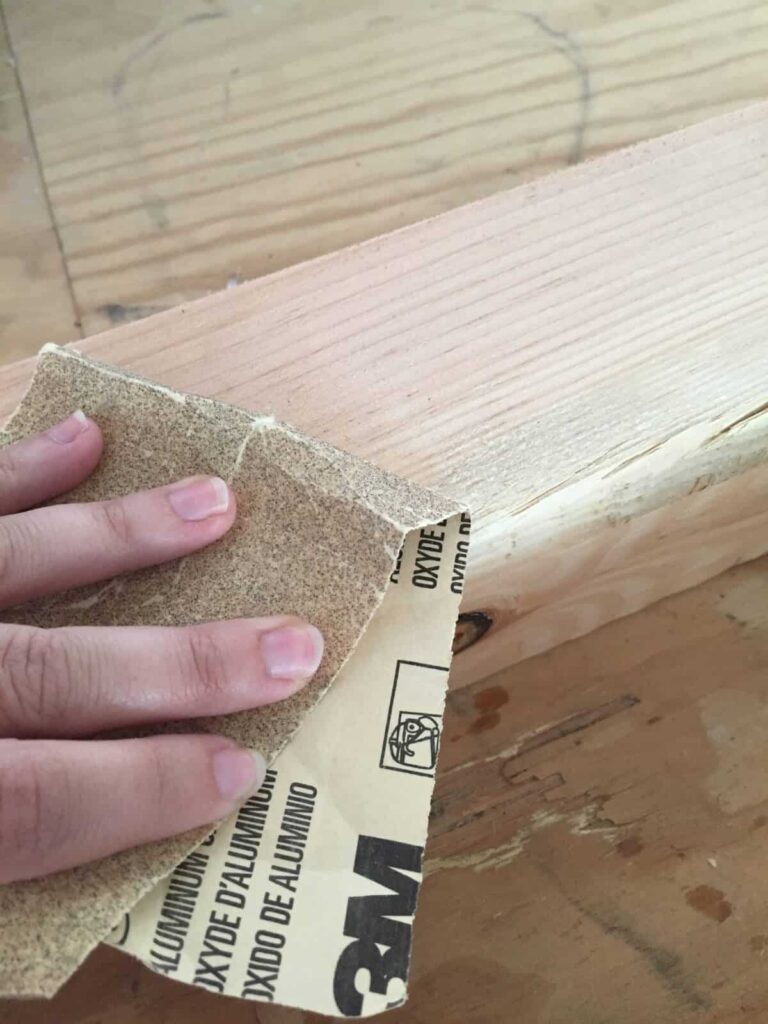
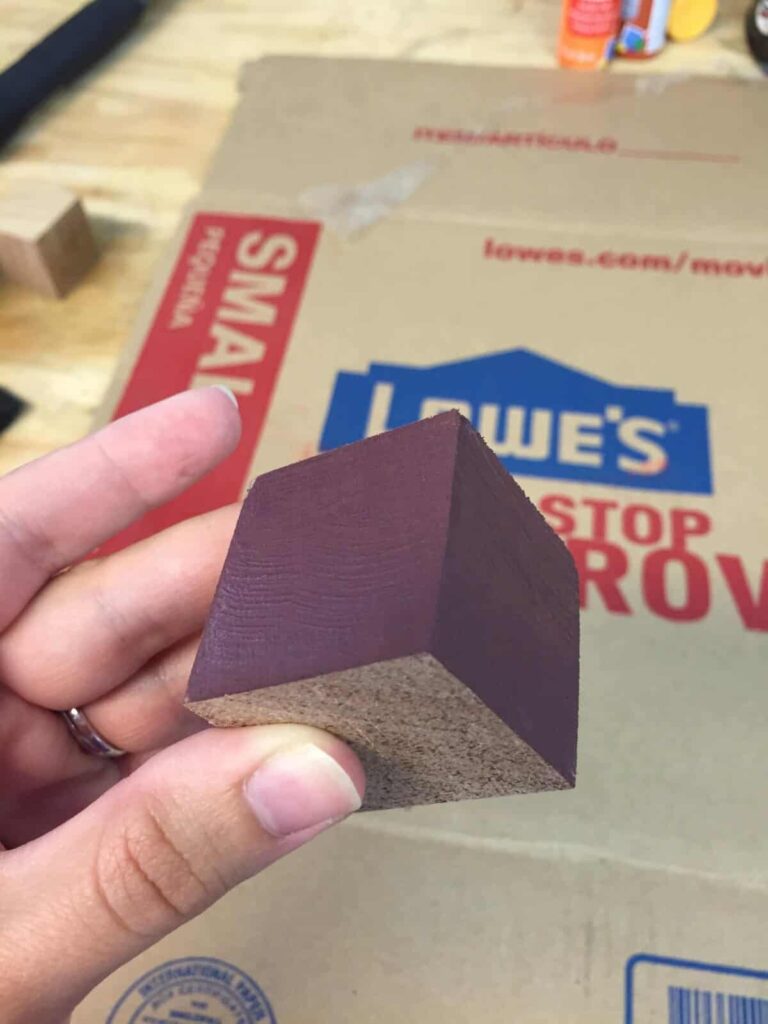
Then I took a damp paper towel and wiped off the excess sawdust so I had a smooth surface to paint. While the pieces aired out, I painted my wood blocks brown so they would be ready to go when I was done painting my pumpkins. I left one side unpainted because it’s going to be glued down and you won’t be able to see it.
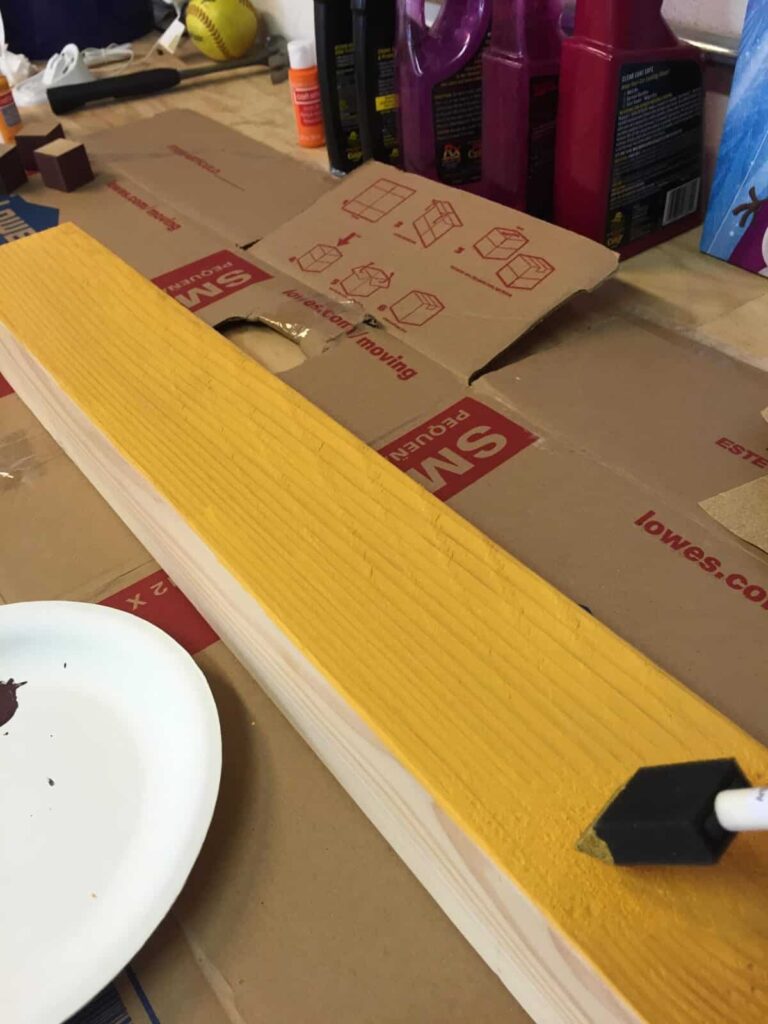
Now it’s time for painting your pumpkins! You can use any color scheme you want, and I personally wanted a bit of a “ombre” look when it came to mine. I used three orange tones, and only did a second layer on my yellow orange block since it was such a light color. It only took me about 5 minutes per block to paint.
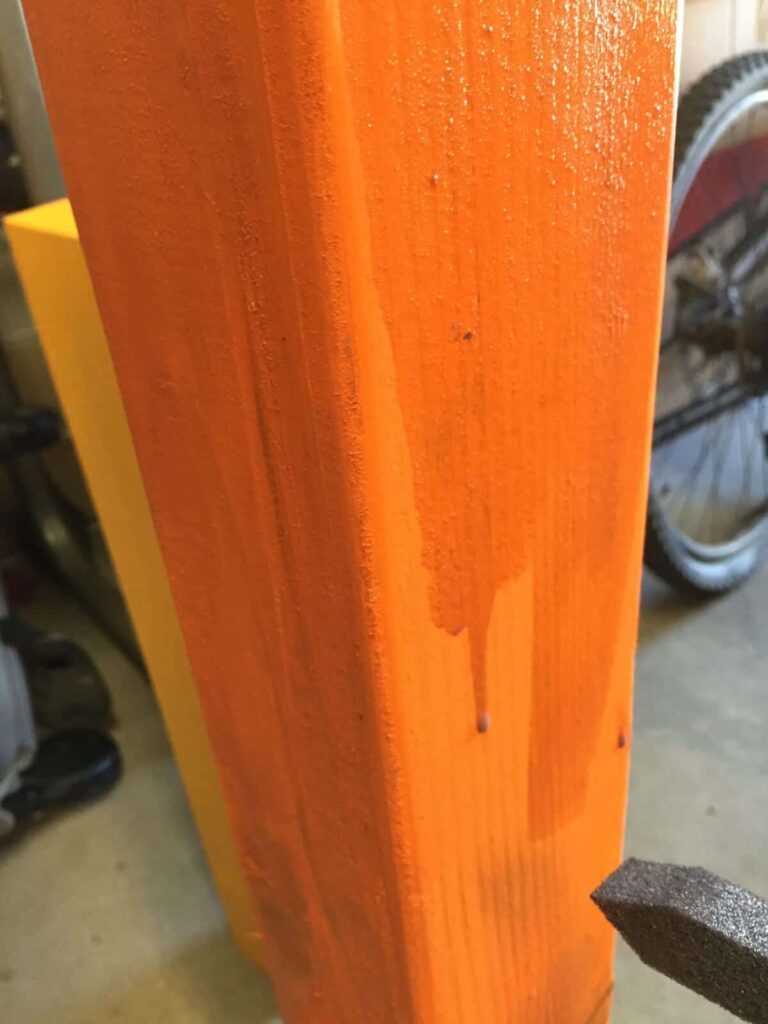
Once all of your blocks are painted, you can apply a brown wash to make them look more rustic and tied together. I personally didn’t have any stain, which you can also do. To make a brown wash, take 1/2 cup of water in a cup and squirt some brown paint in. Mix well and apply to your blocks with a sponge brush (or old rag if you have). Then wipe off with a paper towel or towel. It will darken your paint and pull all of your pumpkins together.
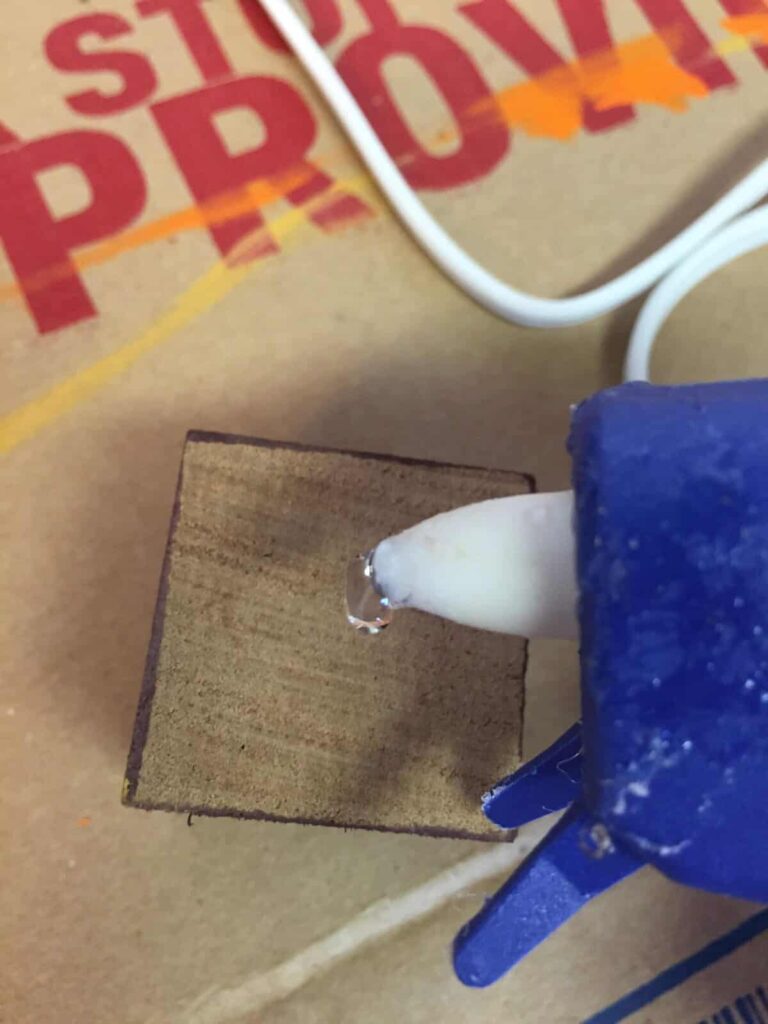
Your final step is gluing your wooden blocks down to make stems. Simply take some hot glue and glue to the unpainted side of your block and then affix to your pumpkin.
If you want, you can add extra accessories to your pumpkins for some flair. Since I used non-traditional pumpkin colors, I felt mine needed something to tie them together. I had some old raffia I had in my Fall decoration bin and I feel like they give it a little more obvious look of being a fall decoration. You can also tie on fall foliage or berries to give it a great look.
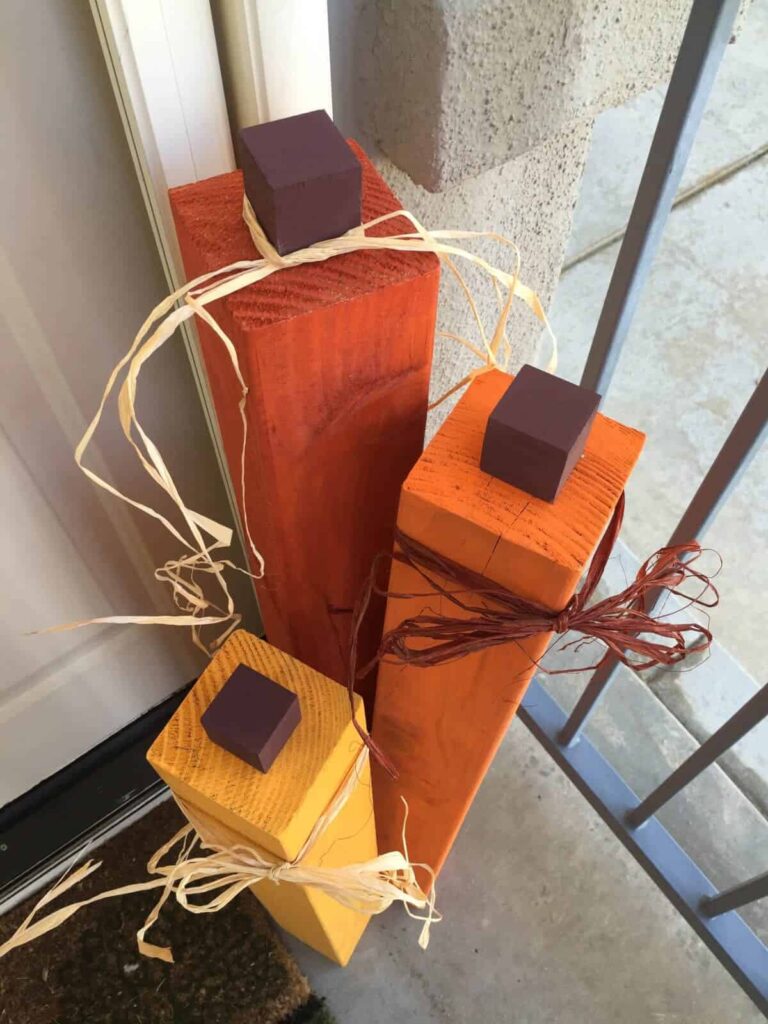
All in all, this craft too me under 2 hours (in my steaming 95+ degree garage no less) and only cost me about $15. I love the non-traditional look and have already gotten tons of compliments!

Karly Wood
Latest posts by Karly Wood (see all)
- 15 Wonderful White Kitchens - January 14, 2019
- We Want All These Spring Manis And We Want Them Now - January 8, 2019
- DIY Heart-Shaped Valentine’s Day Wreath - January 4, 2019
Related Images:
Karly Wood
Latest posts by Karly Wood (see all)
- 15 Wonderful White Kitchens - January 14, 2019
- We Want All These Spring Manis And We Want Them Now - January 8, 2019
- DIY Heart-Shaped Valentine’s Day Wreath - January 4, 2019