Without question, the holidays are my favorite time of the year. As if the food, music and decorations aren’t enough, the added bonus of spending so much time with family and friends make the end of the year that much more special. Most of the year my house feels like, well- just a house. But during the holidays it feels like home. That’s why I’m so excited that this year, we’ve partnered with a brand that feels the same way about home, Gold Peak Tea. Gold Peak believes that home is as much about a feeling as a place. Whether you’re enjoying an ice-cold glass of iced tea or a steaming cup of fresh-brewed coffee, Gold Peak is the taste that brings you home.
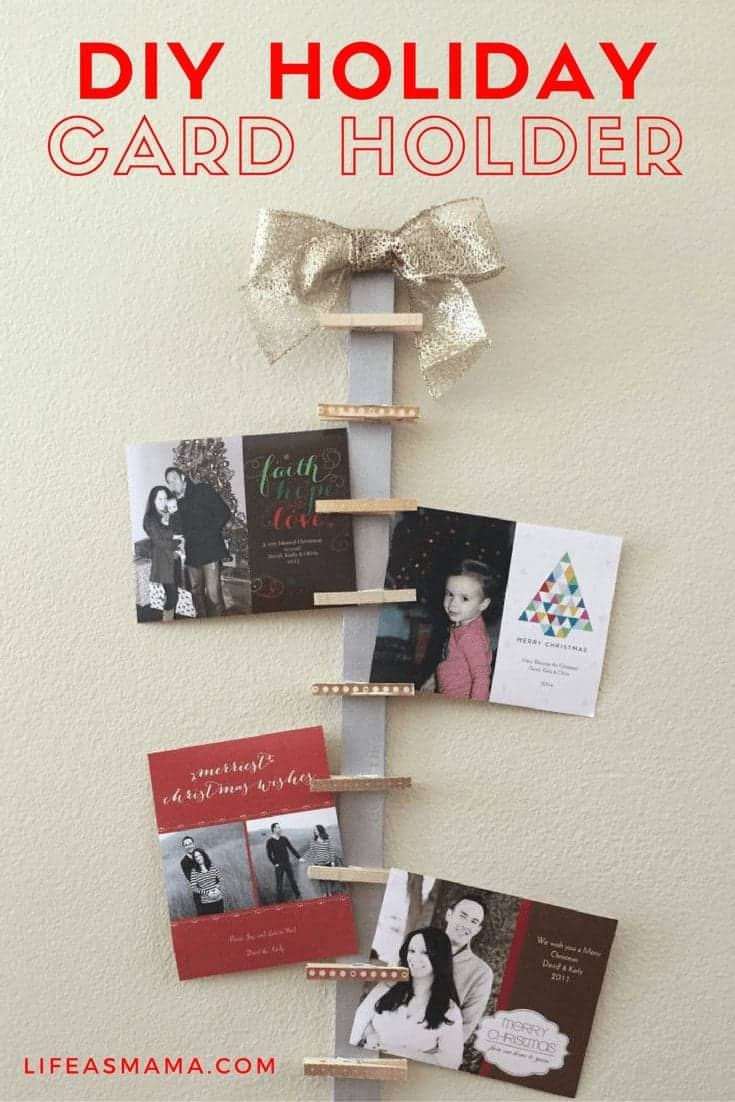
One of the best parts about the holiday season is receiving so many holiday cards with loved ones. I love reading updates on adventures from the year, and especially looking over countless photo cards. Holiday cards quickly become a part of my seasonal decor and it seems there’s never enough room to display them all! This year, I’ve decided to get ahead of the game and came up with a simple DIY Holiday Card Holder that’s both functional, and easily fits in with my home this upcoming holiday season. This craft is perfect to complete with a friend and get in the holiday spirit together! It takes less than 2 hours and $10!
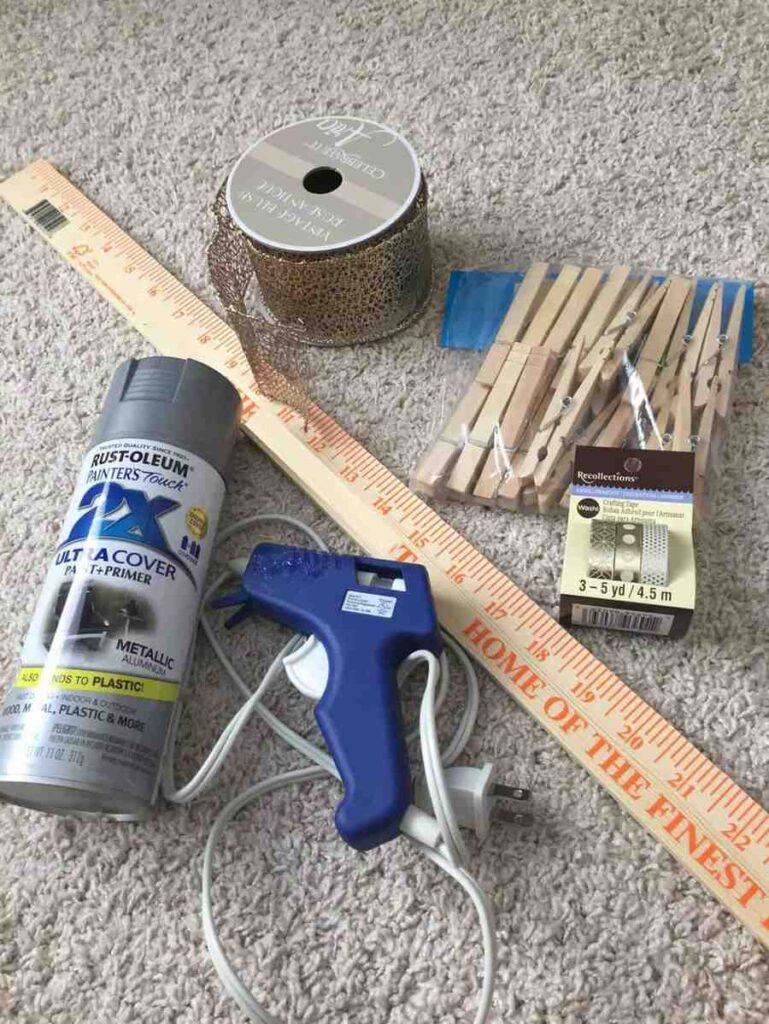
What You’ll Need
Yard Stick (mine was found at a home improvement store for $.98)
Spray paint or craft paint and brush
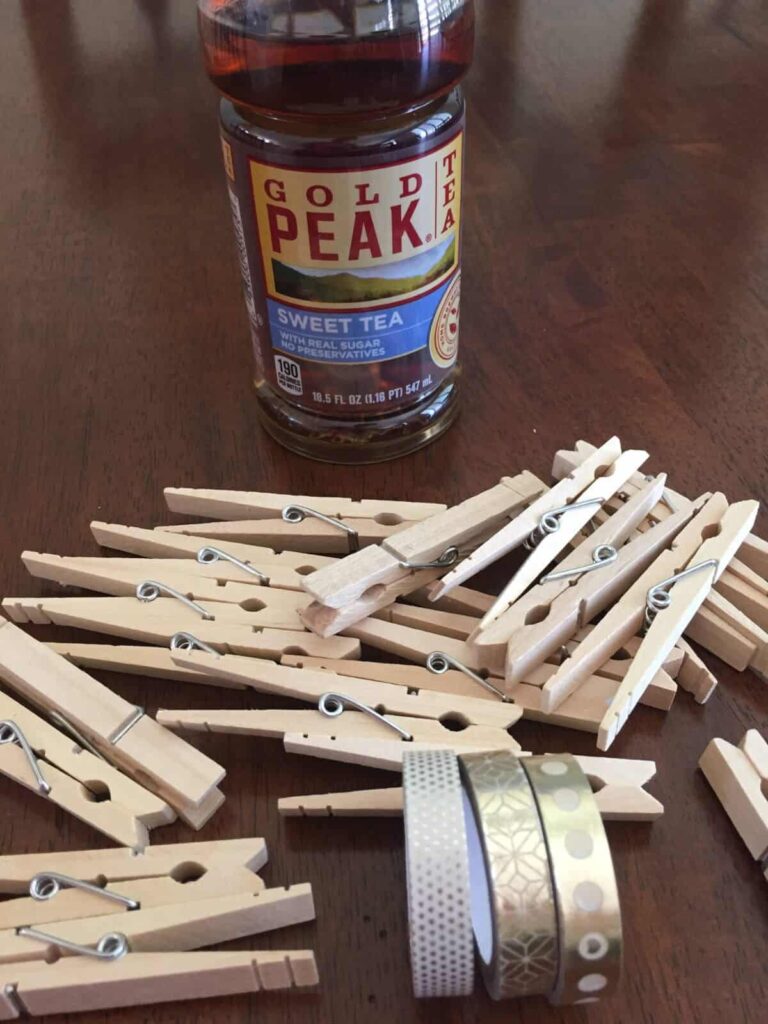
12 Clothes Pins
Washi Tape or craft paint and brush
Ribbon (preferably wired)
Glue gun or craft glue
Scissors
Yarn
Sand Paper
Instructions
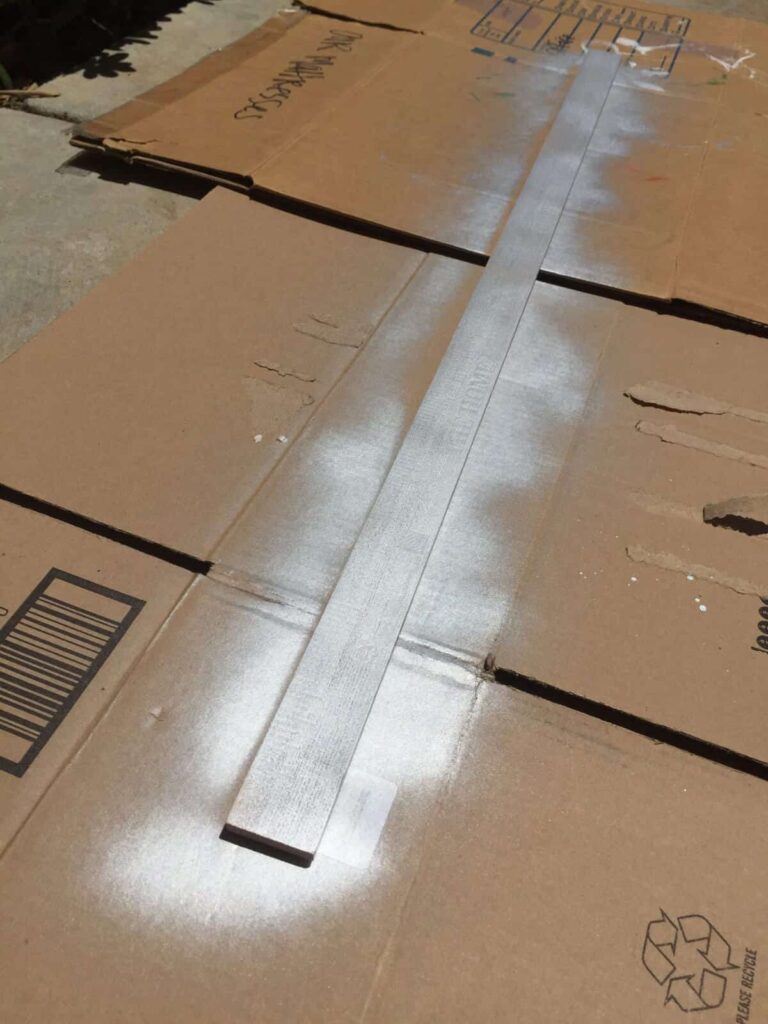
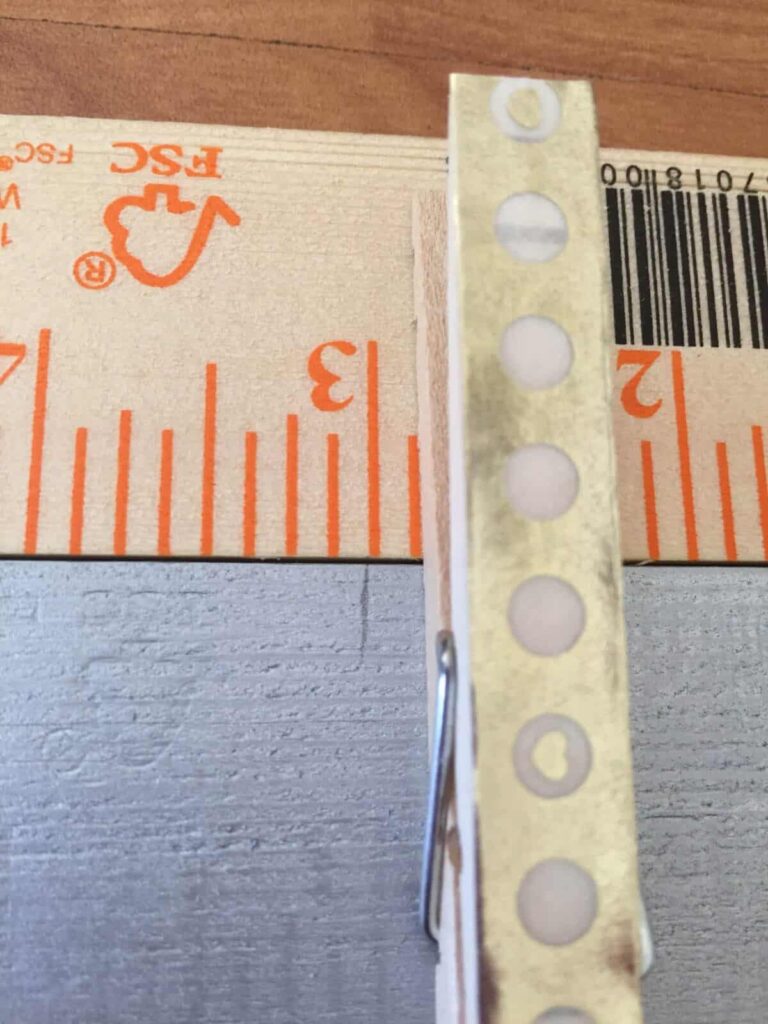
Begin this project by lightly sanding your yard stick. If you’re like me, you found one for less than $1! That being said, there are probably some slivers and rough edges that need a quick sand. This part took me less than 1 minute to do, and now I don’t have to worry about a splinter. You can also find yard sticks in the sewing section of craft stores, and some without all the writing in the wood section there too. However, they are usually 2-3x as expensive!
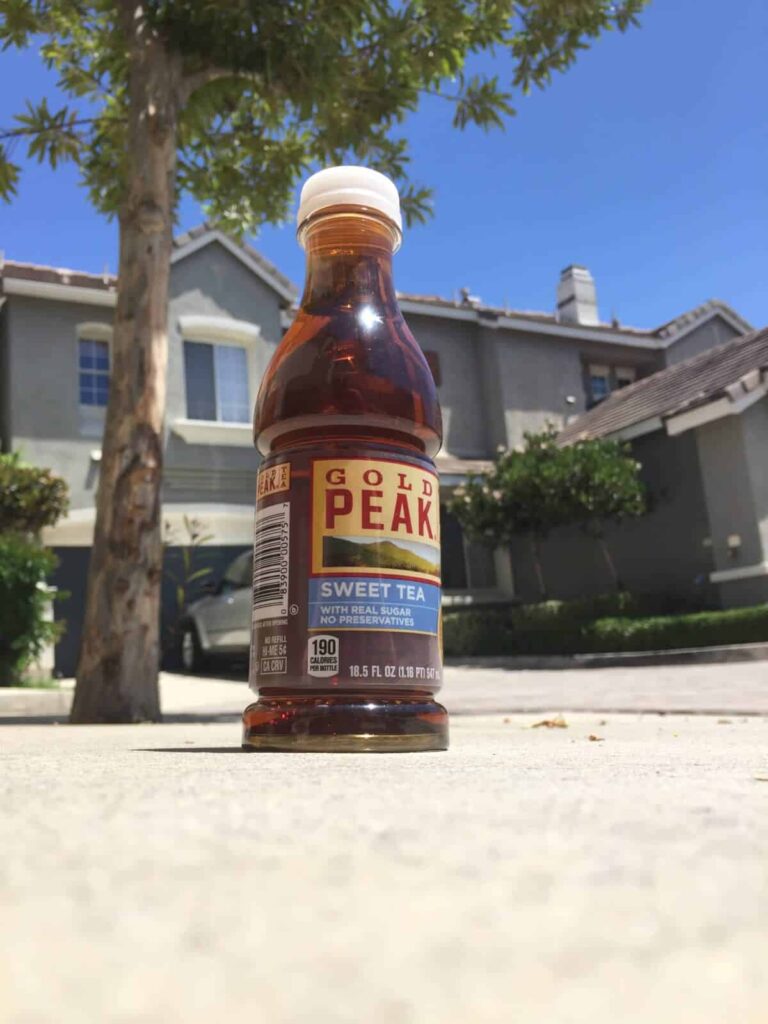
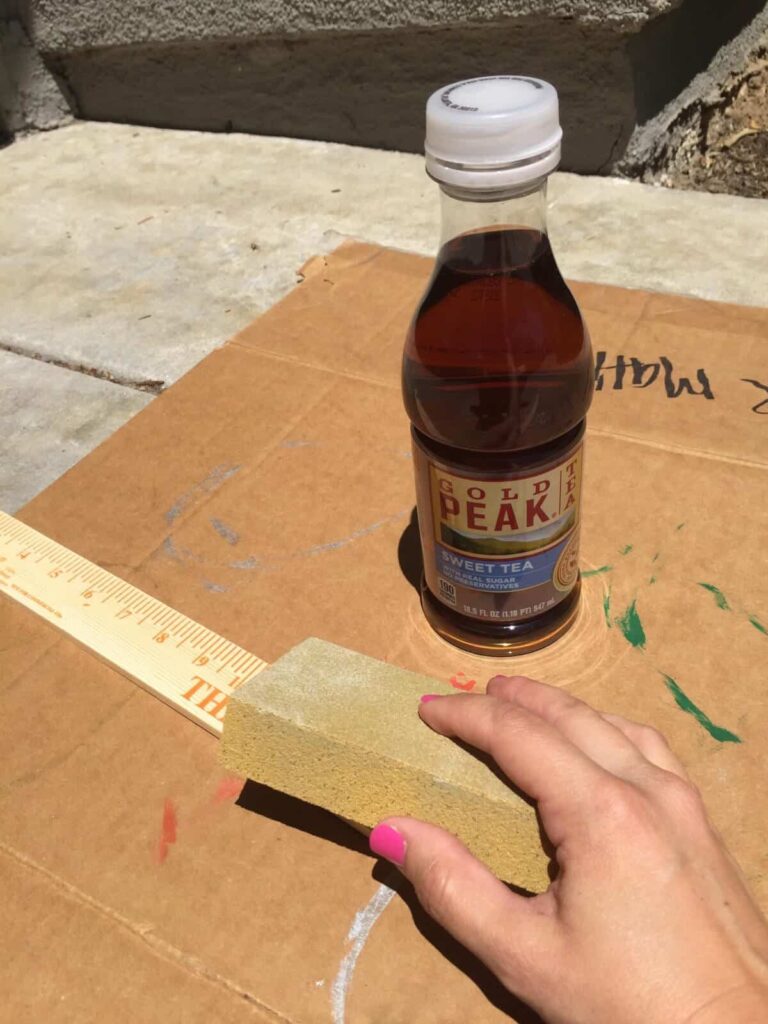
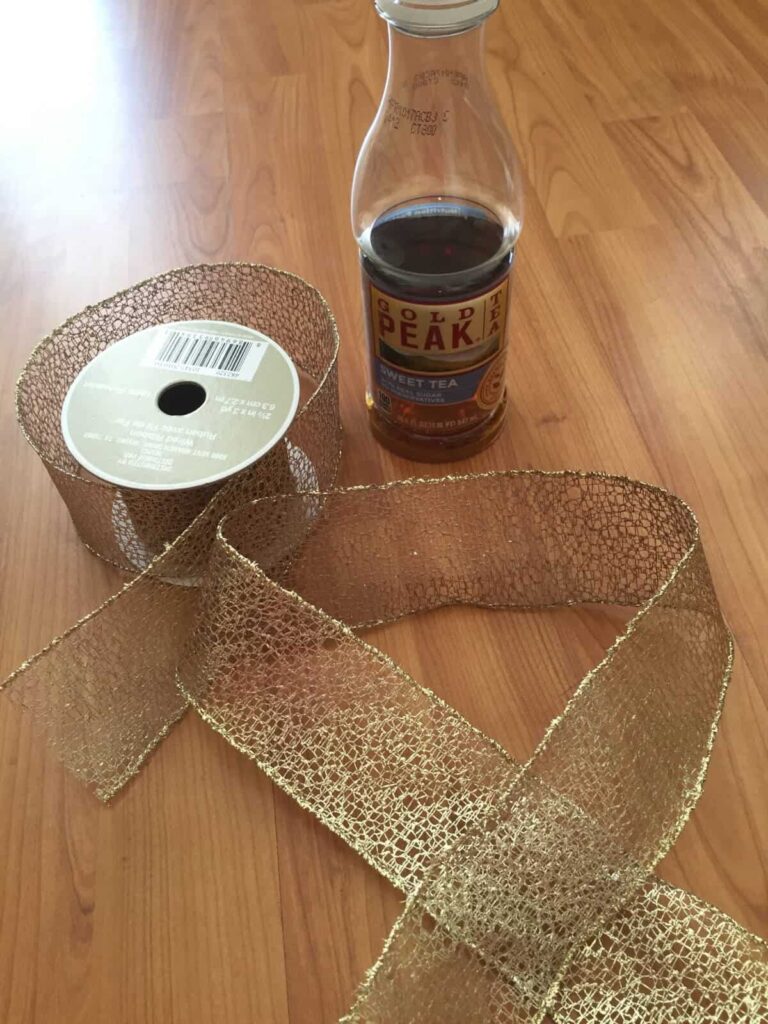
The day I decided to make this card holder, it was HOT outside and all that crafting got me pretty thirsty. You’ll see in many of my photos that I had Gold Peak Tea with me! The Sweet Tea is my favorite!
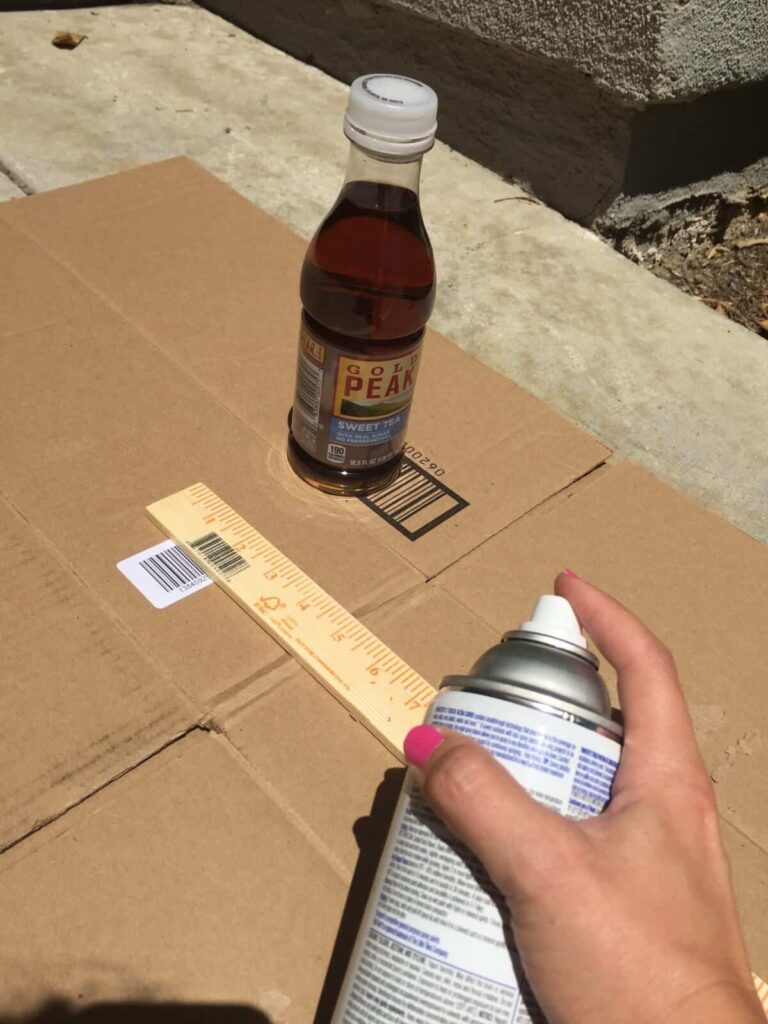
Then, take your yard stick to a well ventilated area (if you’re spray painting) and cover an area with plastic or cardboard. I recommend saving just a few delivery boxes and storing them in the garage- they are perfect for crafts! Start spray painting with quick and short, even strokes. If you’ve never used spray paint before, you will quickly notice how easy it is to get over concentrated and runny areas from focusing too long in one spot. Short and quick is the key. Depending on the color you choose to paint, you may need a primer, or several coats. I personally use a duo paint, with primer and paint together and it was less than $5. You can also paint your yard stick with acrylic craft paint as well, it just may take a little longer.
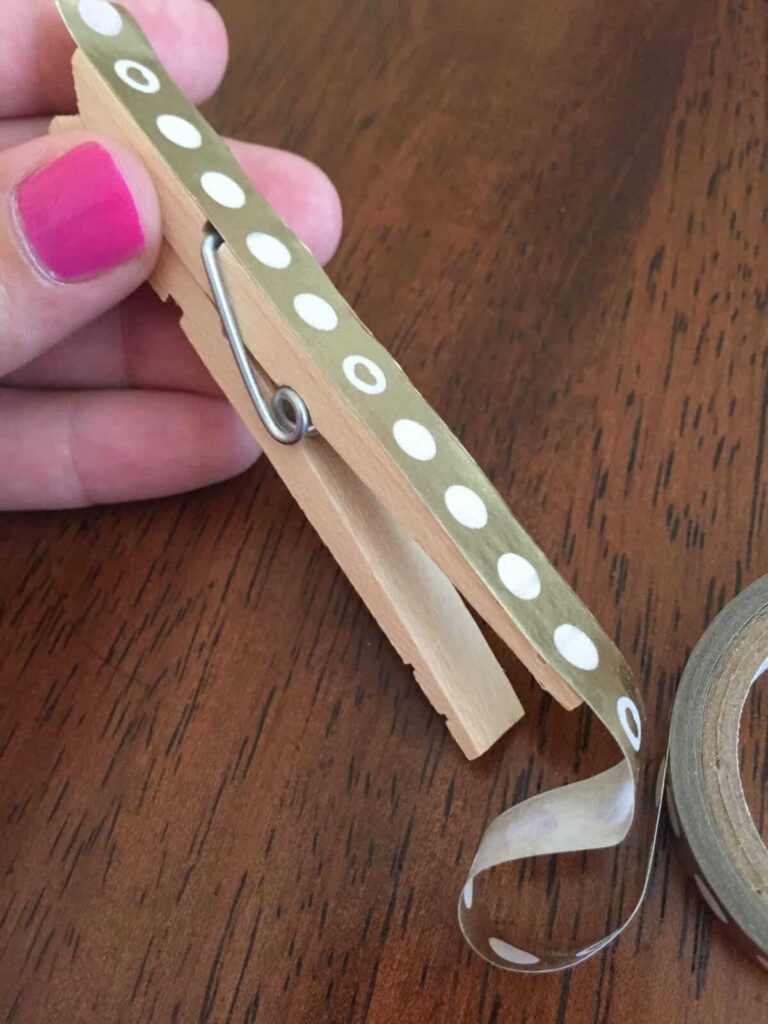
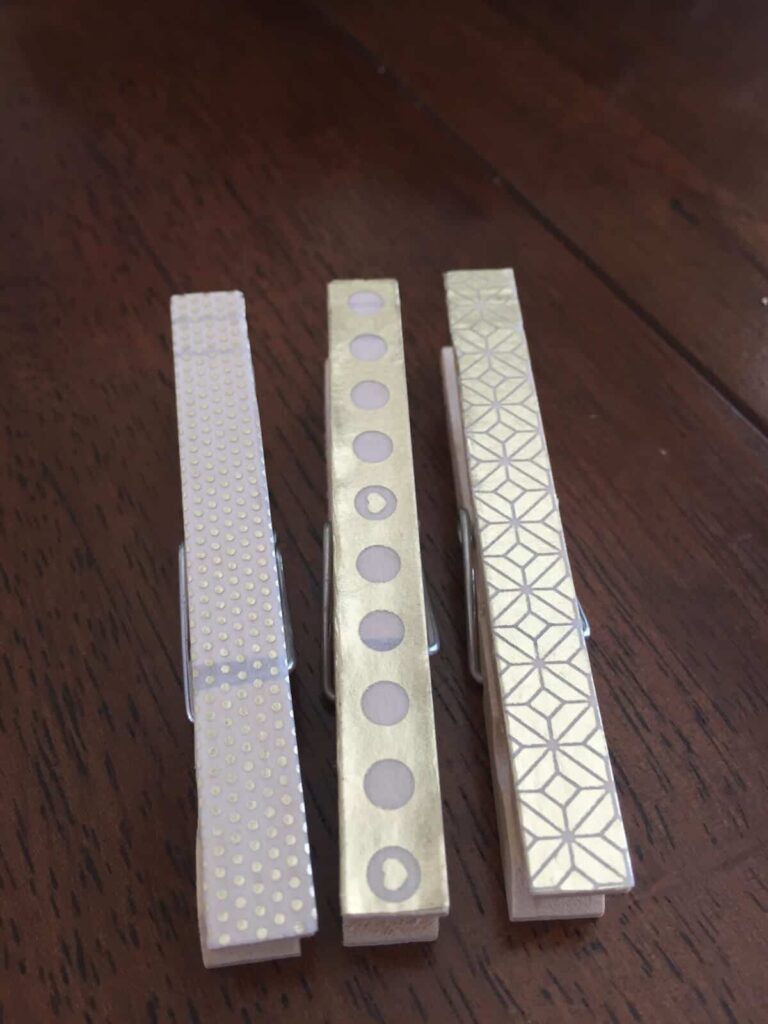
While your yard stick is drying, head inside to start working on your clothes pins. I decided to use washi tape, but have also painted them in the past and they look great as well. This time I wanted to try something different and use washi tape because of the variety of patterns, and the fact that my holiday decor is mostly silvers and golds. Being so neutral, I felt the added look of washi tape would look great.
Washi tape is SUPER simple to apply, and reapply if you mess up. It’s very lightweight tape that’s great for crafting. Simply line up your tape and lay down along the top of your clothes pin. Then just cut off at the end. When purchasing washi tape, be careful to buy the thinner width size. It comes in a variety of sizes, but unless you want to be cutting both the length and width down, I suggest matching your tape to the size of your clothes pin.
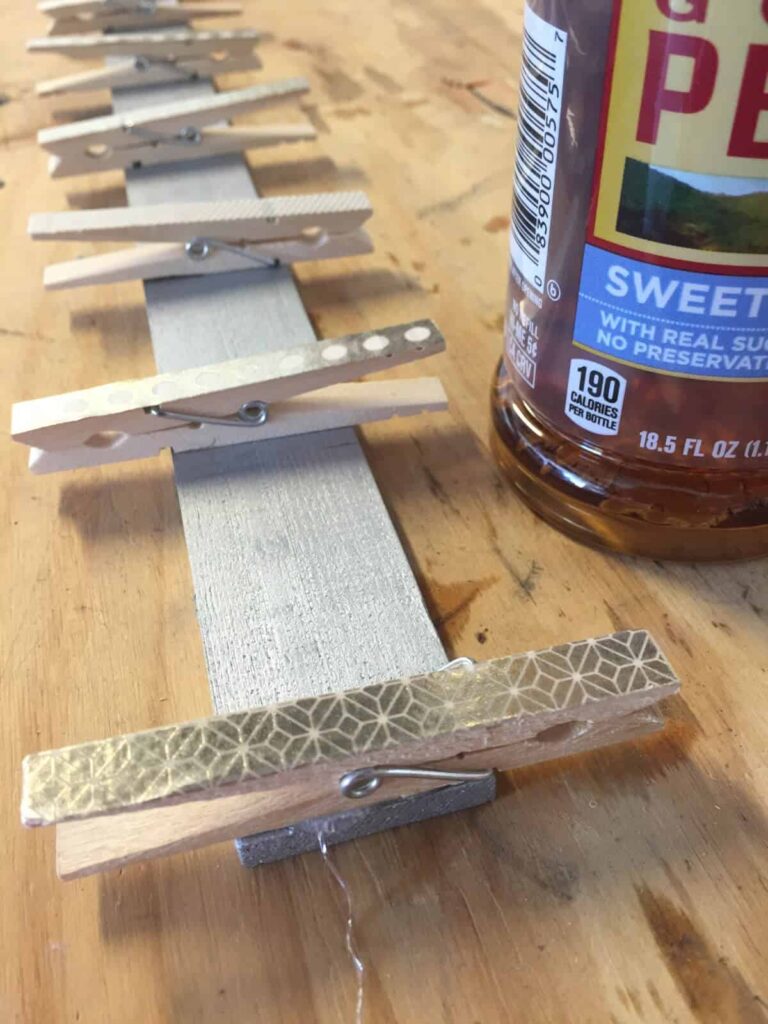
You will need about 12 clothes pins per yard stick, and feel free to alternate tape or paint colors as you go.
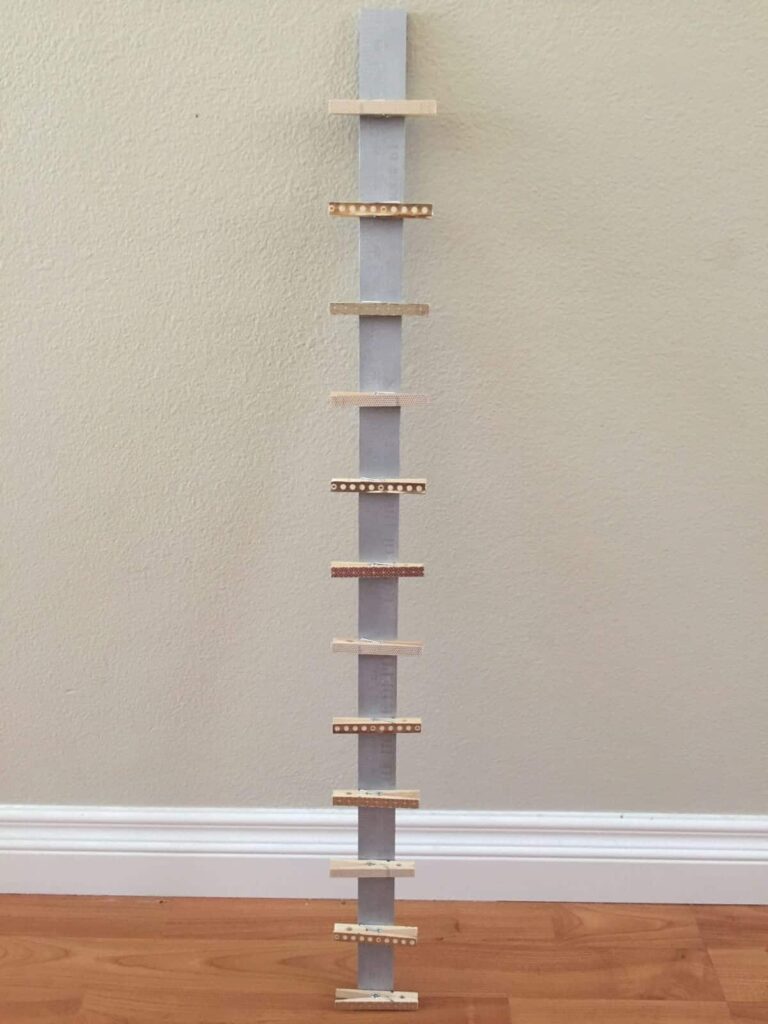
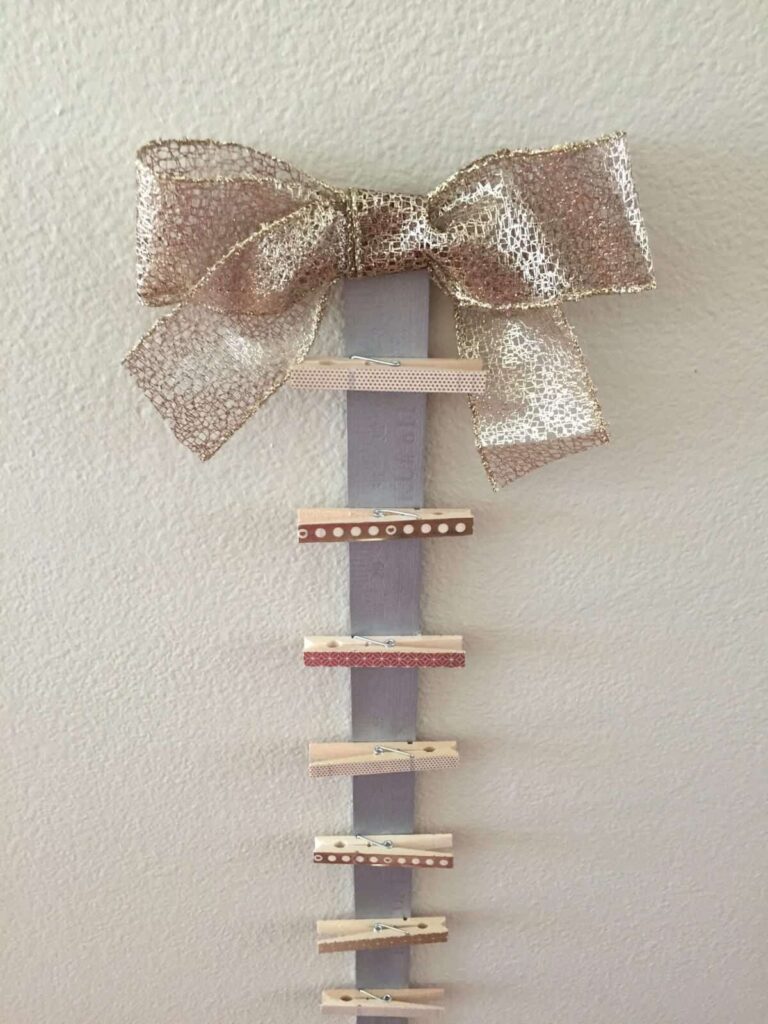
Once your clothes pins are complete, you can grab your yardstick- it should be dry by now. Lay down all your pins in the order and space evenly. I personally started by putting one at the very bottom, and then spacing each of them 3 inches apart. This gave me about 3 inches left at the top, a perfect space to contain a bow. I did a test run, and this spacing had plenty of room to accommodate even large photo cards. You can space them closer together, but it may be difficult to actually fit the cards properly. Make small markings with a pencil and then remove pins.
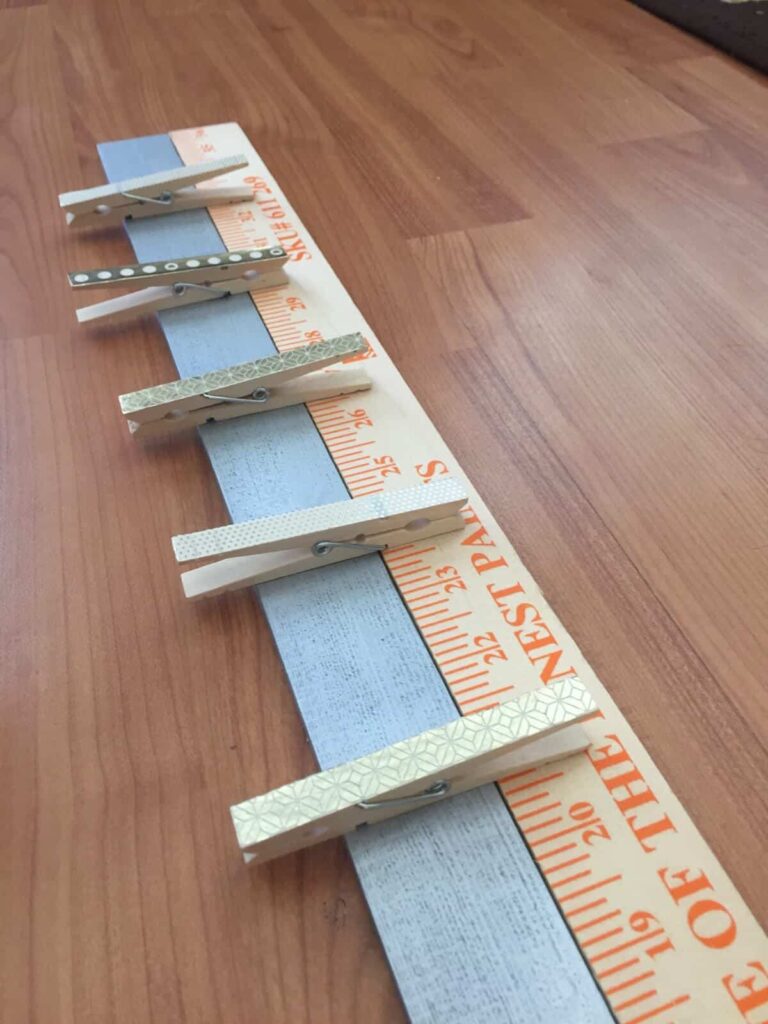
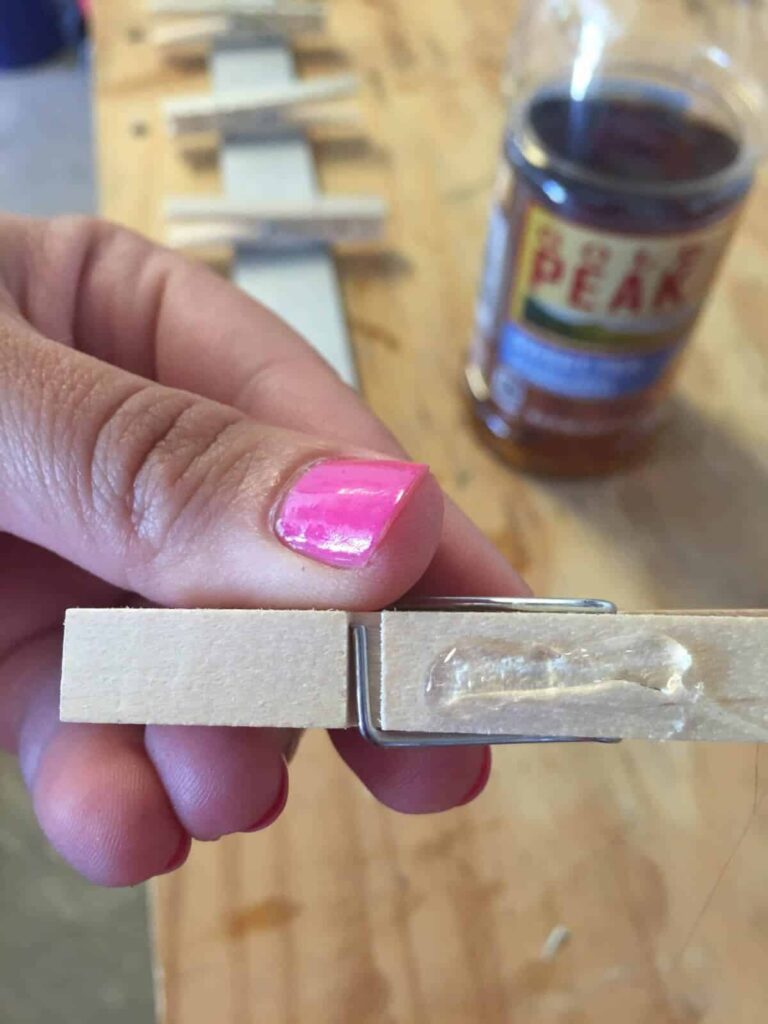
Plug in your glue gun, or grab your craft glue and begin putting a small amount of glue on each clothes pin, and centering it along the yard stick as you set down. Be sure to alternate the way your clothes pin open, so that you can place cards on both the left and right side of the yard stick!
Once dry, you’ll have the makings of a nifty card holder.
Your final step is to make a bow to place on top. Roll out about 30-36 inches of ribbon and cut off.
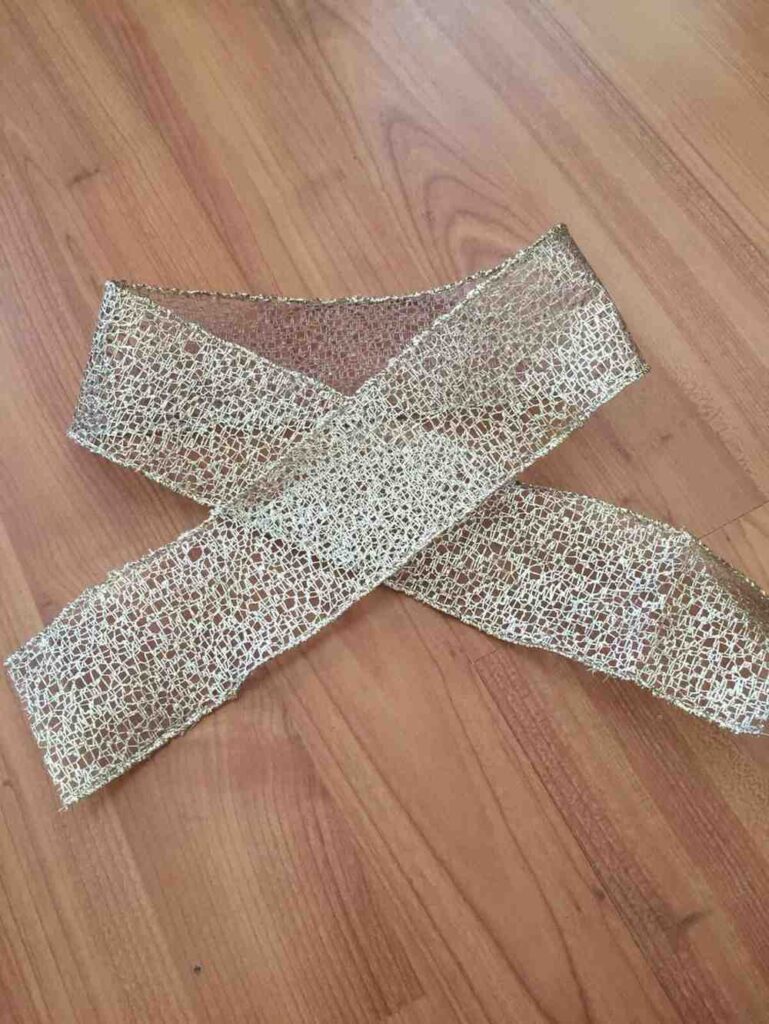
Lay the ribbon flat and then cross the ends over each other, making sure everything is even.
Take a small piece of yarn and loop it around the area where the ribbon crosses in the middle. Before tying a knot, make sure all the pieces are flat, and form a bow. (don’t mind my bizarro looking nail in this picture- it’s two fingers on top of each other!)
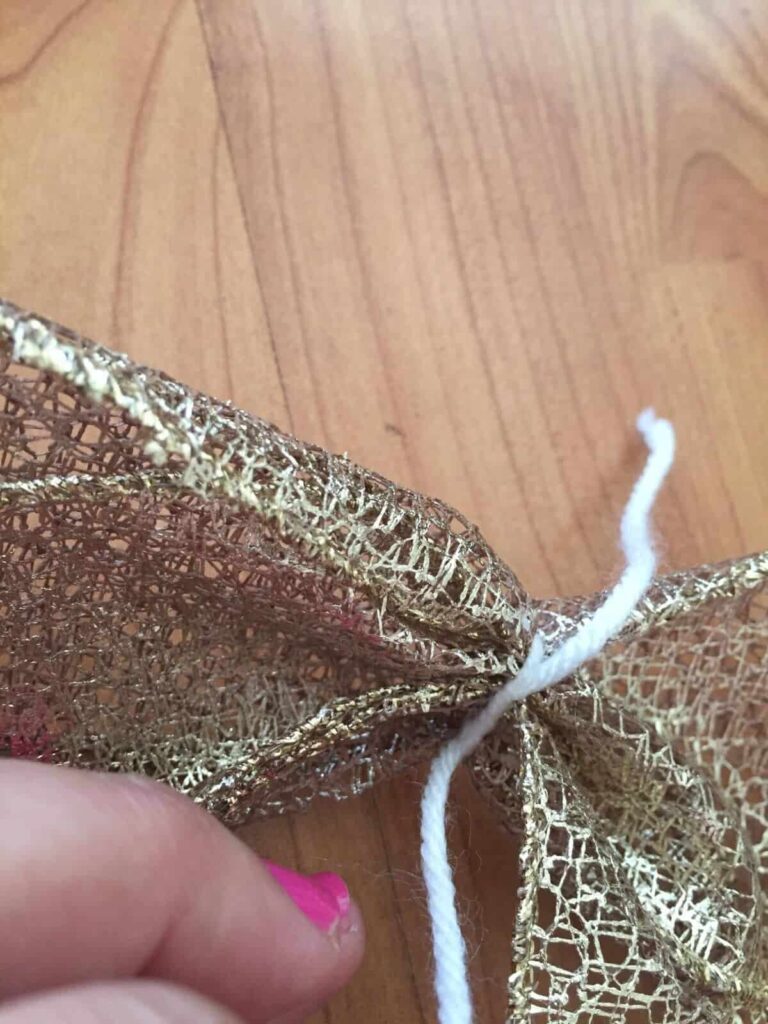
If you’re happy with your bow, snip off the excess yarn and even the two tails of the bow. If not, you can untie and redo until you get the look and size of the bow you want.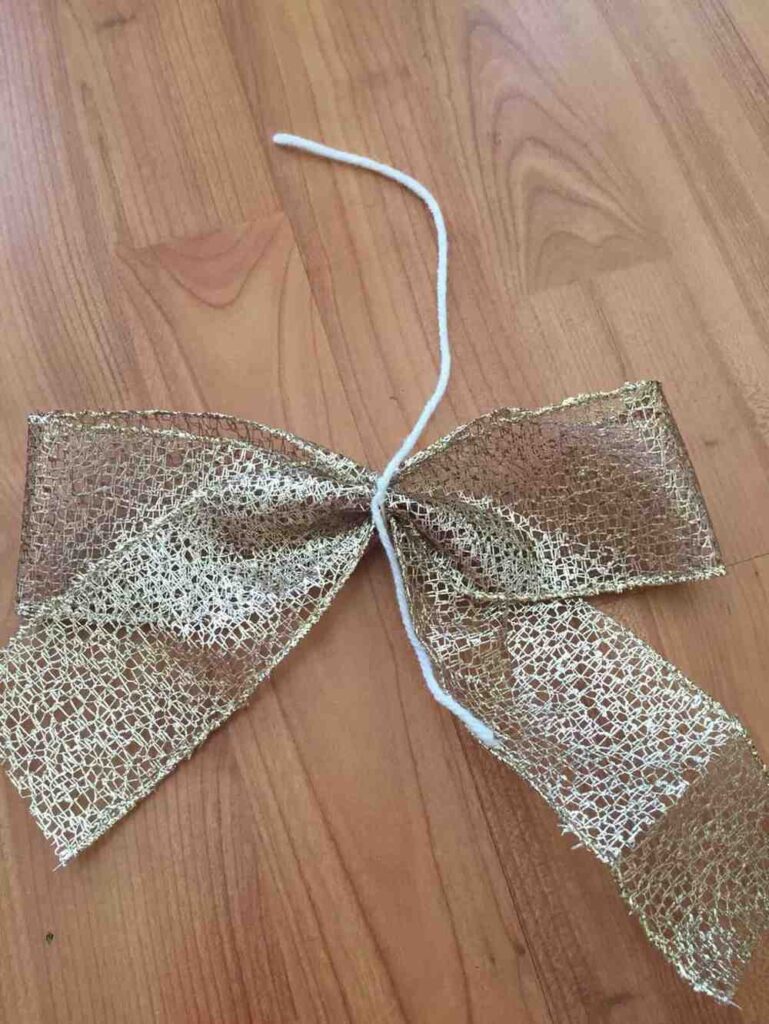
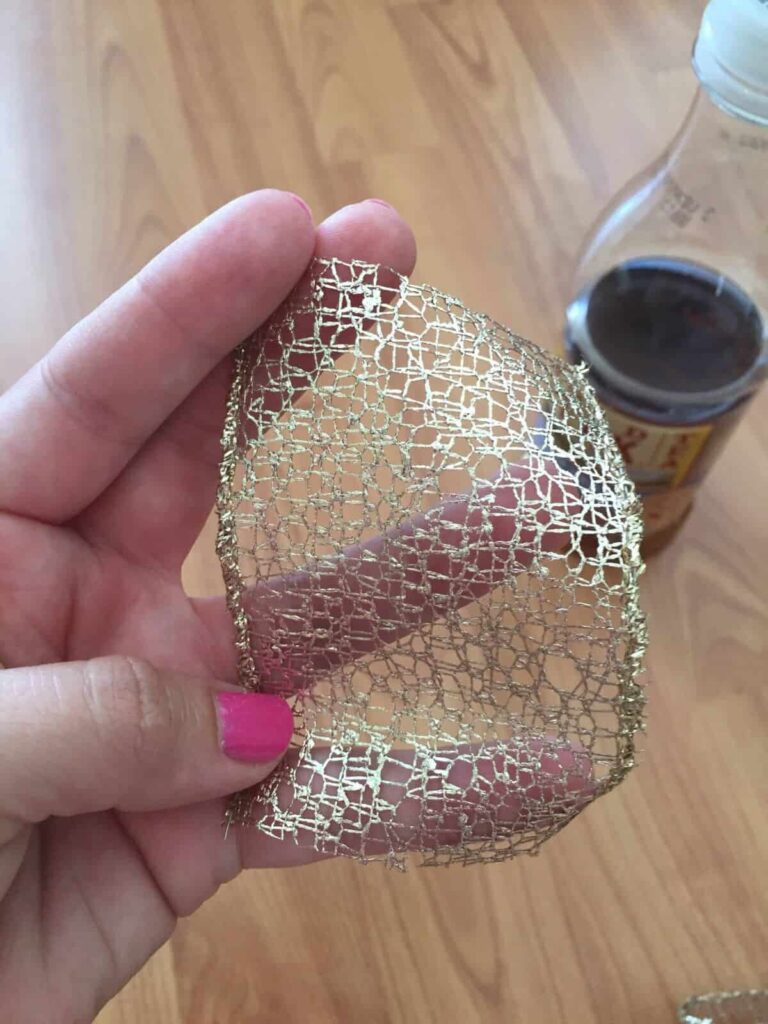
Cut one small rectangle from your roll of ribbon. This will be used to cover up the yarn and create a finished look to your bow.
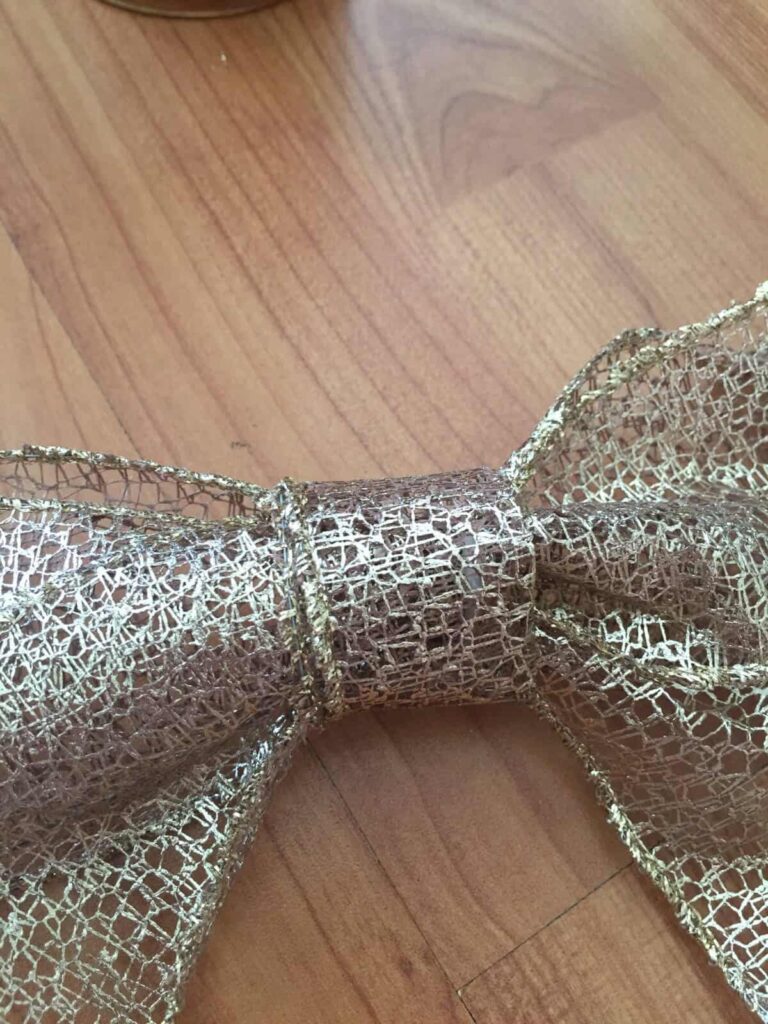
Wrap the rectangle around the bow, concealing the yarn. I forgot how see-through my ribbon was, and how white my yarn was! I folded my ribbon in half and then wrapped it around so it would fully cover the yarn.
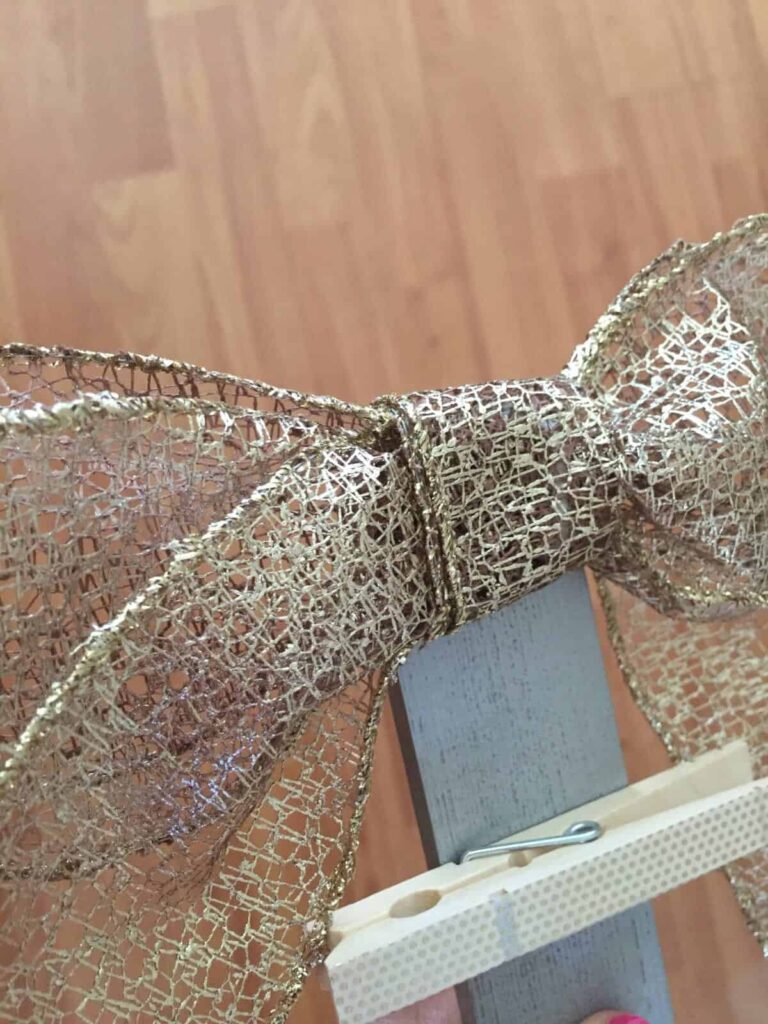
Head back to your glue gun and put a small amount of glue on the back of your rectangle and hold down to secure.
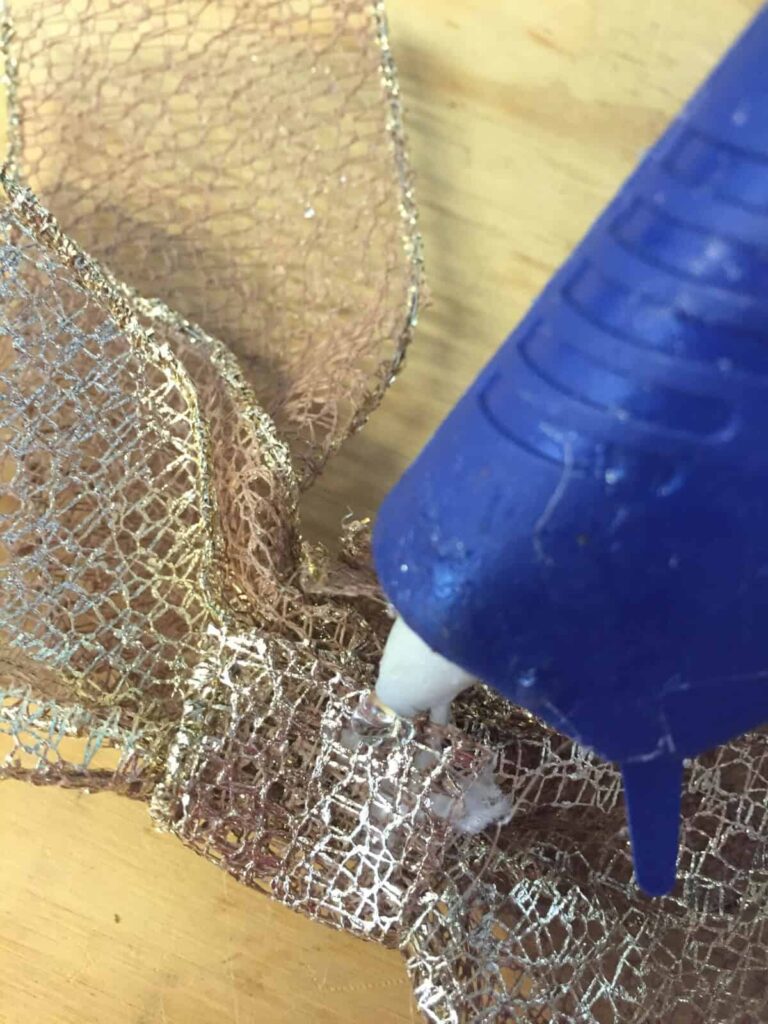
Then do one final spot of glue on the top of your yard stick, and hold down your bow.
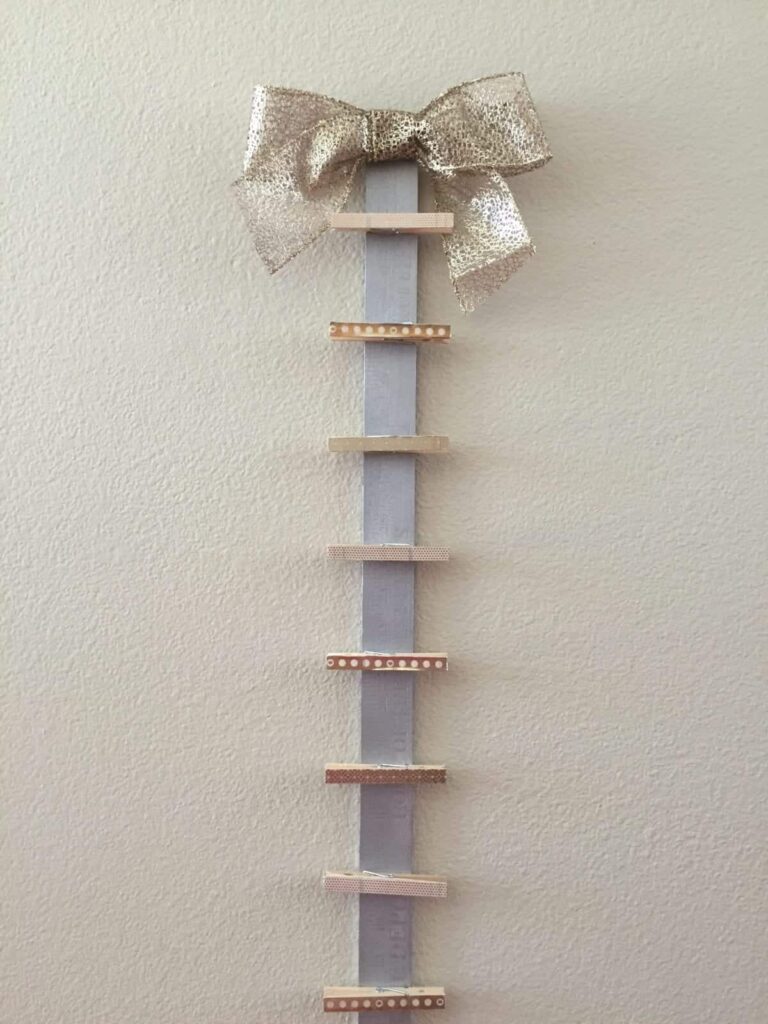
By now you’ve got a pretty adorable holiday card holder!
This holder is super light weight and can be easily hung by gluing a small piece of ribbon or yarn to the back, and hanging from a nail or removable hook. It can also be hung with simple poster tape that’s easily removed once the holidays are over.
As you can see, any markings that may show through your paint (because they are grooved into the wood, not just painted) are covered once you start adding cards. Not to mention, you’ll be aiming all your focus on celebrating family and friends during this holiday season anyways!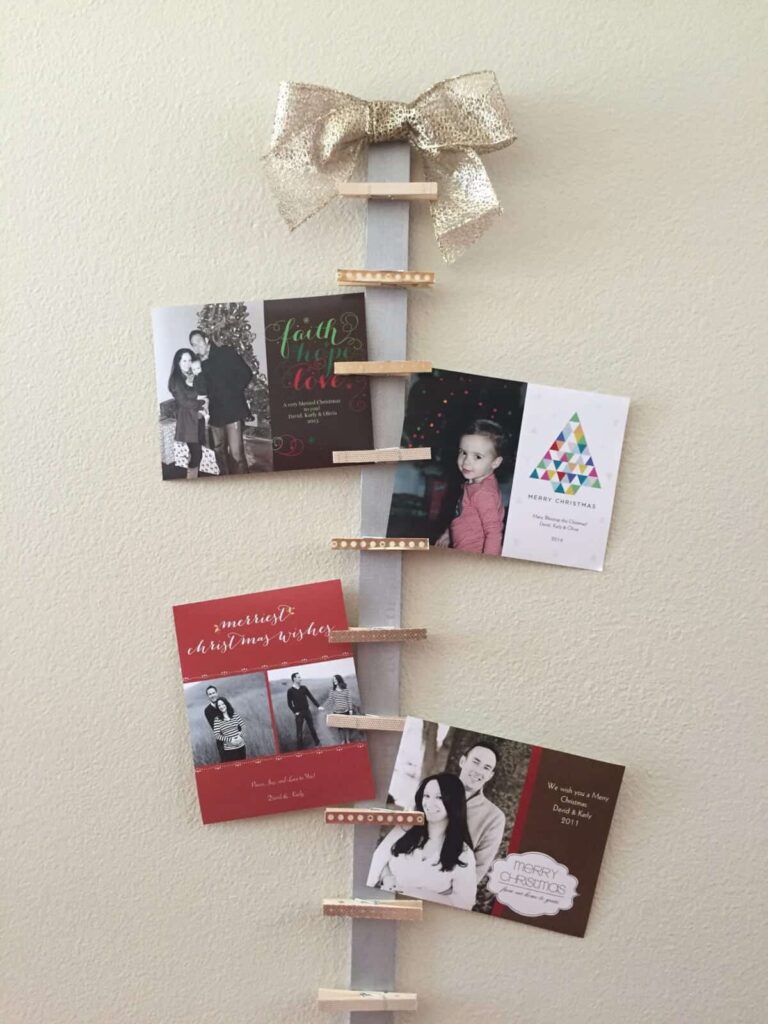

This post was sponsored by Gold Peak Tea.
Related Images:

Karly Wood
Latest posts by Karly Wood (see all)
- Summer Chore Charts To Keep The Kids Busy - July 9, 2026
- 8 Family-Friendly Vegetarian Dinner Recipes - May 21, 2026
- 15 Wonderful White Kitchens to Inspire Your Dream Home Design - January 14, 2019