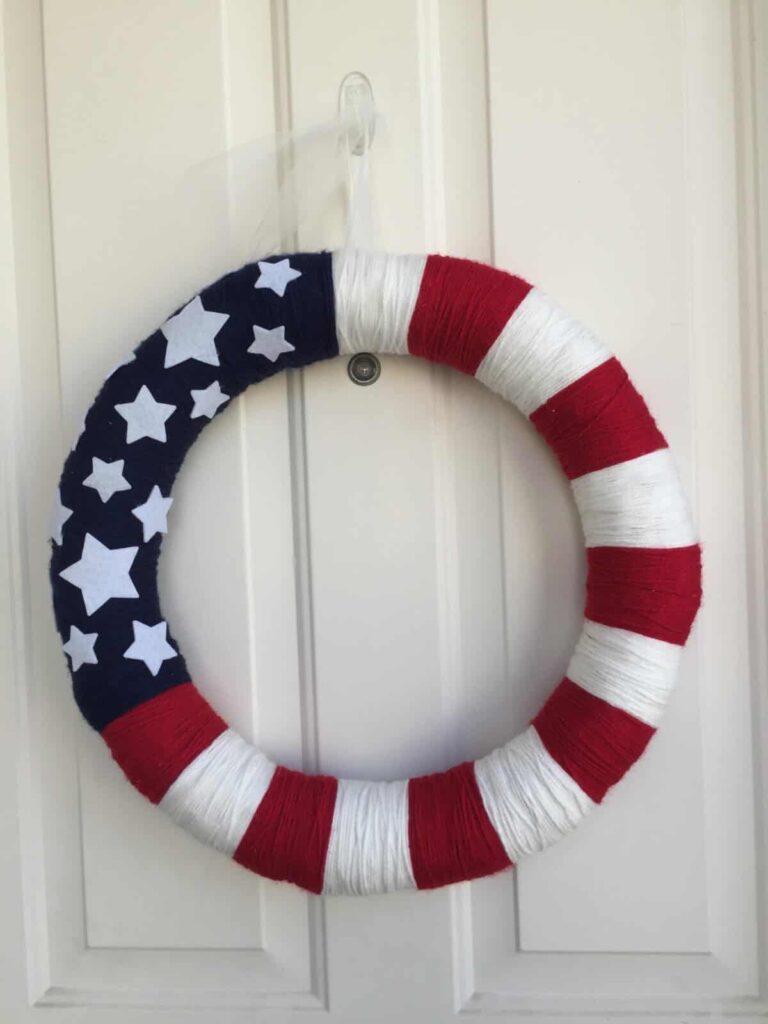
I really enjoy decorating my home with the various seasons. Most of the time I just stick to the big holidays like Thanksgiving and Christmas, but I’ve realized that much of my home is “boring” the rest of the year. An easy way to celebrate different holidays is to simply put a personalized wreath on your front door! I love to craft any chance I get, so this time of year I decided to make a patriotic themed wreath, that will adorn my door for both Memorial Day and the 4th of July. Sure, you can buy one at a craft store, but it’s always fun to make a completely unique one, and use your creativity at the same time.
I’ve never made a yarn wreath before and it was surprisingly easy. Seeing as how this was my first time, and I managed to make a tutorial, I’m sure you can do it too!
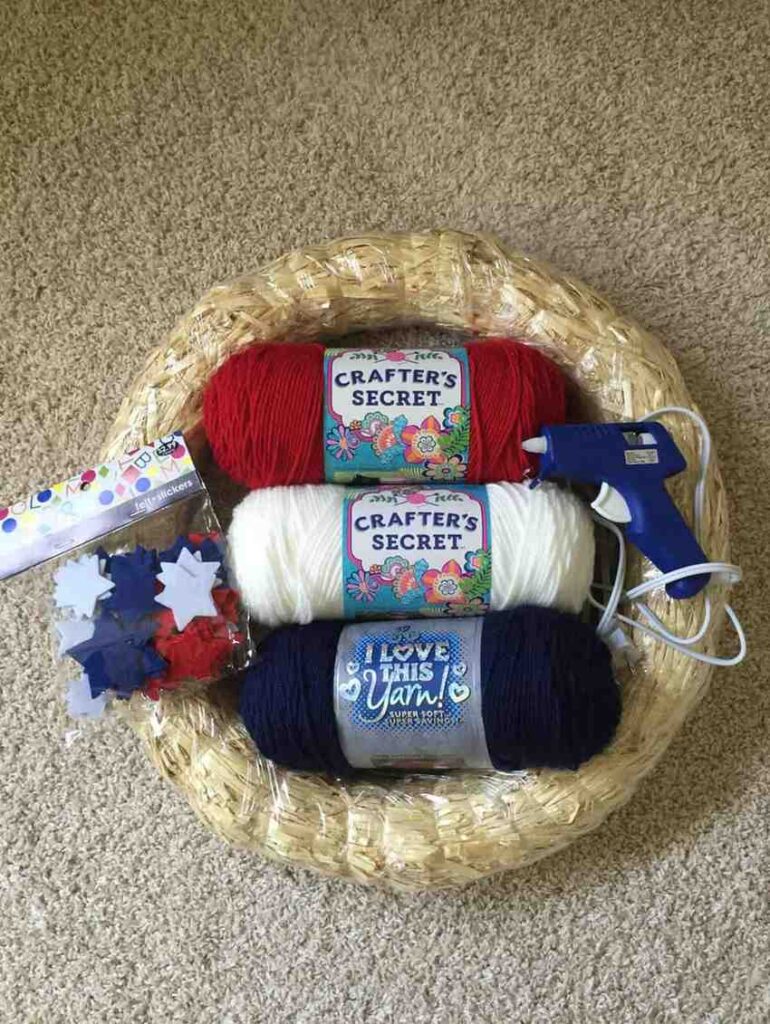
What You’ll Need
Wreath Frame- I used an 18” straw wreath because they are thick and inexpensive (you can do a smaller size too!)
Red, White & Blue Yarn
Stars- you can make your own, purchase felt ones, or paint wooden ones
Hot Glue Gun
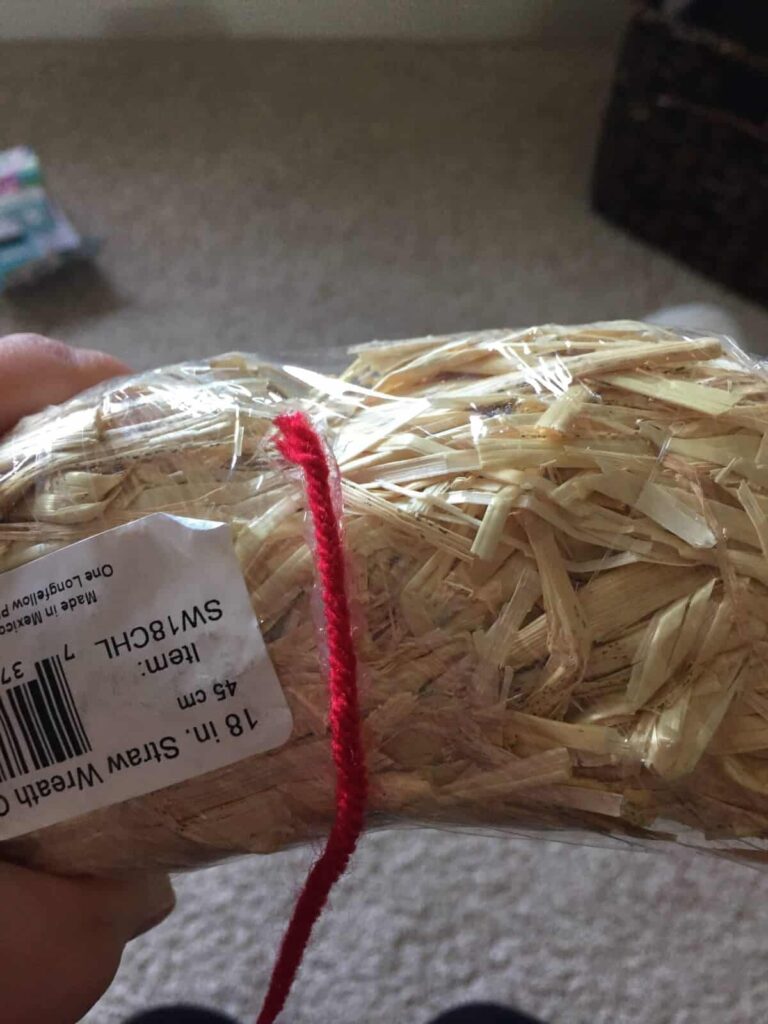
If you use a straw wreath frame, DO NOT take the plastic wrap off. If you do, straw goes everywhere and will be difficult to wrap your yarn around. To start out, hot glue one end of your yarn to the backside of your wreath. Once it’s dry, begin passing the yarn ball around the wreath to wrap it. You don’t have to be perfect! You can double up in some areas that develop gaps and can also push down the straw that pokes out.
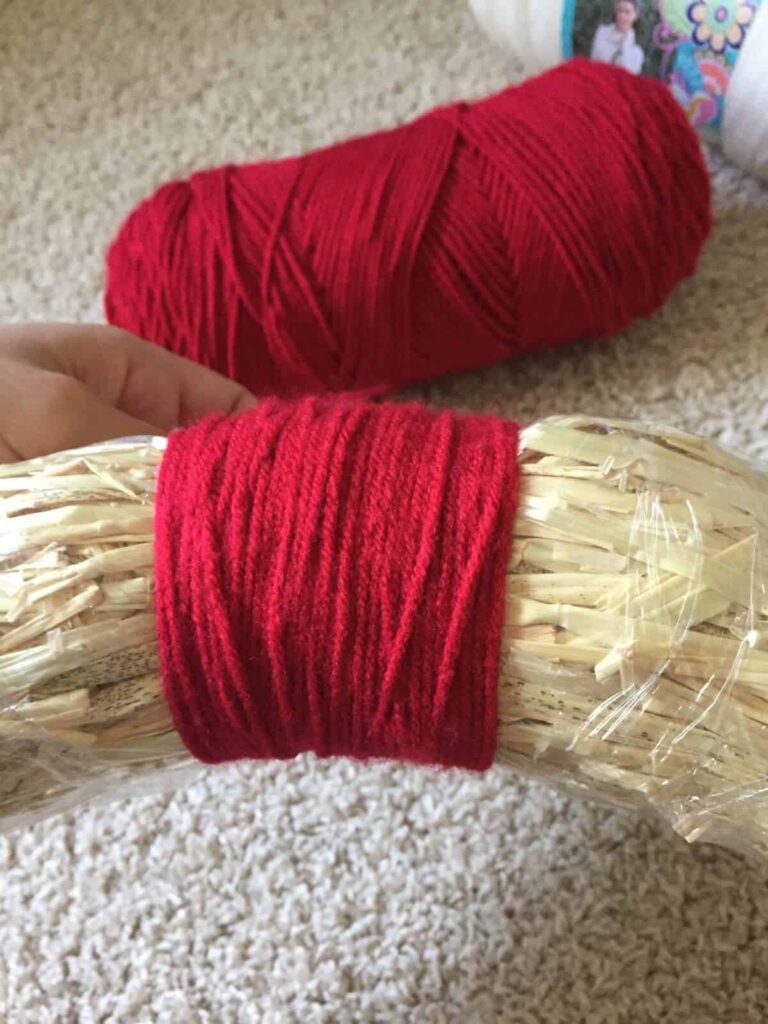
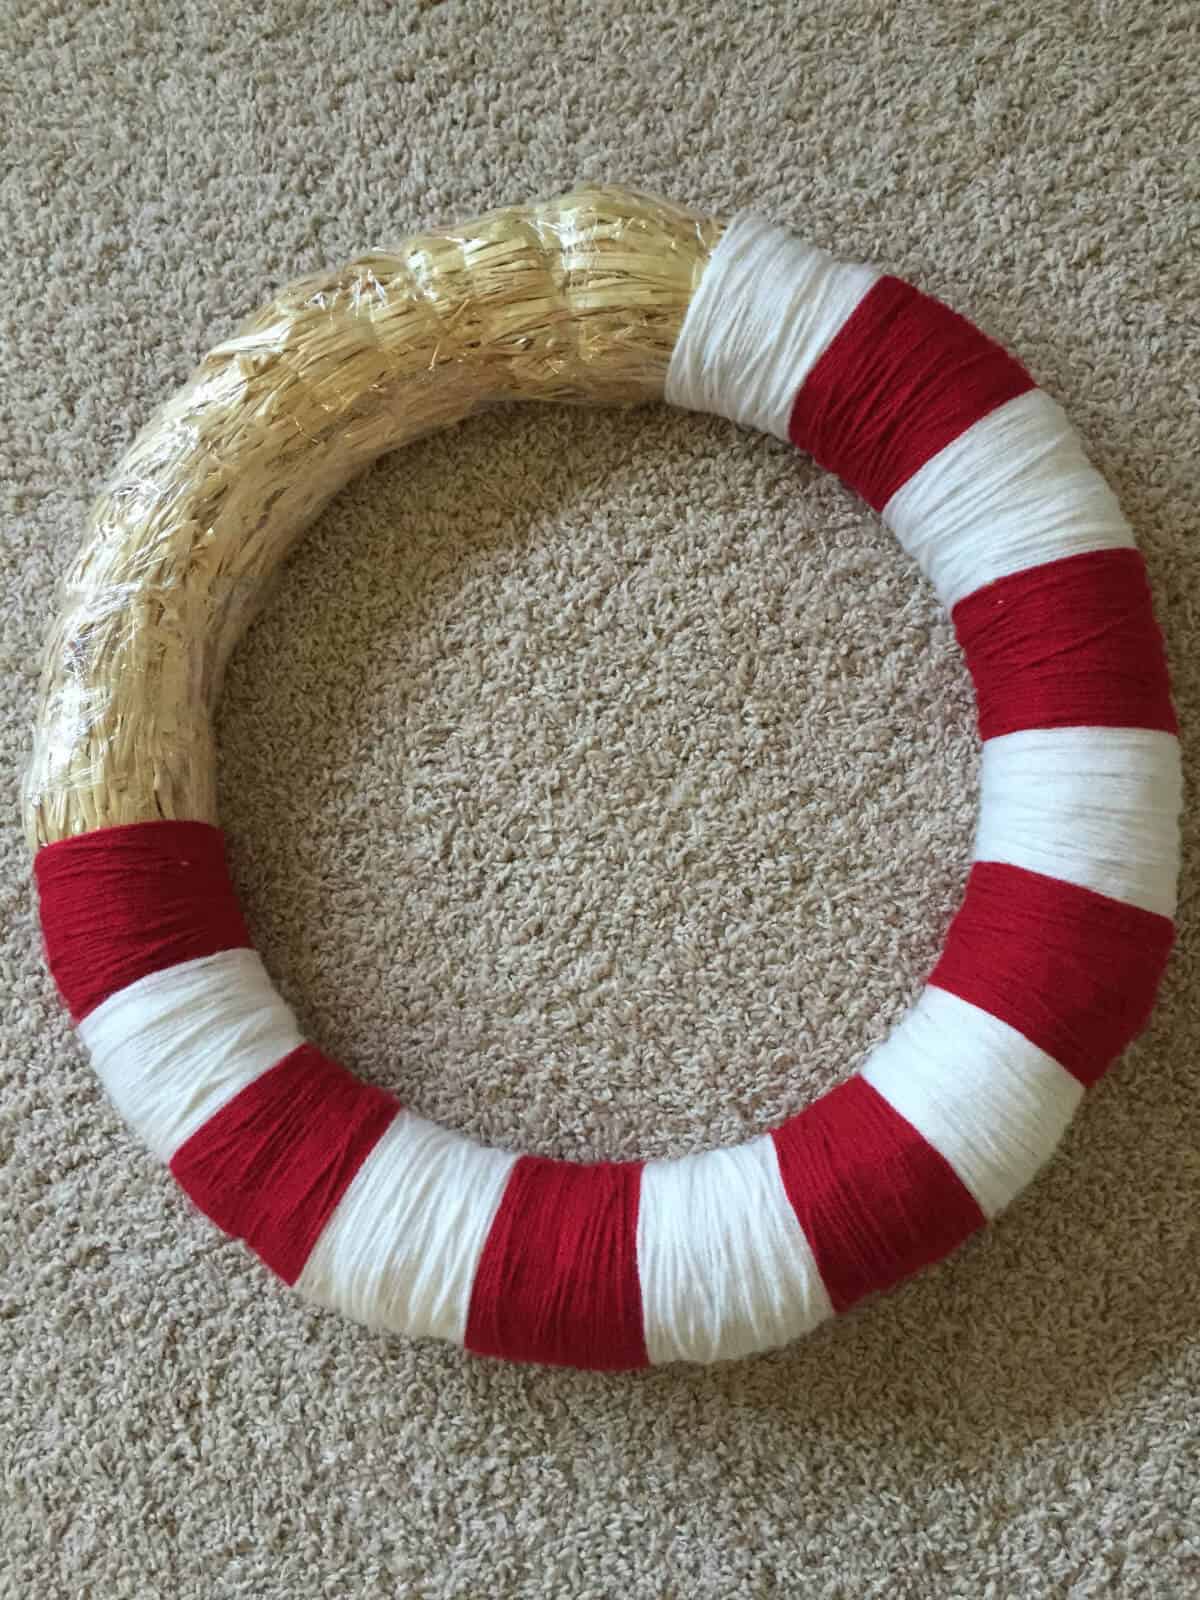
I did about 2 inch sections of each color. I mostly eye balled it, and then just did a quick measuring job to make sure I wasn’t making disproportionate “stripes.” You can see in this picture below that I don’t have one smooth row of yarn, it’s more “bunchy” and I went for that look on purpose.
Once you have your first stripe down, you will wrap the yarn to the back of the wreath and hot glue the end piece down. Then just put another drop of hot glue, and glue the beginning piece of your next color down right next to the previous piece. Then wrap, wrap wrap!

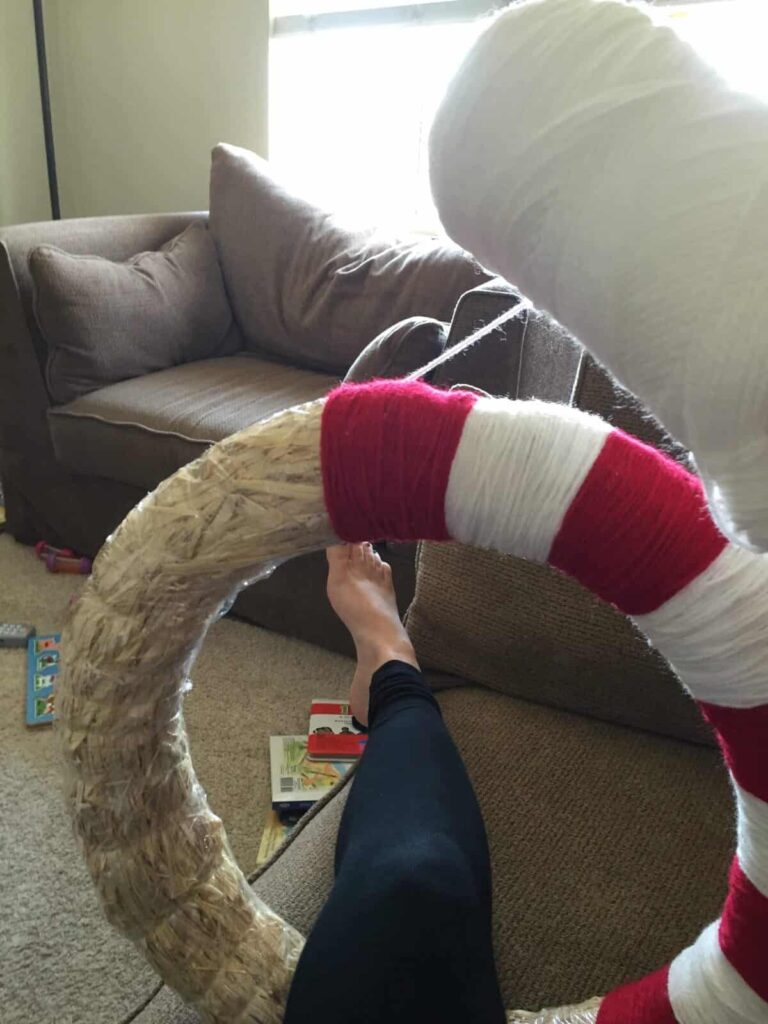
Now, depending on how big your wreath is, holding it while wrapping can get pretty awkward. I found that if I sat down and put my leg through the wreath and held it down, that it was easy to prop up and wind my yard around. Allow me to demonstrate.
You will alternate your stripes until you have covered about 2/3rds of your wreath. Some people get super detailed and make it so the wreath has 13 stripes, just like our American flag. But I needed to fill more space so I didn’t have too much blue so I have more stripes.
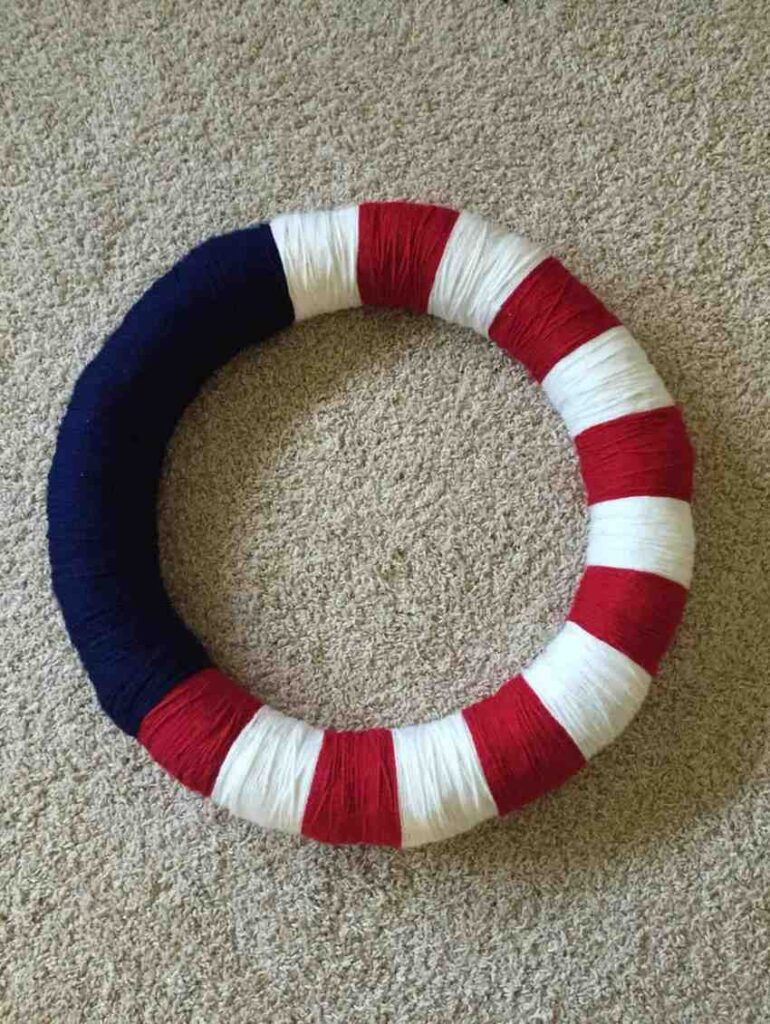
 You’re on the home stretch! Now all you need to do is wrap your blue section!
Your final step is to glue on your stars. I doubt 50 of them will fit, so just apply as many as you artistically desire. I used felt stars that came in a multipack. As I suspected, the felt didn’t stick down to well if I had it on a curved area, so I had to hot glue down some of the corners. After a while I noticed the starts were still lifting off the yarn, because the “hair” on the yarn pulls off easily, leaving nothing for the star to stick to. I whipped out some Tacky Glue and that seems to have finally done the trick. Last step is to hang this beauty up!
This was a relatively inexpensive craft, and ended up costing me about $16. I had a coupon for the wreath, and the felt stars and yarn were $2.99 a piece. I also have tons of yarn left over, and quite a few stars as well. Plenty for my next craft!

Karly Wood
Latest posts by Karly Wood (see all)
- Summer Chore Charts To Keep The Kids Busy - July 9, 2026
- 8 Family-Friendly Vegetarian Dinner Recipes - May 21, 2026
- 15 Wonderful White Kitchens to Inspire Your Dream Home Design - January 14, 2019
Related Images:
Karly Wood
Latest posts by Karly Wood (see all)
- Summer Chore Charts To Keep The Kids Busy - July 9, 2026
- 8 Family-Friendly Vegetarian Dinner Recipes - May 21, 2026
- 15 Wonderful White Kitchens to Inspire Your Dream Home Design - January 14, 2019