I feel like I am never done with buying things for my house. Once I finally feel like I have everything I need, something either breaks or I have a new need that prompts me to require a new piece of furniture. My most recent scenario involves my daughters playroom and the lack of organization for all of her books. For awhile, I was able to just buy fabric bin after fabric bin at Home Goods, and throw everything in those. But now her toys are getting bigger so they don’t fit and her collection of books is growing. Now, before you say “Just get rid of some of her books” I will stop you and say that we love reading in my house! I will continue to encourage her to love books, no matter how large her collection.
That being said, her reading corner is a bit ugly:
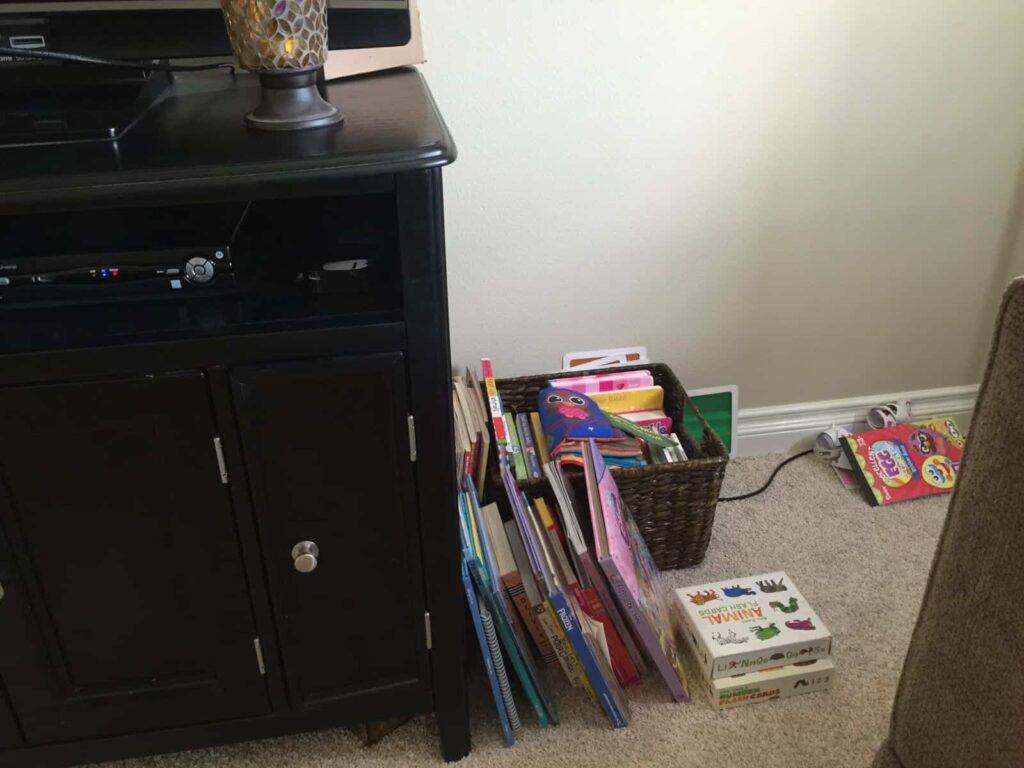
Not only does this section of her playroom house books, but flash cards, coloring and sticker books. It’s clearly a mess. I’ve been looking for a small bookshelf to put in the corner for some time, but haven’t found anything that’s small and inexpensive. I’m not about to drop several hundred dollars on a kid bookcase!
So, like most people I visited my dear friend Pinterest and decided to make a wood crate bookcase! Check out the tutorial below on this easy craft that will be a welcome addition in your home.
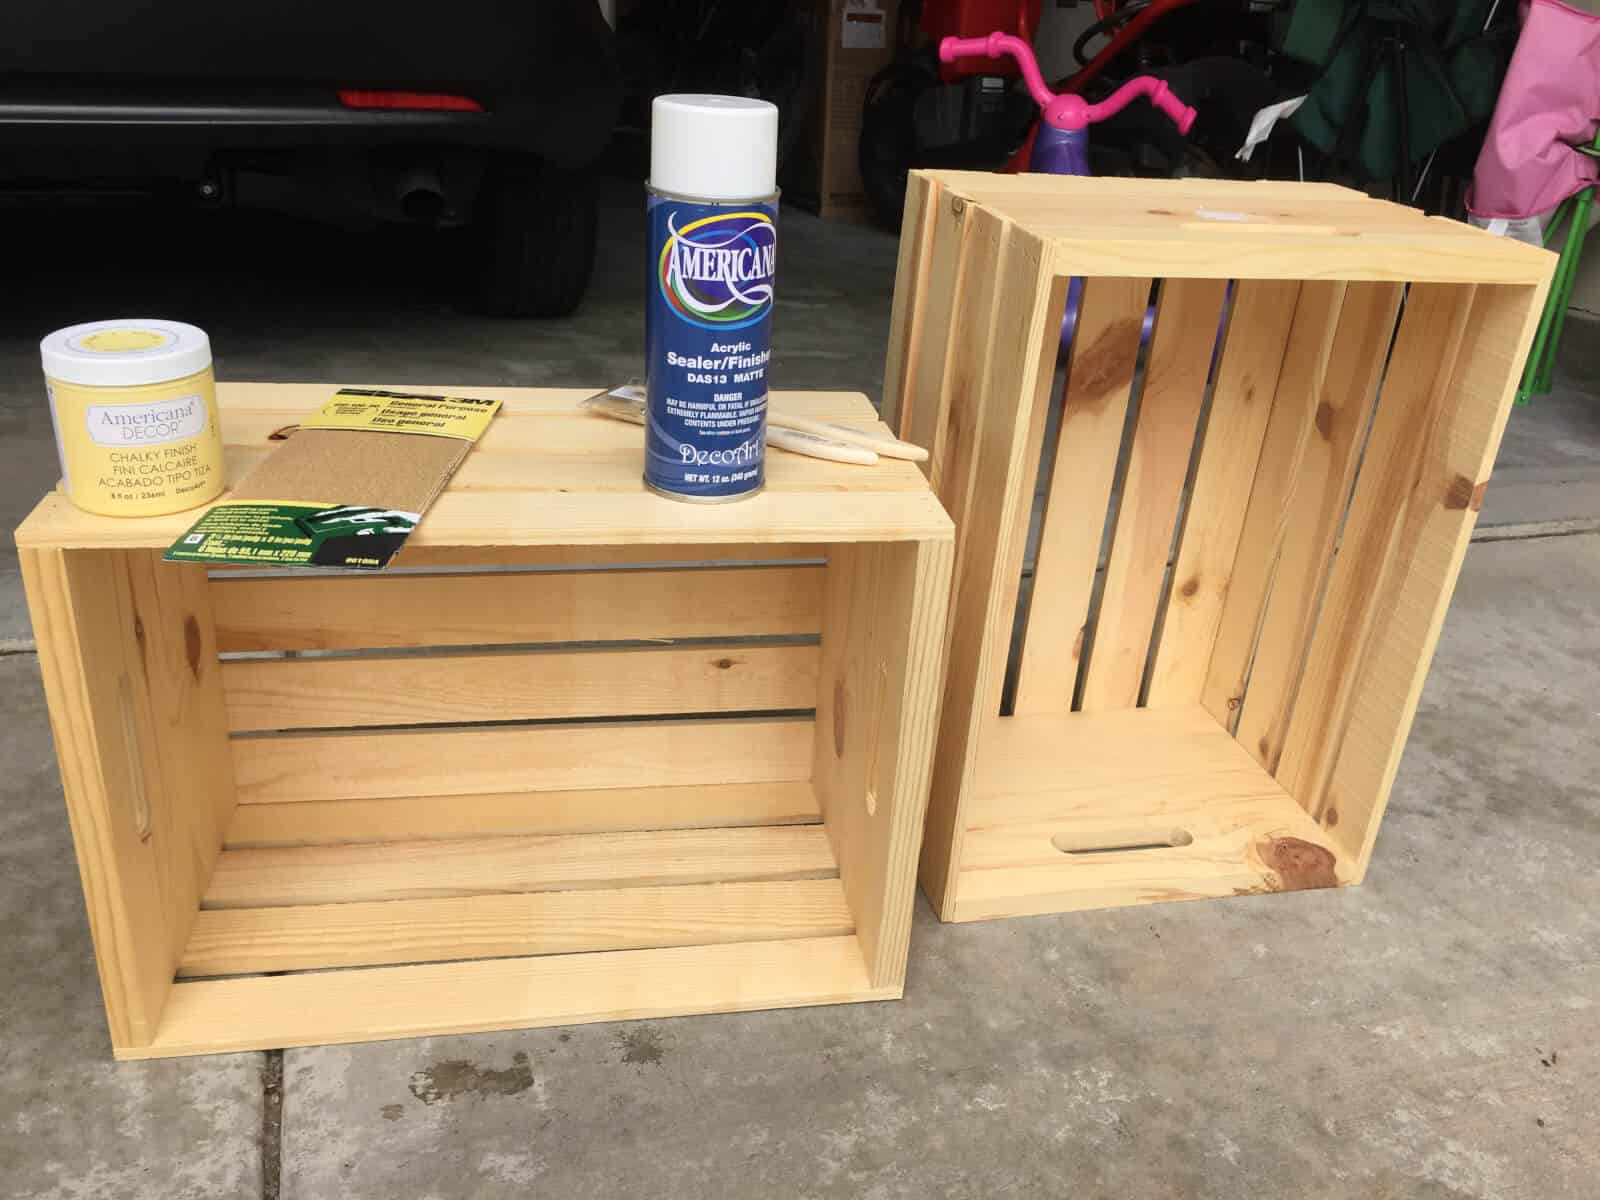
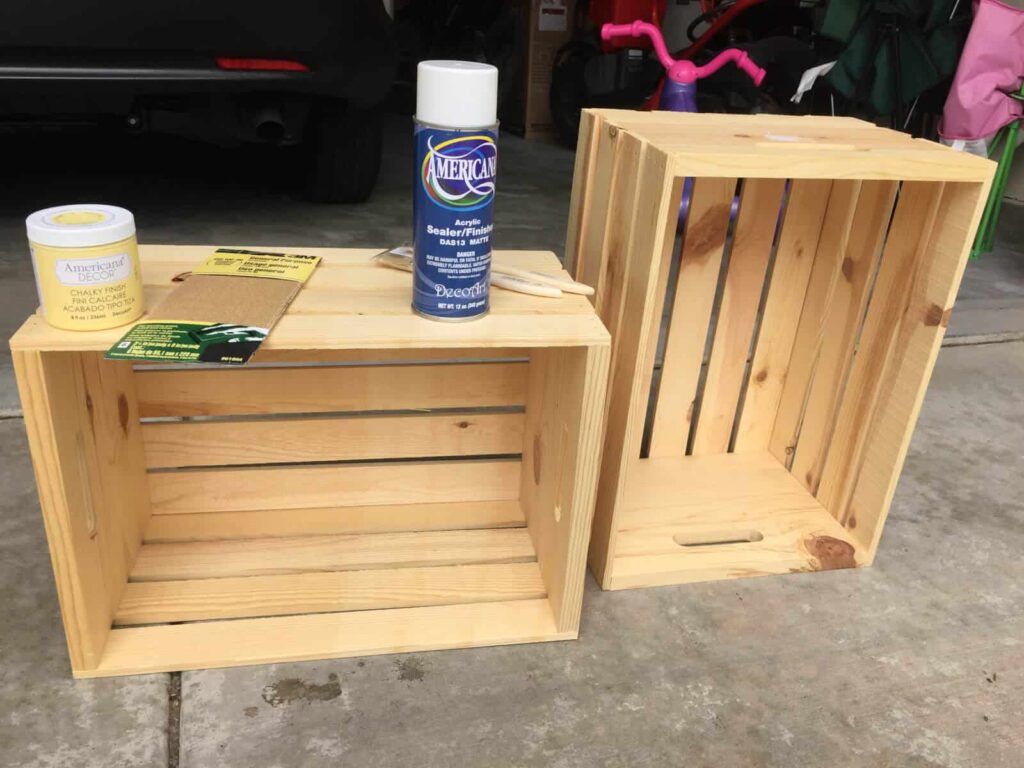
What You’ll Need:
- Wooden Crates (These can be purchased at craft stores like Michael’s or Joann’s, or at Home Depot online)
- Sand Paper
- Paint
- Finishing Spray
- Brushes
I decided to do my crates in a yellow chalkboard paint. My playroom has lots of browns with black furniture, so a little color will do nicely. I also like the chalkboard paint style, because it automatically has a vintage look so I don’t have to be perfect at painting (which I don’t have the patience for). I’d imagine you can also do spray paint, but I personally didn’t find any colors that I liked at the store.
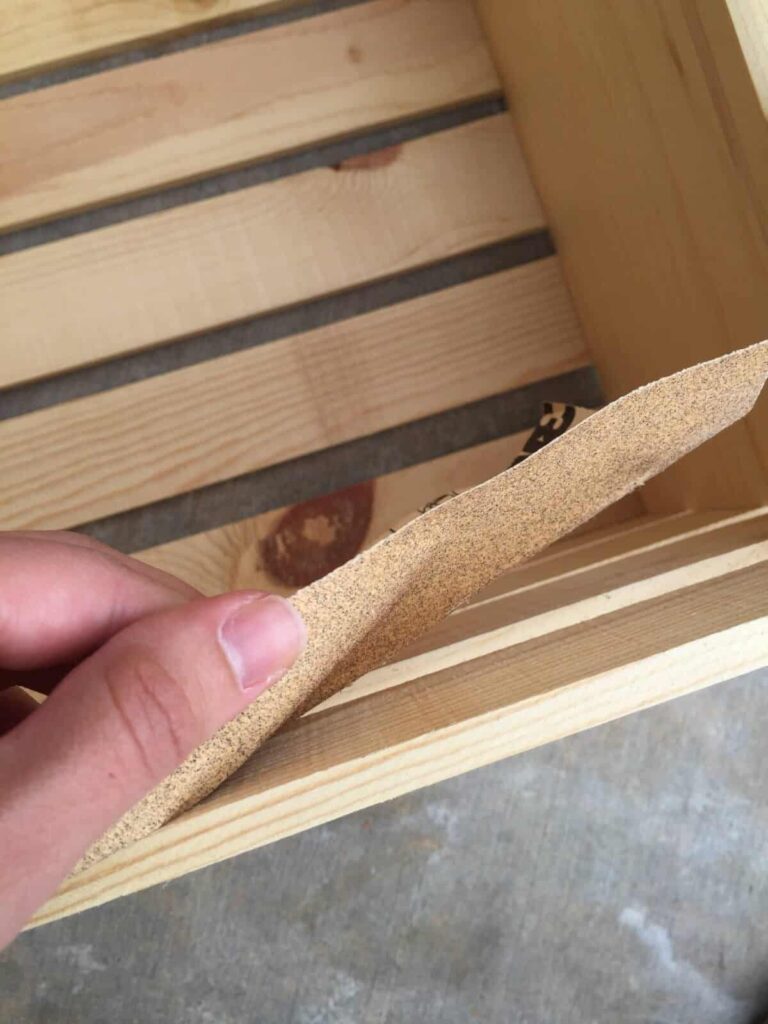
First you’ll need to sand the inside of your crates. The outside is “finished” and already sanded when you buy. But the manufacturers don’t take the time to sand the inside, so you’ll want to to avoid splinters. I sanded with medium grit and then followed with fine because my crates were pretty rough.
Now it’s time to start painting! It was a nice enough day for me to paint in my driveway, and the nice breeze made my paint dry in a jiffy.
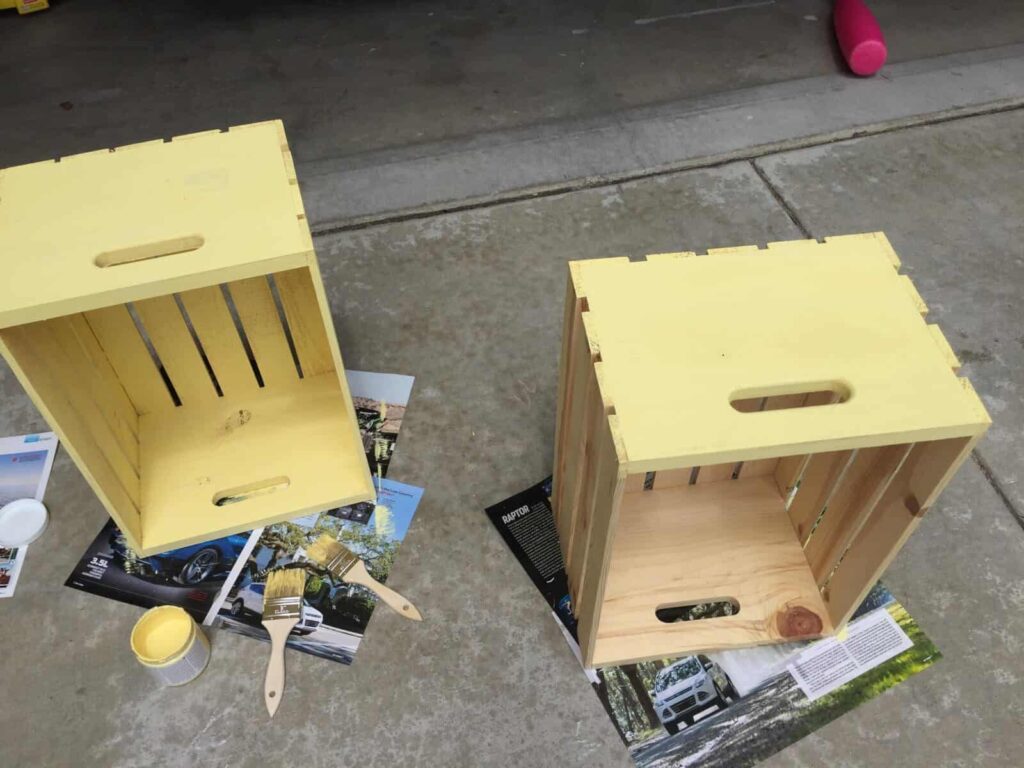
Now, a little lesson I learned about brushes at the craft store. There’s a reason they are only $1!! They are awful. Every few minutes I had to pick a brush hair out of the paint because it was disintegrating before my eyes. If you have a nicer brush at home, USE IT. Otherwise you’ll soon realize you get what you pay for.
It took me about an hour and a half to sand and paint both crates and allow for dry time. Then I sprayed on the finishing coat which dried nearly instantly. I couldn’t believe I was already done! Off to the playroom we went:
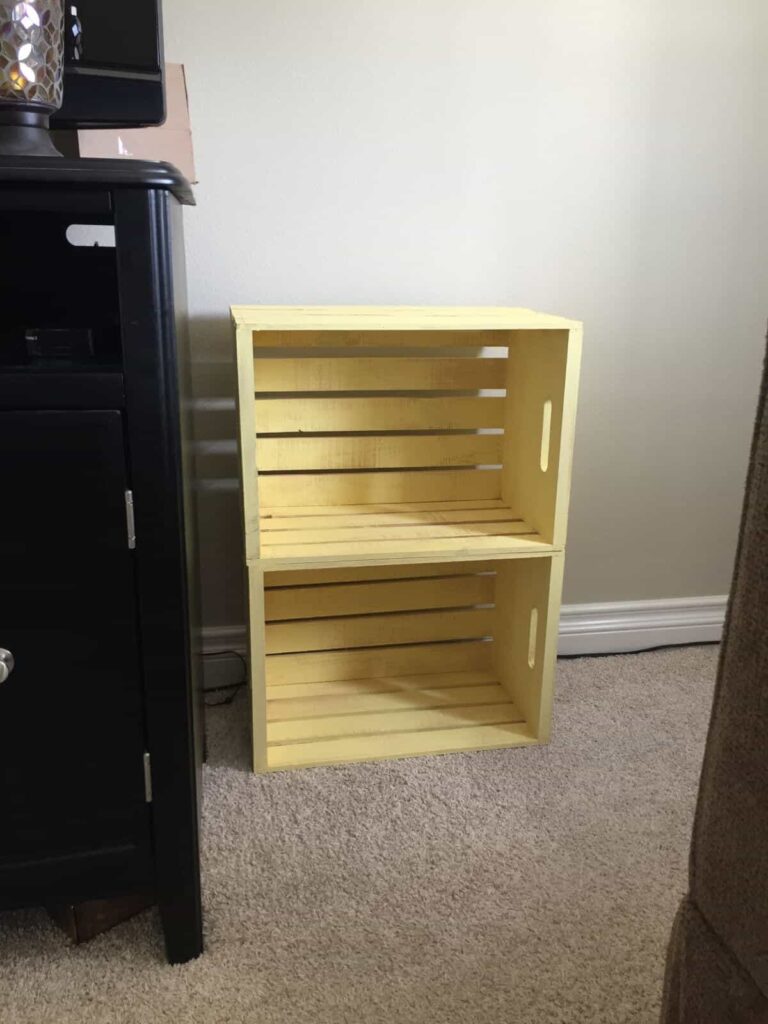
Since I was only using two crates, I personally did not feel the need to screw my crates together. However, if you are building a taller unit, I suggest using screws to attach the crates together and then to the wall. I did use some zip ties to keep the crates from slipping around:
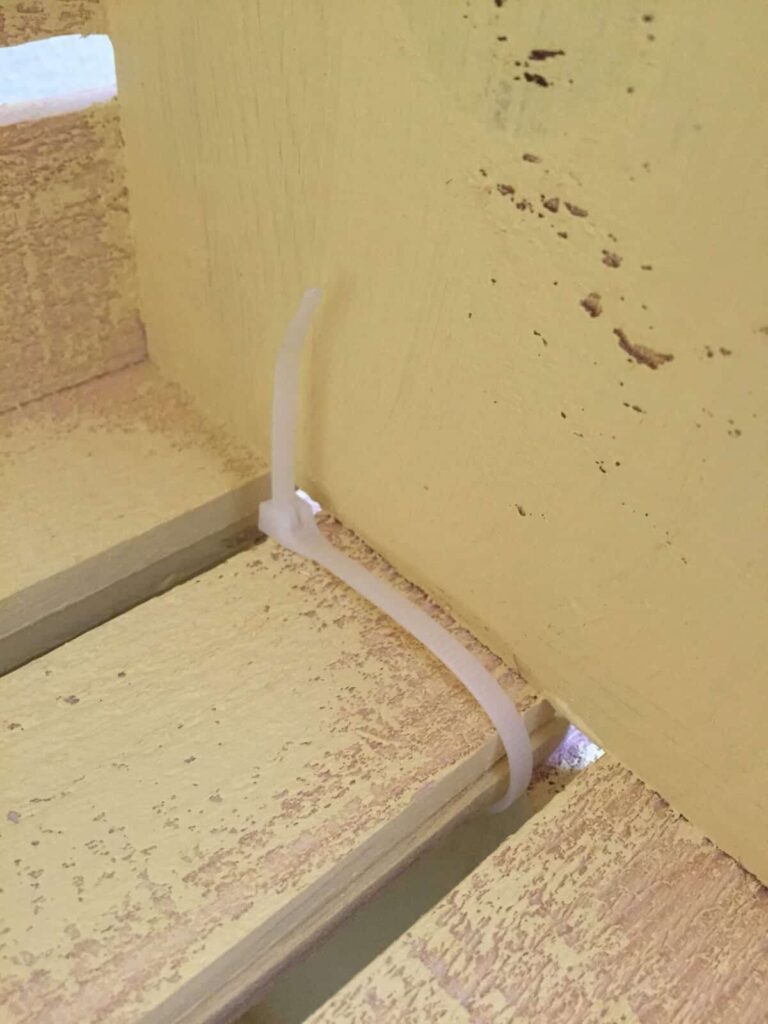
Do you like my “vintage” look? That’s called “I didn’t feel like doing a thorough painting job because it was the inside and no one will see it.”
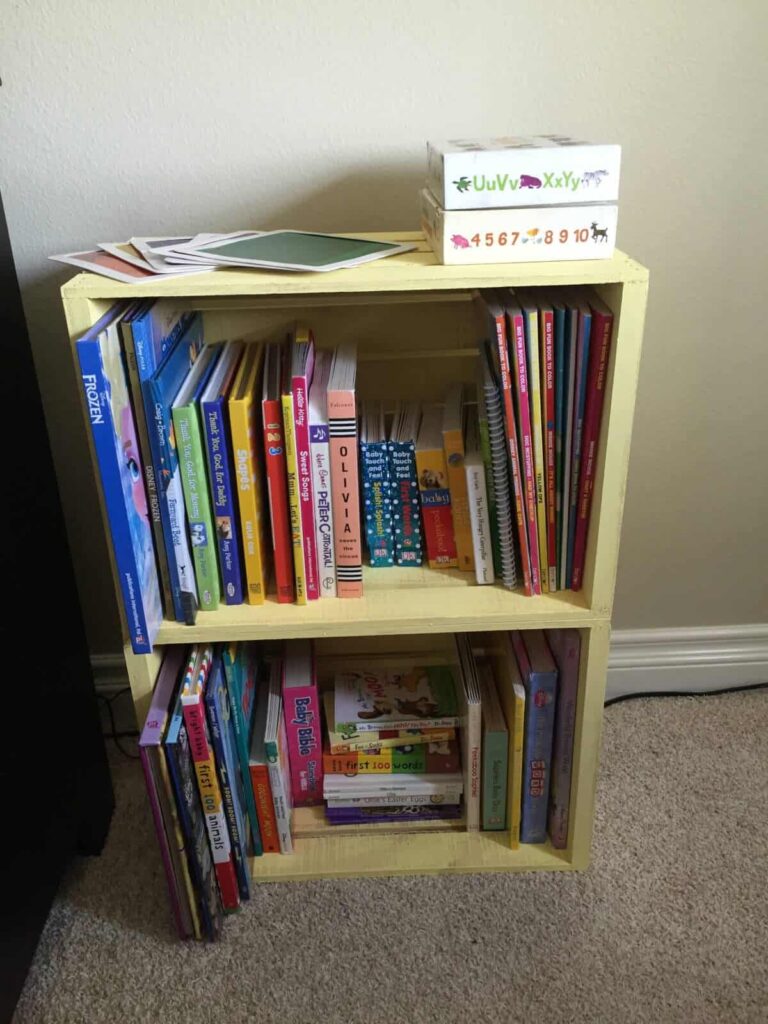
And there you have your easy, DIY wooden crate bookcase! I really like the extra color it brings to our playroom, and that it’s not so “kiddy” that it doesn’t mesh well with our furniture. I’m most looking forward to not tripping over books and having a messy playroom!
I will say that this wasn’t the cheapest craft I’ve ever done, but probably because once I decided I wanted to make it I wanted to do it RIGHT NOW. I just bought everything at one store, and didn’t do a ton of research. I did find the crates cheaper elsewhere, but the gas it would have taken me to drive out of the way wasn’t worth it to me. And besides, like I once heard someone say, “Why pay $30 for something when you can make your own for $50?” That’s how crafting goes!

Karly Wood
Latest posts by Karly Wood (see all)
- Summer Chore Charts To Keep The Kids Busy - July 9, 2026
- 8 Family-Friendly Vegetarian Dinner Recipes - May 21, 2026
- 15 Wonderful White Kitchens to Inspire Your Dream Home Design - January 14, 2019
Related Images:
Karly Wood
Latest posts by Karly Wood (see all)
- Summer Chore Charts To Keep The Kids Busy - July 9, 2026
- 8 Family-Friendly Vegetarian Dinner Recipes - May 21, 2026
- 15 Wonderful White Kitchens to Inspire Your Dream Home Design - January 14, 2019