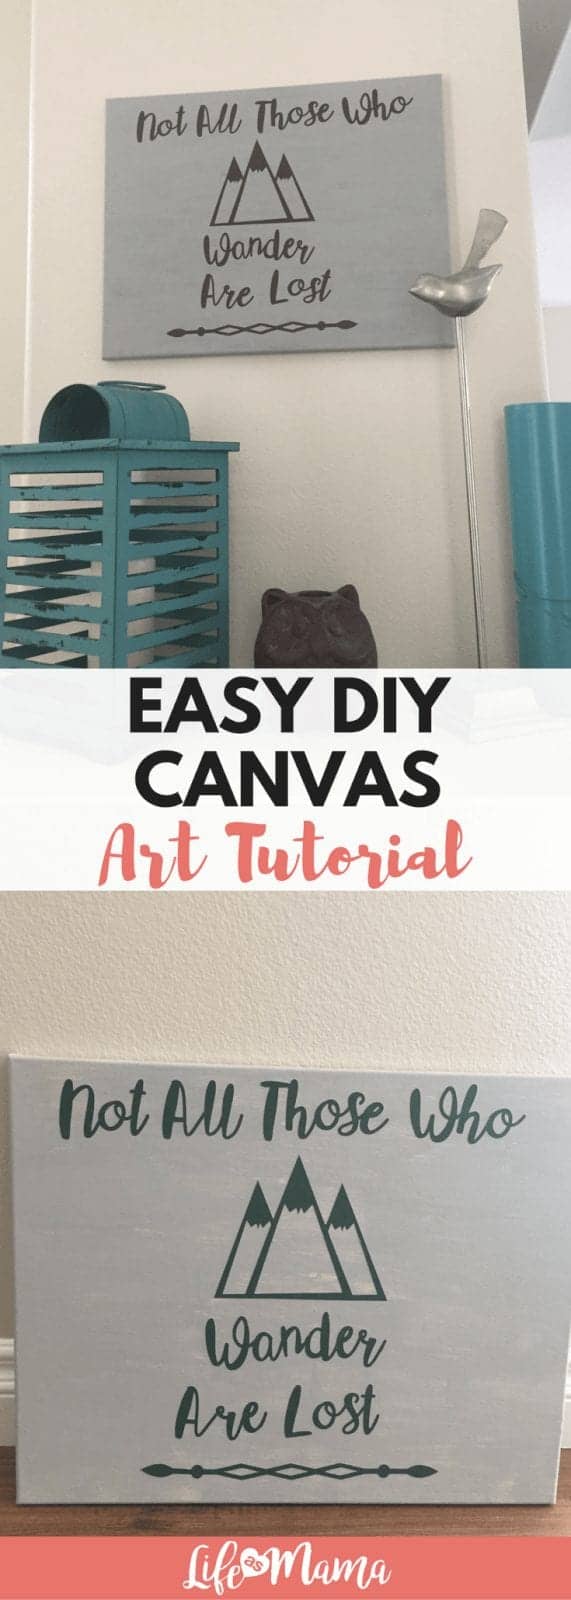
I’ve always wanted to make my own wall art for my home, but I seriously lack in the painting and drawing department. I can color inside the lines and paint by numbers but those are the limits of my painting skills! Ever since I got my Silhouette Cameo for Christmas, I’ve been wanting to try my hand at making an easy DIY canvas piece of art and this weekend I finally did it! I’m definitely still a novice but I’ve learned a thing or two that I hope can help the rest of you!
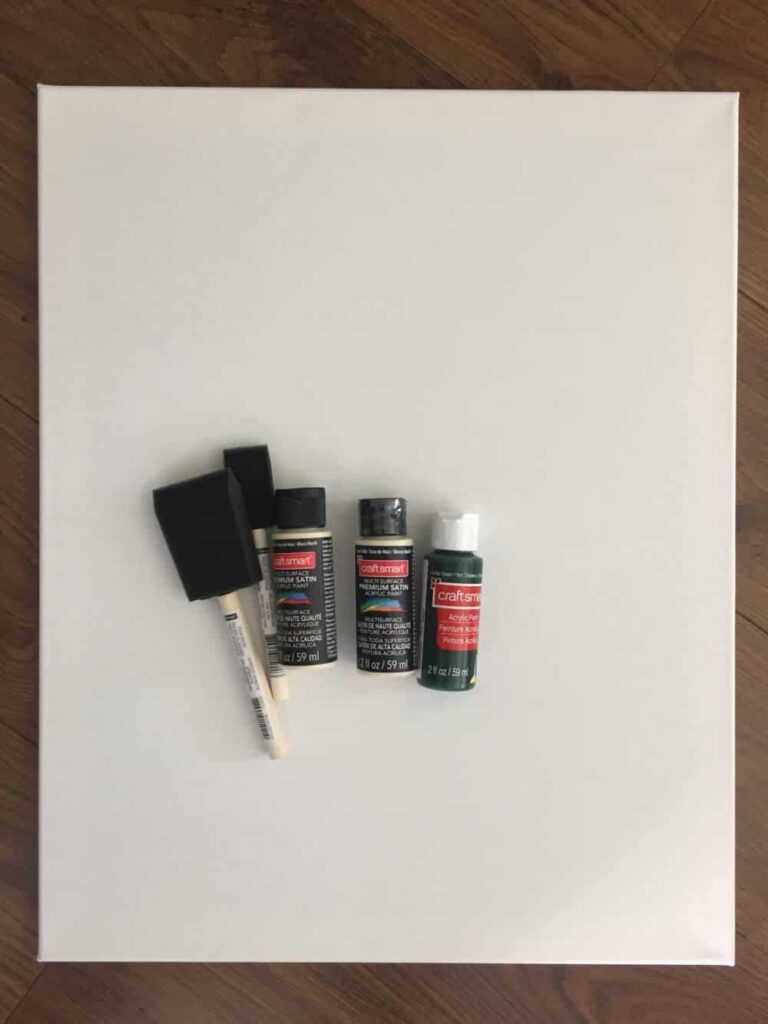
I bought all the supplies to make this craft for less than $10. I already had my Silhouette machine, vinyl and transfer paper. The canvases were on the doorbuster sale at Michaels for 2 for $5 and the paint and brushes were less than a dollar a piece! This is a great budget craft that will add tons of personality to your home and give you a pretty big sense of accomplishment.
Here’s What You’ll Need
Canvas (I used a 16×20 size)
Acrylic Paint
Paint Brushes
Vinyl or Stickers
Silhouette or Cricut Machine (If you’re cutting your own designs)
Transfer Paper (If you’re using a Silhouette or Cricut)
Instructions
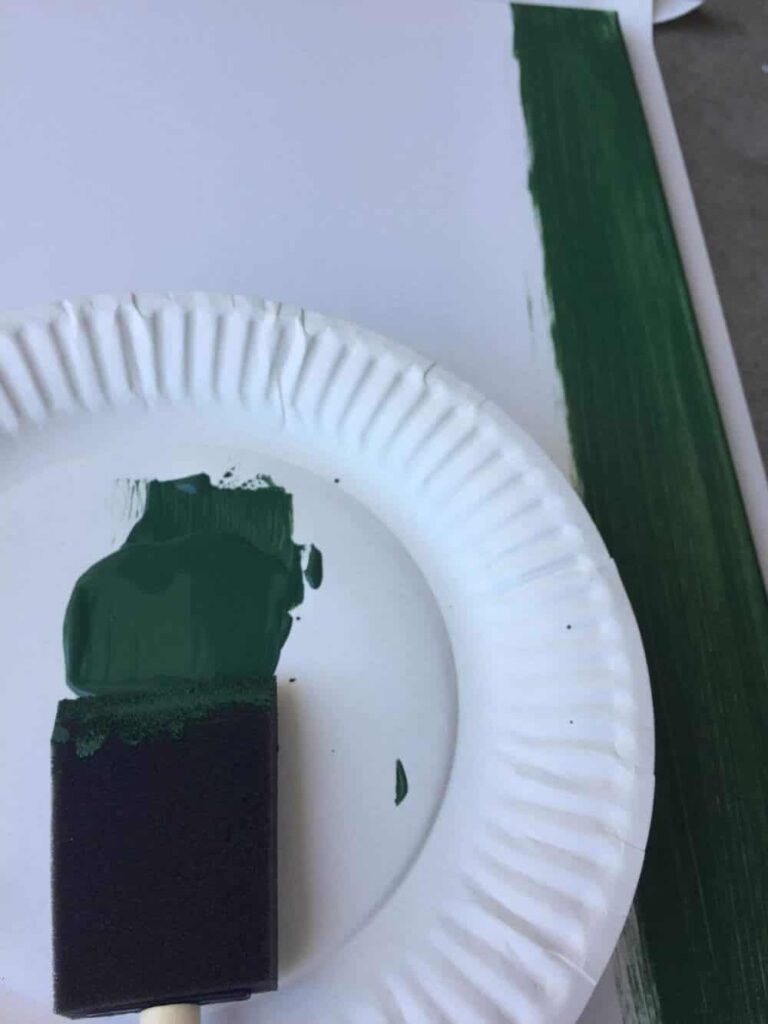
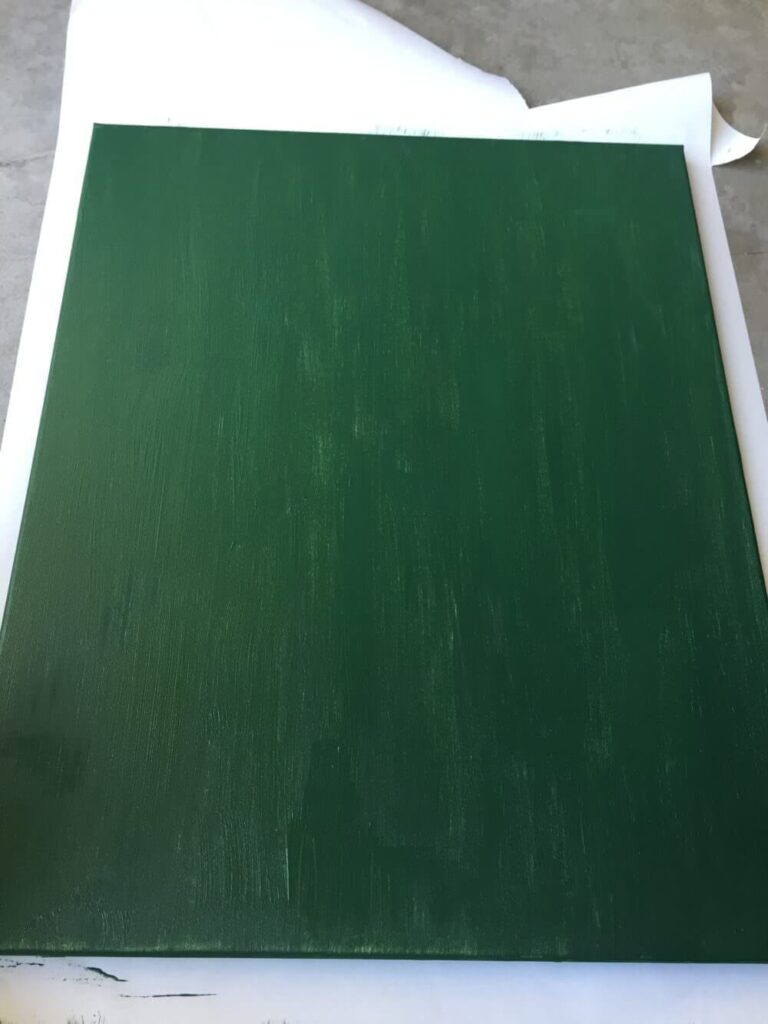
Start out by deciding which color you want the letters or images on your canvas to be. This requires a little backward thinking because you probably tend to think you paint your background color first, then add the lettering later- not so. Once you pick your colors, paint your entire canvas that color. I decided I wanted green letters on a cream background so I used green to coat my canvas.
Depending on your color choice you may require multiple base coats. If you want your letters to have a rustic look, one coat may do the job, as this is what mine looked like after just 1 application:
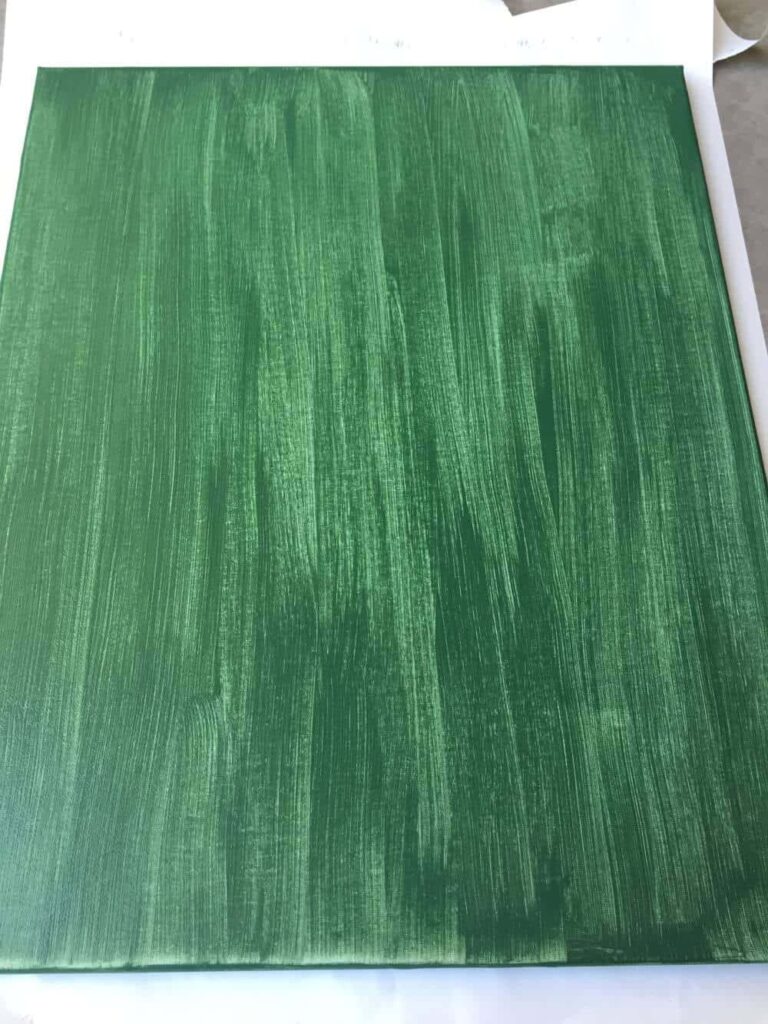
Personally I wanted a darker letter so I used two coats:
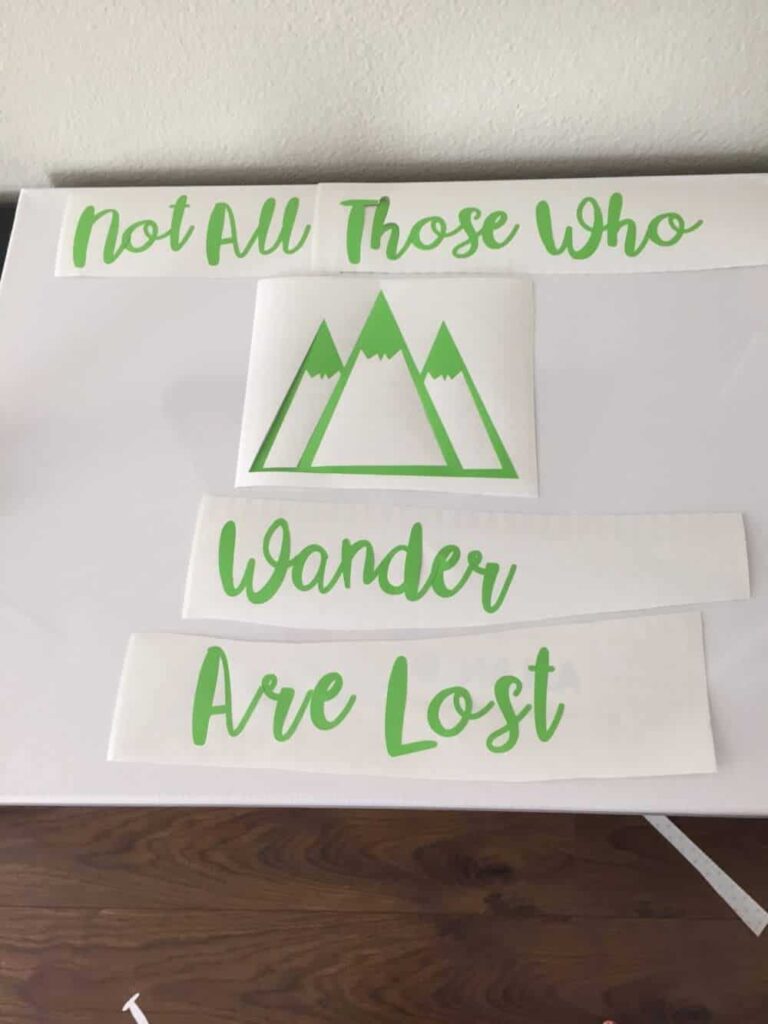
The hardest part of this process for me was picking out the font and size of my letters. I did a few test runs and laid out my text on regular paper to get just the right sizing:
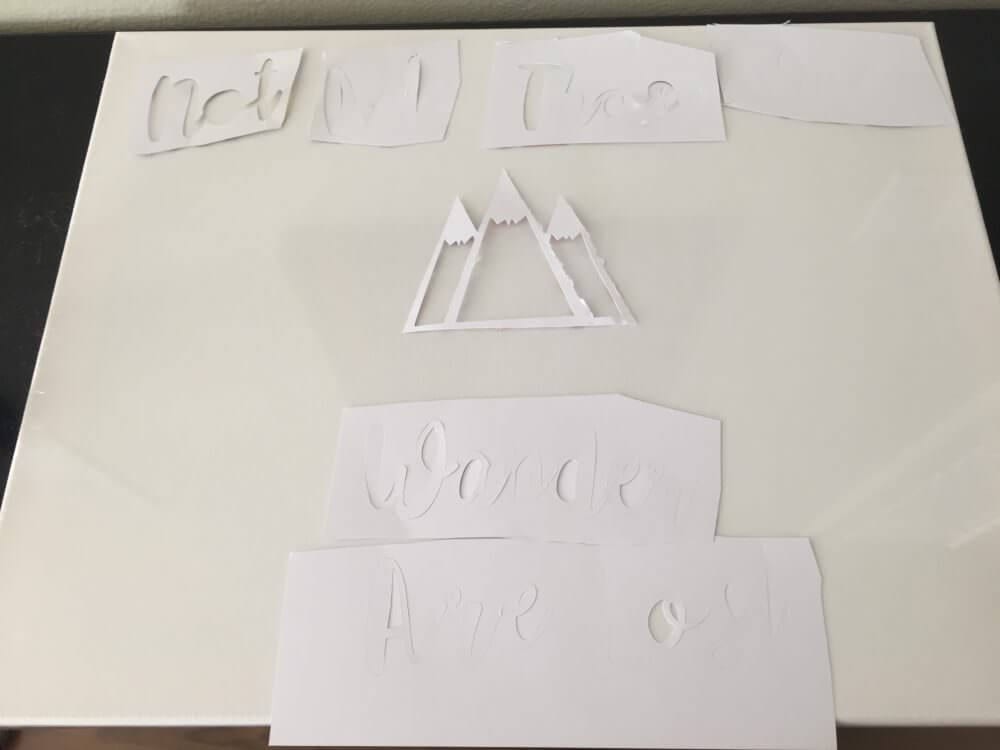
The reason I used actual cuts using my Silhouette was because I wanted to make sure the font cut the way I wanted. If you are using stickers, you obviously don’t need to do this step! Once I liked the sizing, I pulled the trigger and cut my vinyl!

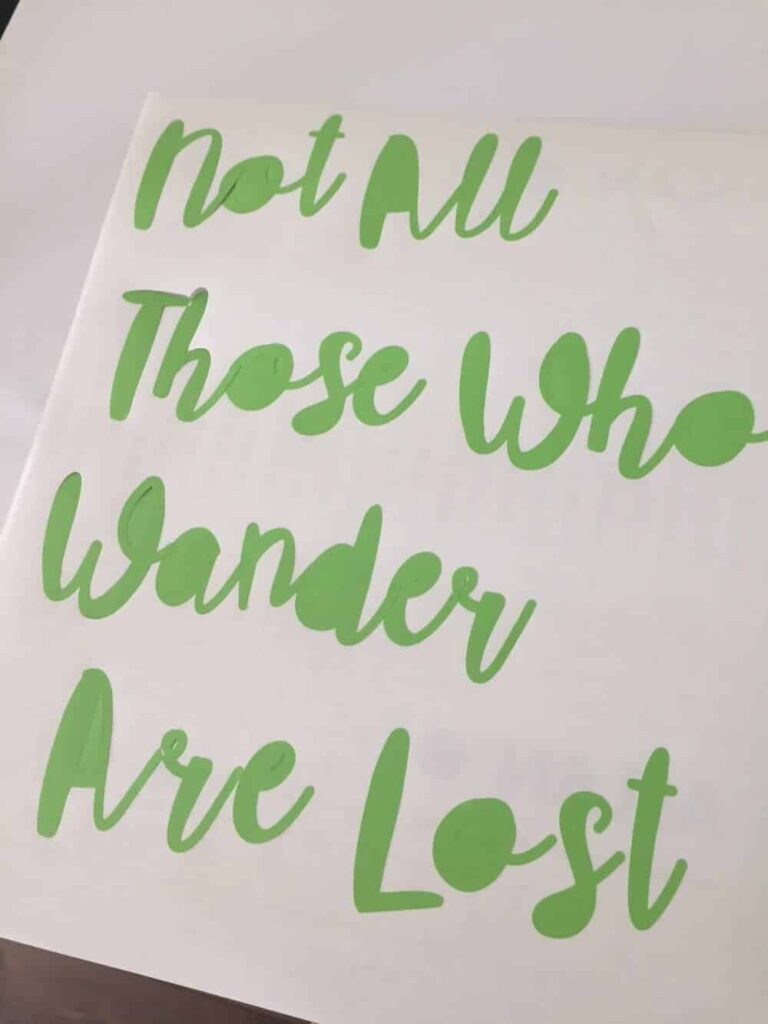
This was LITERALLY the first time I’ve cut vinyl and I was so shocked at how easy it was! The letters were so crisp (much better than with card stock) and it peeled away easily. You can use any color vinyl you want for this project because you are going to be painting over it and then removing at the end.
Peel off the background of your vinyl sheet, leaving the letters behind. Now you’ll want to start your “weeding,” the process of removing the inside vinyl portions, such as the material left in the O’s and A’s. I have a weeding and spatula tool made by Silhouette that are inexpensive and and work great!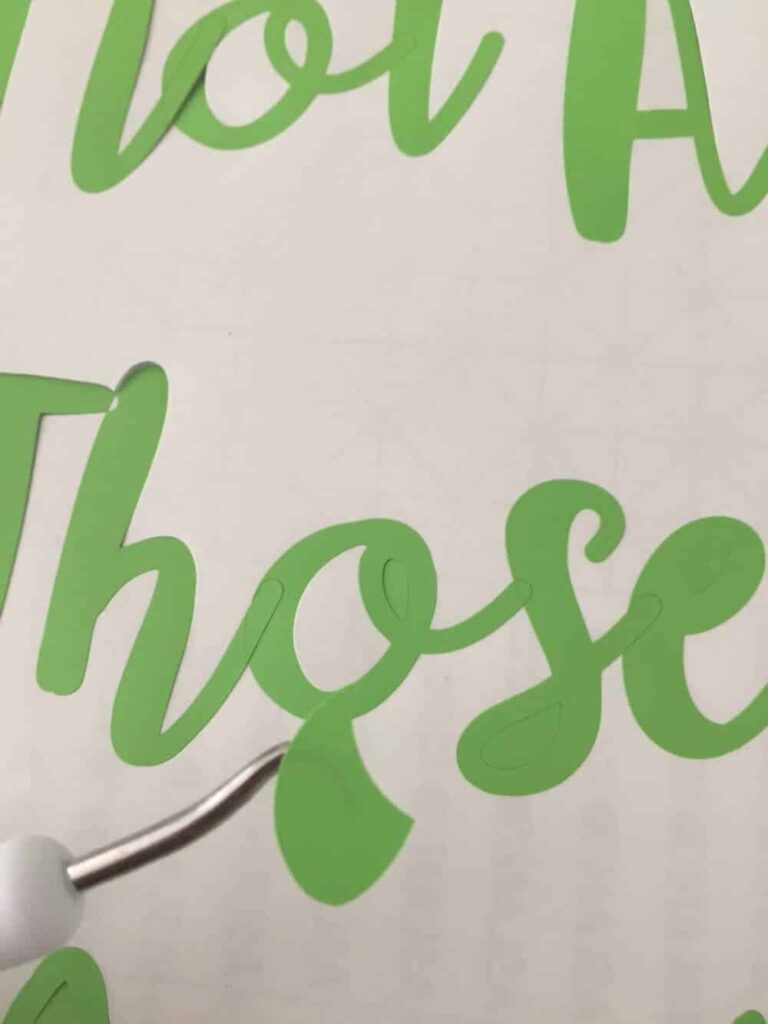 I double checked my layout after weeding and loved it!
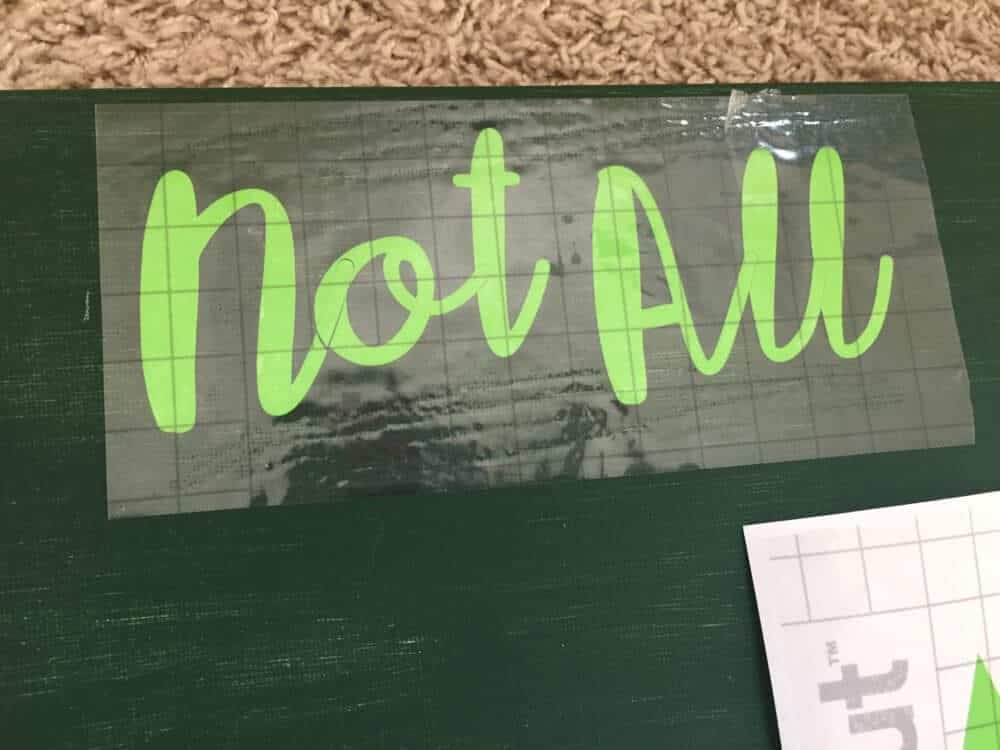
The next step involves using Transfer Paper to move your vinyl letters from the backing and onto you canvas easily. Cut a piece of your transfer paper to the approximately the same size as your letters.
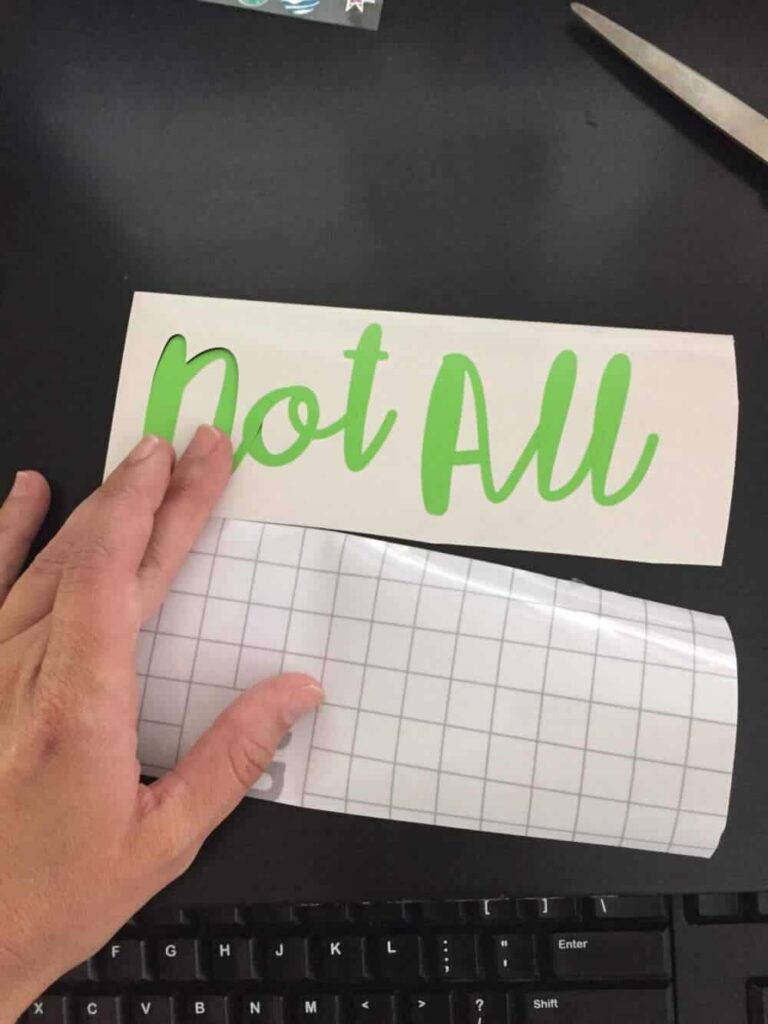
Remove the backing from the transfer paper and lay carefully on top of your letters. Use a credit card or a smoothing tool like the one I have from Silhouette to forcefully smooth and remove bubbles from your letters.
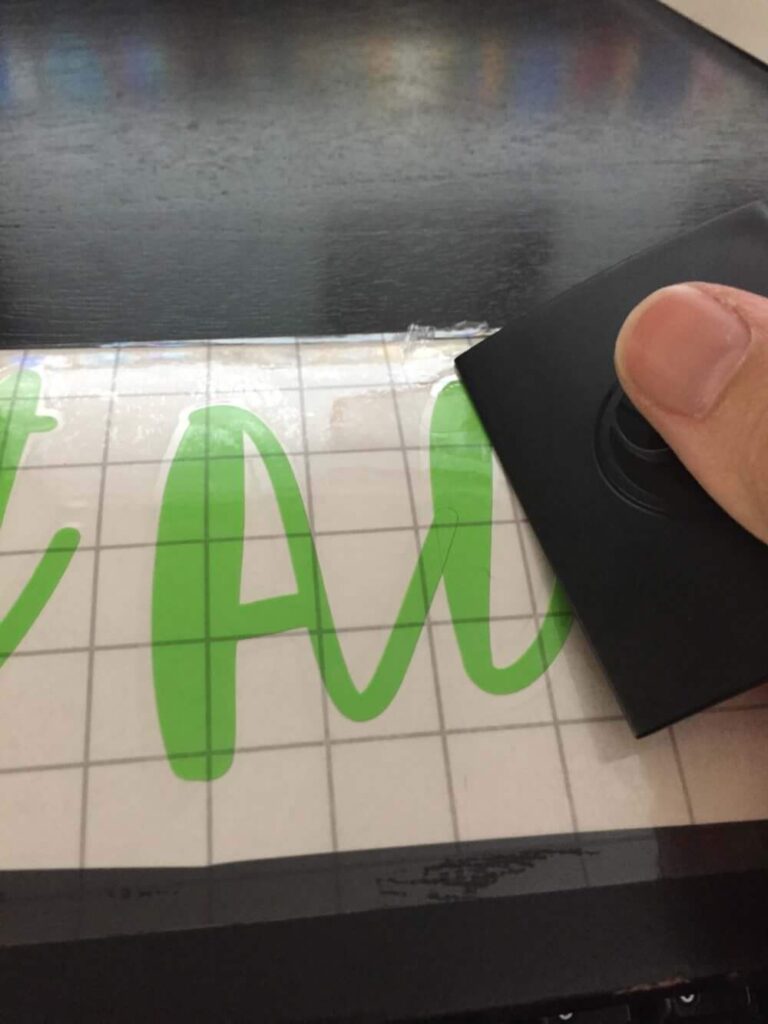
Do this with all of your words and images and then lay out on your canvas.
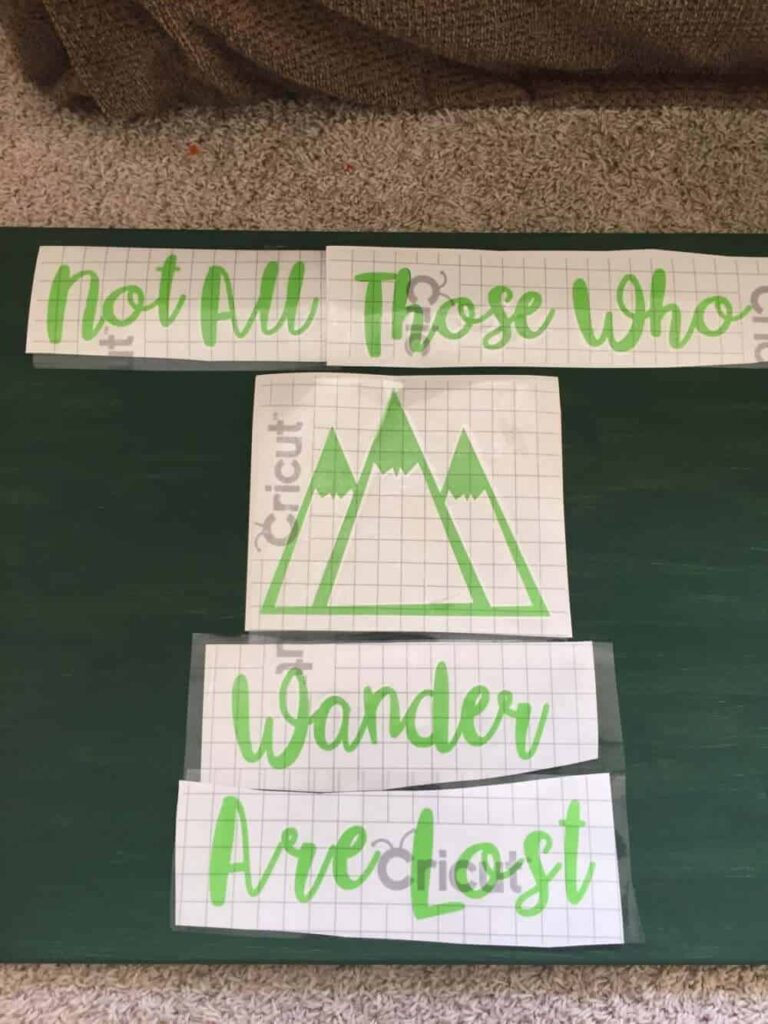
Ok I’m going to be real honest here and tell you that this process didn’t go as planned. AT ALL. You are supposed to remove the backing from your vinyl letters, lay on your canvas, smooth out again and then carefully remove the transfer tape- leaving the vinyl letters neatly on your canvas. Well, no matter what I tried, the vinyl letters would not stick to my canvas. I had heard that using acrylic paint actually helped this issue, but not in my case. It could also be because my vinyl was on the cheaper side and just wasn’t sticky enough. The next time I try this project, I will be using new vinyl!
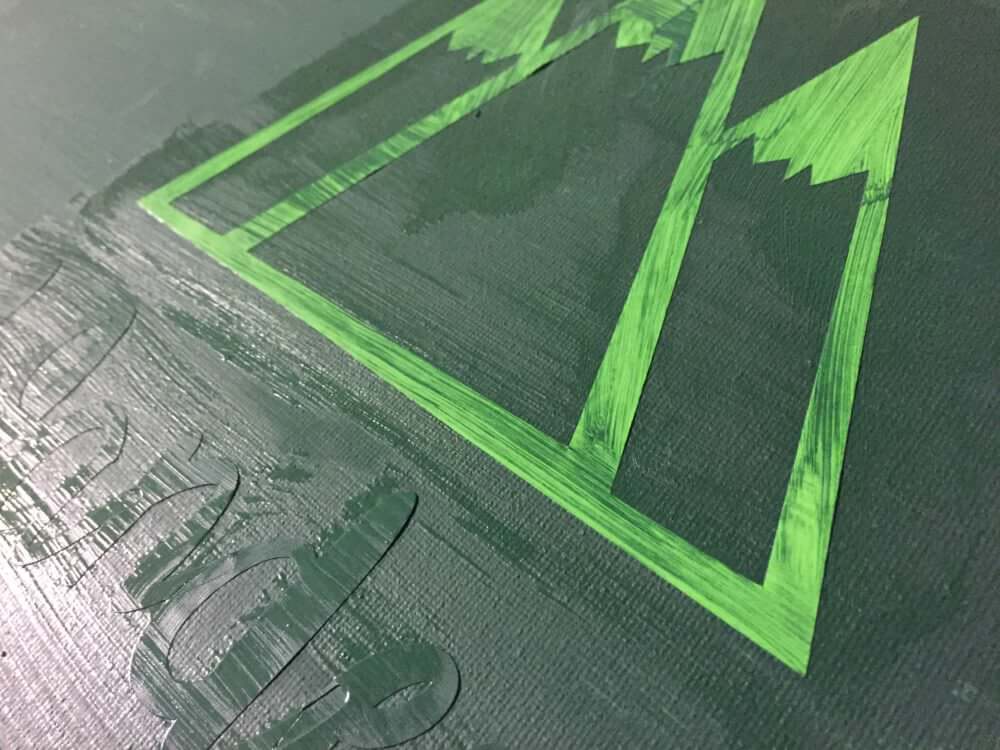
Because I couldn’t even get the transfer tape to release my vinyl letters, I had to recut all my words and images and lay them all out by hand. It definitely wasn’t the easiest process but it could have been worse. Once your have your letters finally affixed to your canvas, you will do another layer of your background paint on top of your lettering. This will help seal the edges so your top coat of paint (which will be an entirely different color) won’t bleed through. Try your best to remove any bubbling or wrinkling of your letters before painting!
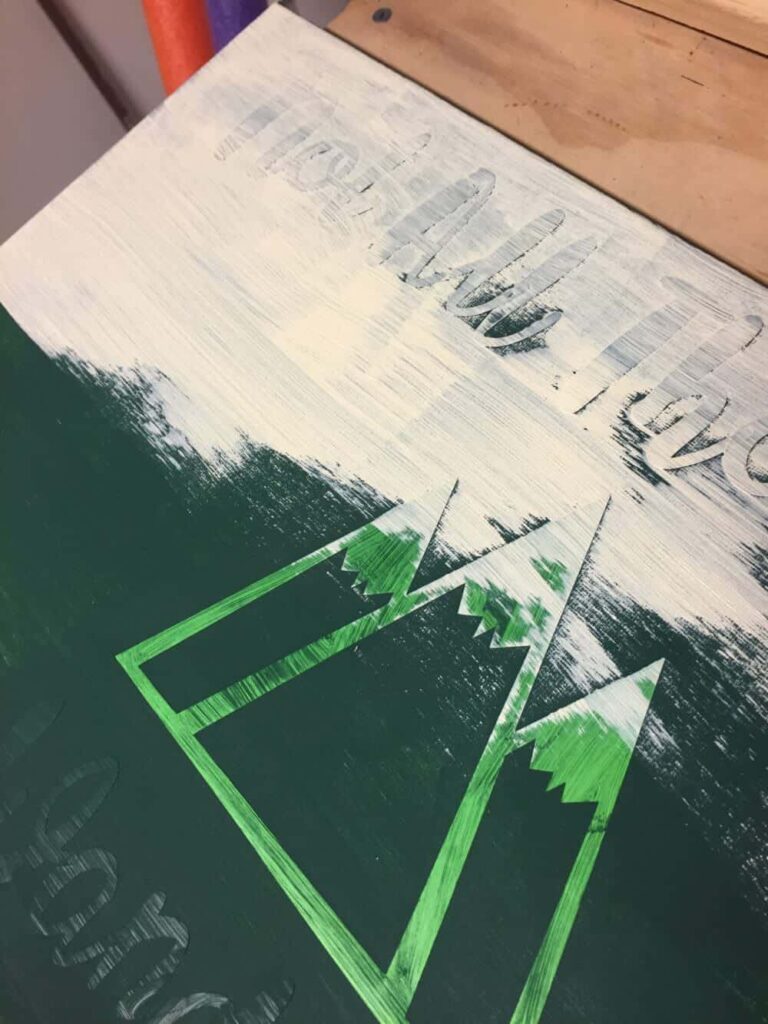
Once your paint has dried, it’s time to start covering everything with what will be your background color. In my case, that was cream. It took 2-3 layers of cream to cover up green underneath. This is one coat:
This is two coats:
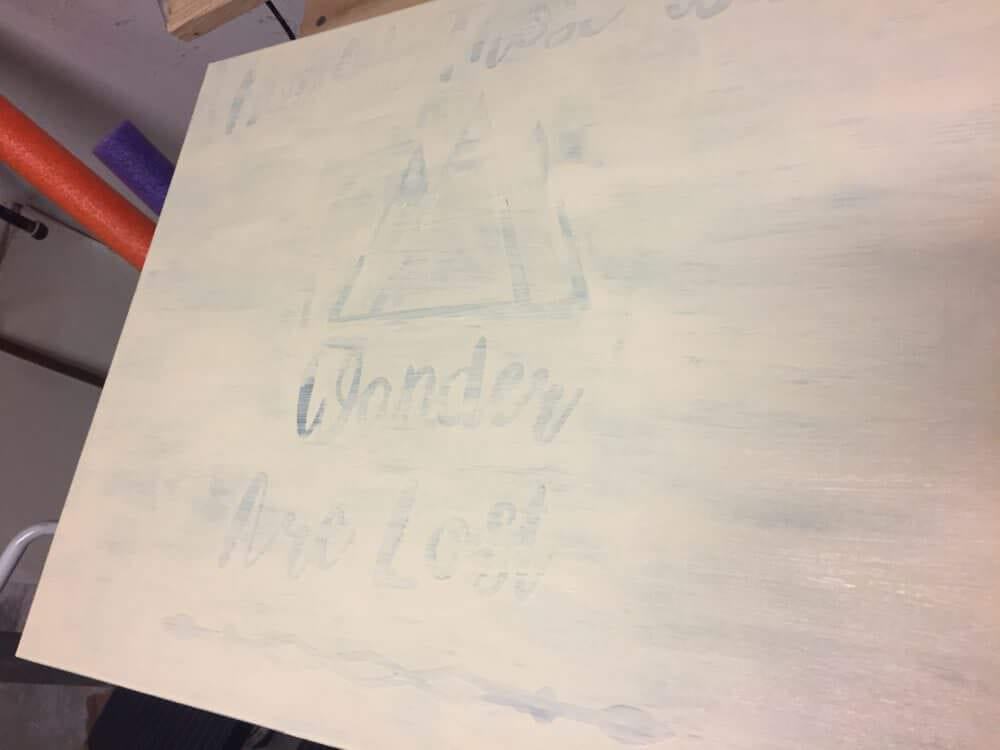
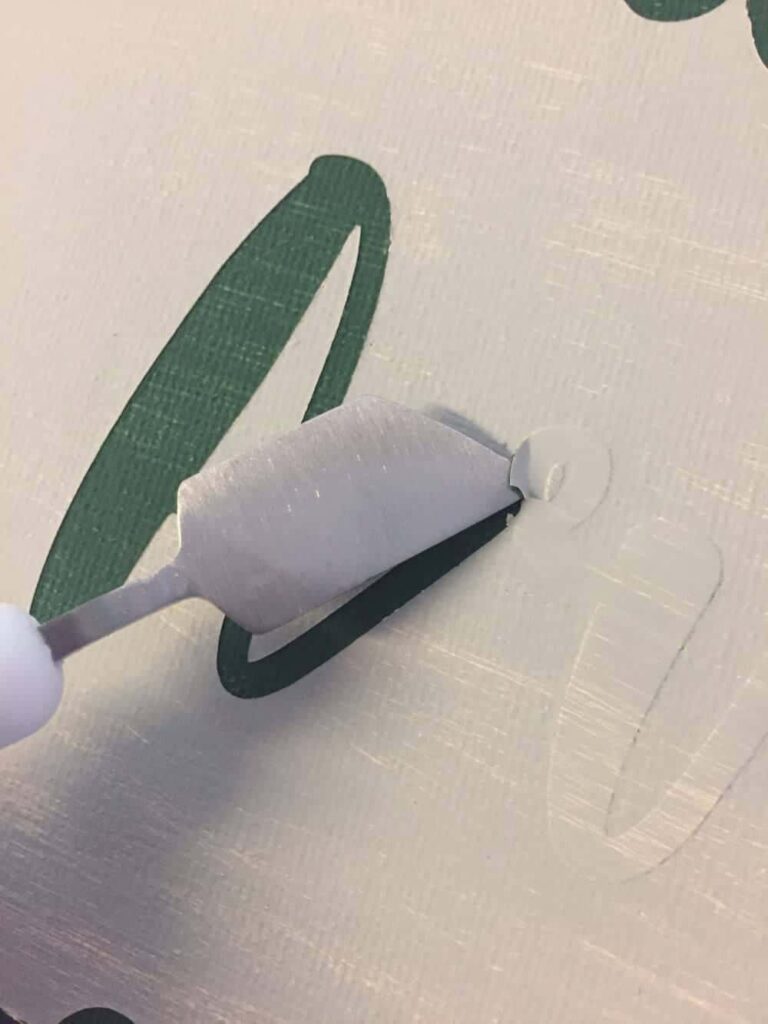
Now, it was at this point that I realized my cream was basically the same color as my walls. I tried mixing a little brown into the cream, but that was disastrous because even though the bottle said “chocolate brown” it was more like “purple brown” and I almost started crying thinking I’d just ruined my canvas. But that’s the beauty of painting! You just slap on another layer and it’s saved! I hit up the craft store for a nice gray paint and all was well with the world. Your final step is removing the vinyl letters to reveal your beautiful lettering! Make sure your paint is fully dried (I waited several hours) and then carefully pull everything off. I used my same Silhouette tools to do this and it was easy.
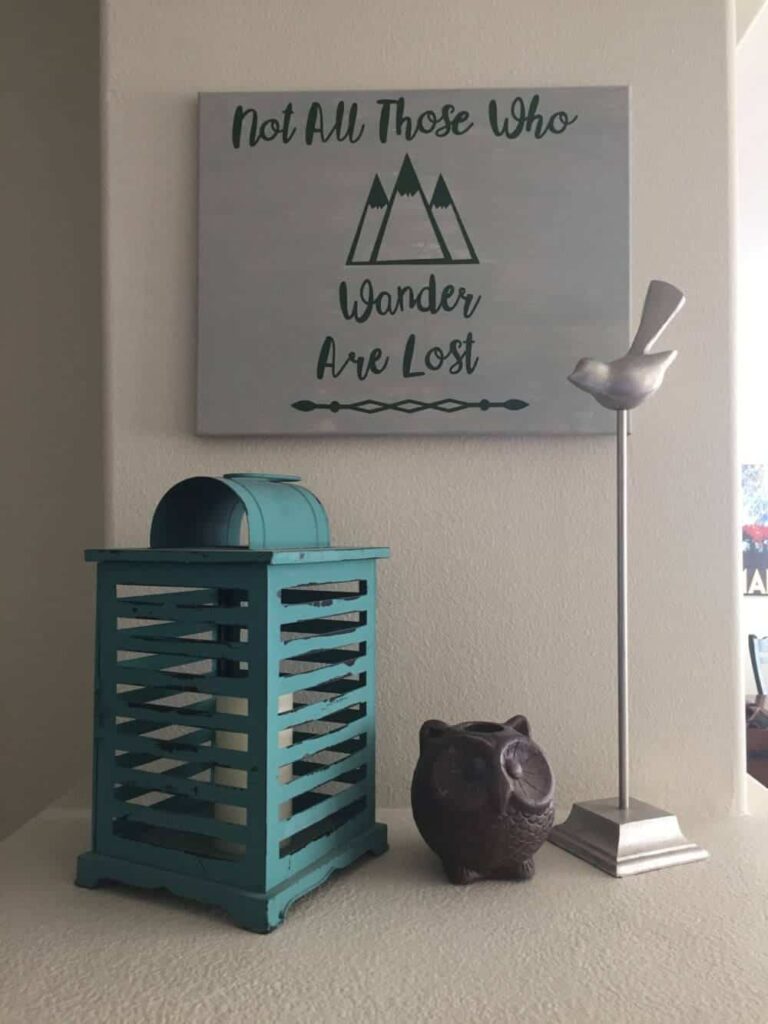
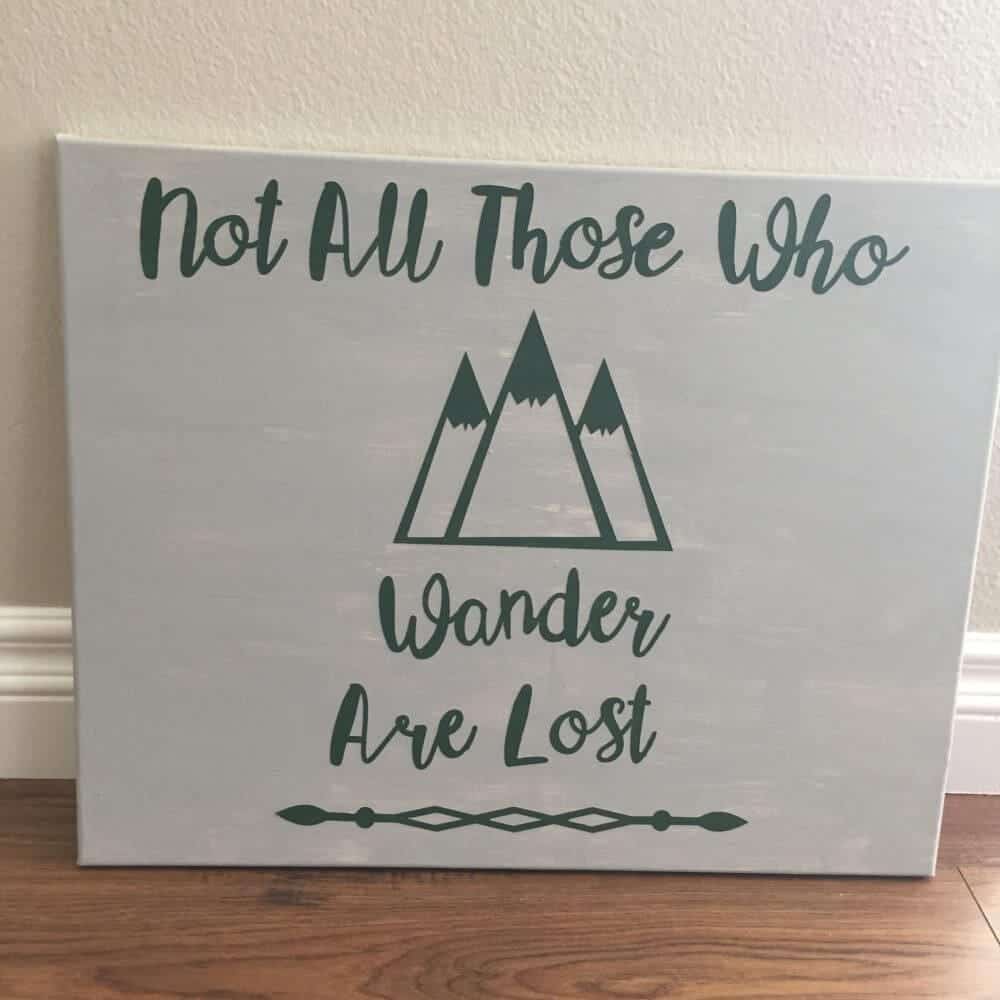
And this is the finished product! I actually really liked the gray and cream background that was purely accidental. You may be wondering about my quote. Well we are big Tolkien lovers in our house and this particular quote is from the Fellowship Of The Ring.
After I hung up my canvas, I realized it actually clashed pretty bag with my decor. So, because I’m crazy, I did another one in brown and gray the next day and it went pretty quickly! Here is the finished product!

With the exception of a few bumps, I was shocked how easy it was to make my own canvas art. I feel the most accomplished at making something that is entirely unique and with my own two hands. I’d love to see what you ladies can come up with! Share in our comments below some of your masterpieces!
Related Images:

Karly Wood
Latest posts by Karly Wood (see all)
- 8 Family-Friendly Vegetarian Dinner Recipes - May 21, 2026
- 15 Wonderful White Kitchens - January 14, 2019
- We Want All These Spring Manis And We Want Them Now - January 8, 2019