My daughter’s third birthday is around the corner and this year I opted to make a semi-fancy cake instead of a boring sheet cake. I’ve always wanted to make a multi-layer cake, but have been intimidated because while I can follow a recipe quite well, I don’t consider myself a baker. As it turns out, layer cakes are easy! You can make your own easy enough using as many cake pans as layers you plan to make, or you can do what I did and by a cake layer kit:
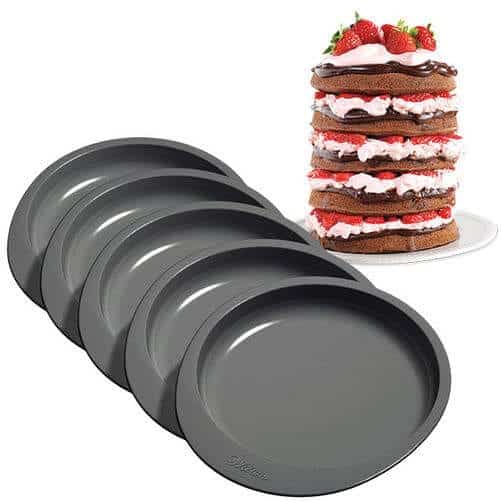
Source: Wilton.com
You can find this kit at Michaels and Target, and it makes the whole layer process so simple. It’s much cheaper than buying 5 cake pans (which can be upwards of $8 a piece) and this kit makes a smaller version that uses only 1 box of cake mix. It came in under $15 with my Michael’s coupon and even comes with some recipes from scratch. I think this is money well spent because now that I realize how easy it is, you can bet I’m going to be wowing family and friends with my layer cake skills.
Ok, now on to the process!
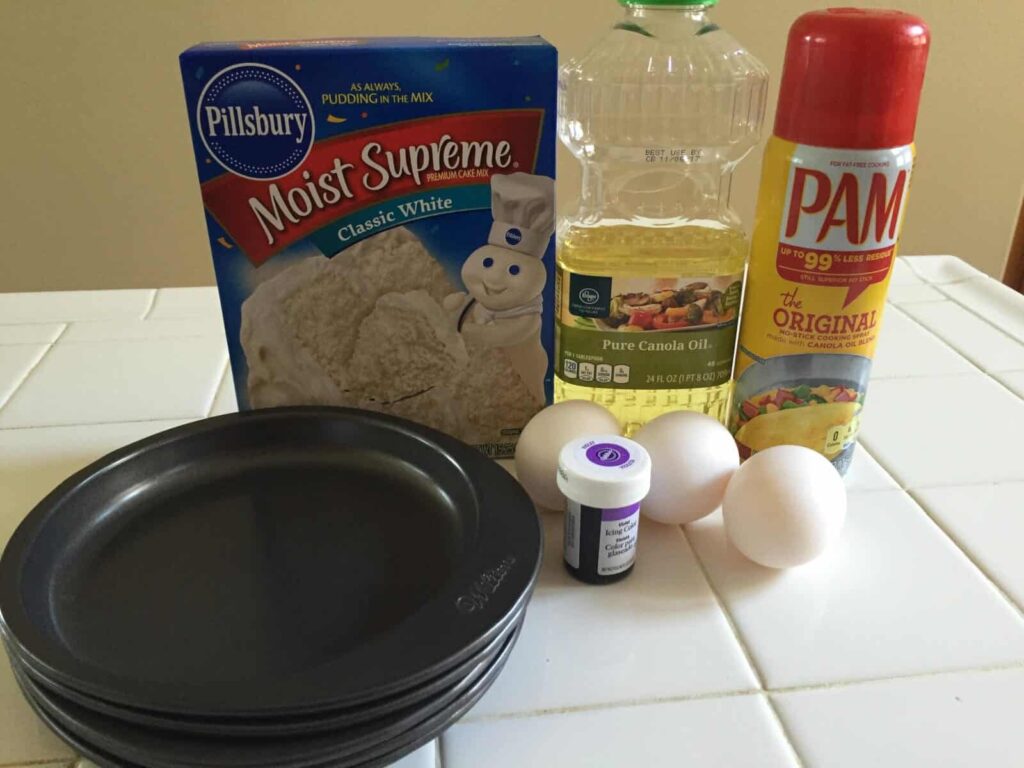
Ingredients
Cake:
1 box of white cake mix and accompanying ingredients (usually water, oil and eggs)
Gel Food Coloring
Cake Pans
Cooking Spray
Frosting:
9 Cups of Powdered Sugar
1 Cup Butter
4.5 TSP Vanilla
3-6 TBL Milk
Instructions
Being by preparing your cake mix per package instructions and preheating your oven to 350 degrees.
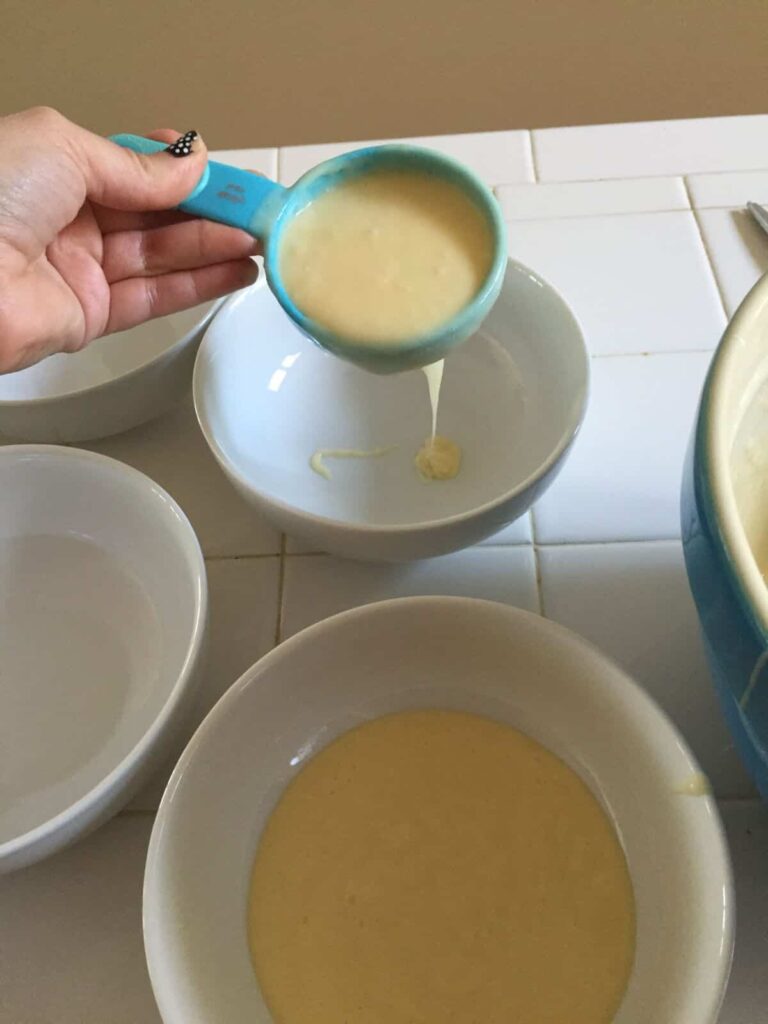
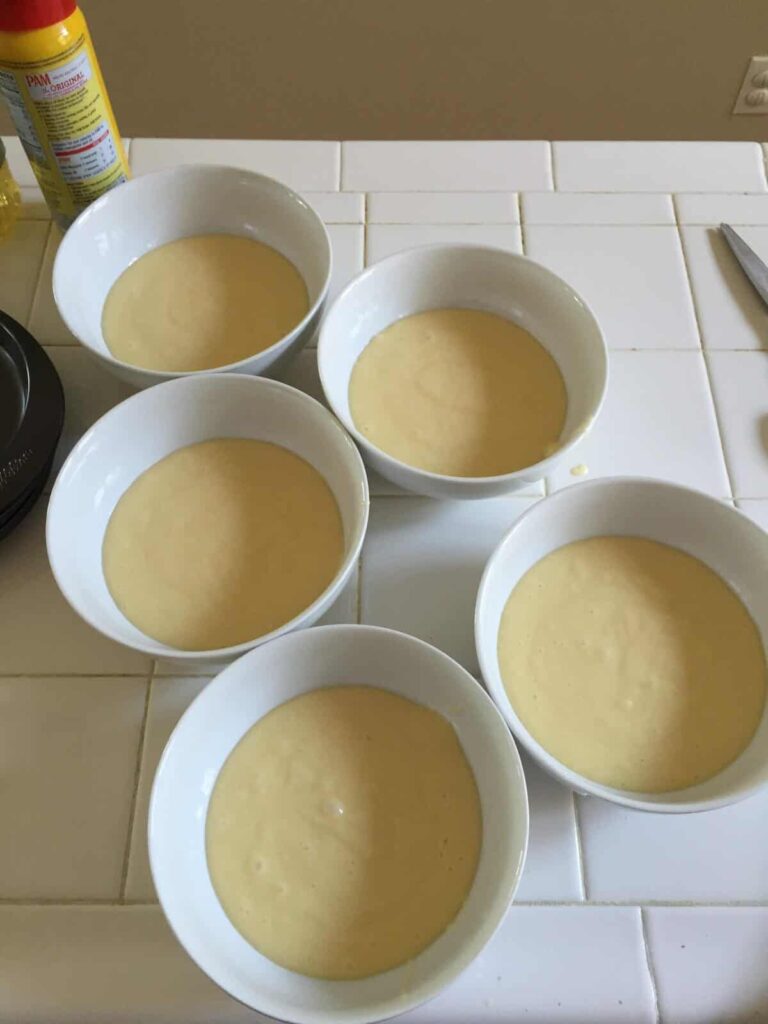
If you’re using the Wilton Easy Layers kit, you will be making 5 layers. So you will want to grab 5 bowls and divide your cake mix evenly amongst all the bowls. My box of Pillsbury cake mix divided into about 3/4 cup of batter per bowl. I started with a 1/2 cup first because I didn’t want to run out before getting to all the bowls. Then I went back in with a 1/4 and it was just about perfect!
Once you have your bowls, it’s time for the fun part: adding your food coloring! I was recently introduced to gel food coloring and I have to say: it’s amazing. The colors are much more concentrated and do not get watered down. They come in SO many options and you don’t need to mix your primaries to get the colors you want in vibrant shades. The only thing is you want to add SO little at a time to make sure you get the color you want.
This is me using a teeny tiny spoon to scoop a very small amount. 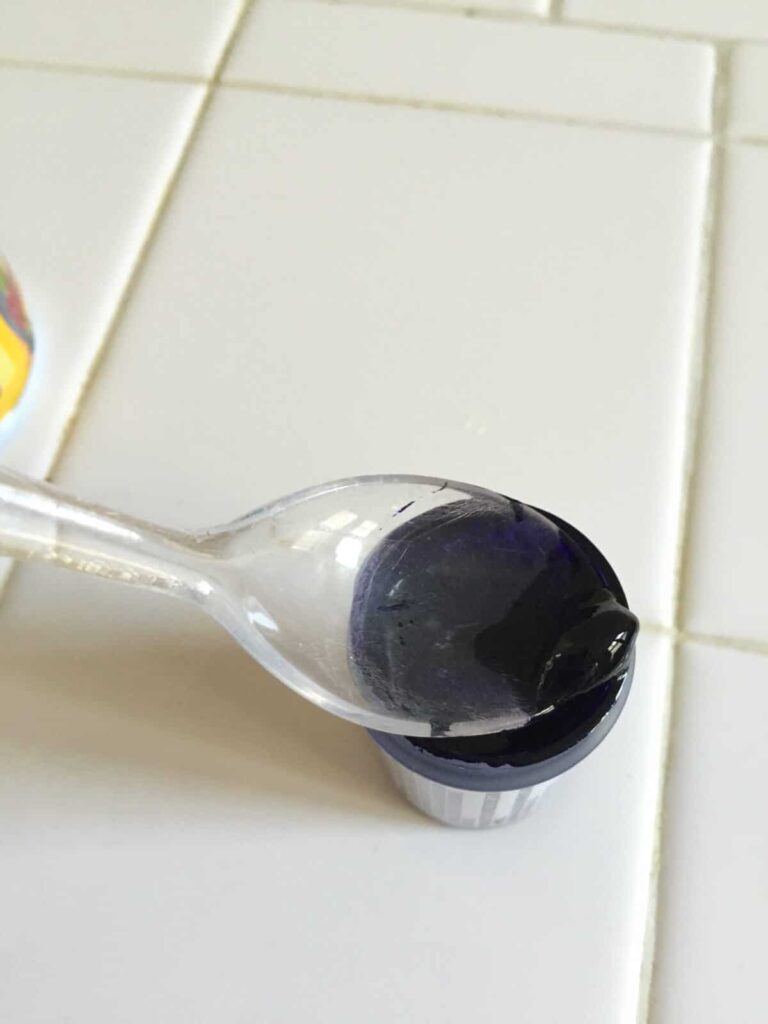
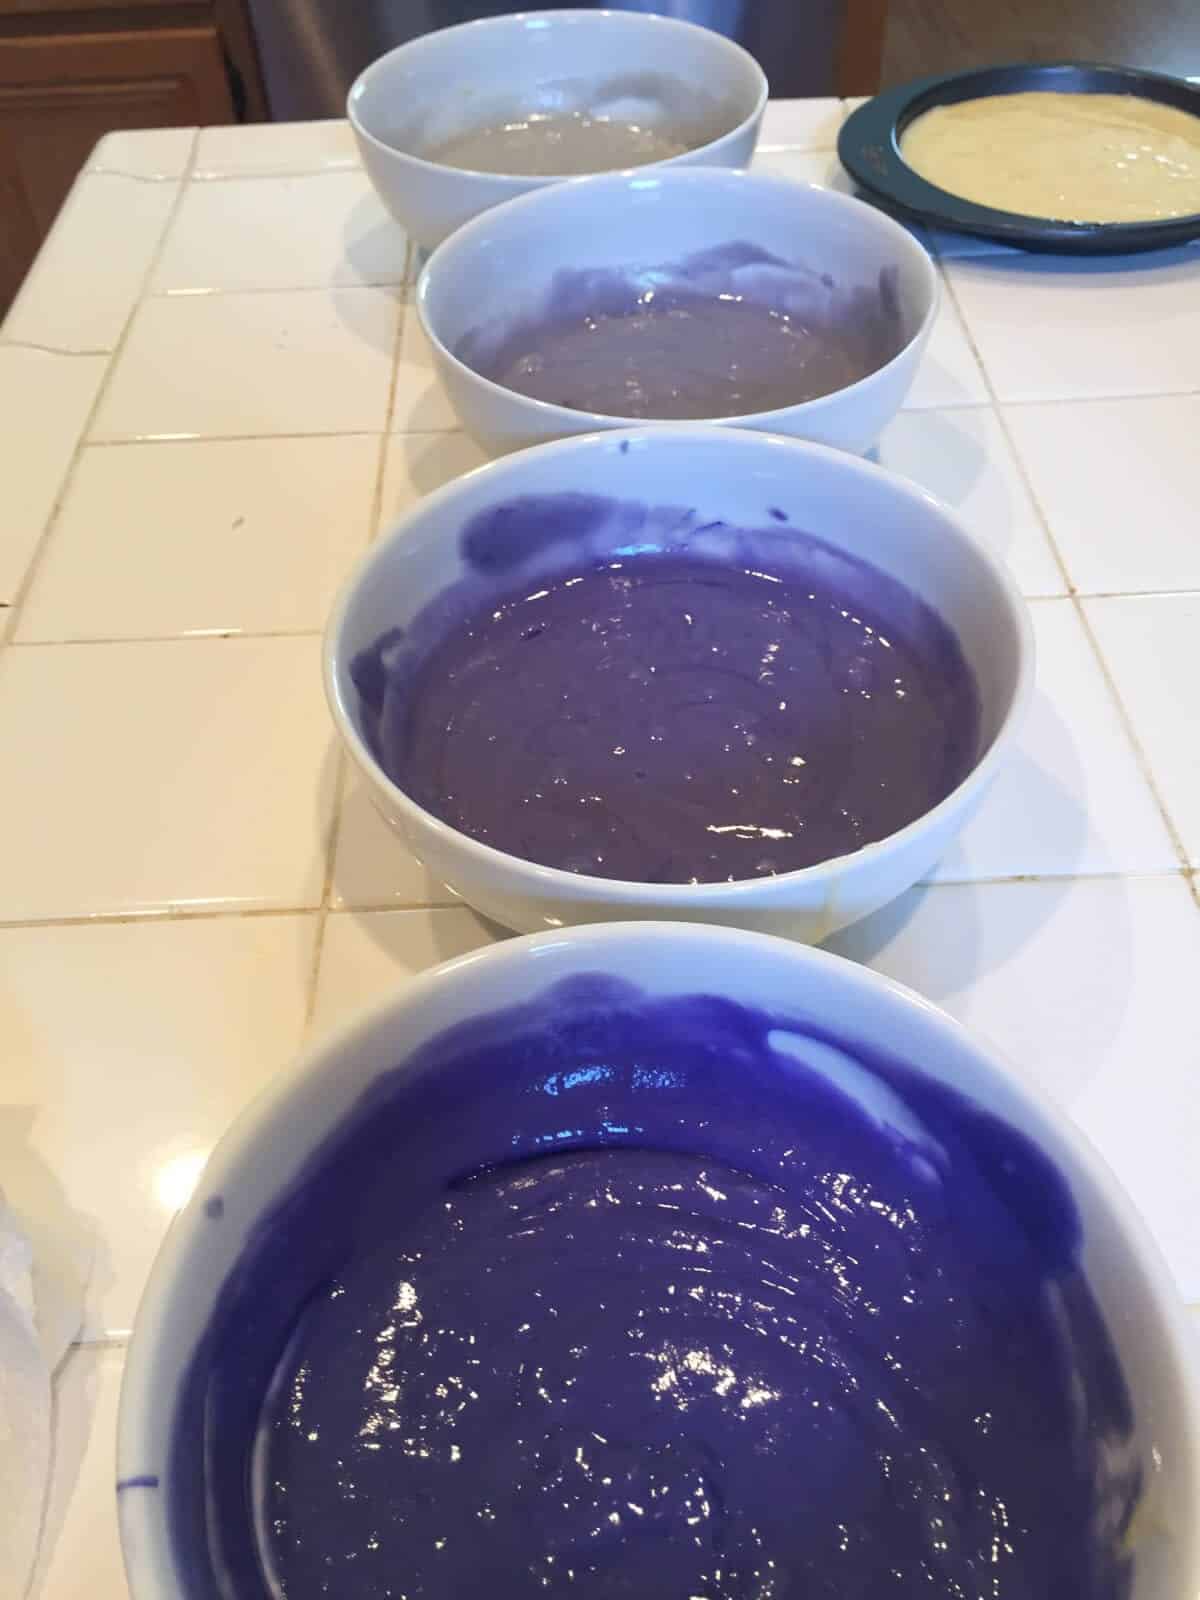
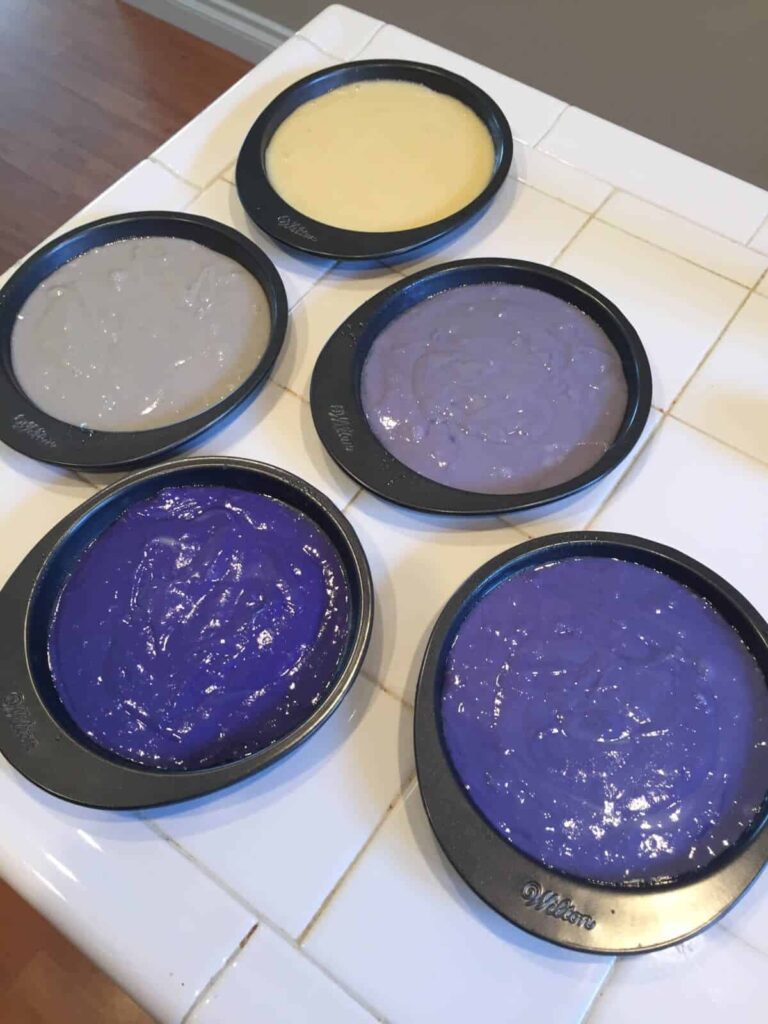
I suggest starting with your lightest shade first, because you can always add more to get the deeper colors of your ombre later. I personally only did 4 shades of purple because I wanted to have a white layer on top. Aren’t they gorgeous? You could not get this shading with regular food coloring.
Be sure to grease your cake pans and then use a spatula spoon to scrape the contents of each bowl into their respective pans. Seriously, these look so awesome.
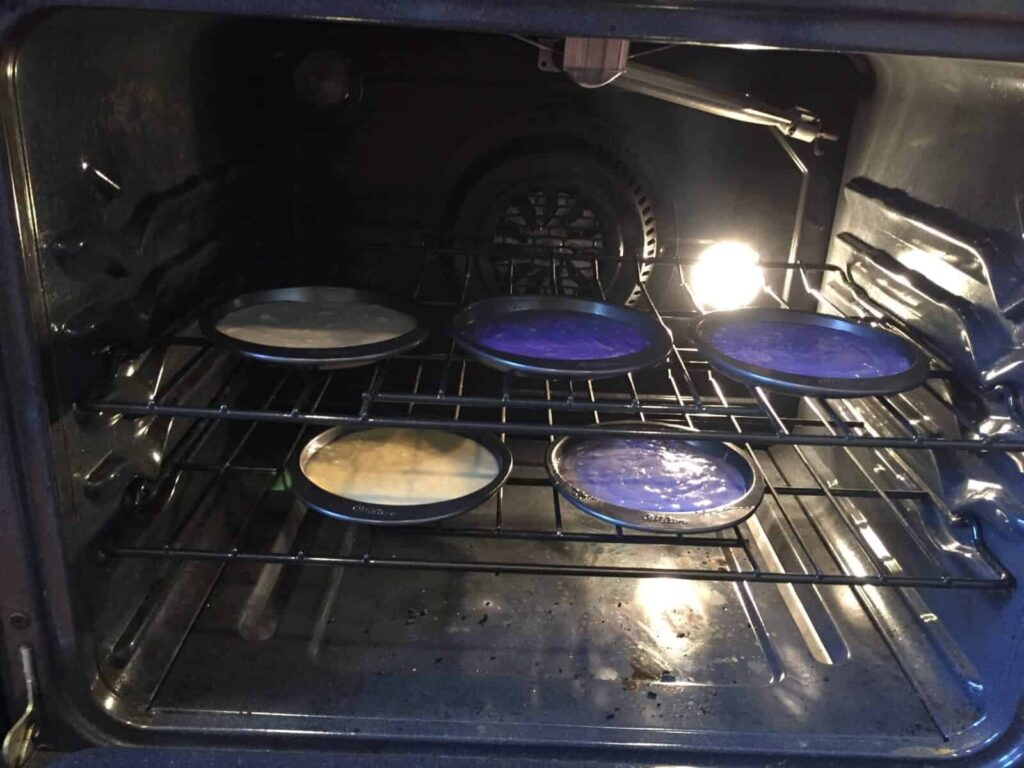
Put in the oven for about 18 minutes, depending on your oven. Since these pans are so shallow, it won’t take very to bake so keep an eye on them. No one wants a dry cake!
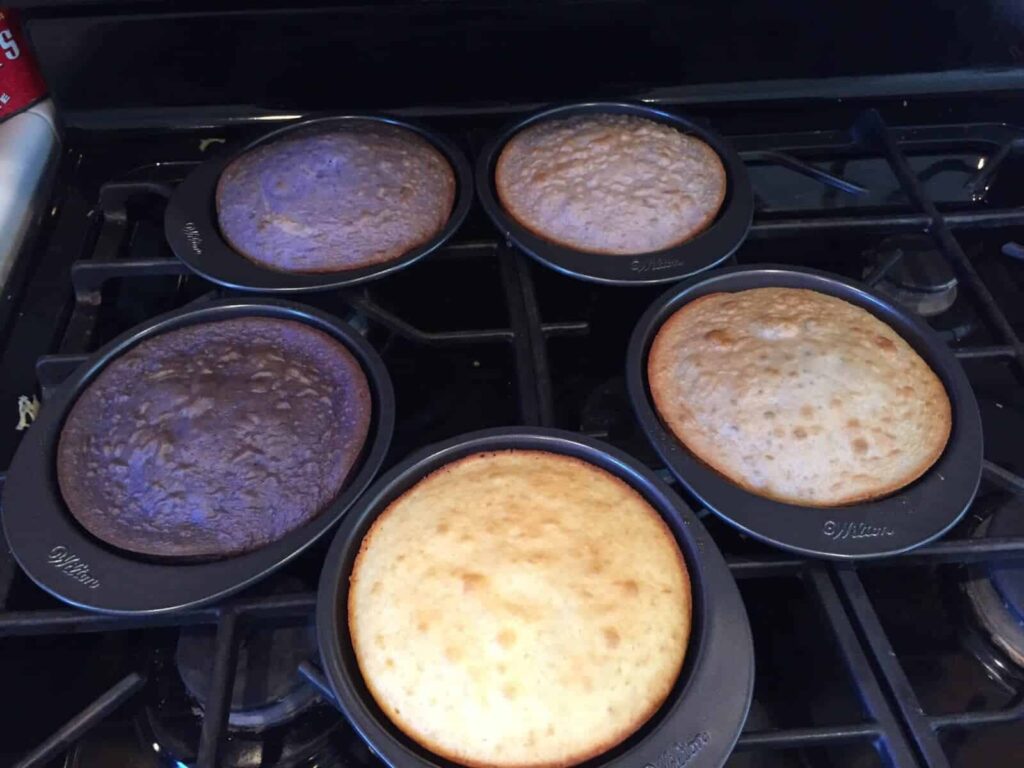
The outsides of each layer will have browned a bit, dulling your colors. However, once you slice into the cake it will be just as vibrant as ever.
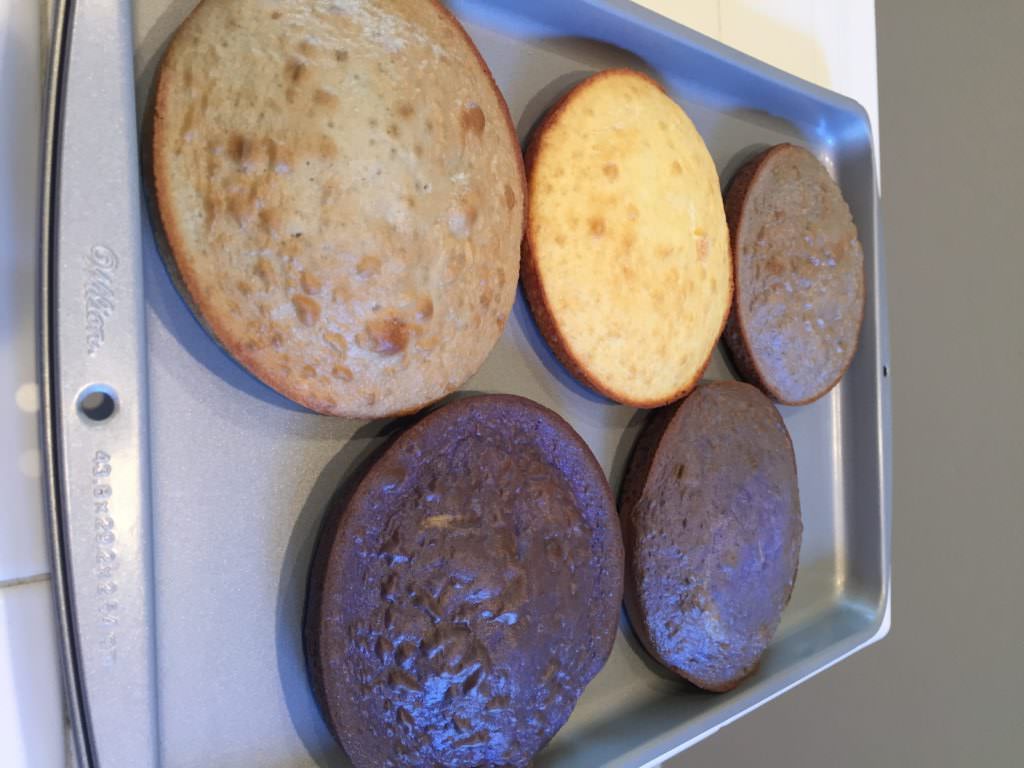
Let each layer cool for about 5-10 minutes and then remove from the pan and let completely cool for at least an hour. The layers literally slide right out of the pans when you flip them over so it’s very easy. All of mine fit on a large cookie sheet where they will hang out until nice and cool.
Ok, just like any cake, these small layers will bake up and form a dome.
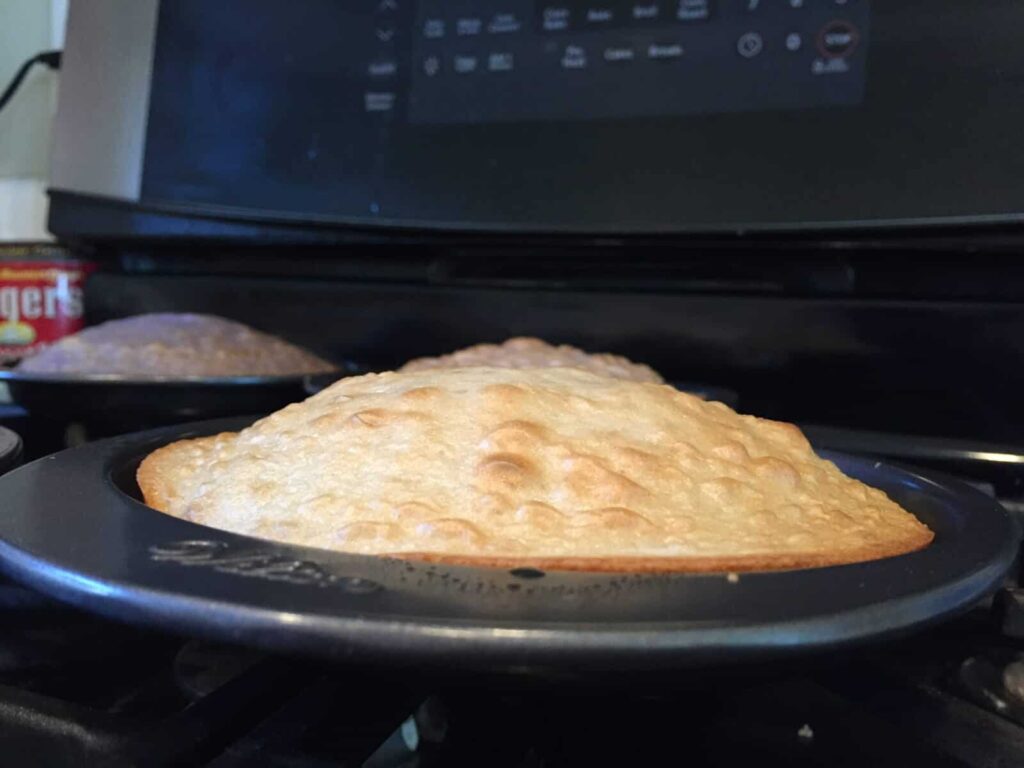
What? How will I make a nice flat layer cake then, you ask? Well I didn’t think about that either when I started. I just had it in my mind that these were magic pans and they baked layers in perfectly flat shapes. Dumb, I know. Once your layers are totally cool, you will be “cutting off the crowns” to make nice even, flat layers using a serrated knife. Be SURE you’ve allowed ample time to cool, or you will end up ripping up the cake as it crumbles and tears.
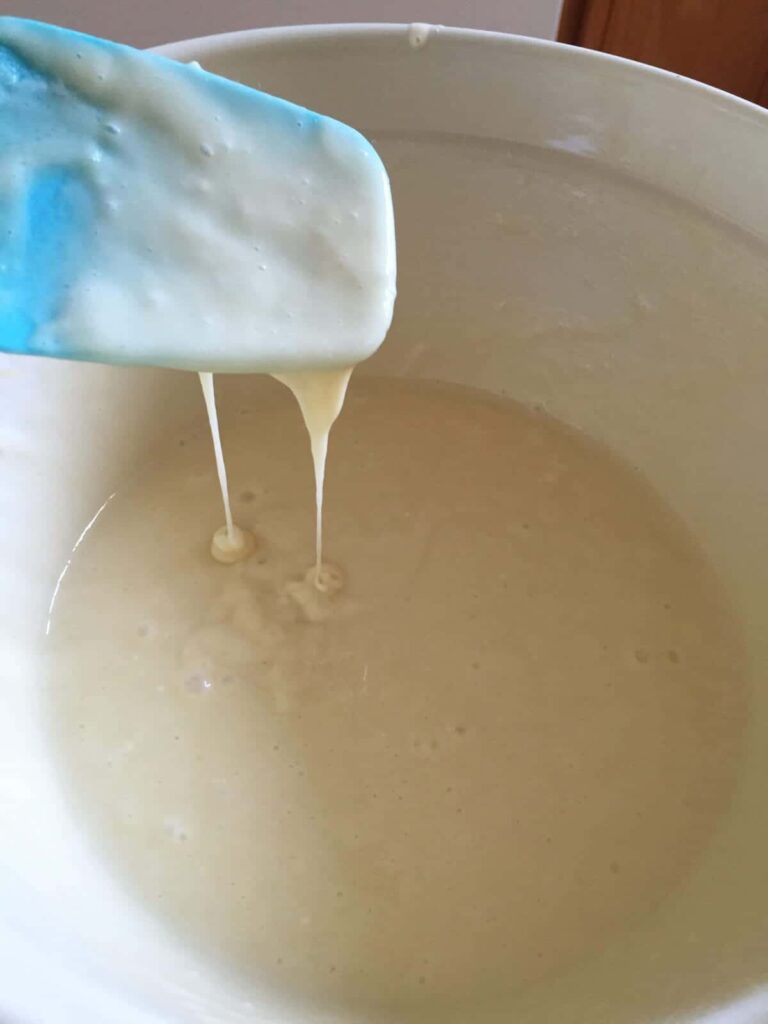
While you’re waiting for the layers to cool, start mixing your frosting. Combine the powdered sugar, butter, vanilla and only 3 TBL of milk in a large bowl. Your frosting will be holding your layers together so you want it to be semi-stiff and definitely not watery. If it’s too dry, then start adding in the milk in tiny increments. If you accidentally make it too watery, then add in small amounts of powdered sugar. Once you have your desired consistency, you’re ready to cut your cake and put it all together.

Take a serrated knife, such as a sharp bread knife and lay your cake layers on cutting board, crown side up. Begin slicing off the tops evenly so you create a flat layer. It sounds harder than it is:
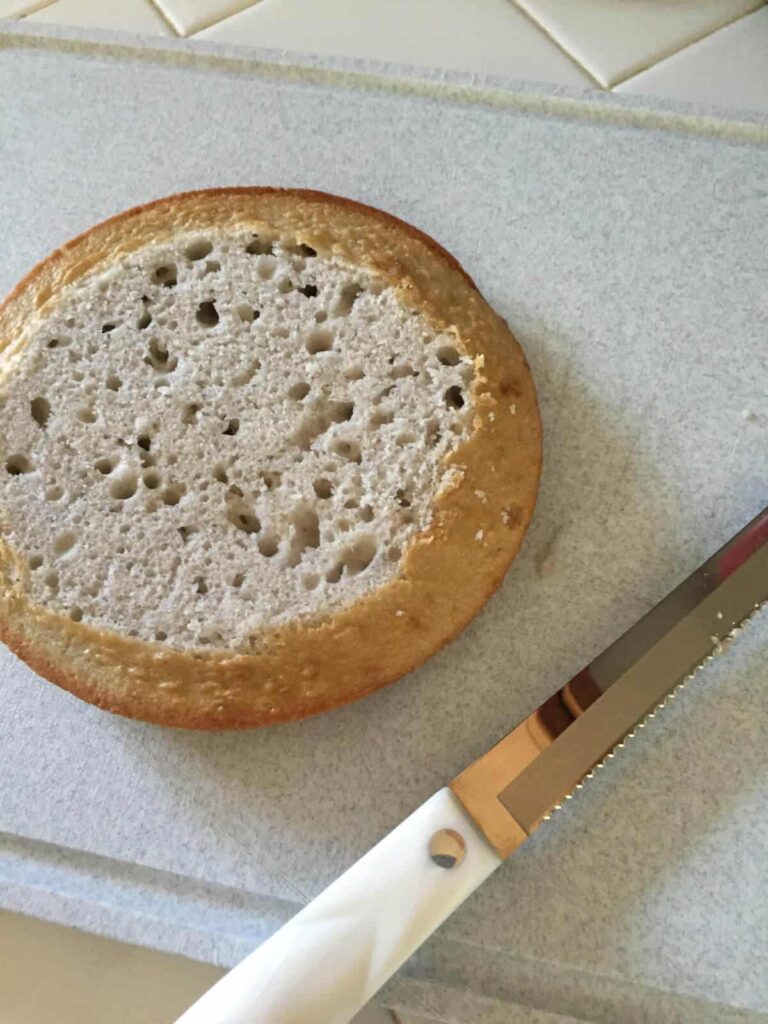
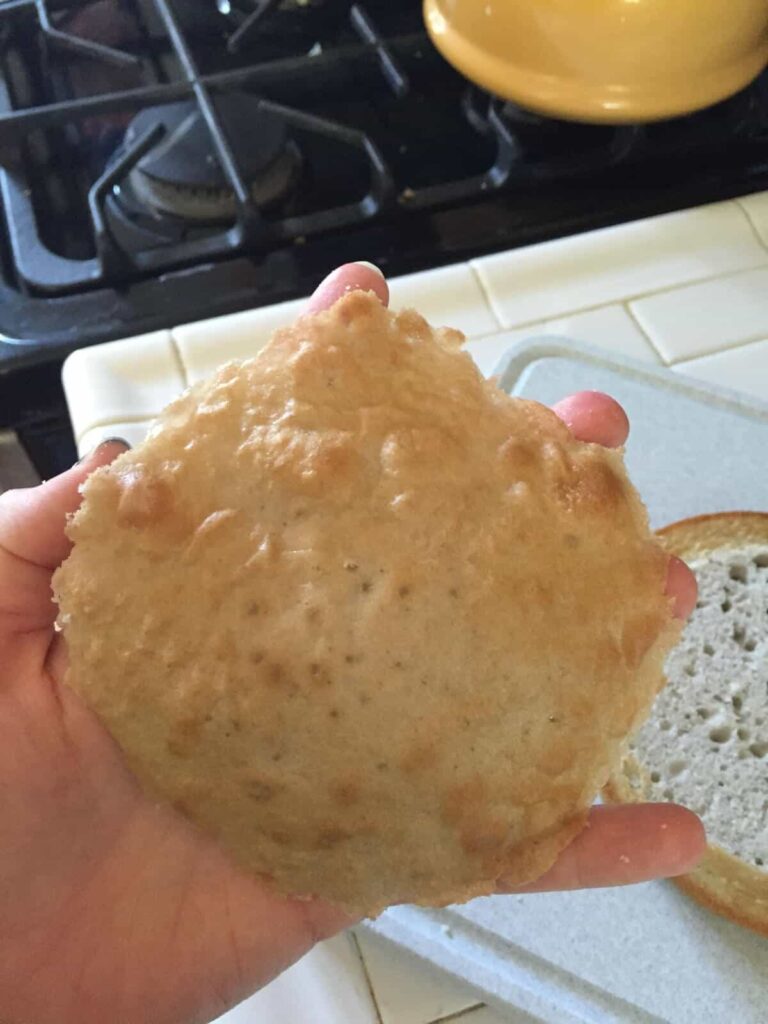
You’ll end up with a cake top that is perfect for a sweet treat!
Determine the order of your cake layers (light to dark or dark to light) and lay your first layer down on your cake stand. Once you start your cake you cannot move it! So just put it in a good place and you’re good to go.
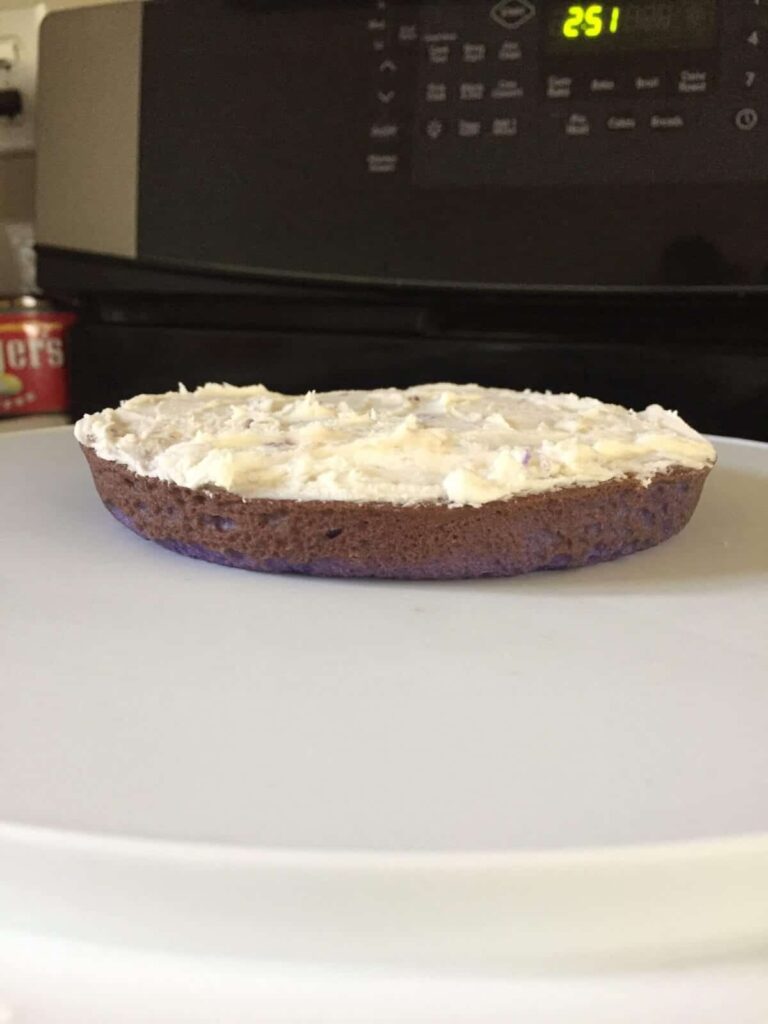
Start frosting your layer and then stack each on top of the other. You can choose to frost entire outside, or just in between the layers- its up to you. I personally did a messy job of frosting and decided to frost the entire outside to cover it all up. Sorry, I didn’t take a pic of just the layers, but this is the final product!
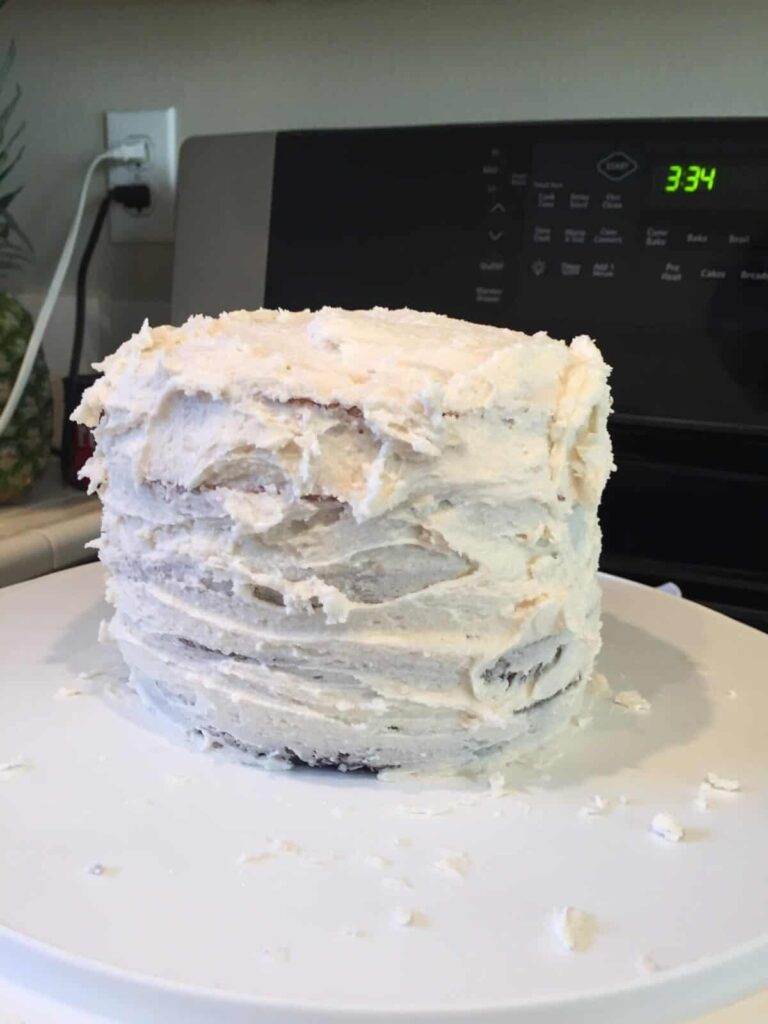
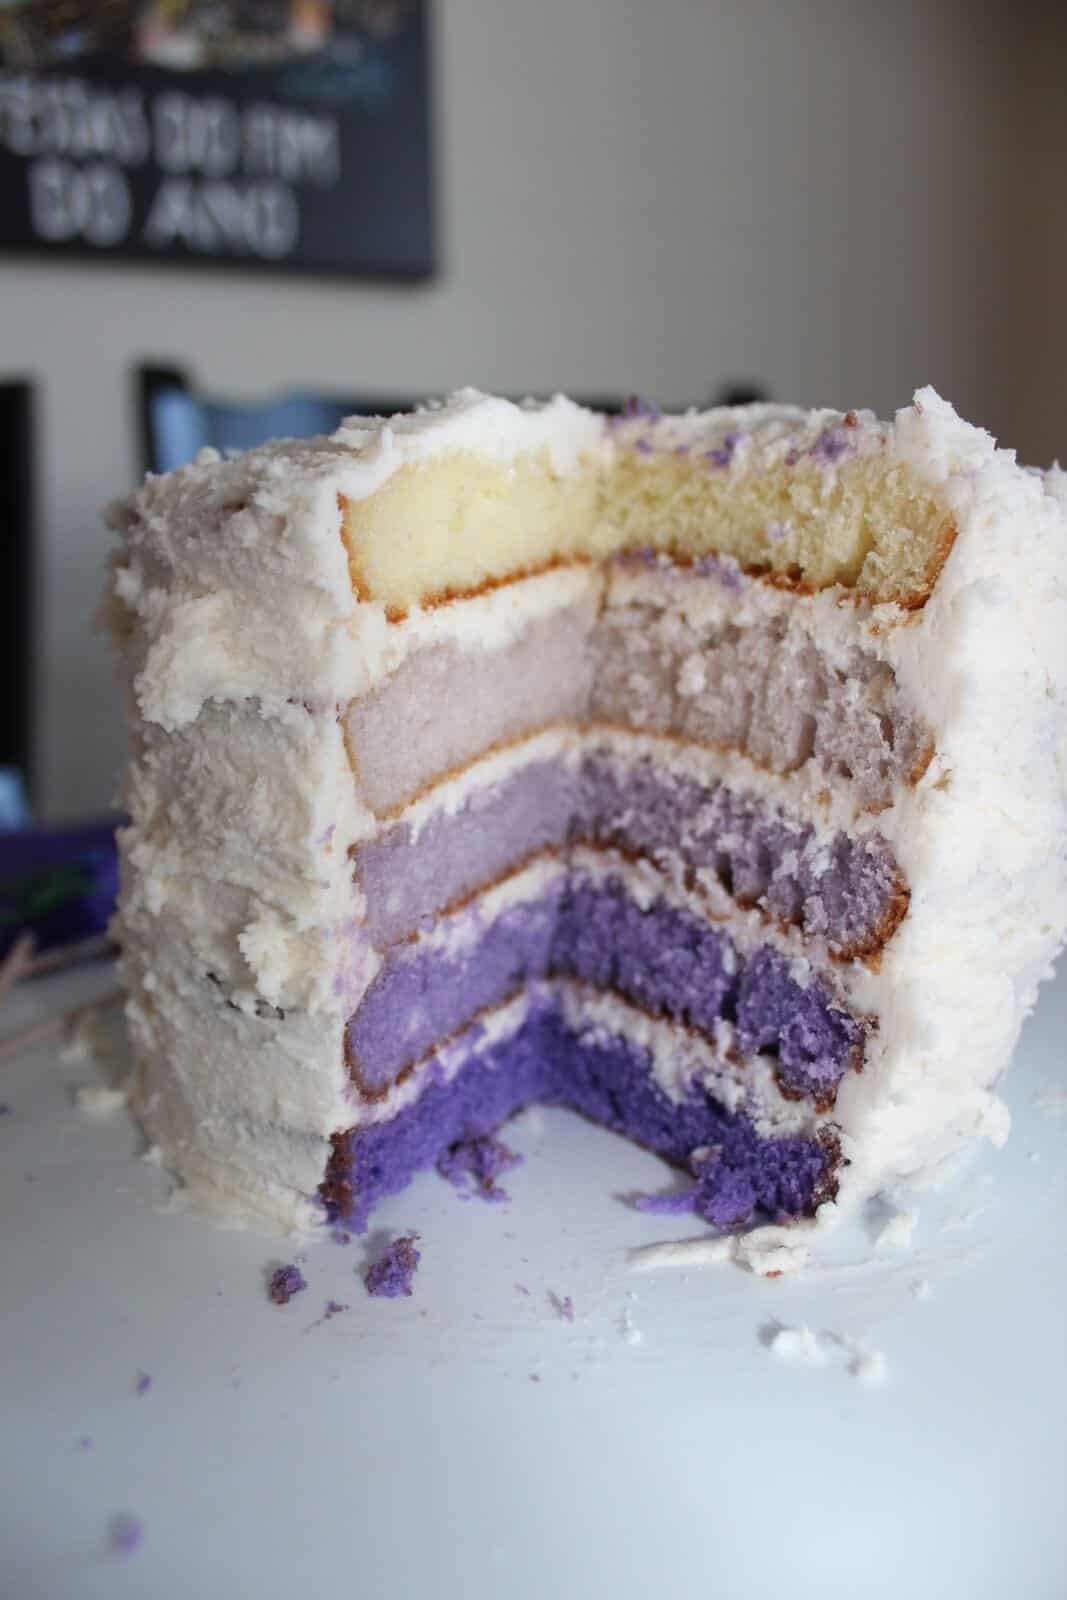
Add some candles and then await your moment of truth. Cutting into a cake has never been more satisfying than it was when I looked at this!

The cake was a big hit, not only because it looked great but it tasted amazing with all that buttercream frosting. You can’t lose with an ombre layer cake!
Related Images:

Karly Wood
Latest posts by Karly Wood (see all)
- Summer Chore Charts To Keep The Kids Busy - July 9, 2026
- 8 Family-Friendly Vegetarian Dinner Recipes - May 21, 2026
- 15 Wonderful White Kitchens to Inspire Your Dream Home Design - January 14, 2019