My husband, son, and I moved into our new place 9 months ago. Ever since then our upstairs bathroom has had some serious lack of decor. It’s not because I haven’t wanted to decorate it, I just haven’t found the inspiration for it. I knew I wanted some sort of “bathroom” art that was related to using the bathroom either by washing your hands, brushing your teeth, or taking a shower, but I just hadn’t found the right thing yet.
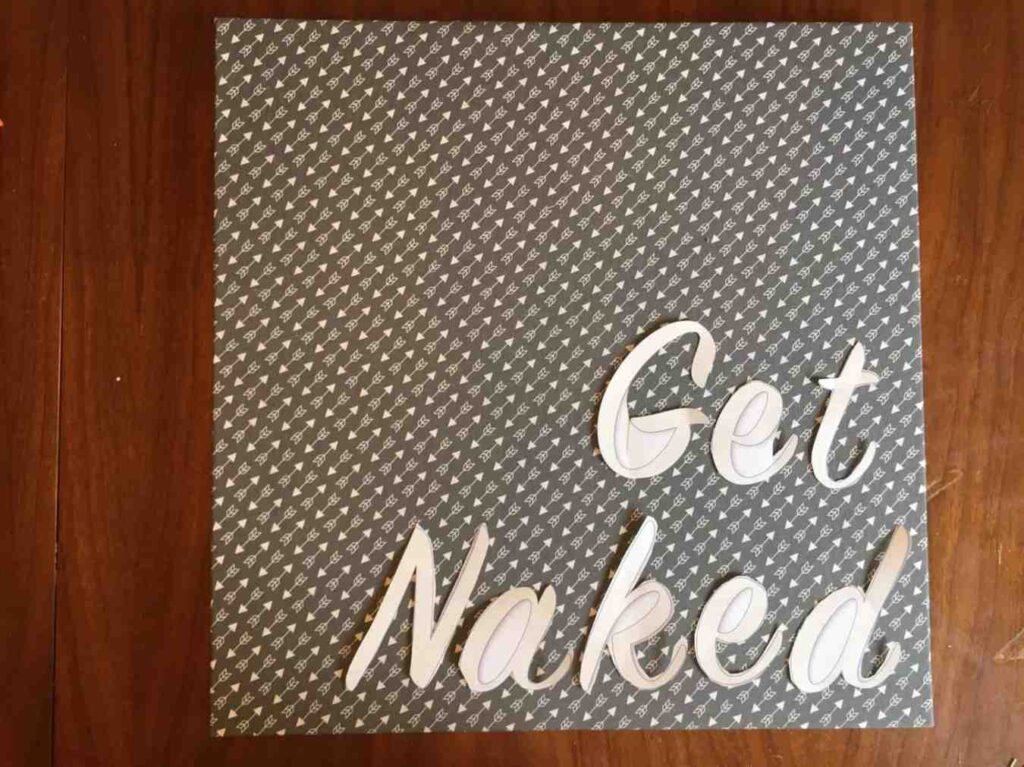
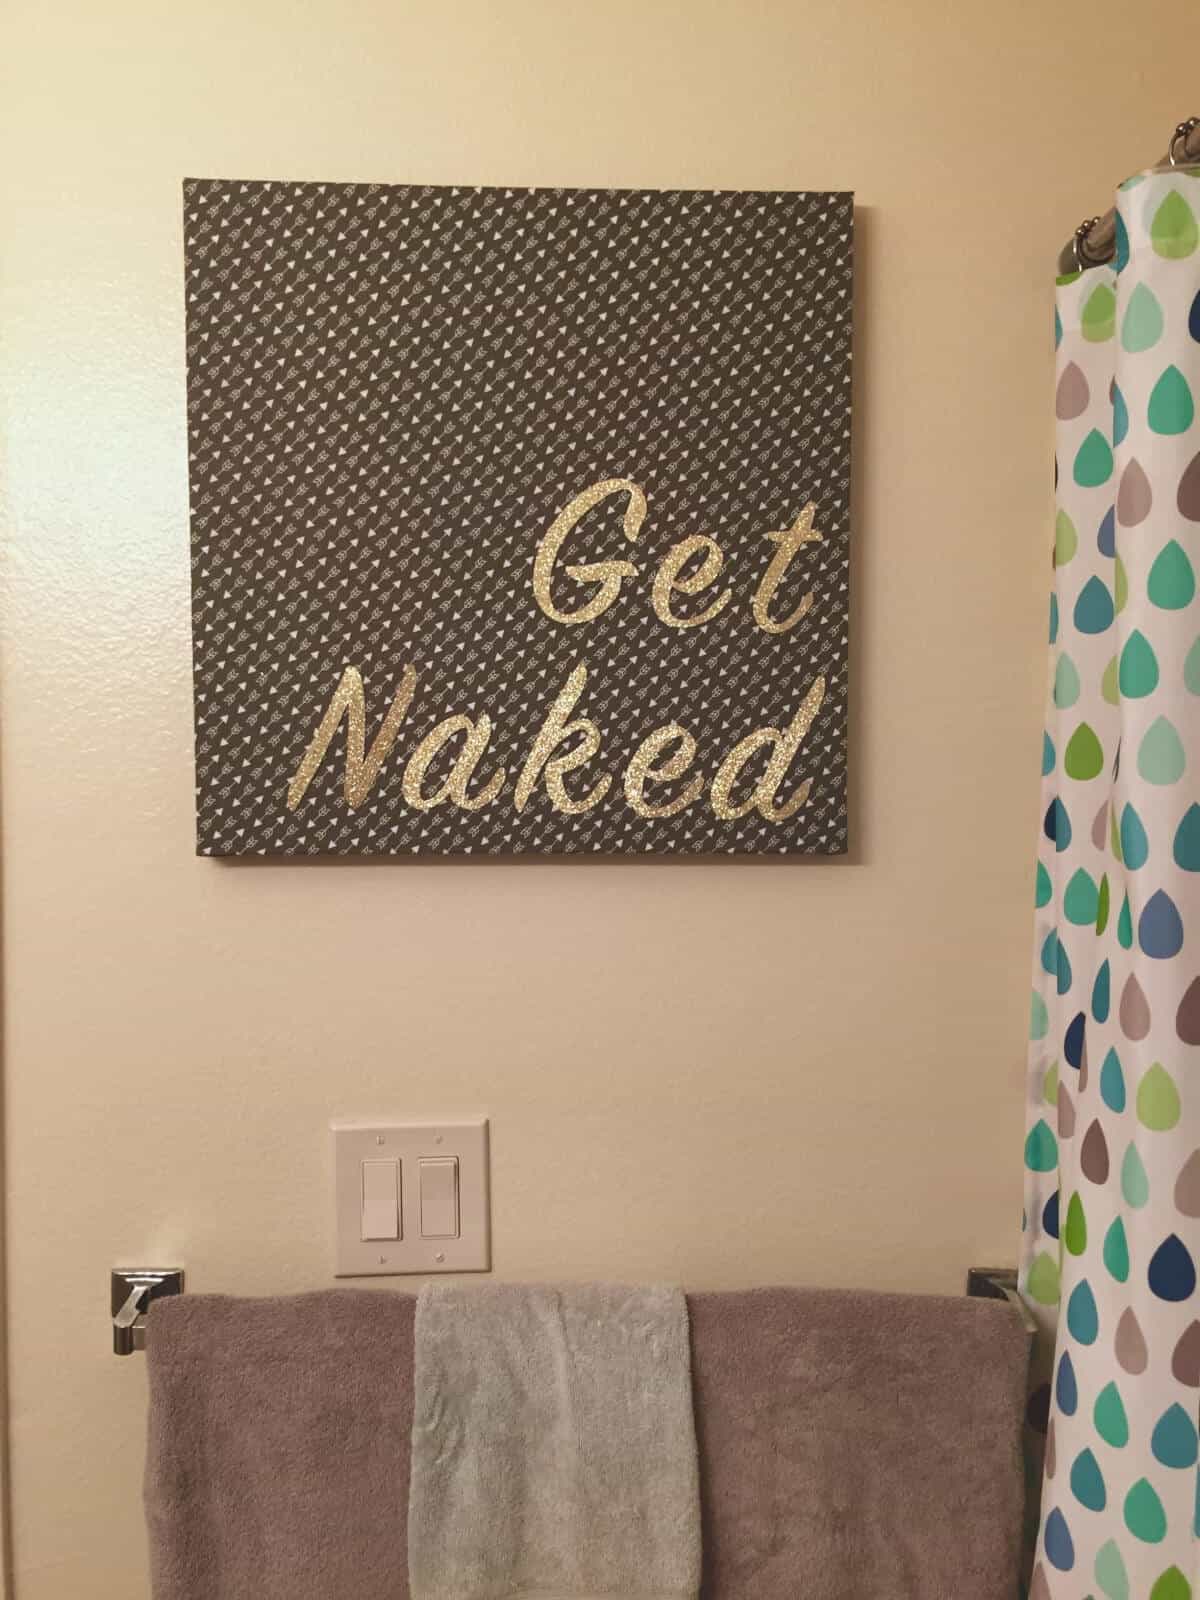
Lately I have been cleaning out our closets and came across a canvas art print that I’ve had for months and months, bet never hung because it didn’t really fit in anywhere. I figured I could probably use it to make my bathroom art if I covered it or painted it somehow. So, I started searching Pinterest for different bathroom art prints and found the phrase, “Get naked.” I loved how literal it was about having to get naked to get in the shower and thought it was funny. So, I decided that’s what I would put on my canvas and this is what I ended up with:
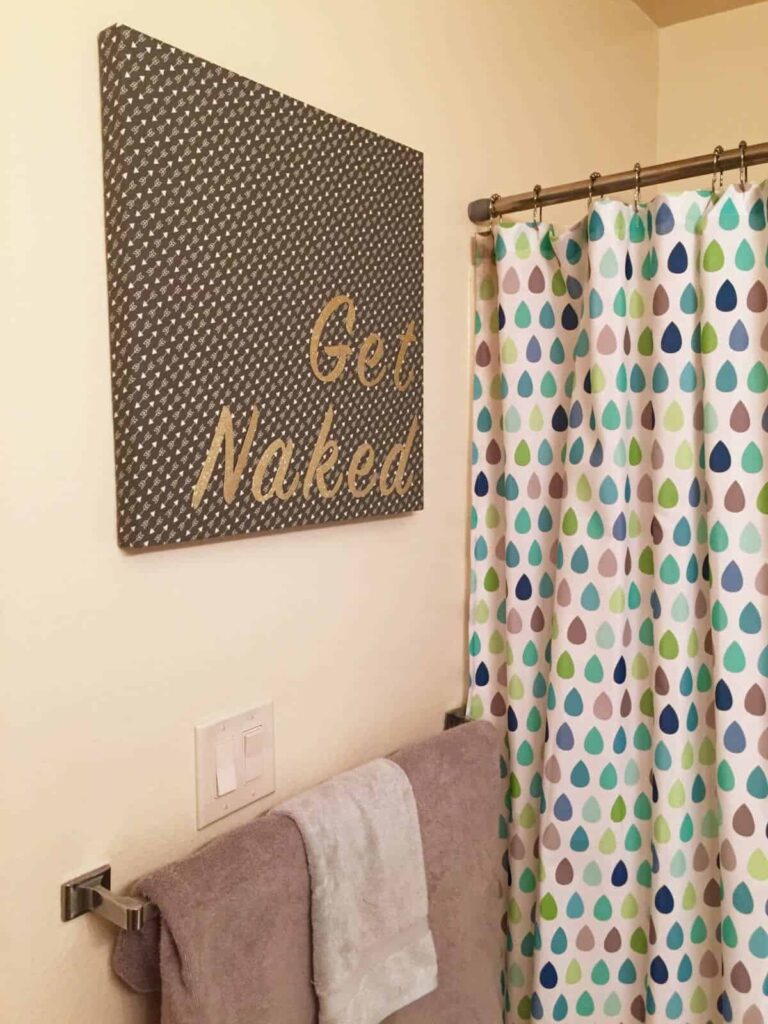
It was pretty easy to make, but was a little time consuming, mainly because of the lettering. All together it probably only took me an hour and a half.
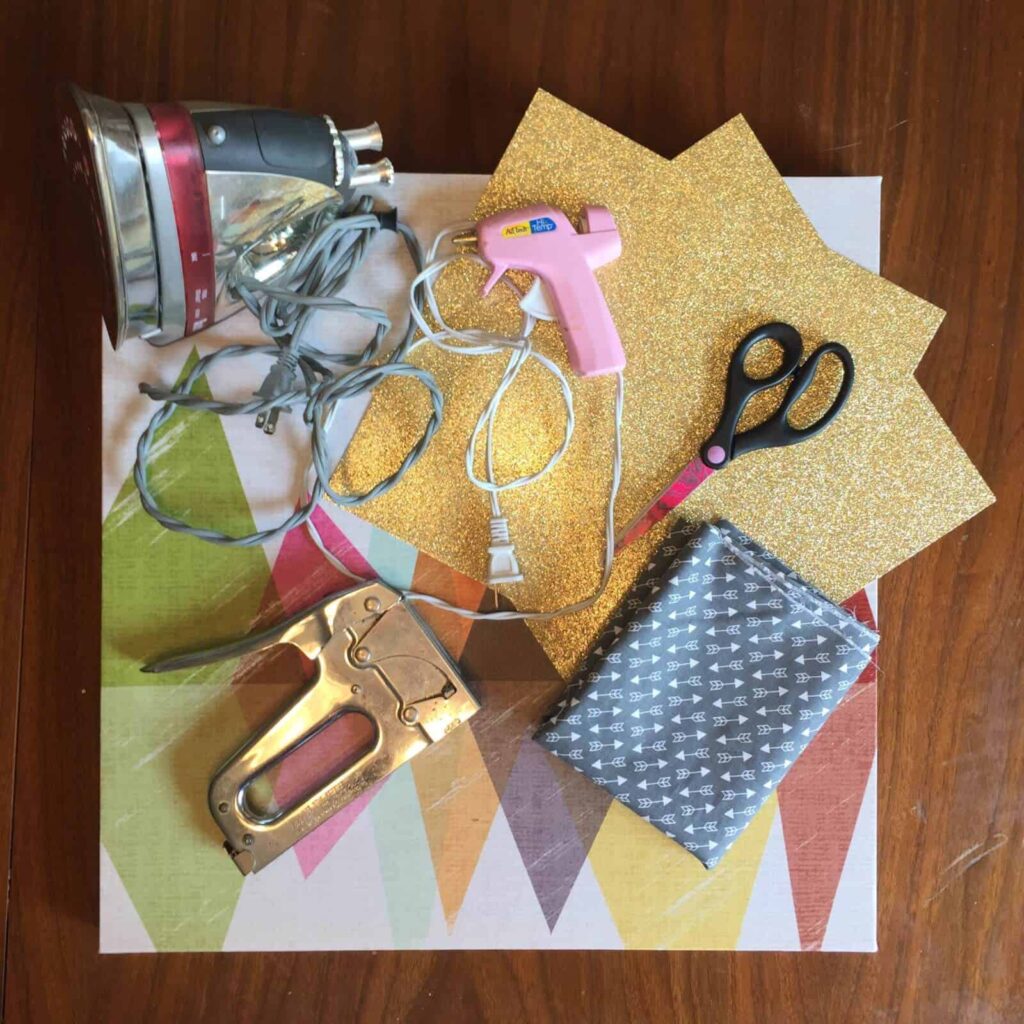
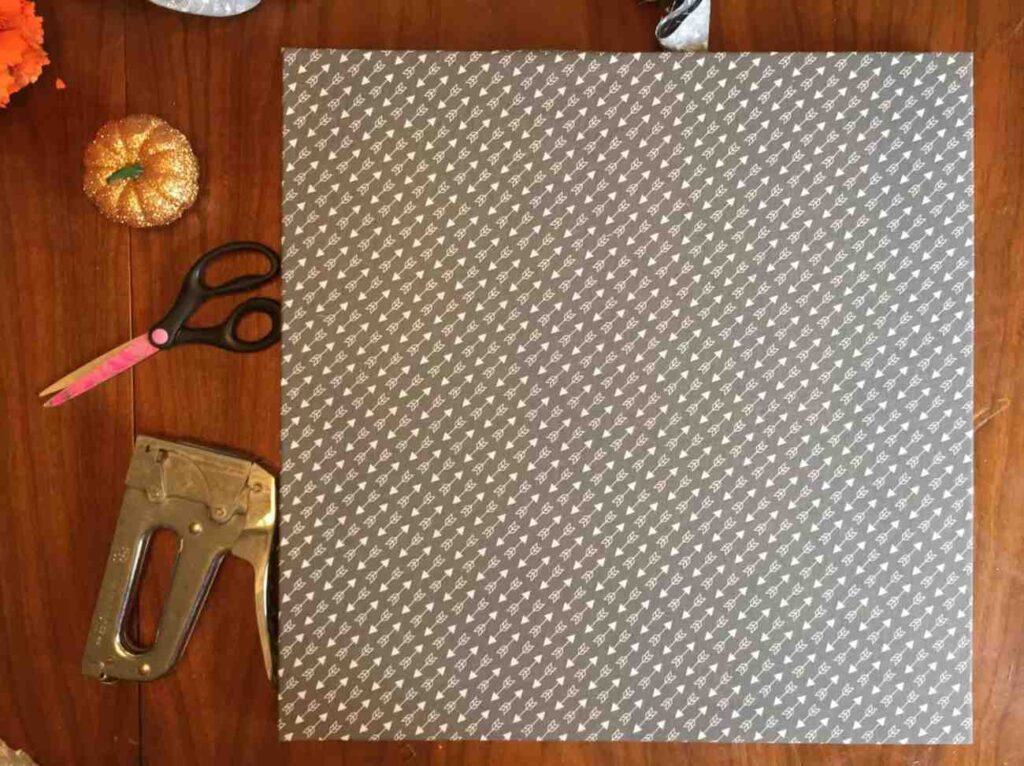
If you’re interested in making something similar for your bathroom, here’s what you’ll need:
-canvas
-fabric
-iron
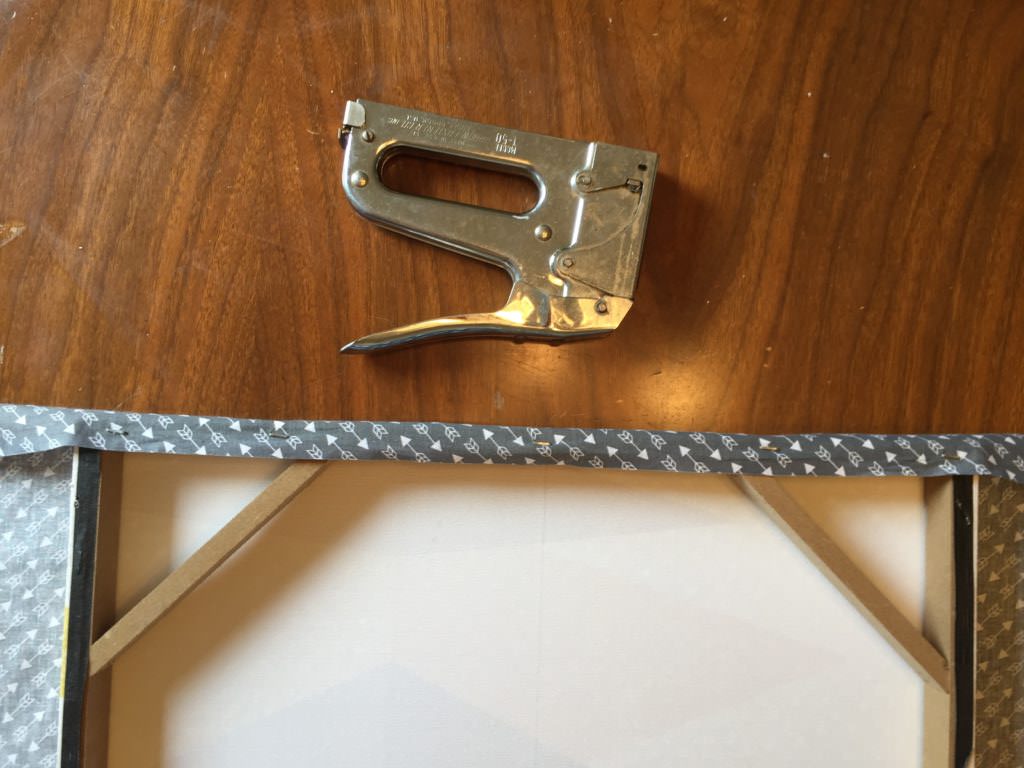
-staple gun
-glitter scrapbook paper
-scissors
-glue
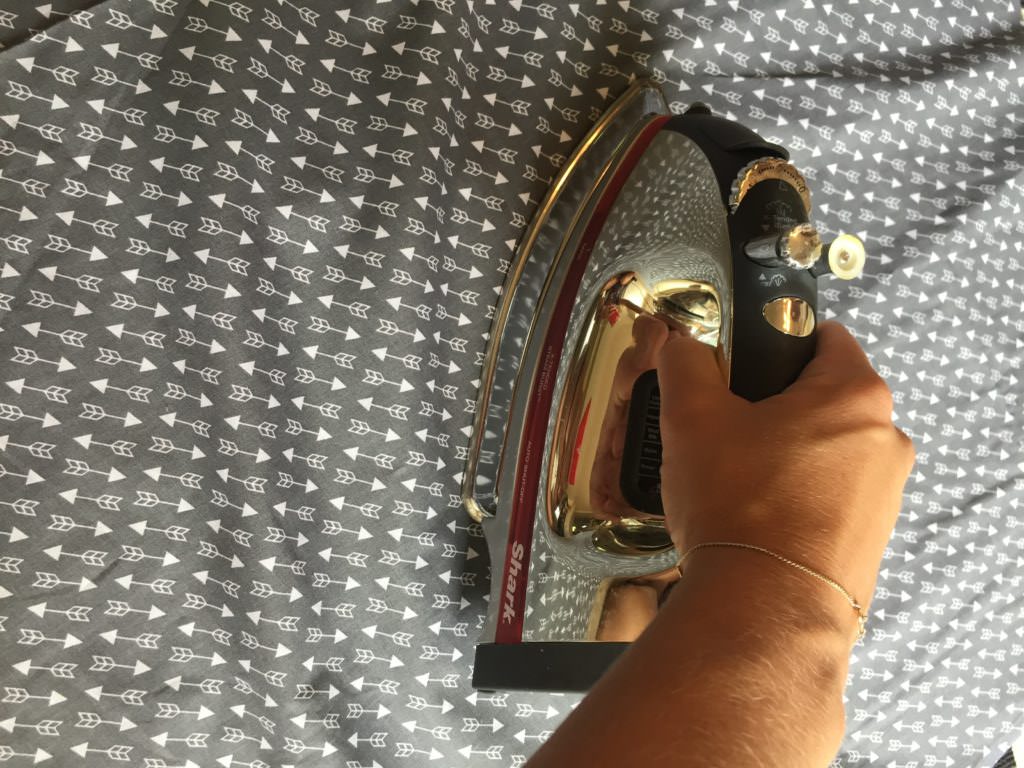
The first thing you’ll want to do is iron your fabric to get all the wrinkles out. The last thing you want is a wrinkly piece of art.
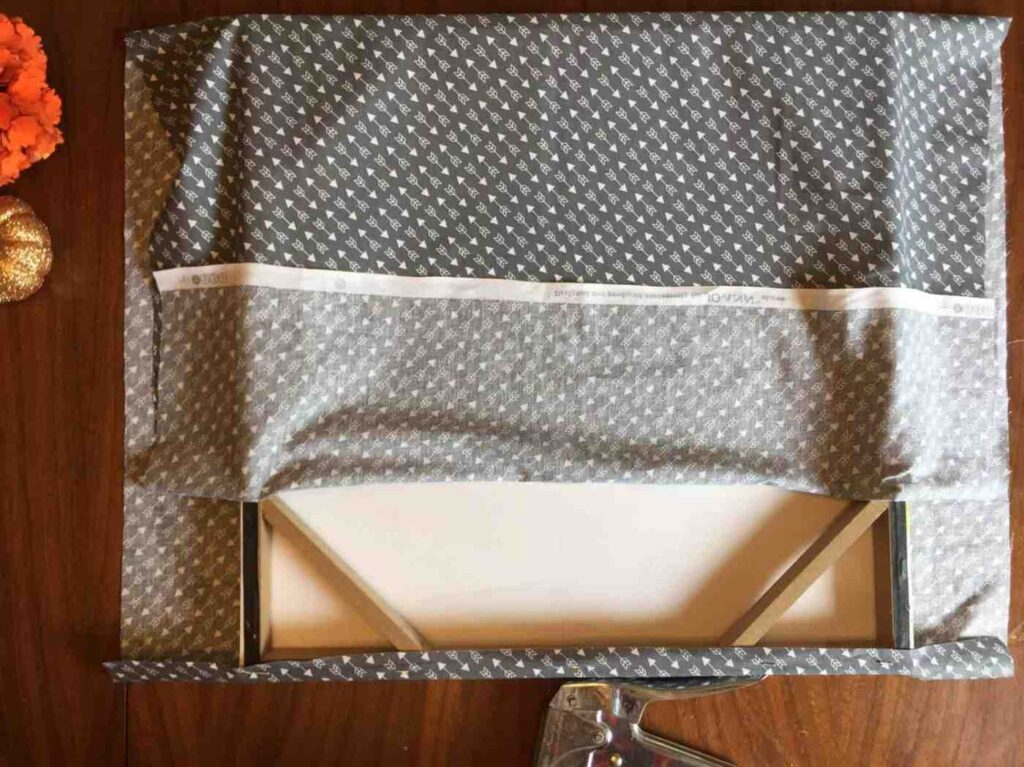
Next, lay your fabric face down on a flat surface. Smooth out any kinks or wrinkles there may be in the fabric, then place your canvas down face first onto of the fabric. Position the canvas where you want it if you want a particular part of the fabric shown.
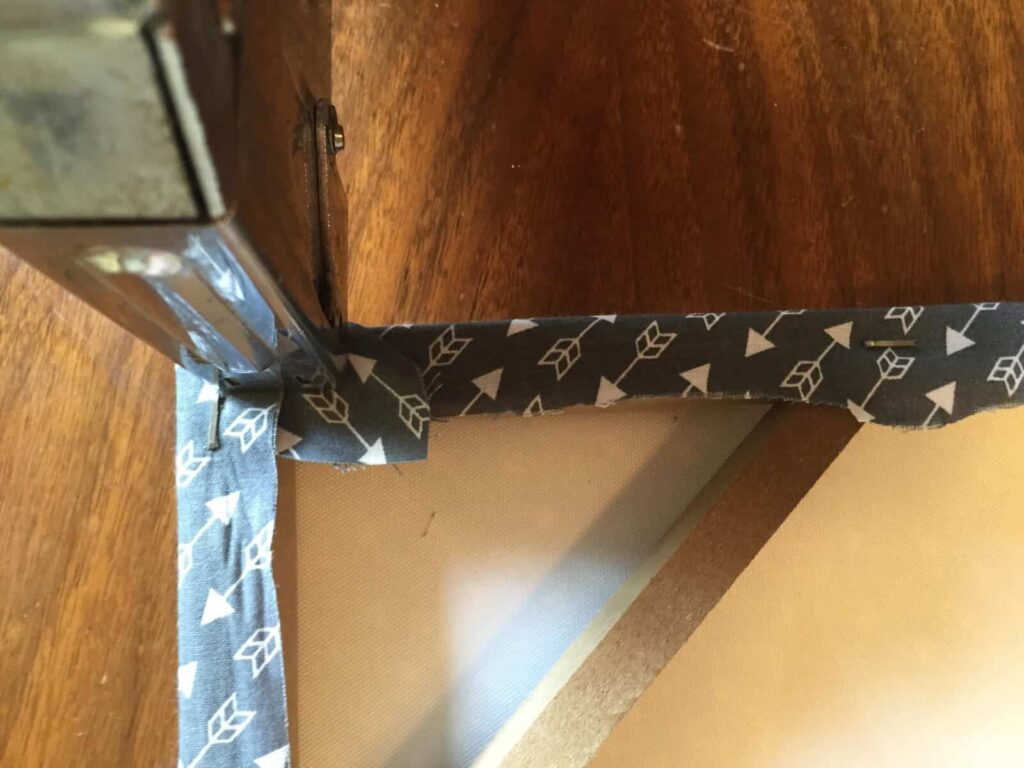
In order to secure the fabric to the canvas, wrap up the fabric around the side of the canvas. While holding it in place, staple gun the fabric down onto the wooden frame. I put a few staples running down the side so it would stay put.

Once that side is stapled, pull the opposite side’s fabric up and over the frame of the canvas, then repeat the same steps of stapling the fabric down on the wooden frame.
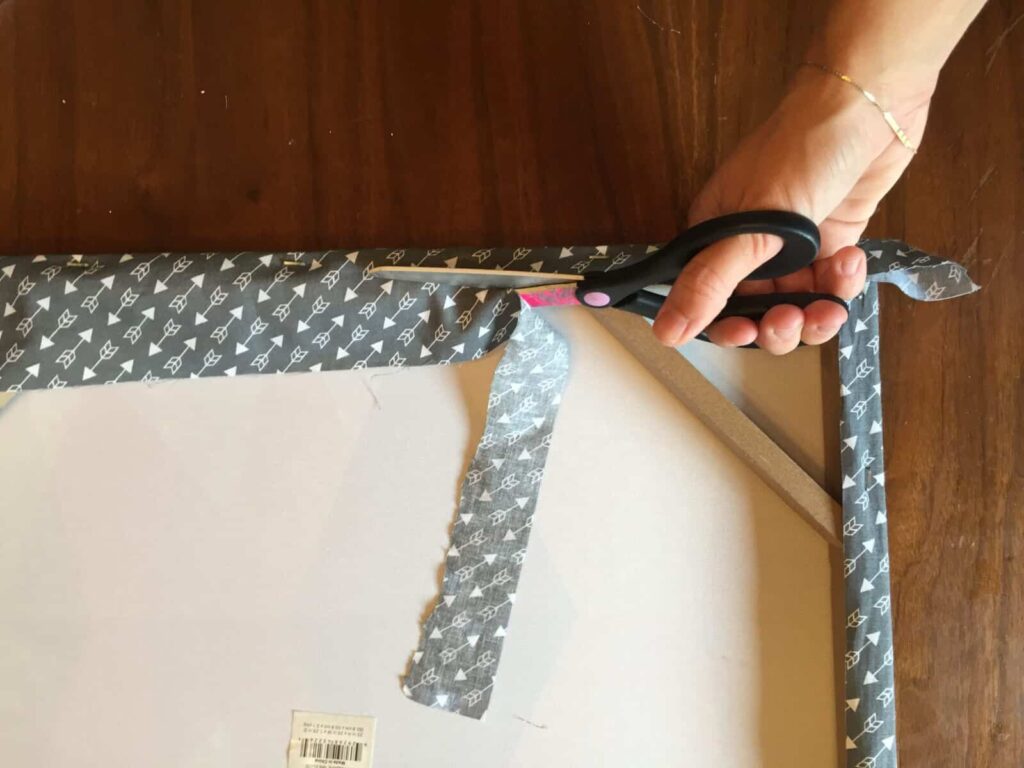
Once the fabric is stapled, and secure on that side, cut any excess fabric.
Repeat the same steps for the other two sides until all the sides are stapled down securely onto the wooden frame. Be sure to keep the fabric taught so it doesn’t sag.
Cut any excess fabric that may be left over.
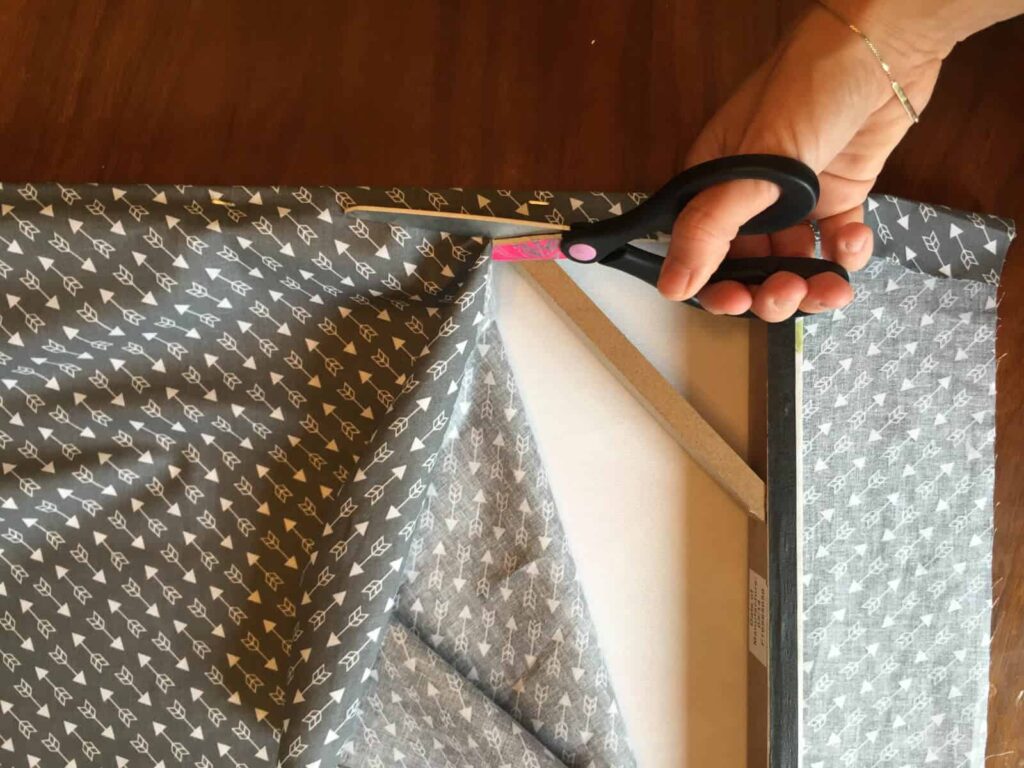
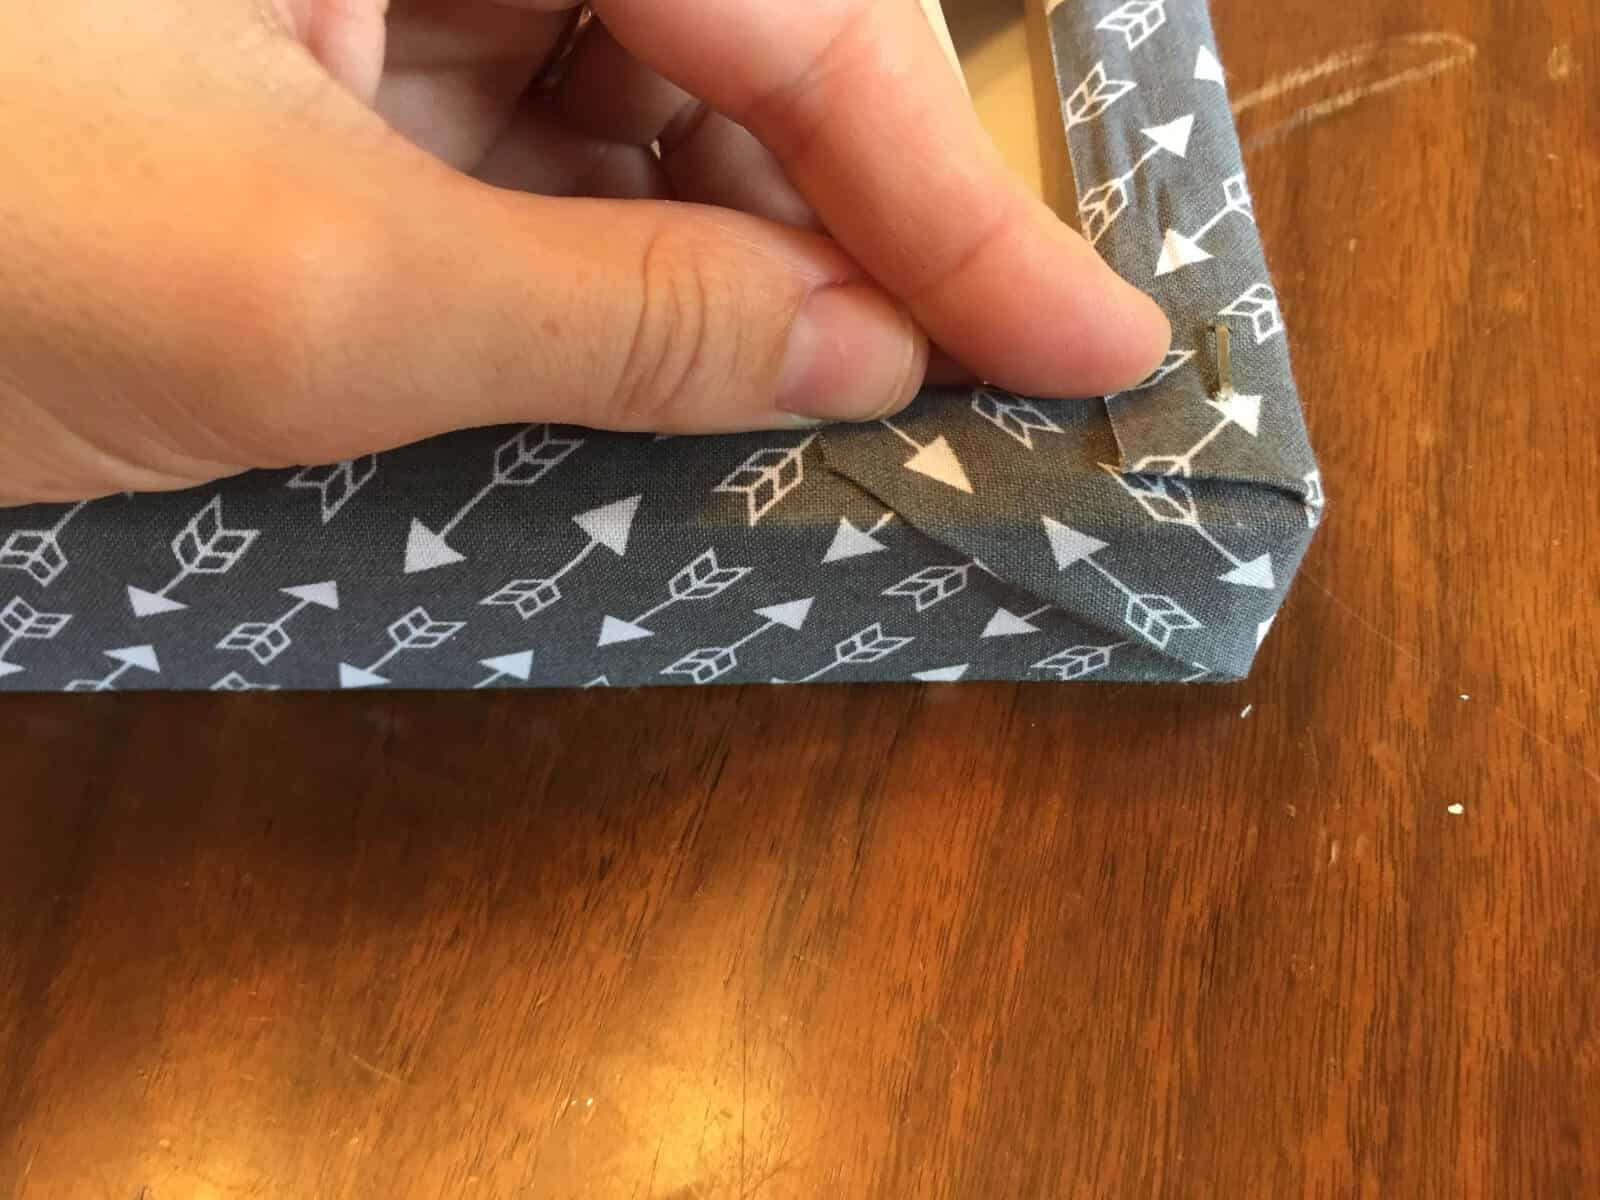
Now, to finish off the corners you’ll want to create a point with the fabric like this.
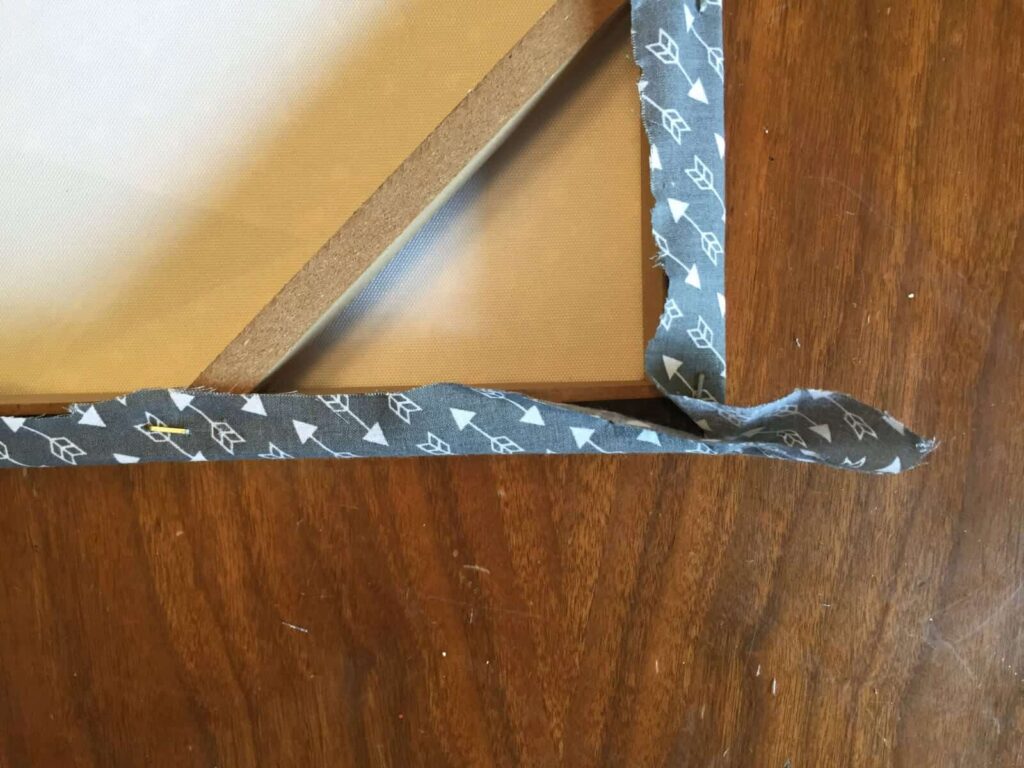
Fold the point over to one side of the canvas like you’re wrapping a present and pull it tight.
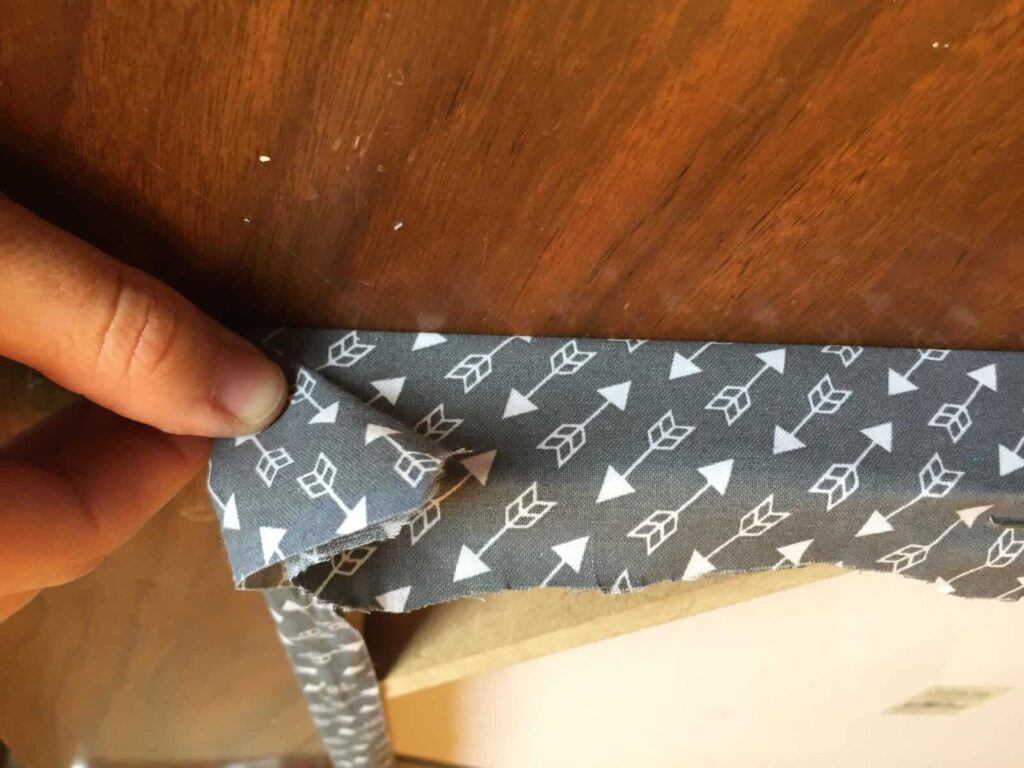
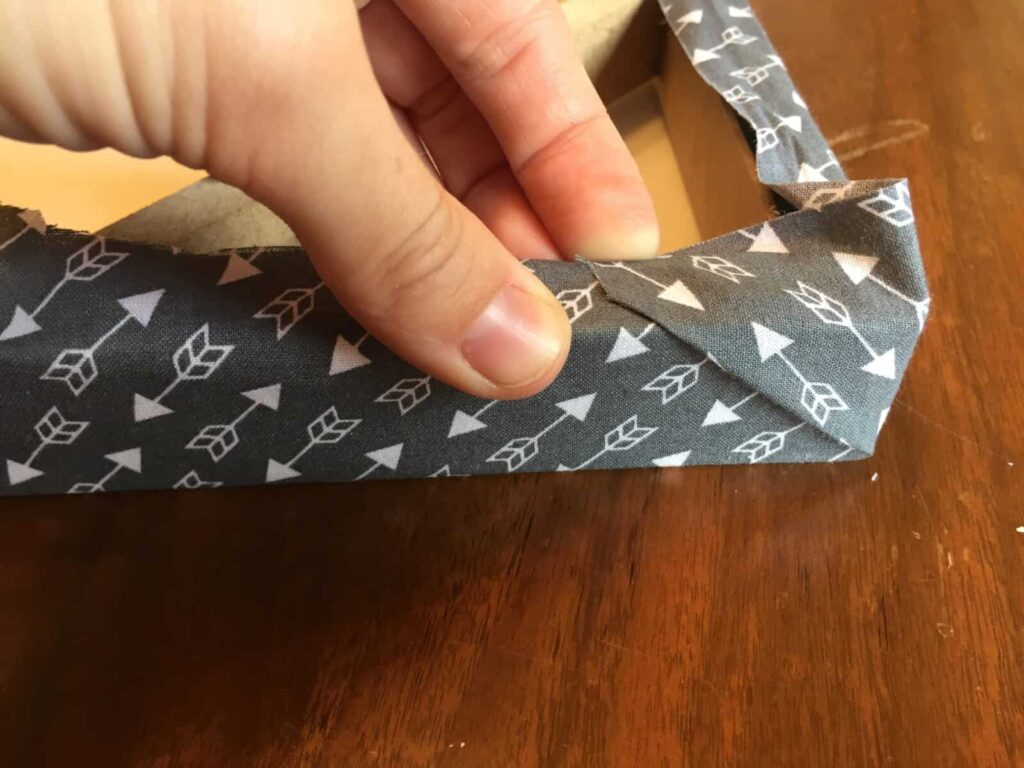
Then, fold down the excess fabric that may be puckering up a bit from the other side and staple it all together. Repeat these same steps on all the corners.
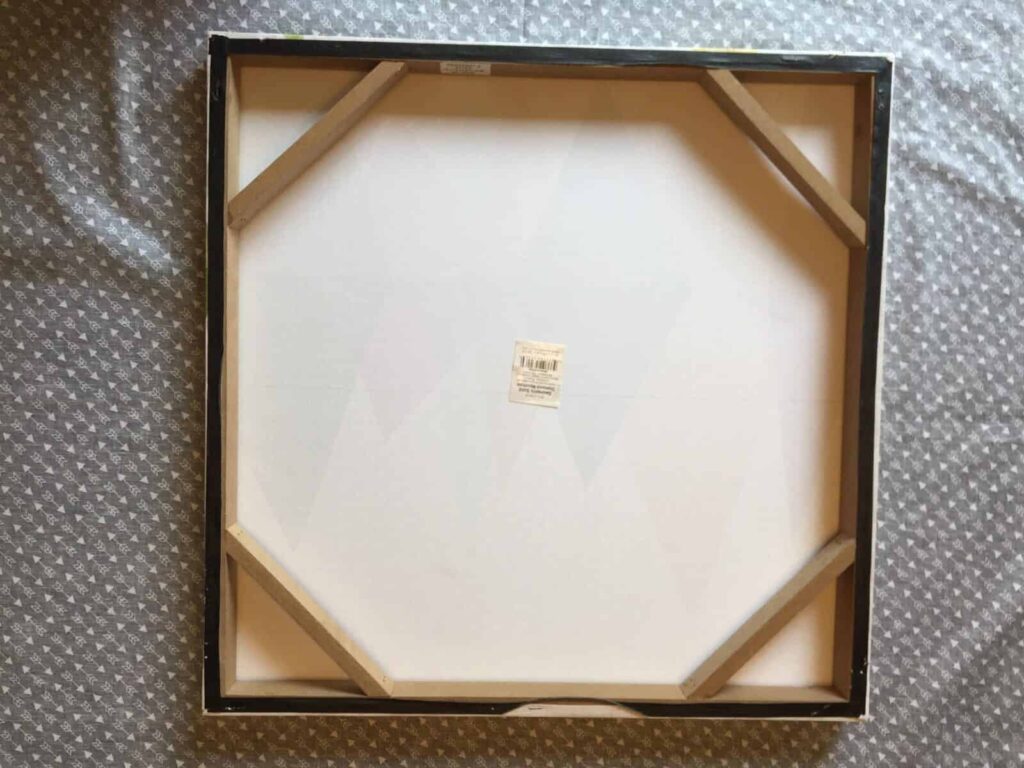
Your canvas should now look something like this:
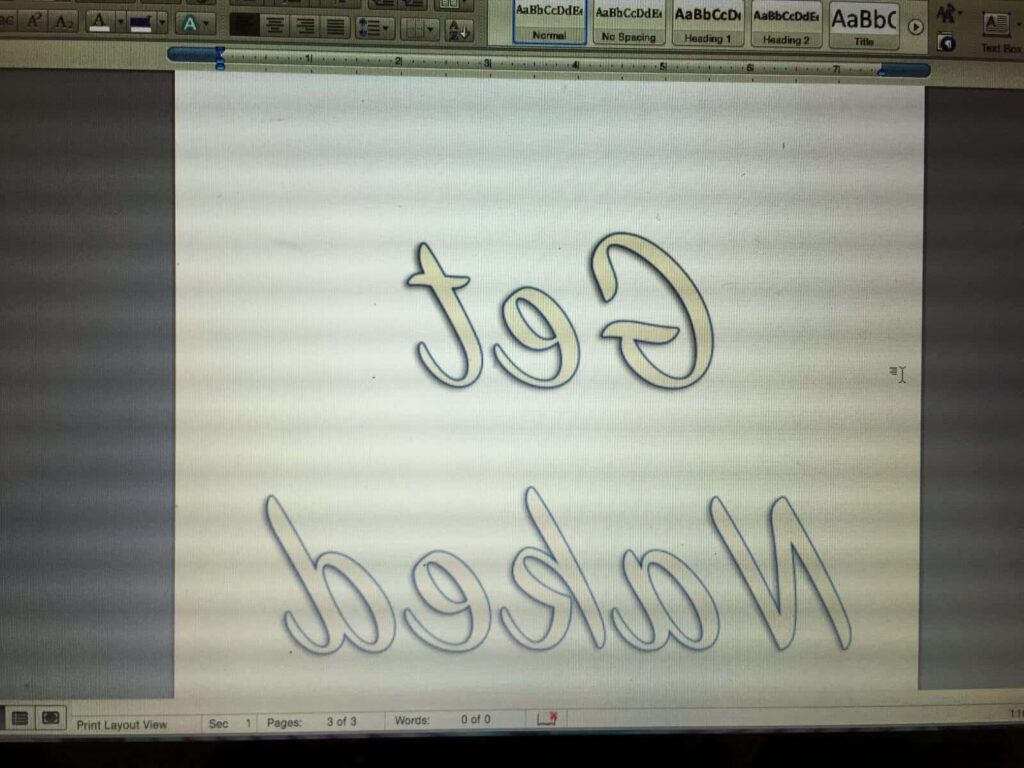
Next you’ll need to make the letters. I originally wanted to paint the words on using spray paint and a stencil, but I couldn’t find any stencils that were large enough. My canvas was 18″ x 18″ so I needed some large letters. I decided to print the letters out on glitter scrapbook paper.
The first thing you’ll need to do to do this is write “Get Naked” in Microsoft Word.
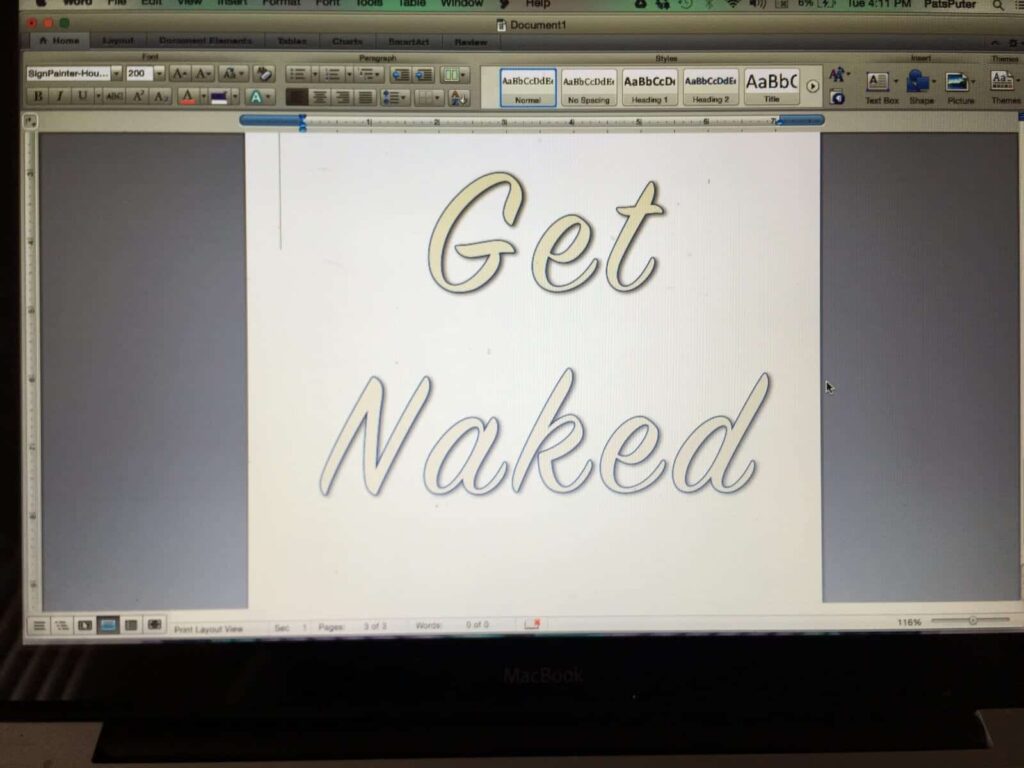
Print off the letters on test paper, then roughly cut out the letters and lay them on your canvas to get a feel of where you want them to be placed.
Now that you know where and how to place the letters, you’ll need to mirror the letters in Microsoft Word. The reason being that since you can’t print on the glitter side of the paper, you’ll need to print on the back. That means the letters will be reversed. Once you do this in Word, you can print it on the back of the scrapbook paper.

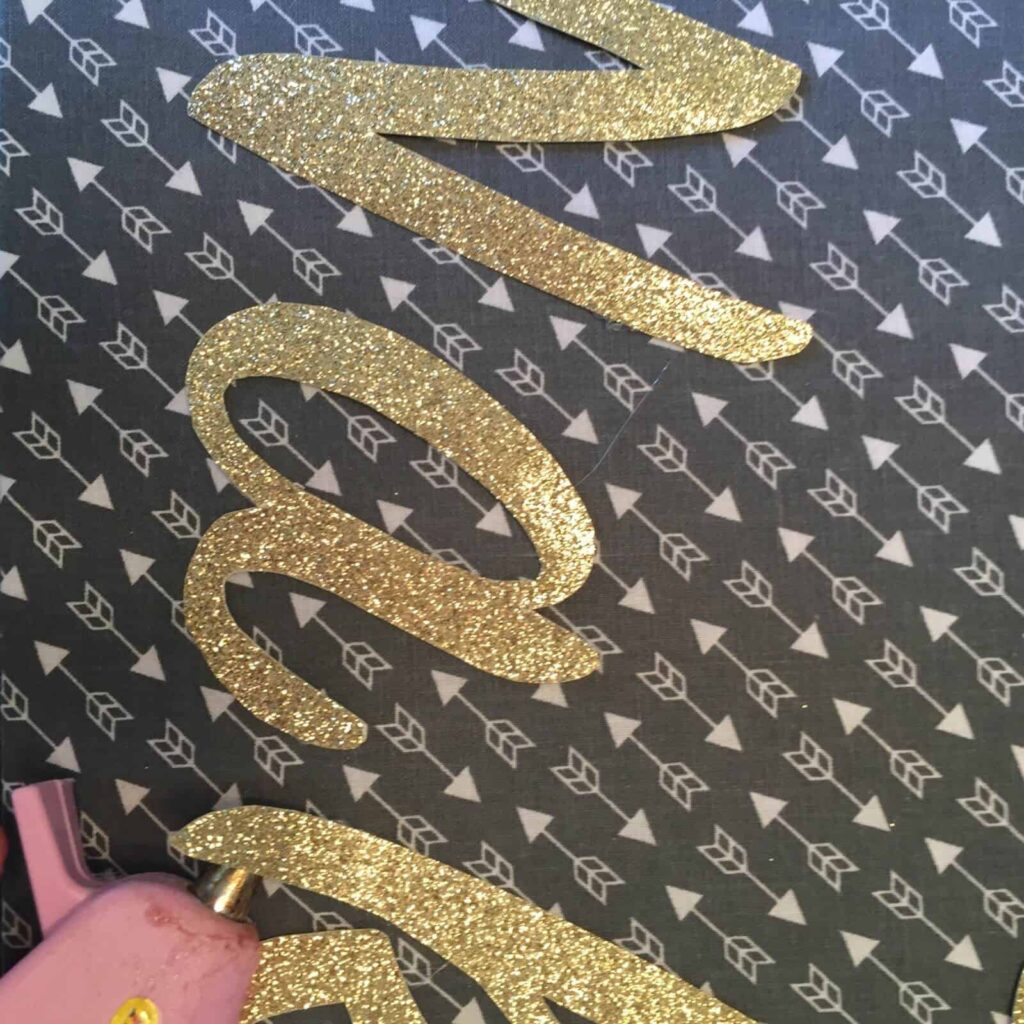
Cut the letters out, then place them in the respective spots on the canvas.
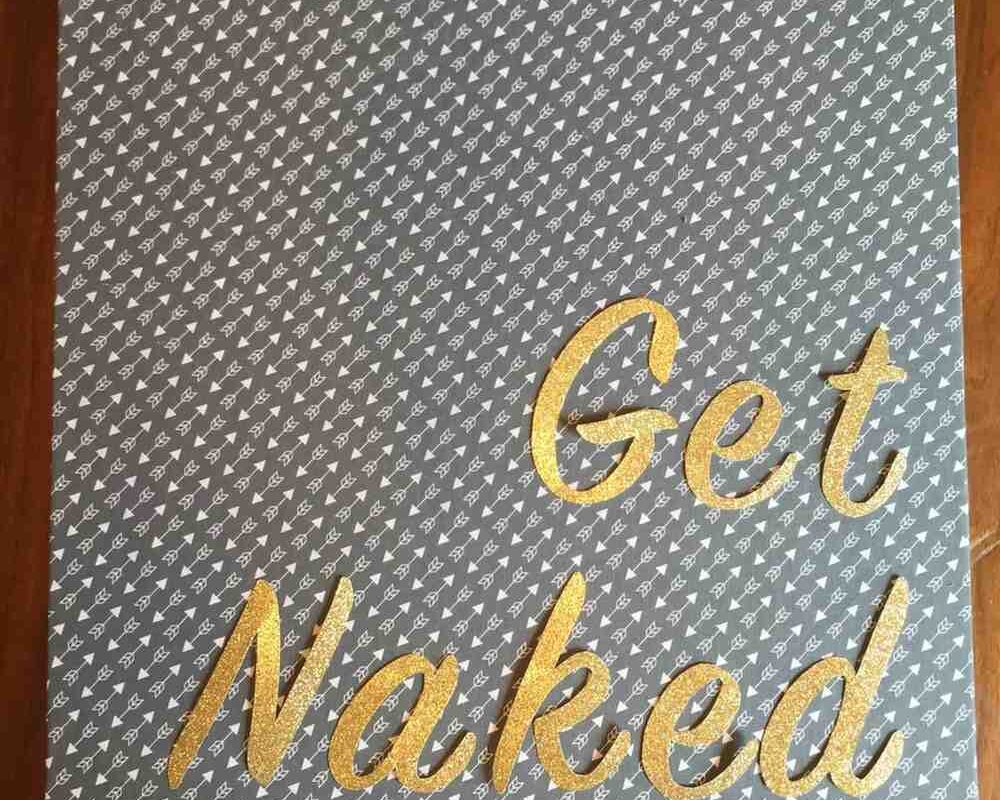
Next, glue the letters down one by one. I used a hot glue gun, but a spray adhesive probably would have been best.
Now that everything is stapled, cut, and glued, you can hang up your art and enjoy!
Related Images:

Mary Mulroney
Latest posts by Mary Mulroney (see all)
- 5 Easy Changes To A Healthier You - October 12, 2020
- 7 Great Resources For Affordable And Beautiful Rugs - October 12, 2020
- Tips For Switching To A Dairy-Free Diet - September 29, 2020