Achieving the perfect manicure is an art that takes time and practice. Whether you’re a beginner or an experienced nail enthusiast, there’s always room for improvement. In this comprehensive guide, we’ll explore top nail painting tips and tricks to help you achieve salon-quality results from the comfort of your own home. We will provide comprehensive coverage of all the necessary aspects for achieving a perfect DIY manicure, including nail care routines, polish application techniques, and helpful tips for your own nails.
Let’s dive in!
1. Nail Care Routine
A great manicure begins with a solid nail care routine. Follow these steps to keep healthy and strong beautiful nails:
- Keep nails clean and dry: Wash your hands regularly and make sure to dry them thoroughly to prevent bacterial growth.
- Trim and file nails: Use cuticle nippers to trim nails straight across, and then gently round the tips with a nail file. File in one direction to prevent breakage and avoid a lot of damage.
- Moisturize: Apply a nourishing hand cream and cuticle oil daily is the easiest way to keep your skin and nails hydrated.
- Avoid nail-biting: Frequent nail-biting can harm your nails and cuticles, making it challenging and a lot of work to achieve a polished look during application.
2. Nail Shaping and Filing
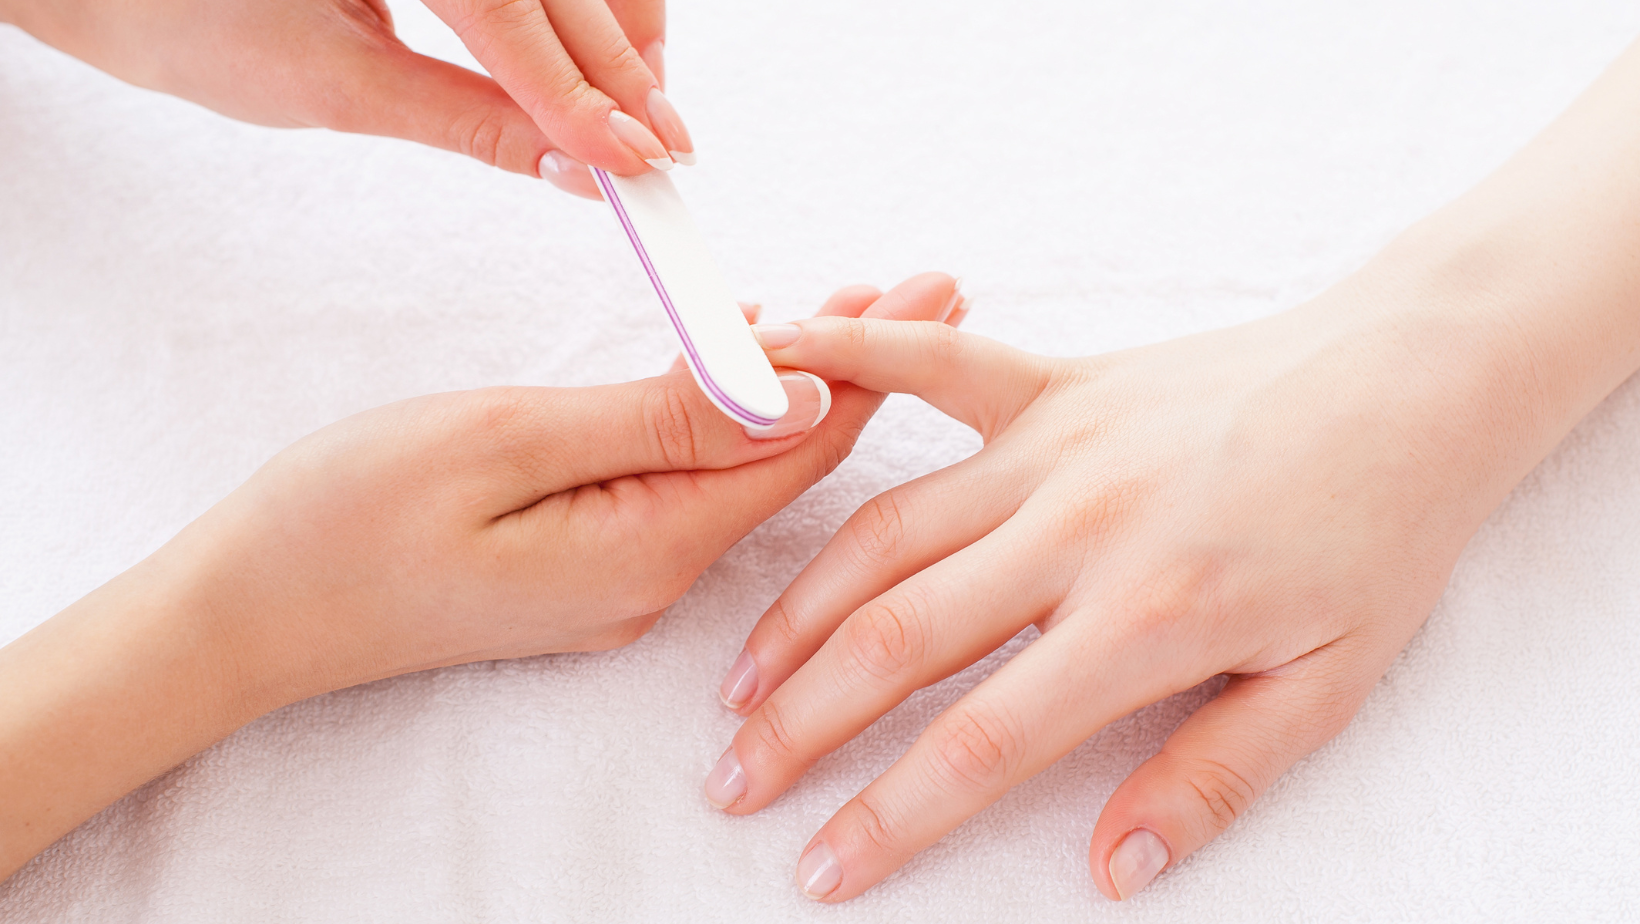
Having attractive nails in your hands is due to choosing the right nail shape. This makes a huge difference in the overall look of your hands:
- Round: This shape follows the natural curve of your fingertips, making it ideal for those with short nails.
- Square: A square shape features straight edges and sharp corners, which works well for those with long, wide actual nail.
- Oval: Oval nails are slightly more elongated than round nails and have a soft, rounded tip. This shape is flattering for most nail lengths and widths.
- Almond: Almond nails are slender and taper to a rounded point, creating an elegant, elongated appearance.
When filing your nails, always use a gentle touch and file in one direction to minimize damage and splitting.
3. Nail Polish Selection
There’s a wide variety of nail polish brands, colors, and types available on the market. Here are some tips for selecting the perfect polish:
- Choose a high-quality brand: Investing in quality nail polish can make a significant difference in the longevity and appearance of your manicure. The best method is to look for reputable brands known for their long-lasting formulas and vibrant colors.
- Consider nail polish types: Traditional nail polishes are the most common, but there are also gel and shellac options for a longer-lasting finish. If you’re concerned about chemicals, opt for a 5-free or 10-free formula.
- Follow color trends: Stay up-to-date with the latest nail color trends to keep your manicure looking fresh and fashionable.
4. Nail Polish Application Techniques
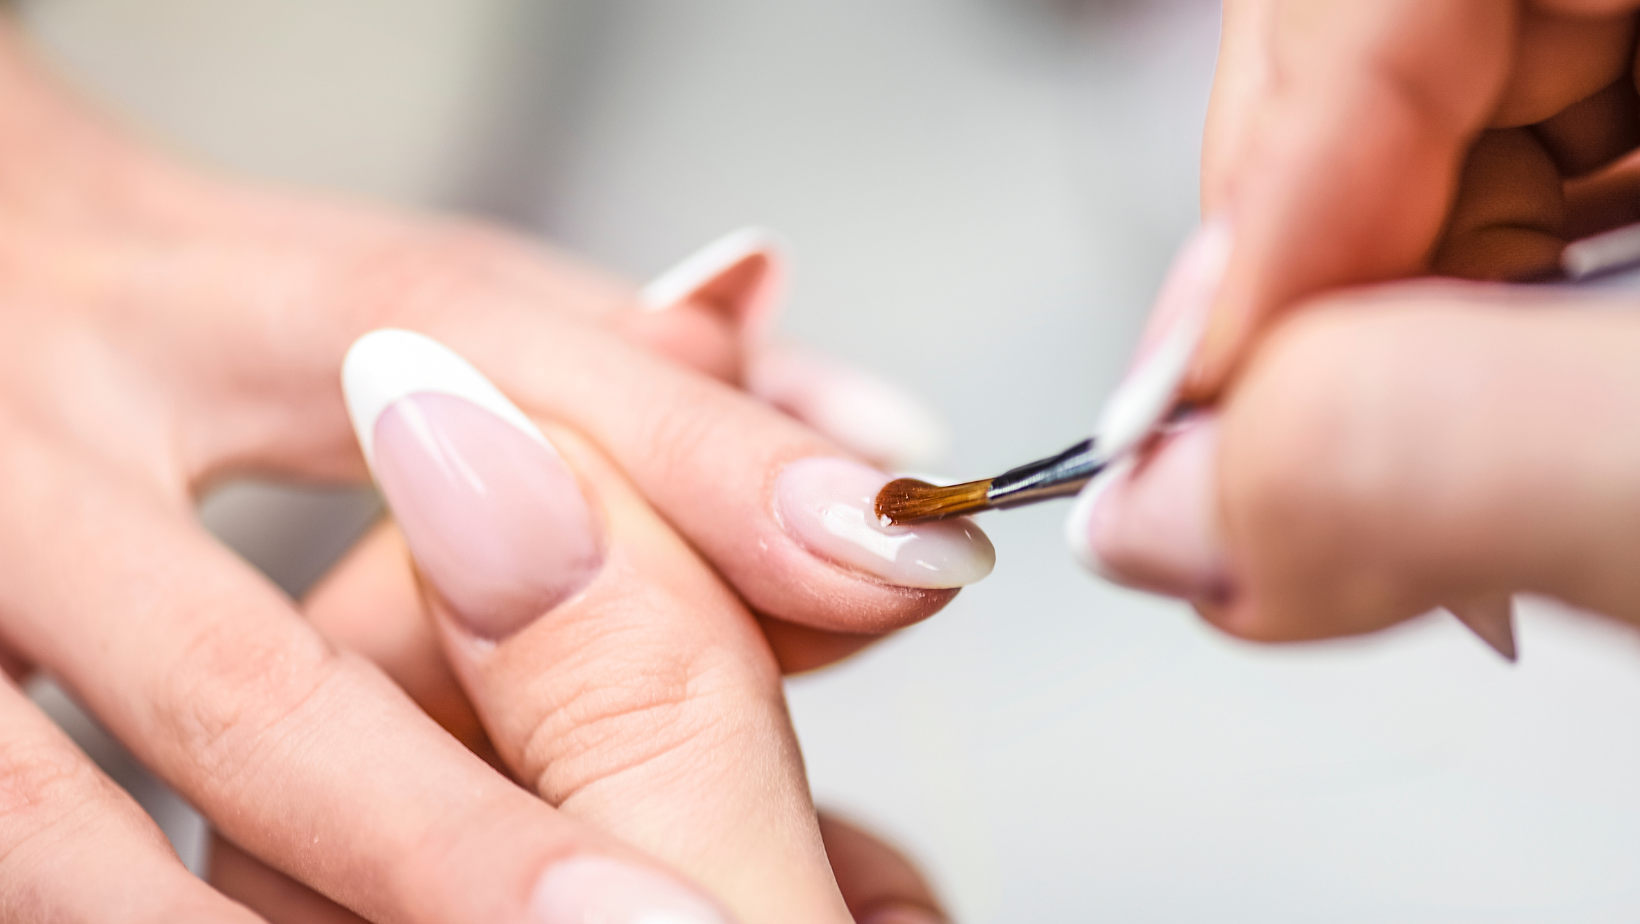
Proper nail polish application is key to achieving a smooth, streak-free finish. Follow these tips for a flawless manicure:
- Prep your nails: Before applying polish, remove any old polish with a gentle nail polish remover. Then, clean and buff your nails to create a smooth surface.
- Use a base coat: Applying a base coat helps the nail polish adhere better and prevents staining. Allow the base coat to dry for a few minutes before applying color.
- Apply thin, even coats: When applying nail polish, use thin, even coats to avoid streaks and bubbles. It’s better to apply multiple thin layers than one thick layer.
- Use a brush with a steady hand: Hold the brush at a slight angle and start from the base of your nail, moving towards the tip in smooth strokes.
Wait for each coat to dry: Give each coat of polish enough time to dry before applying the next one. This will help prevent smudging and ensure a longer-lasting finish.
5. Nail Art Ideas
Adding nail art to your manicure can elevate your look and showcase your creativity. Here are some popular nail art ideas to try:
- Ombre nails: Create a gradient effect by blending two or more colors together using a makeup sponge.
- Stripes and patterns: Use striping tape or a thin brush to create intricate designs, such as geometric shapes, polka dots, or chevron patterns.
- Stamping: Nail stamping involves transferring designs from a stamping plate to your nails using a special stamper and polish.
- Rhinestones and embellishments: Add a touch of sparkle by applying rhinestones, studs, or pearls to your nails with nail glue.
- Freehand designs: If you have a steady hand, try painting freehand designs with a small nail art brush or a toothpick.
6. DIY Nail Designs

If you’re looking to try some DIY nail designs, consider these easy and fun ideas:
- Marble nails: Use a toothpick or a needle to swirl together two or more nail polish colors on a piece of plastic wrap, then press it onto your nails for a marbled effect.
- French manicure: A classic French manicure features a natural base color and white tips. Use nail guides or a thin brush to create a precise line.
- Accent nail: Paint one nail on each hand a different color or add a design to create an eye-catching accent nail.
- Color blocking: Use tape or a steady hand to create bold, geometric shapes with different colors on each nail.
- Negative space: Create designs by leaving parts of your nails unpainted, showing the natural nail underneath.
7. Nail Polish Drying Time
Allowing sufficient drying time is crucial for a smudge-free manicure. Here are some tips to speed up the drying process:
- Use quick-dry top coats: These specially-formulated top coats can significantly reduce drying time.
- Apply thin coats: As mentioned earlier, applying thin coats of polish will ensure faster drying time.
- Use a hairdryer: Set your hairdryer to the lowest heat setting and gently blow-dry your nails from a distance.
- Try a nail drying spray: These sprays can help speed up the drying process and prevent smudging.
- Be patient: Resist the urge to touch your nails until they’re completely dry to avoid ruining your manicure.
8. Long-lasting Manicure
To ensure your manicure lasts as long as possible, follow these tips:
- Apply a top coat: A high-quality top coat will seal in your polish and protect it from chipping and wear.
- Avoid water exposure: Limit contact with water for the first few hours after your manicure, as this can cause your polish to lift.
- Wear gloves: When doing household chores, wear gloves to protect your nails from harsh chemicals and water.
- Reapply top coat: Refresh your top coat every few days to maintain shine and prevent chipping.
9. Nail Polish Removal
When it’s time to remove your nail polish, follow these steps for a gentle and effective removal process:
- Use a non-acetone remover: Acetone can be harsh on your nails and cuticles, so opt for a gentler, non-acetone remover.
- Soak a cotton ball: Soak a cotton ball in nail polish remover and press it against your nail for a few seconds to help dissolve the polish.
- Swipe the cotton ball: Gently swipe the cotton ball across your nail to remove the polish. Avoid rubbing back and forth, as this can damage your nails.
- Moisturize: After removing your nail polish, apply cuticle oil and hand cream to replenish moisture.
Conclusion
With these nail painting tips and tricks, you can achieve a flawless, salon-quality manicure at home. Remember that practice makes perfect, so don’t be discouraged if your first few attempts don’t turn out as you’d hoped. By following a proper nail care routine, choosing high-quality polishes, and mastering the right application techniques, you’ll soon be on your way to creating beautiful, long-lasting manicures. Don’t be afraid to experiment with different nail art ideas and designs to express your unique style and try new things to help improve your life. Happy painting!
Related Images:
Amanda Schmitt
Latest posts by Amanda Schmitt (see all)
- 20 DIY Easter Centerpieces That Aren’t Just for Kids - October 9, 2025
- 18 Adult Birthday Party Themes for a Sophisticated Celebration - October 3, 2025
- 20 Classic Orange & Black Halloween Traditional Ideas with Modern Twists - October 3, 2025