A new month means a new wreath in my house (or should I say, on my front door!). I’m very obsessed that my neighbors know what holiday they should be celebrating, so I always make sure my choice of wreath reflects the new season. This time of year means I need a Valentine’s Day wreath, and I currently don’t own one. If you know me, you are aware I love making my own wreaths and this time I’m sharing my design for Valentine’s Day with you! This wreath is perfect for the entire month of February, not just the furst two weeks. So let’s get crafting!
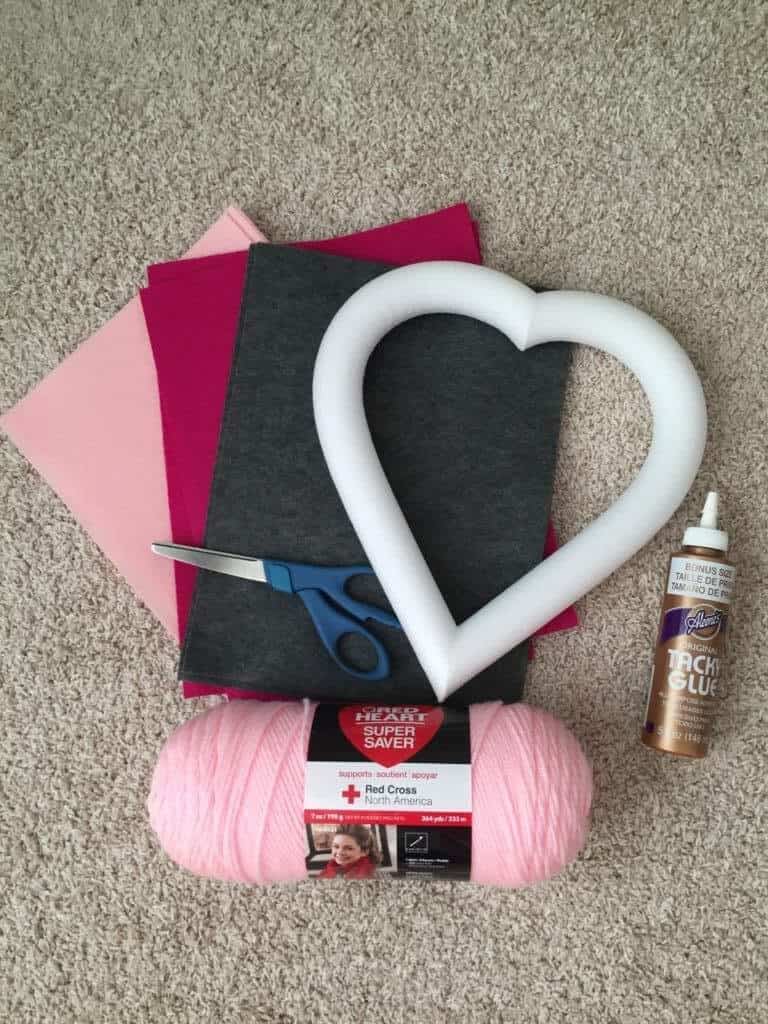
Supplies
- Heart-Shaped Wreath Form (I got mine at Joann’s for $3 with a 40% off coupon. They don’t sell these at Michael’s or Hobby Lobby!)
- Yarn (I’m doing mine in 1 color but you could alternate or layer with multiple!)
- Felt to make flowers (I bought 3 sheets in 3 separate colors)
- Scissors
- Craft or Hot Glue
Instructions:
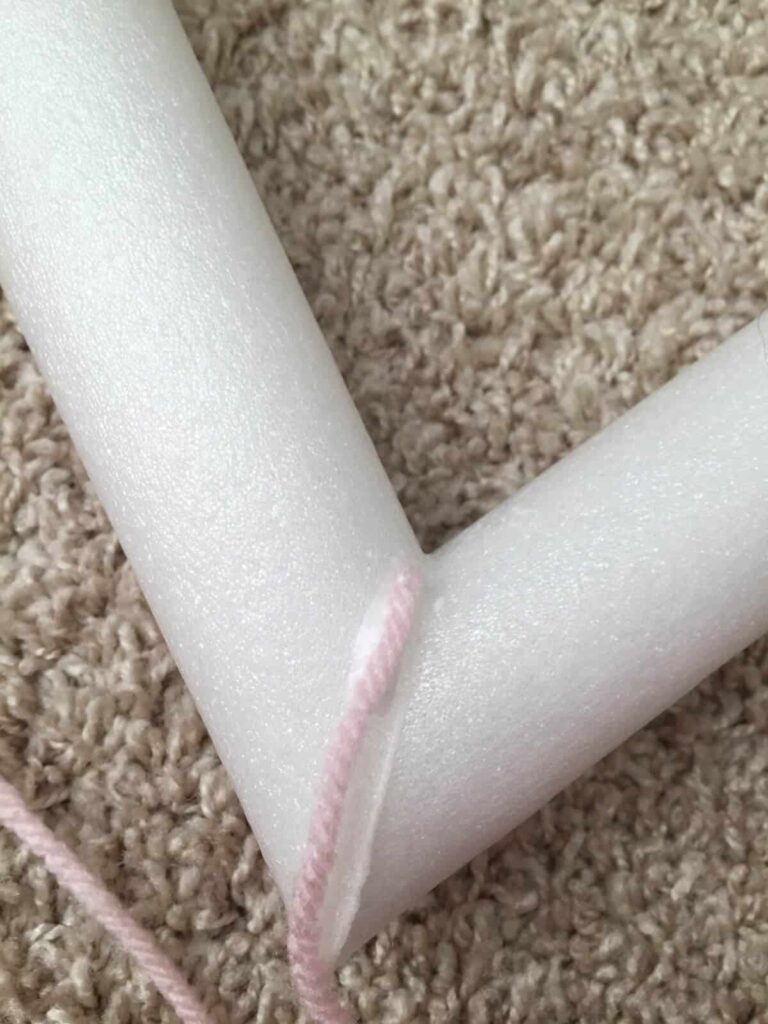
This wreath is a yarn wreath, which means we are single-handedly going to be wrapping the wreath with our yarn. Here’s where I suggest you DON’T get a huge wreath, because I’ve done this before and it gets pretty tedious, continually wrapping, wrapping, wrapping. My wreath form is 12 inches and perfect for a yarn wreath. Glue a piece of uncut yarn (i.e., still on the roll) to the back of your wreath form, to hold it in place as you begin wrapping.
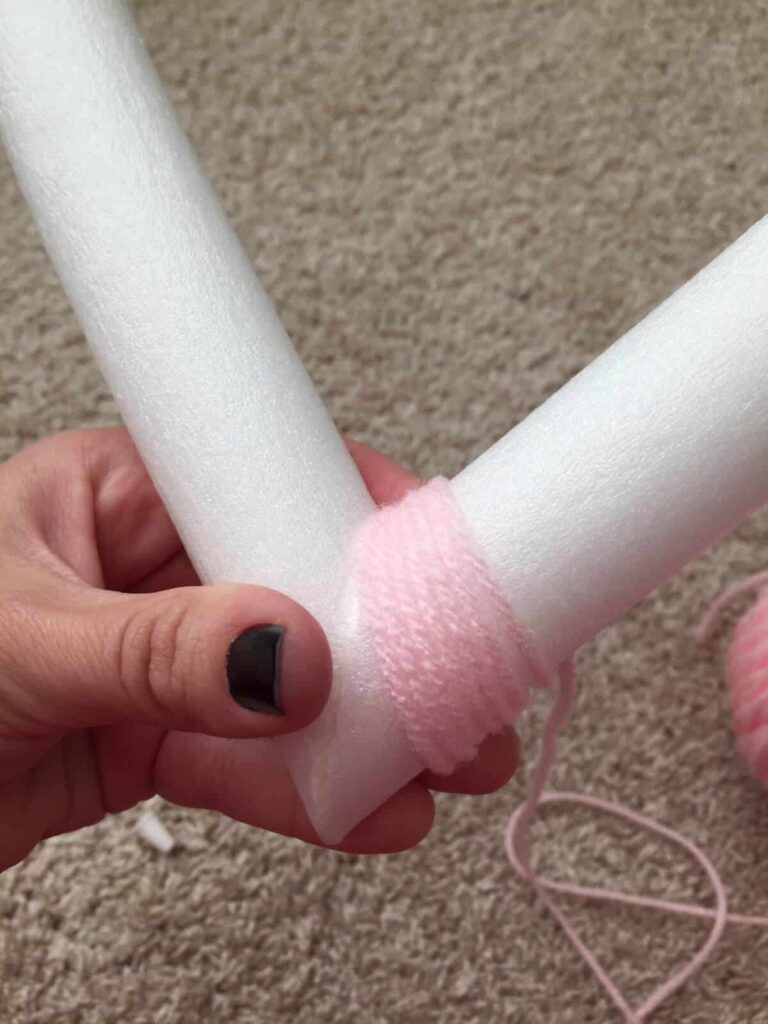
Ok, so you can use hot glue or craft glue here, but I personally went for the craft glue. My glue gun was downstairs, and sometimes when you use yarn and felt products, I’ve seen that the hot glue has a tendency to peel off. Craft glue? Not so much. Leaving your yarn still on the roll, begin wrapping around the wreath. You can make 1 layer of pretty straight rows, or just wrap haphazardly on top of each other. It’s up to you! For this wreath, I did 1 even set of rows.
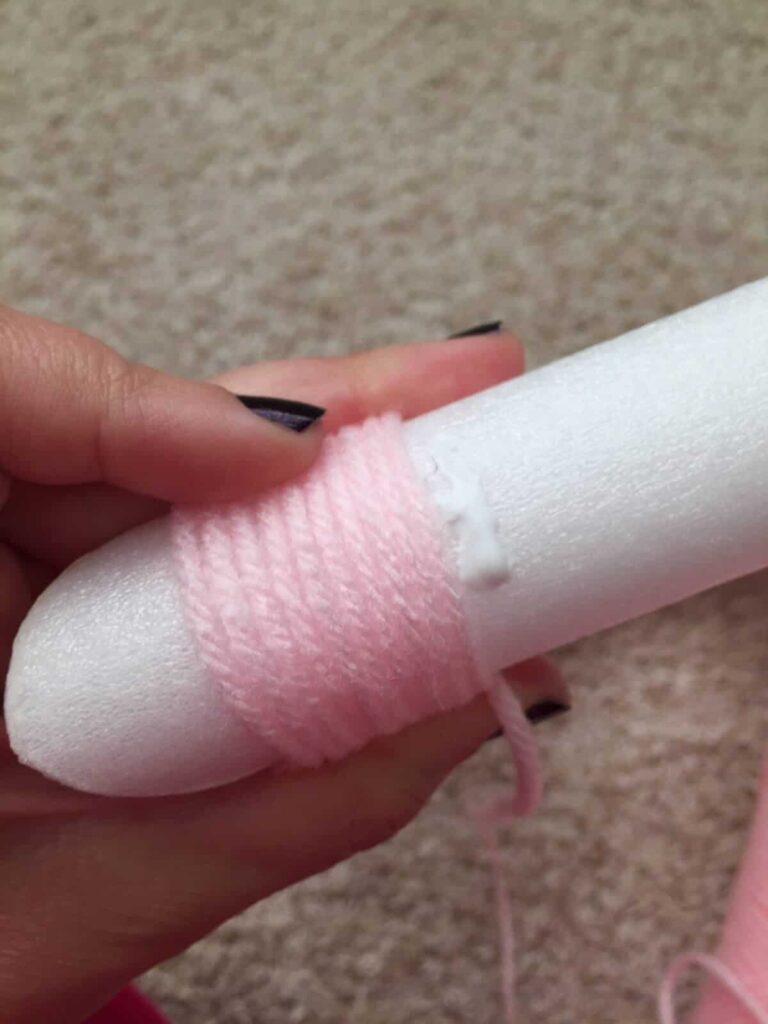
Every few inches, lay down a small amount of glue to keep your wrapping in place. Sometimes, you yard will start to move around, and you want to keep it in place as you go, and ensure it will stay neat and tidy for years to come.
The first part of your wreath takes the longest to wrap, because you are still getting your groove. This section took me about a half hour, but after that I was on a roll.

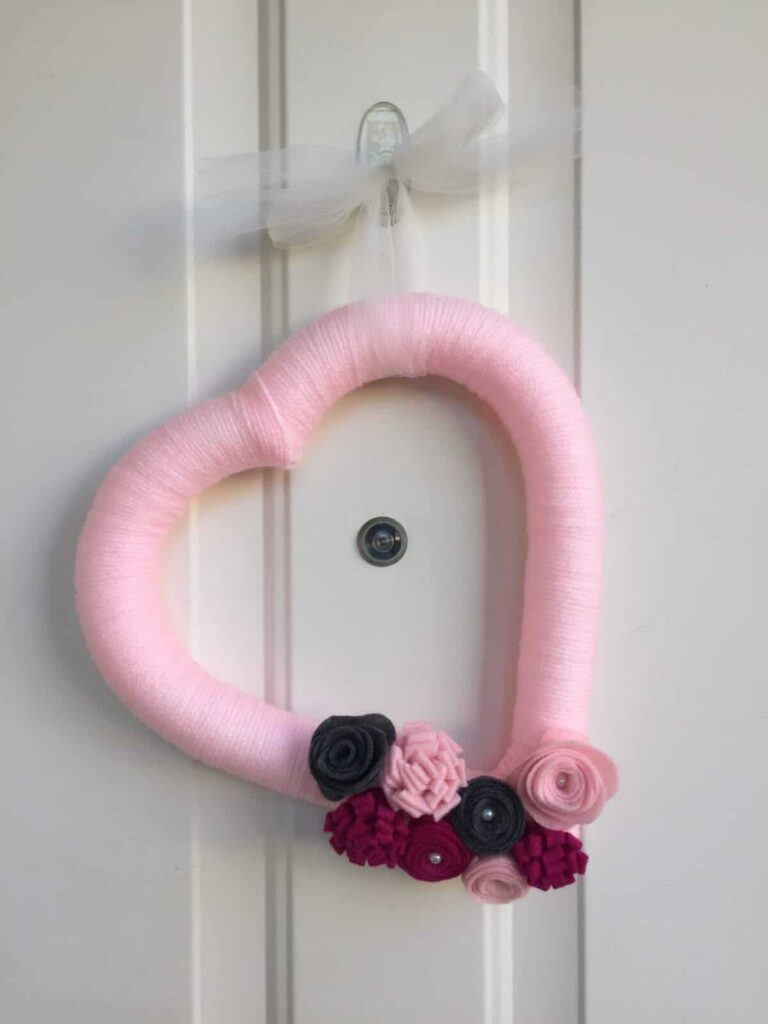
When you’re done, your wreath will look nice and purdy, like this!

Honestly, depending on how fancy you are, you could just leave the wreath like this. It has a nice texture and the color is adorable. I, however, wanted to add a little something something, so I decided to make my own felt flowers. They always dress up a wreath and are surprisingly simple. I made 3 styles.
1. Simple Rolled Flower
This is probably the easiest felt flower to make. Take an old CD or something circular in a similar style and trace on a piece of felt. Cut out the circle, and then cut a spiral into your circle. You can easily do this free hand:
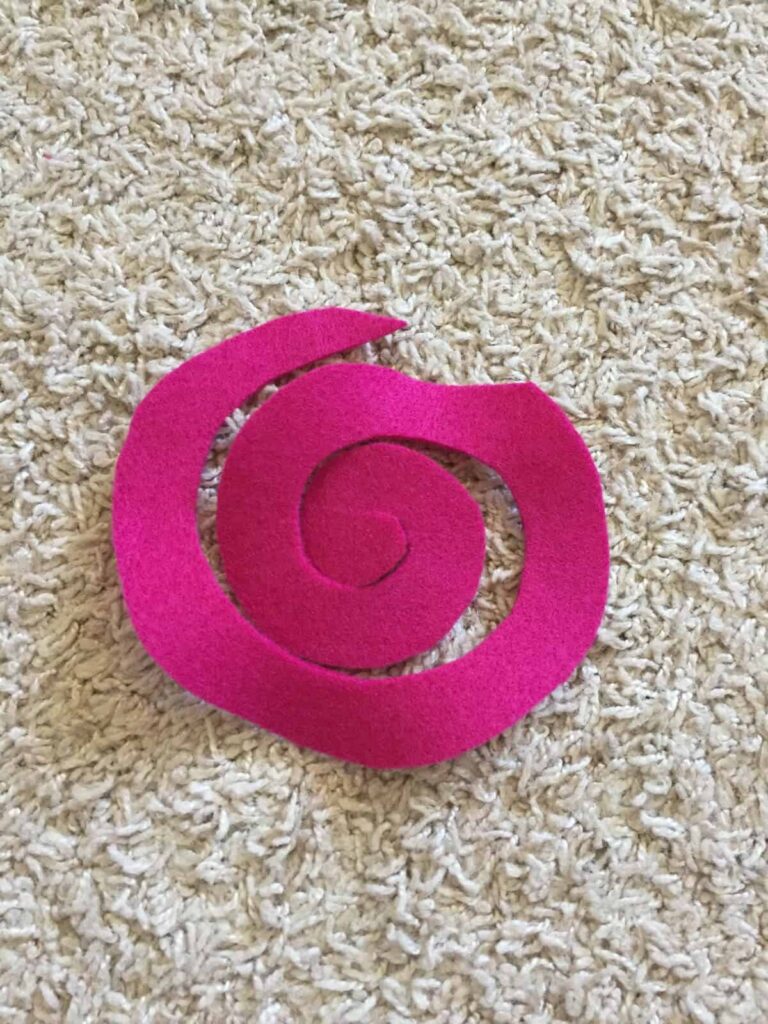
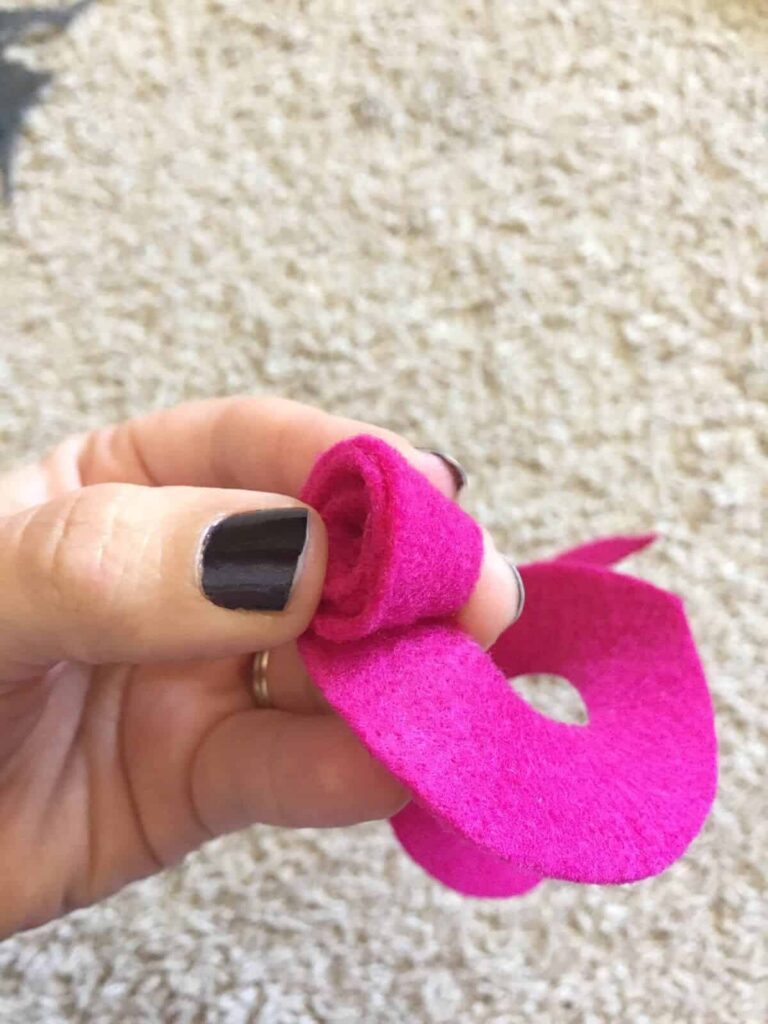
Then, from the outside end, begin rolling the felt until you form a flower. Seriously, this is SO easy.
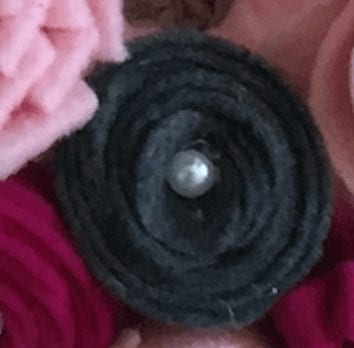
Somehow I didn’t take a picture of the final product so I had to zoom in on my final picture to show you what it should look like. I also dropped a fake pearl in for a little extra pizazz!
2. Felt Rosette
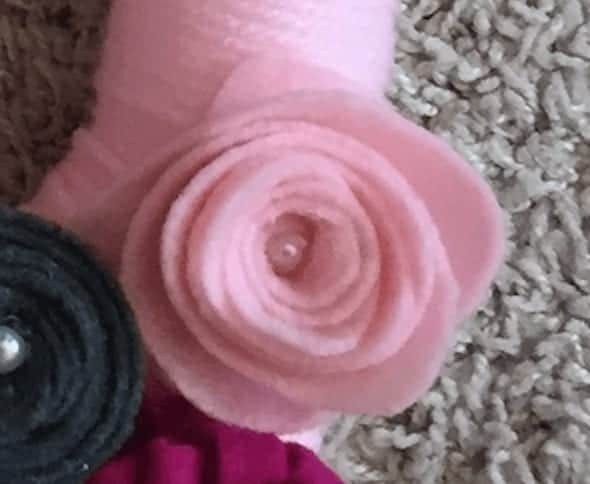
This flower is made the exact same way as the simple rolled flower. However, instead of cutting out your circle and spiral with straight cuts, you are going to make them wavy to create the illusion of petals. DIY fail: I also didn’t take a picture of how to cut or the final product (the result of crafting with a toddler next to you), but here’s what it looks like on my wreath:
3. Fluffy/Hydrangea Flower
I’ve never made this flower before but it was very easy. Cut a 1.5 inch strip of felt, the length of your entire sheet so it’s a long, skinny piece. Then glue down the middle and fold it in half (still long and skinny!), Then make small cuts, being careful not to cut the entire width of the strip! You can make them close together or further apart for a chunkier look.
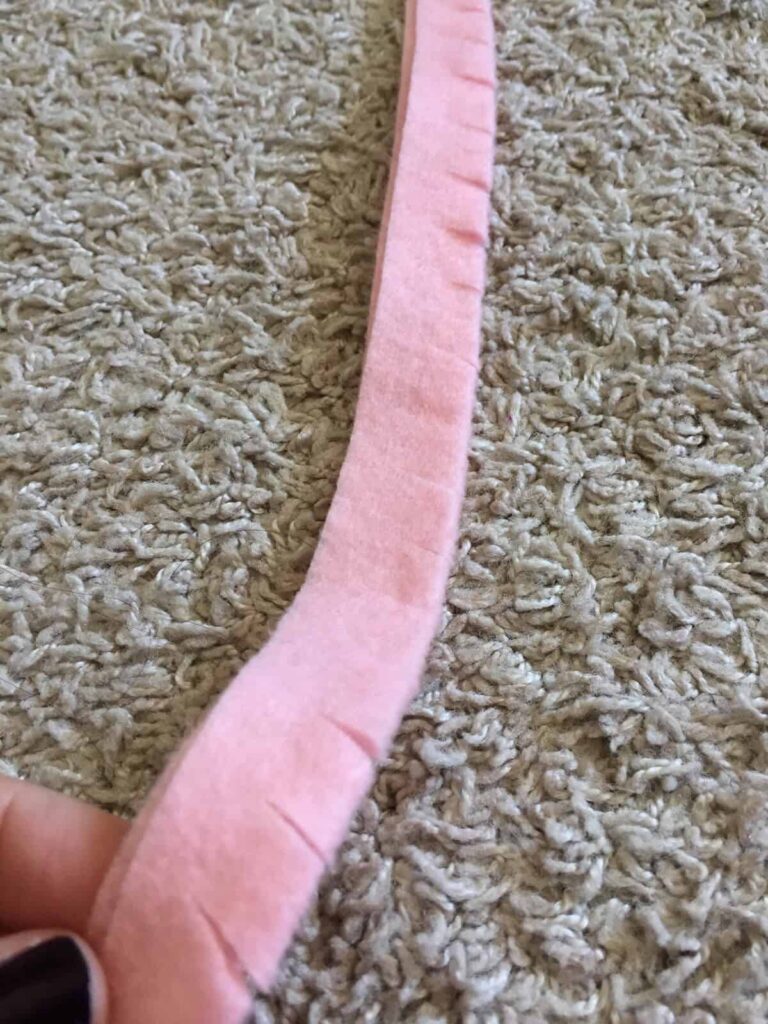
Then start rolling up until you have a size flower you want. You can easily snip off the remaining length if you want a small flower.
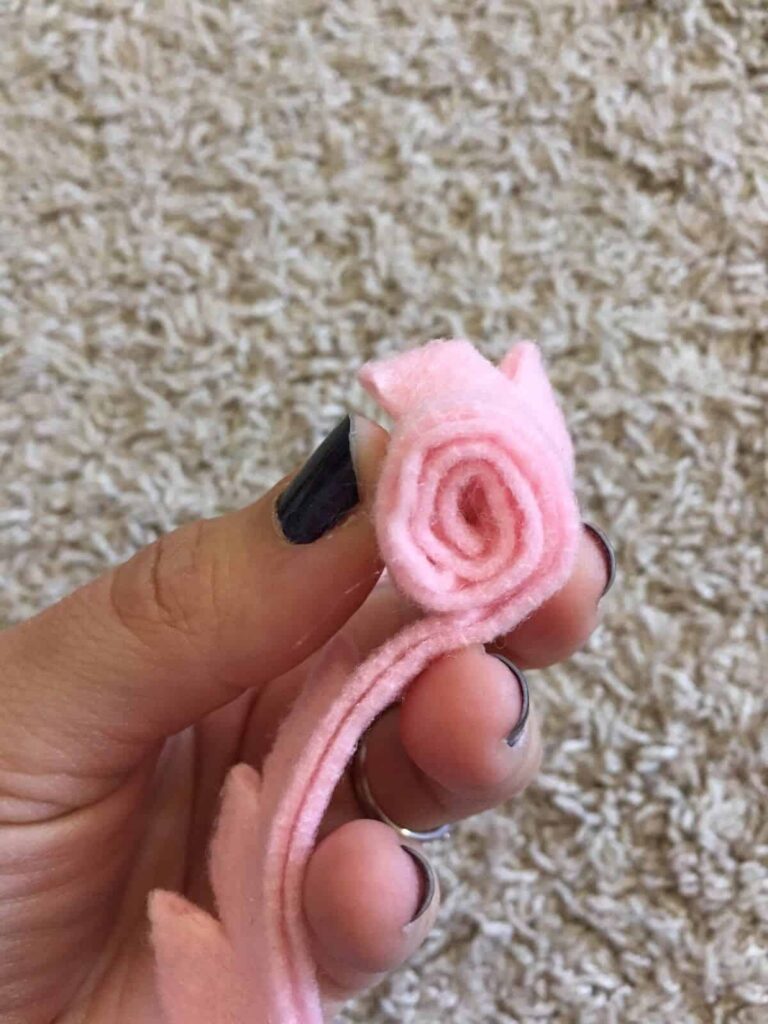
Once you’re done, you can fluff out the flower to make it more full:
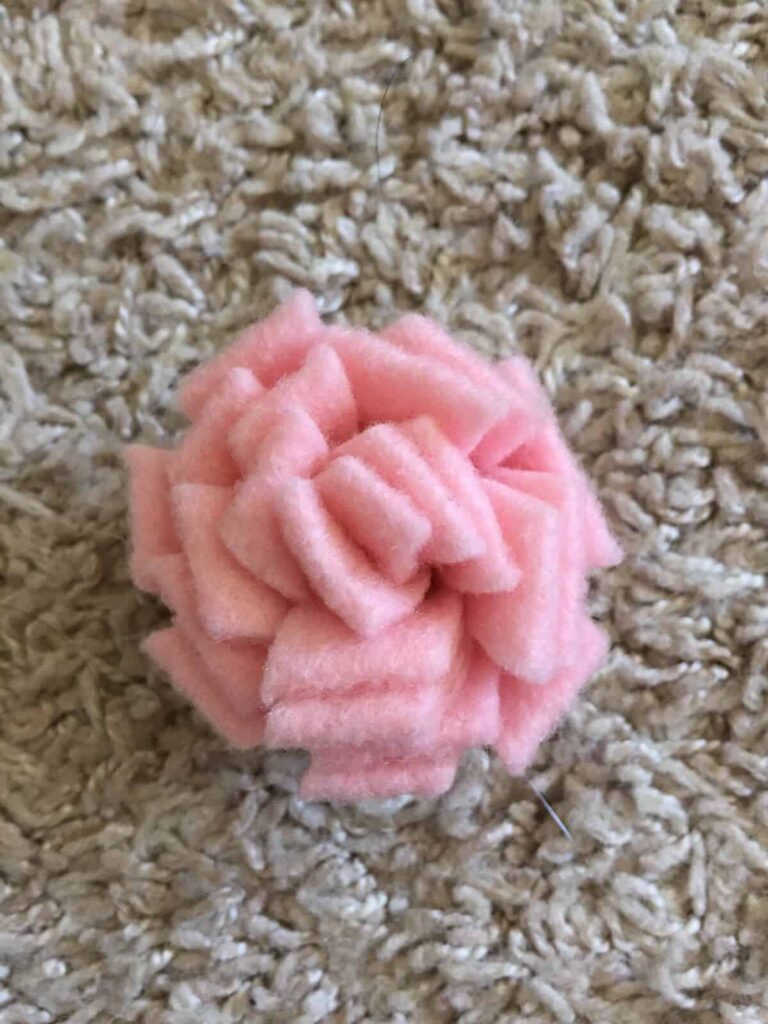
Cute, right?
Ok, all that’s left is for you to glue your flowers to the wreath and you’re done! You can glue wherever you heart desires, from just a few florets to covering your entire wreath. I don’t have the patience to make 100 flowers so I just did half a dozen and on a wreath my sized, it’s perfect.
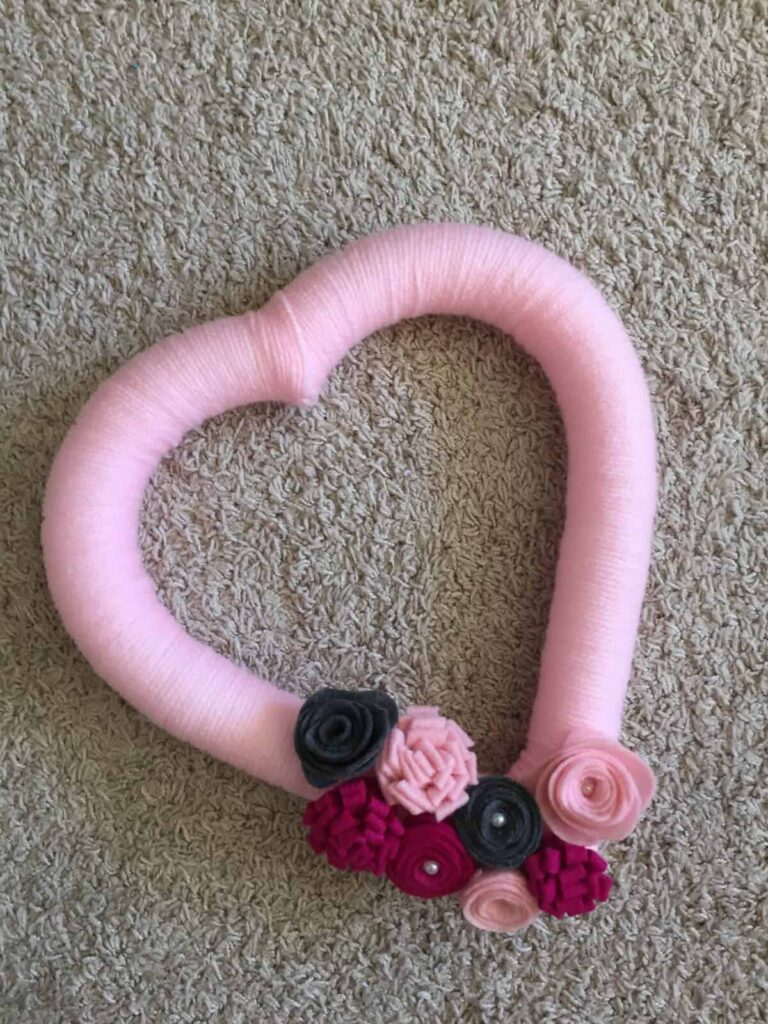
Your final step is to hang your wreath, and you can do this by gluing ribbon to the back in two places to hang your heart upright, or just use some fabric or ribbon to hang one side of the heart. I chose the latter, because I think it looks non traditional and festive.
I’m more than happy with how this came out, and it literally cost me less than $10 ($9.99, to be exact!). There’s nothing like crafting something with your own two hands! Check back with Life As Mama for an upcoming spring wreath!
RELATED POSTS
20 Lovely Valentines Nail Art Ideas
9 Easy Dollar Store Valentines
Related Images:

Karly Wood
Latest posts by Karly Wood (see all)
- 15 Wonderful White Kitchens - January 14, 2019
- We Want All These Spring Manis And We Want Them Now - January 8, 2019
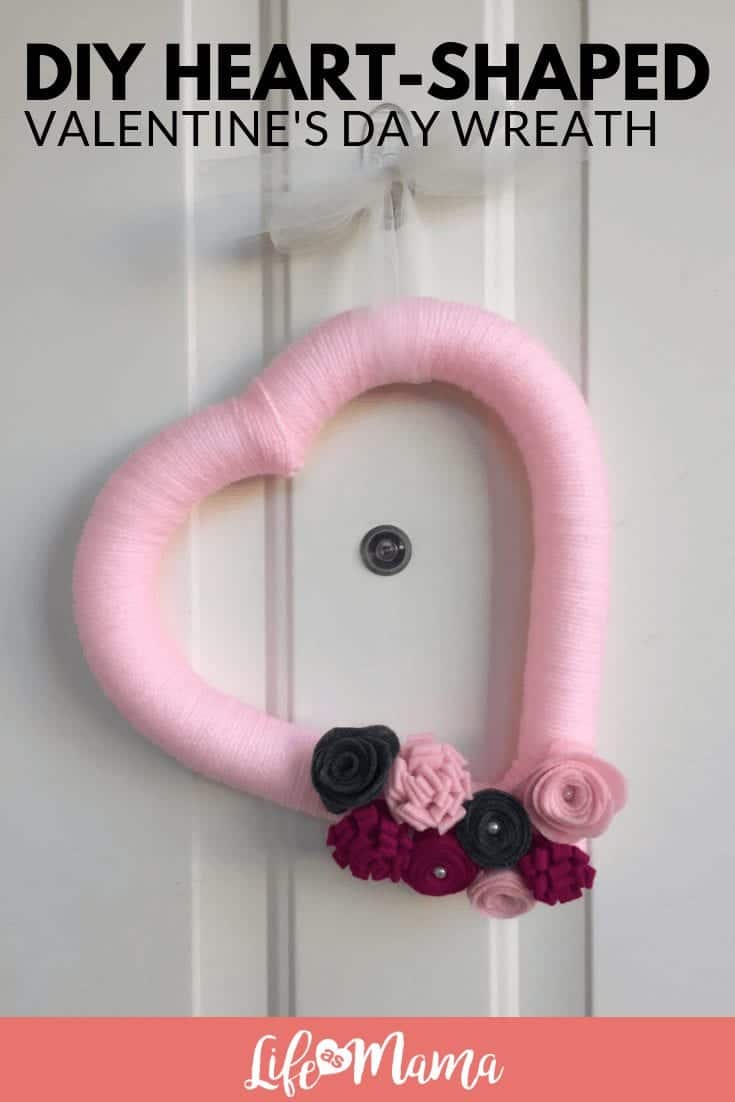
- DIY Heart-Shaped Valentine’s Day Wreath - January 4, 2019