I’m about to do something that I never do lightly: share my family’s butter cookie recipe. This recipe comes from my paternal grandmother and was adopted by my mom in my childhood. It’s our favorite family cookie and was usually the envy of all my friends.

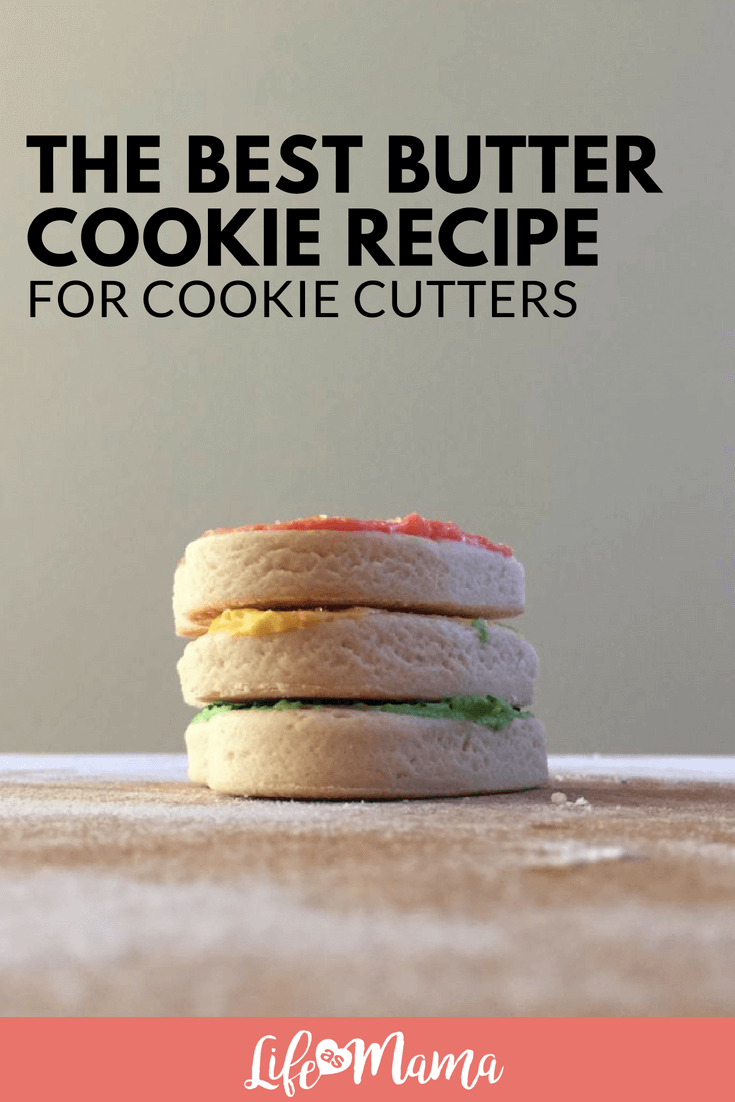
The best part about this butter cookie recipe is we’ve always used it for holidays, because no other cookie can compare when it comes to using cookie cutters. They always retain their shape, don’t expand while baking, are great for frosting and perfect for creating memories with your kids. I hope your family enjoys them as much as mine.
Ingredients
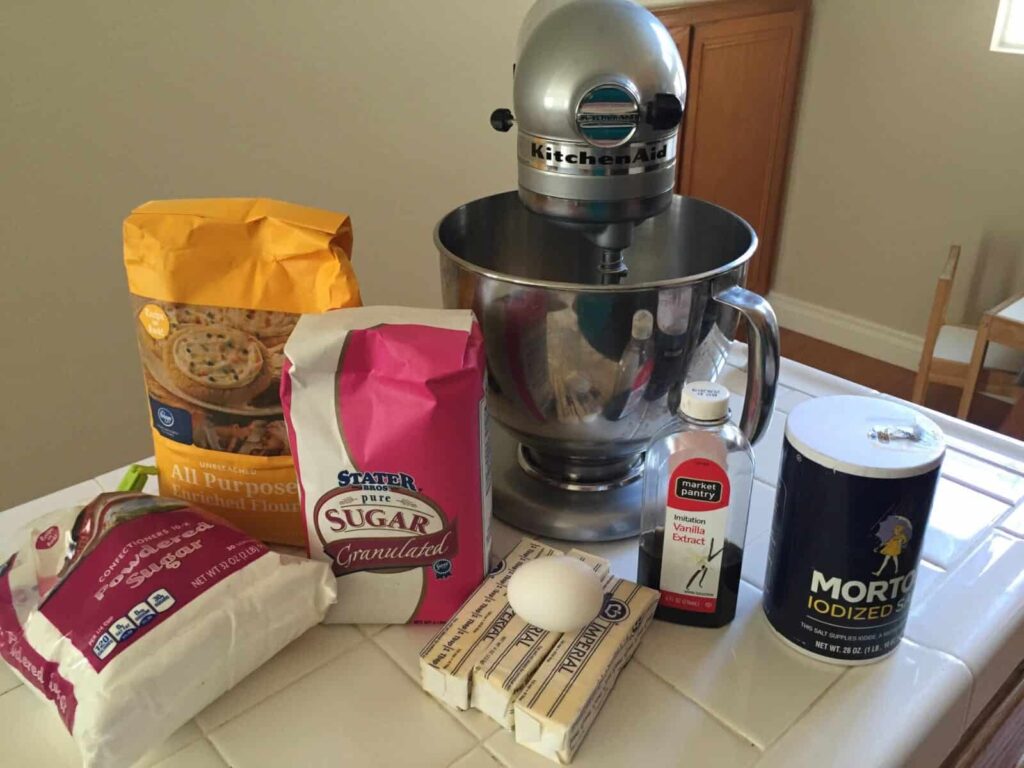
Butter Cookies
1.5 cups of unsalted butter, softened (3 sticks); I personally use margarine and it works great
1 cup sugar
1 egg
2 tsp vanilla extract
1/2 tsp salt
4.5 cups flour
Frosting
2 cups confectioners sugar
1/4 cup butter (1/2 a stick)
1 tsp vanilla
1-2 tsp milk
Food Coloring
Tools
Mixer
Rolling Pin
Cutting Board
Wax Paper
Cookie Cutters
Sprinkles
Instructions
Cream butter and sugar.
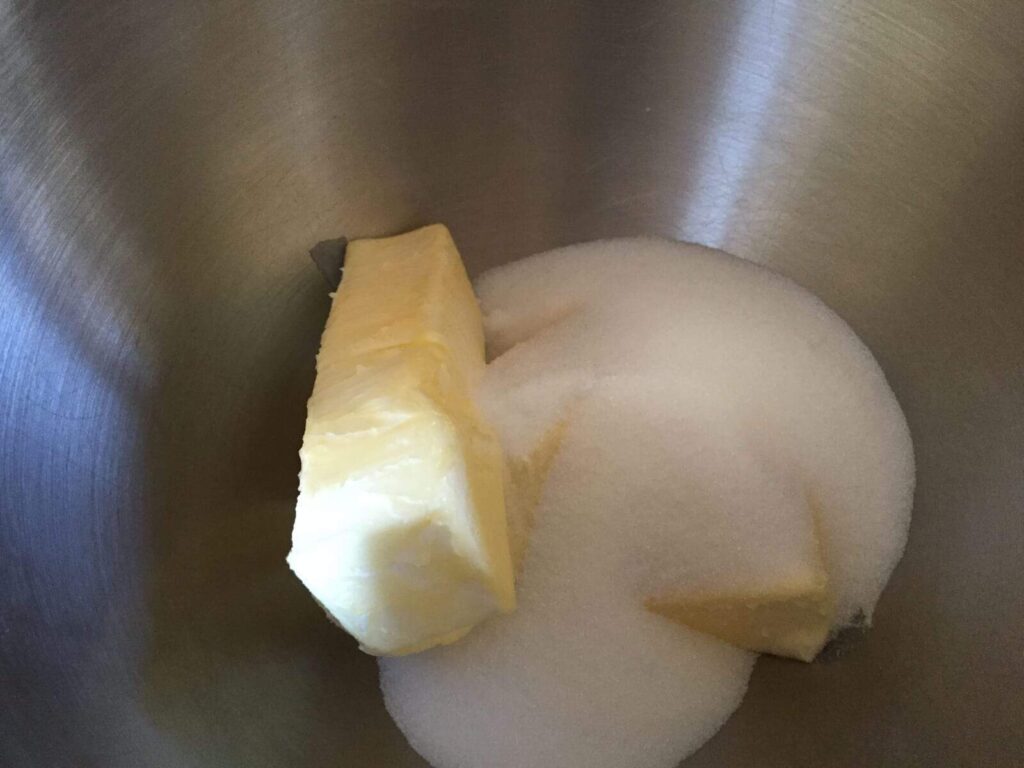
Make sure your mixture is nice and fluffy!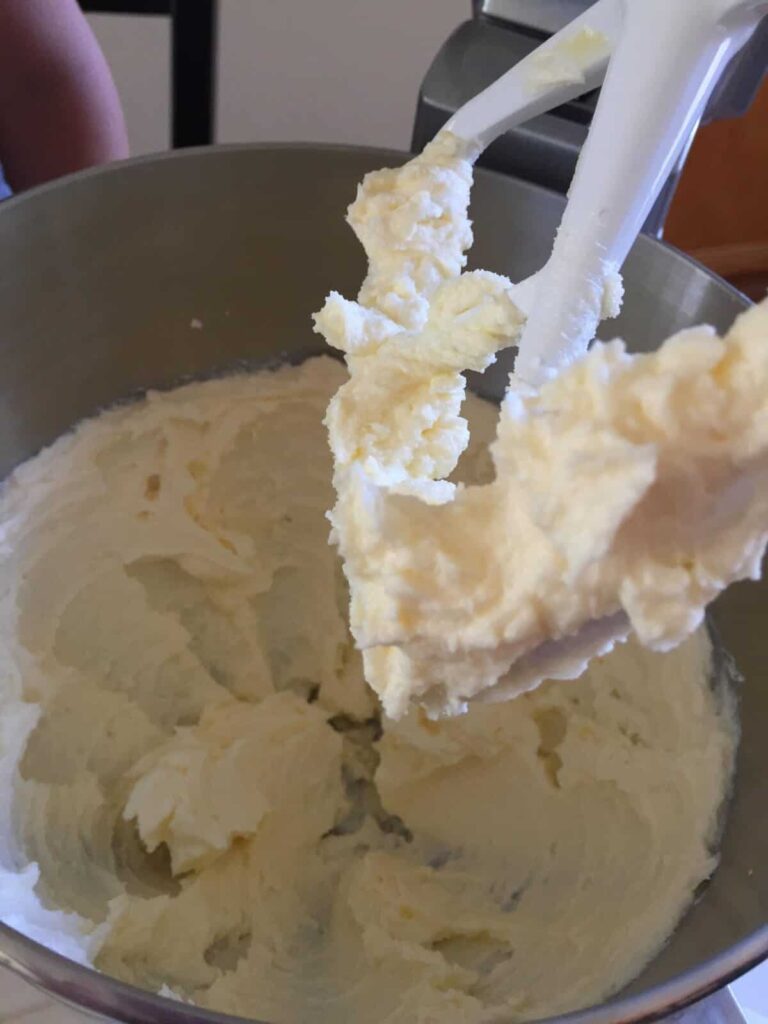
Add in egg and vanilla, and mix well.
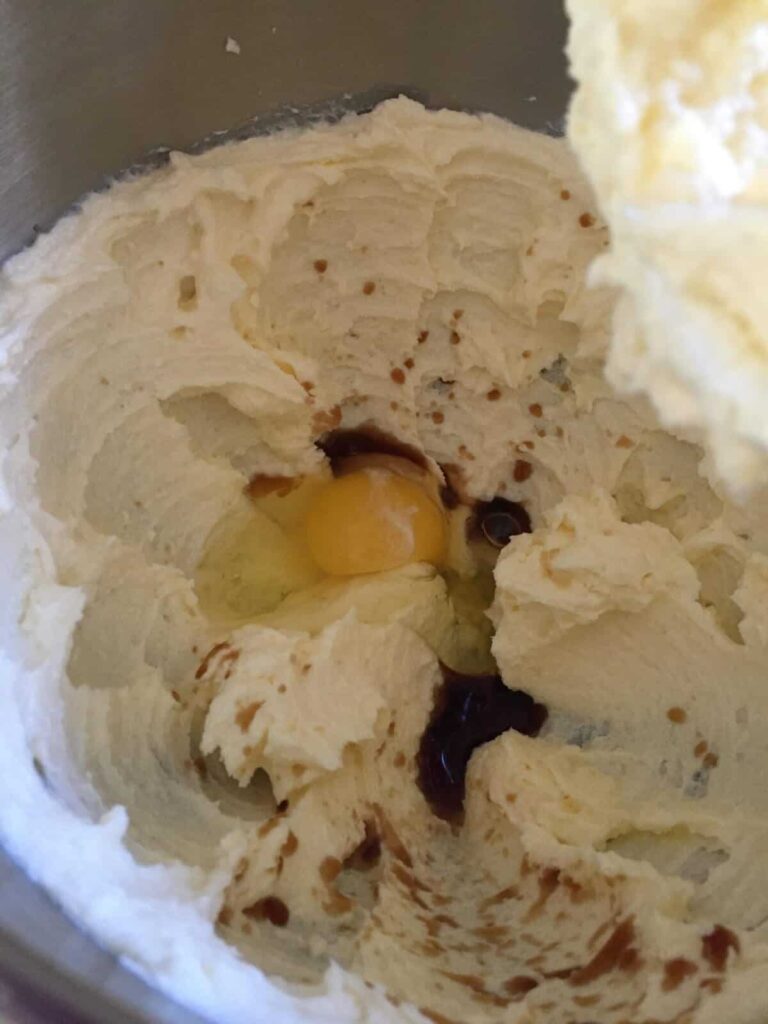
Be sure to scrape the sides of your bowl and mix everything in.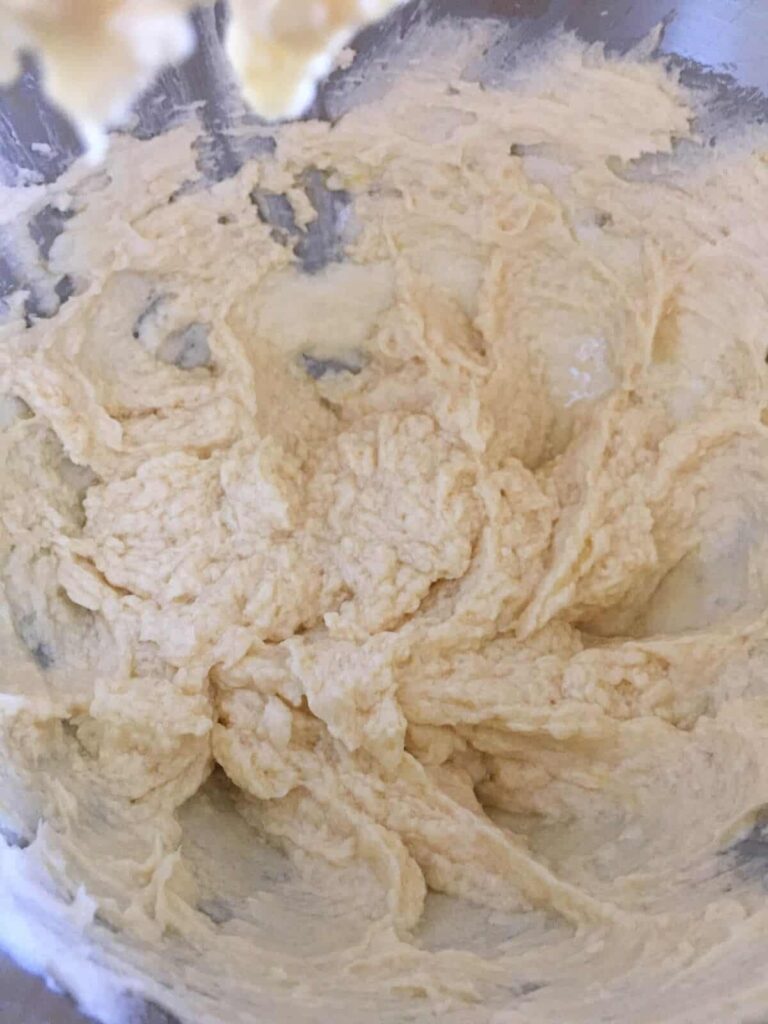
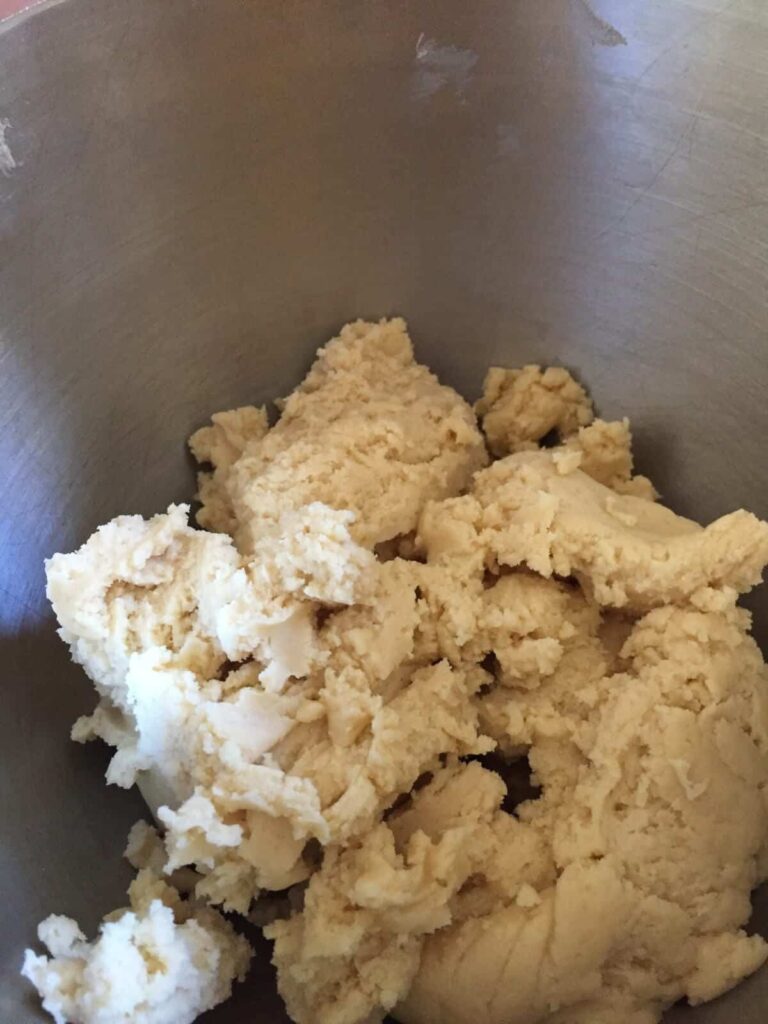
Add salt and flour. If you don’t have a large bowl, add only half the flour and mix. Then add second half and mix again.
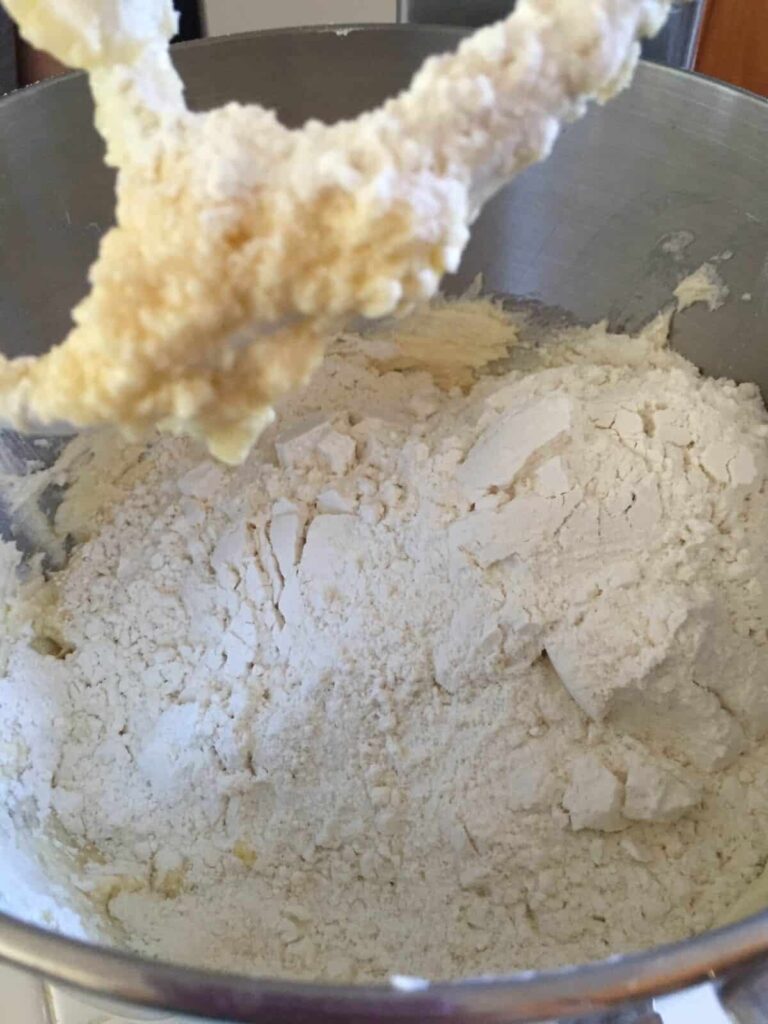
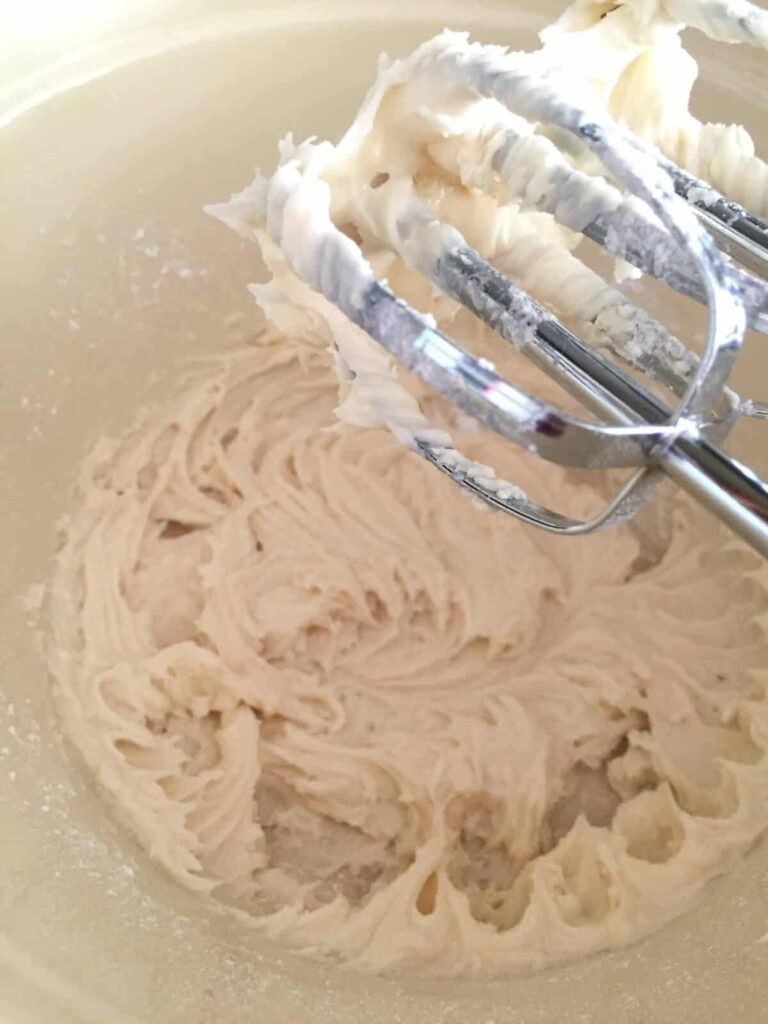
When your dough is well combined, it should resemble this. My Kitchen Aid does a pretty good job of mixing on it’s own, but I always like to do a few smushes with my hand to make a nice ball of dough.
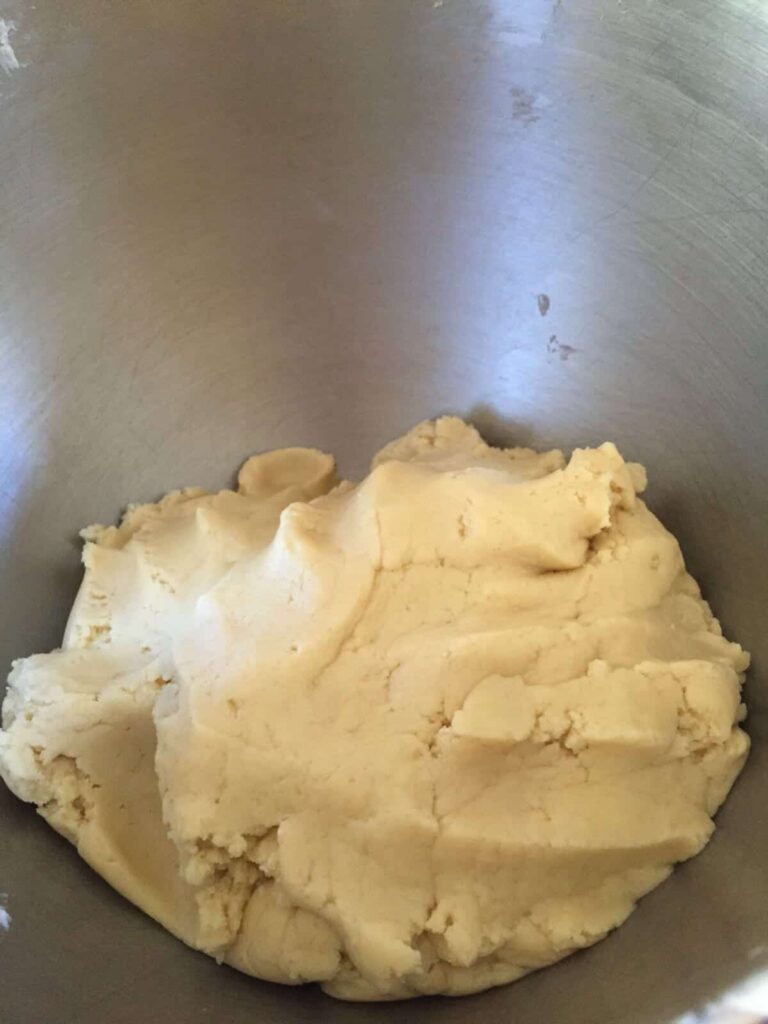
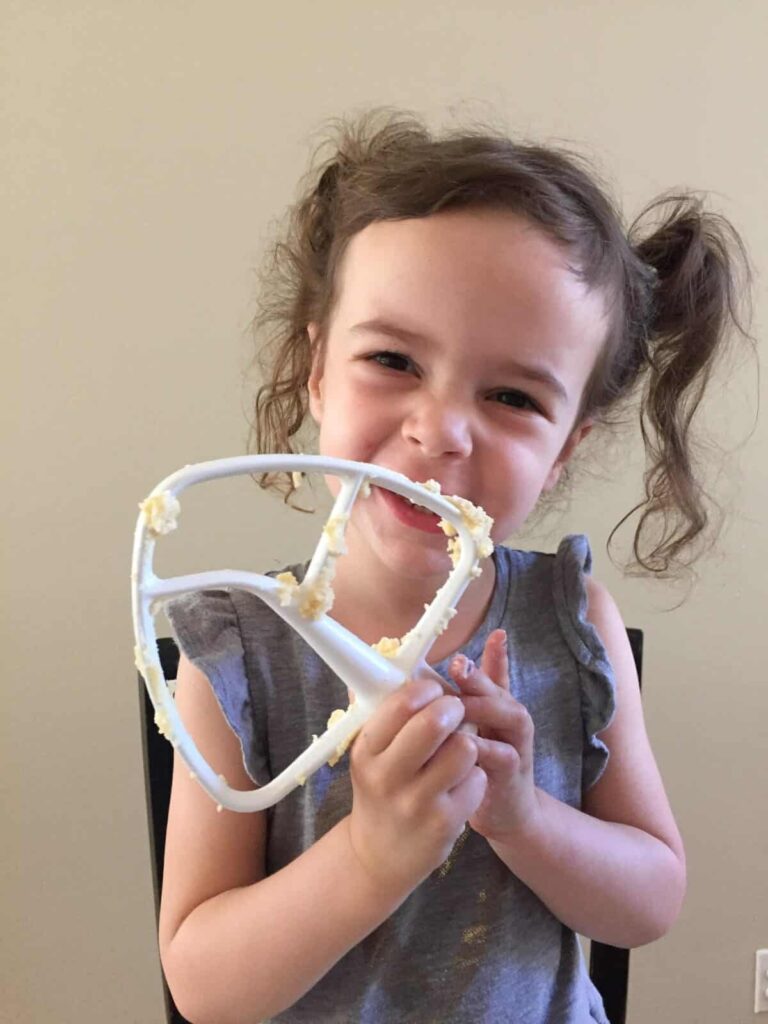
Cover your bowl with plastic wrap and allow to refrigerate at least an hour. For this recipe to live up to it’s potential the dough needs to be nice and chilly so it maintains it’s shape. Give beater to kids to eat and relax while your dough chills 😉
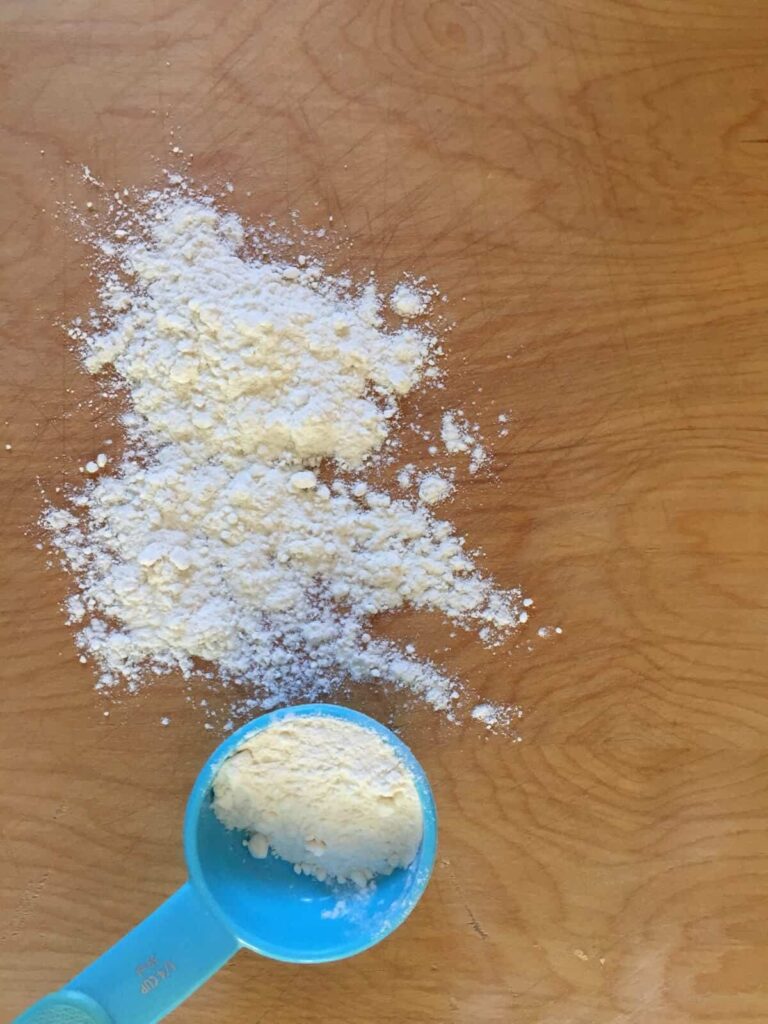
Once your dough is chilled, preheat oven to 375. Lightly flour a cutting board (I use a nice, large wooden one).
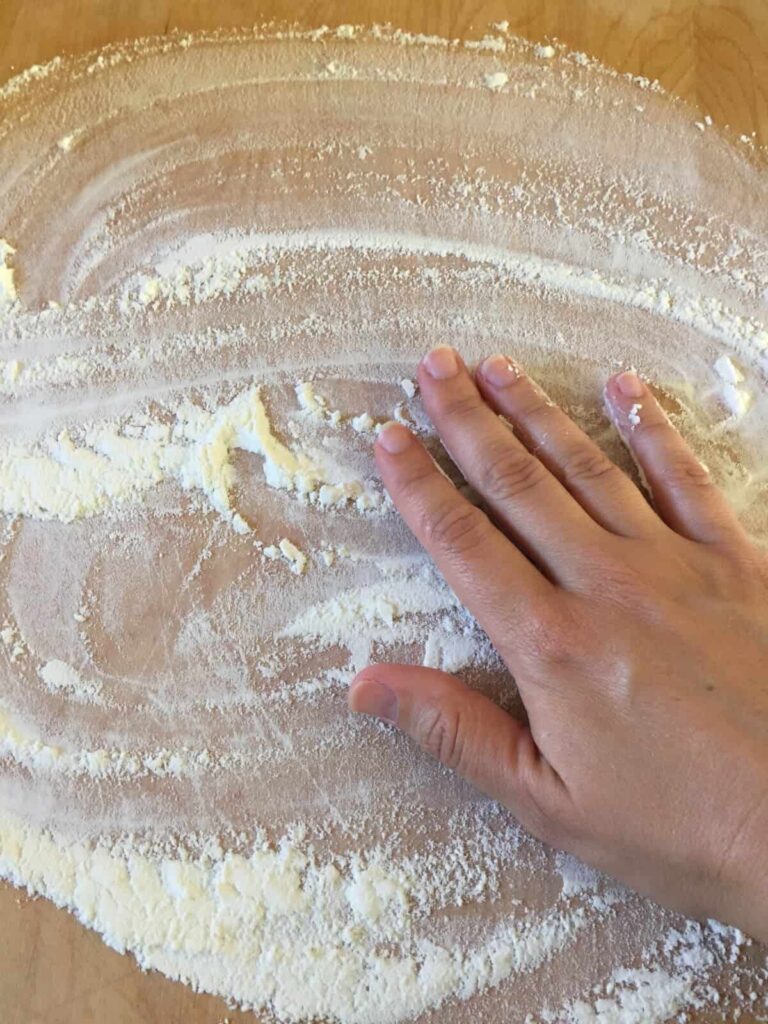
Put a medium to large ball of dough in the middle of your cutting board. The size of your board will determine how much you can roll out at once.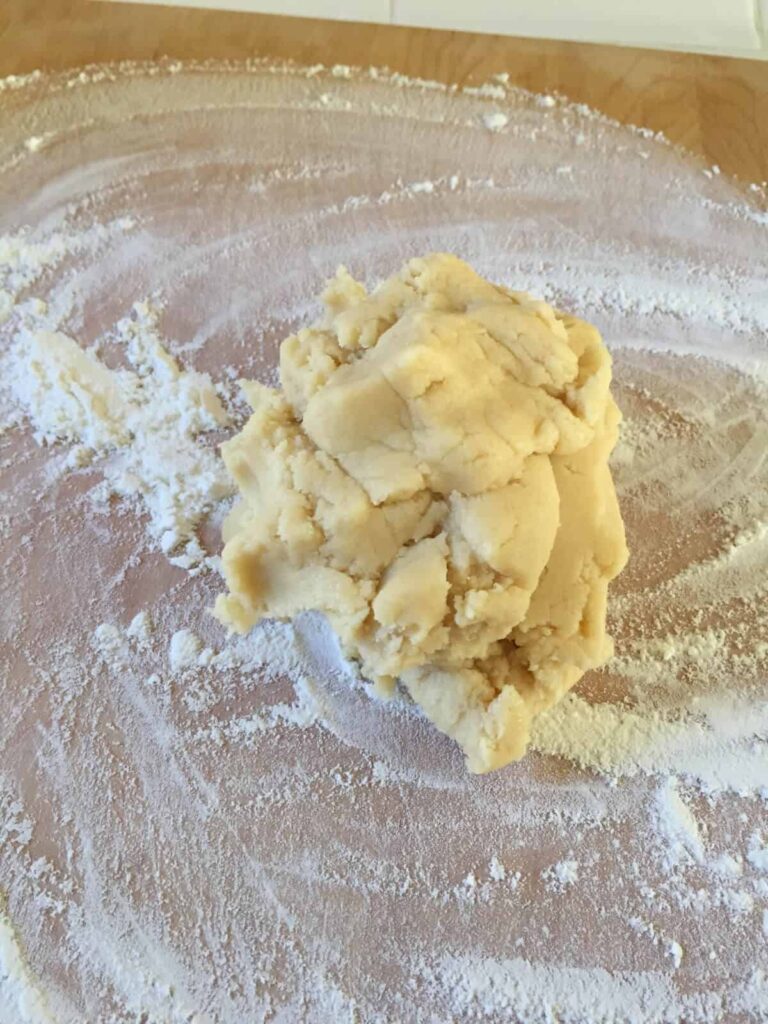
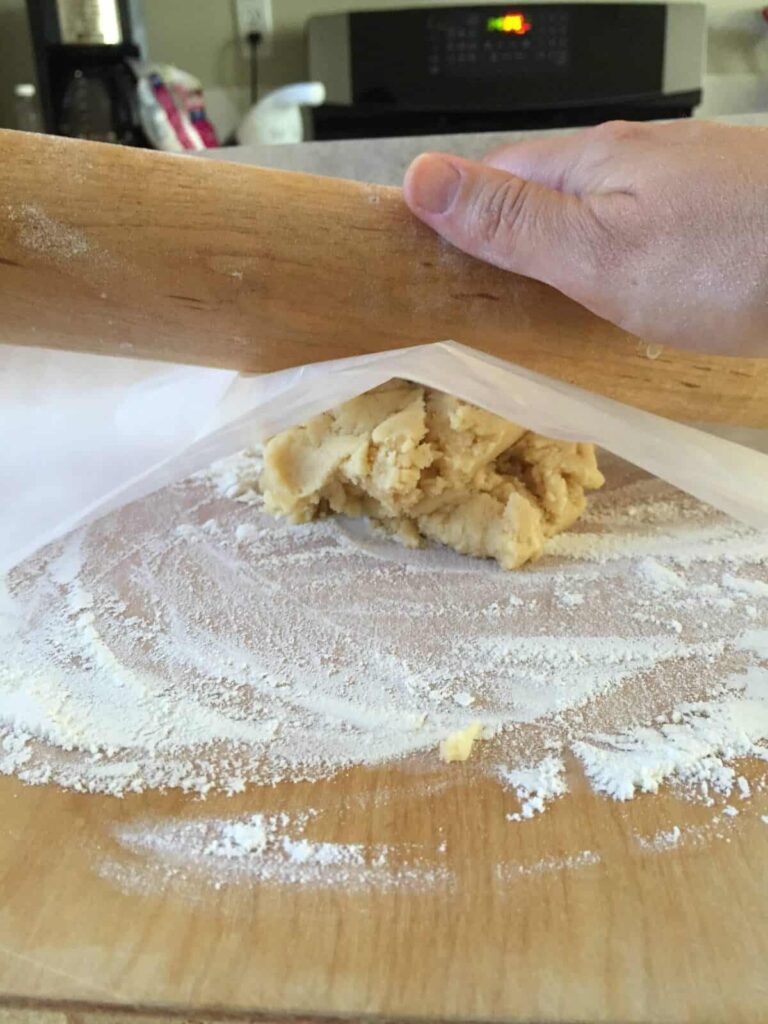
Lay a piece of wax paper on top and then use your rolling pin to thin out the dough into an even layer. This recipe works best if cookies are about a 1/4 inch thick.
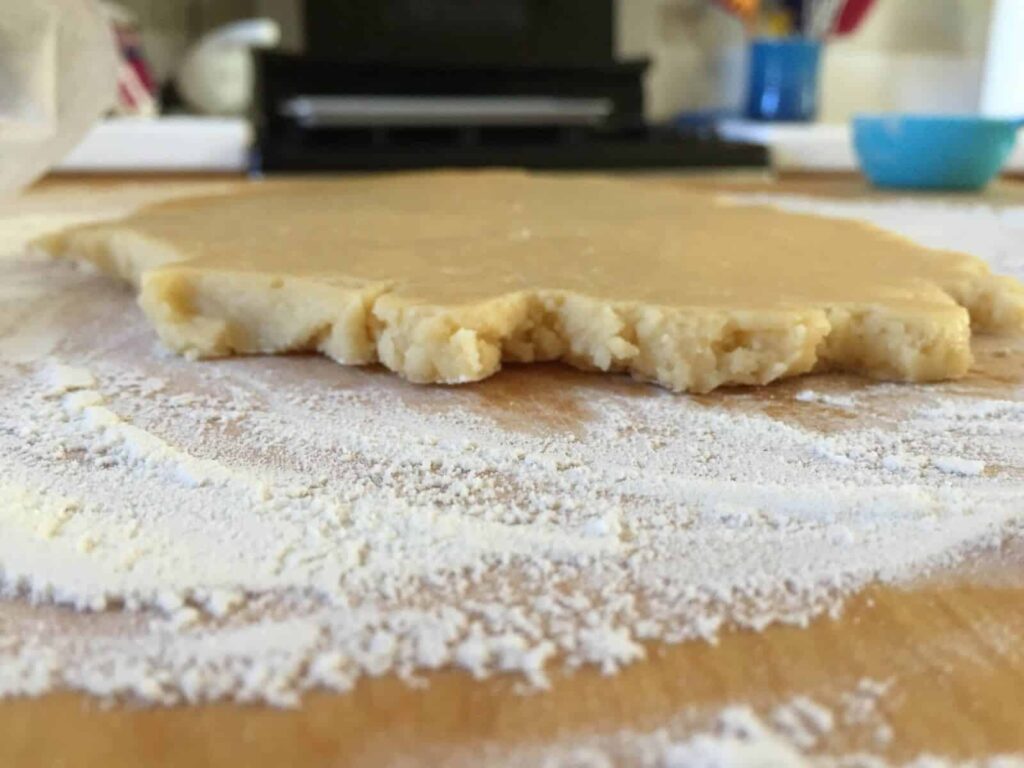
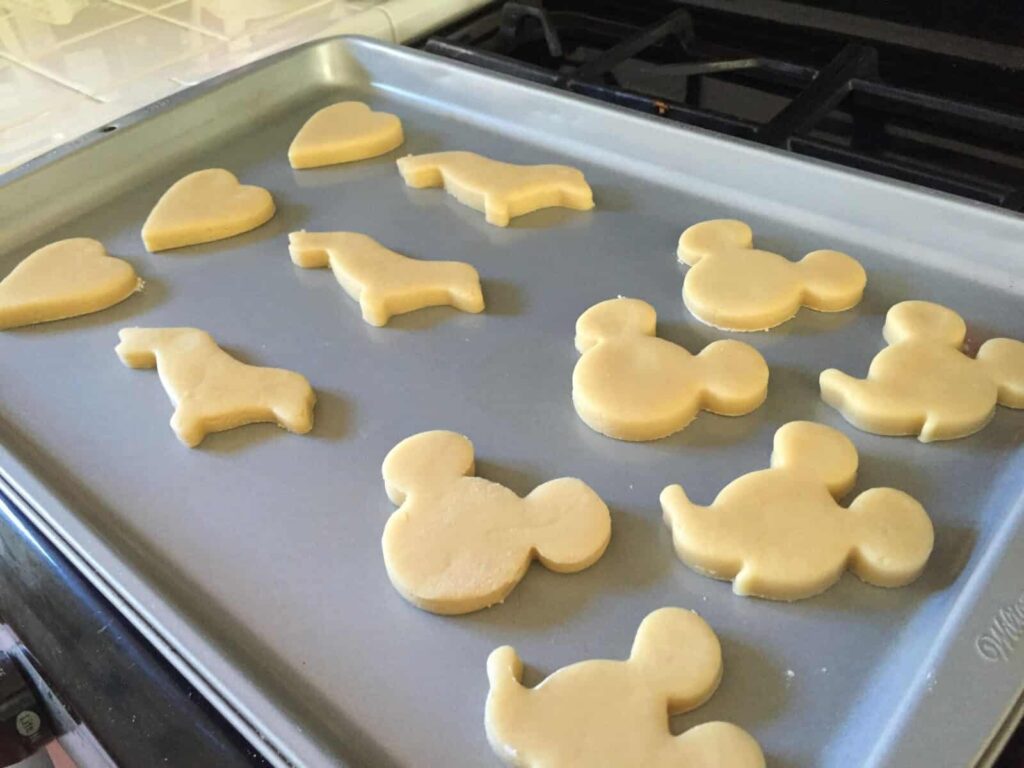
Then start using whatever shaped cookie cutters you want and begin cutting them out! When you’ve used your available dough, form into a ball and repeat the process of rolling it out.

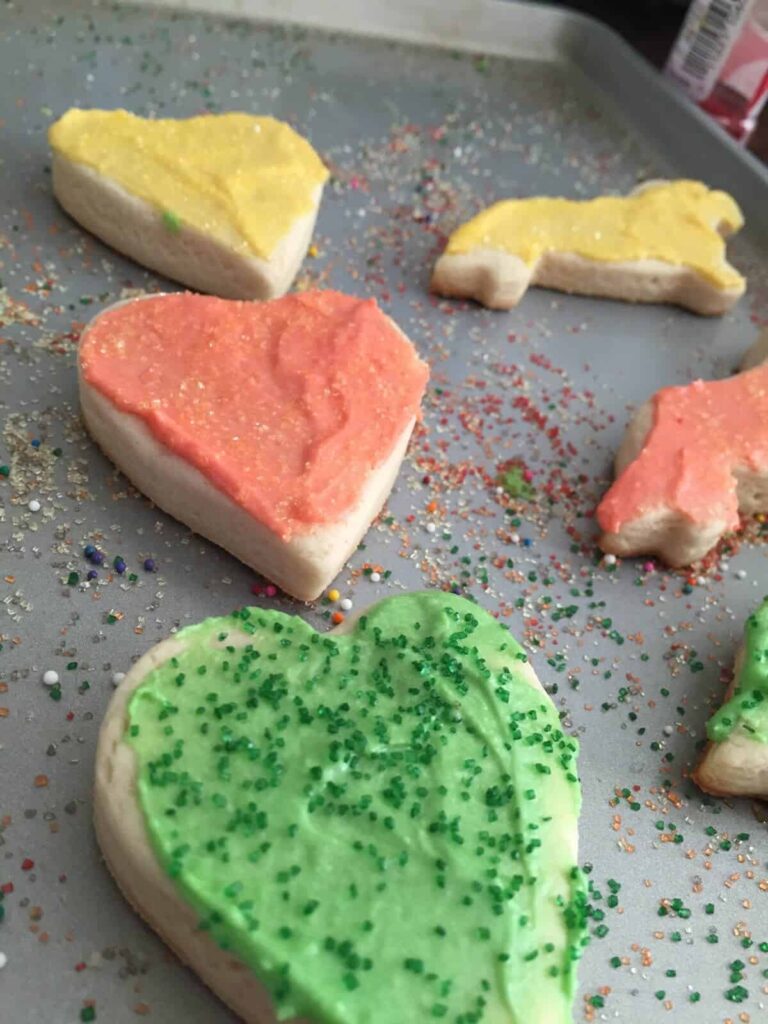
Lay the cookies out on a cookie sheet and pop in the oven for 8-10 minutes. Keep a close eye, these cook fast and you don’t want a burnt cookie! You’ll note the hodge podge nature of my current batch of cookies. I call this collection “what happens when your 3-year old picks out the cookie cutters!”
Once removed from the oven, allow butter cookies to completely cool on sheets of waxed paper before frosting. Now, for the frosting!
Combine butter, vanilla extract and confectioners sugar and beat until creamy. I personally use a hand mixer for this step.

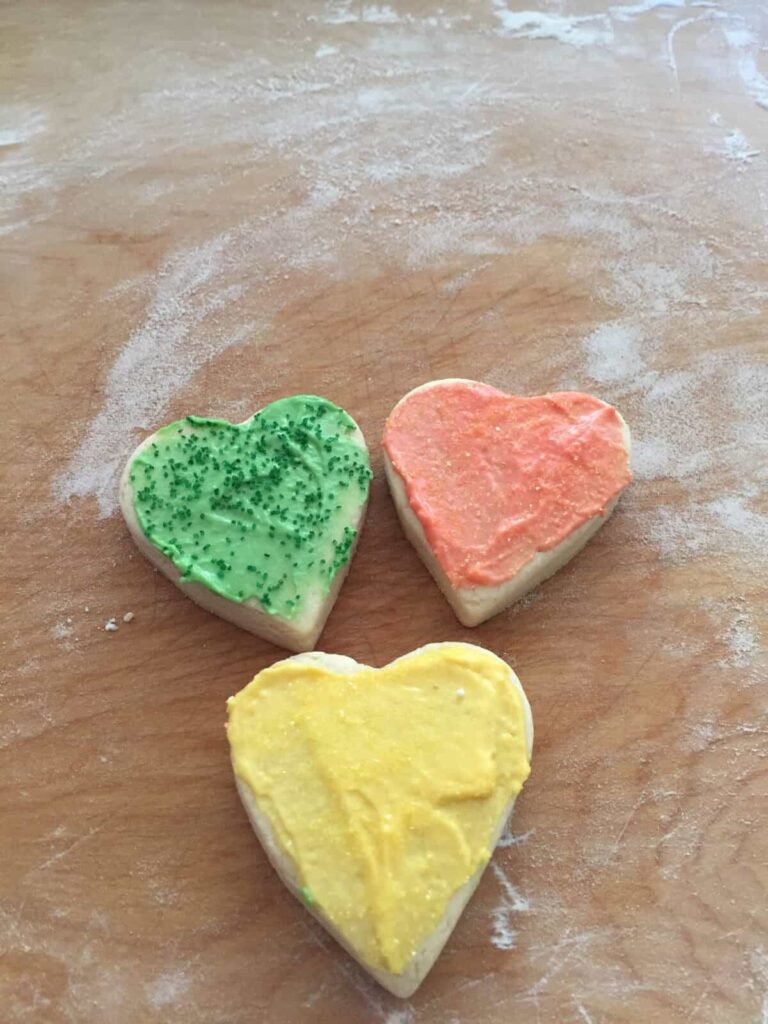
Add a little less than ONE tablespoon of milk and then beat. You do NOT want a runny frosting, you want a creamy but flexible version that is easy to layer on the butter cookies. You can always add more milk if it’s too thick, so just add small amounts at a time. Once you have your desired consistency, spoon into separate bowls and then add food coloring! I personally did summer colors this time around. I suggest when the holidays roll in, to invest in some Wilton Gel food coloring. You will get rich, vibrant colors that you just can’t get from traditional liquid coloring.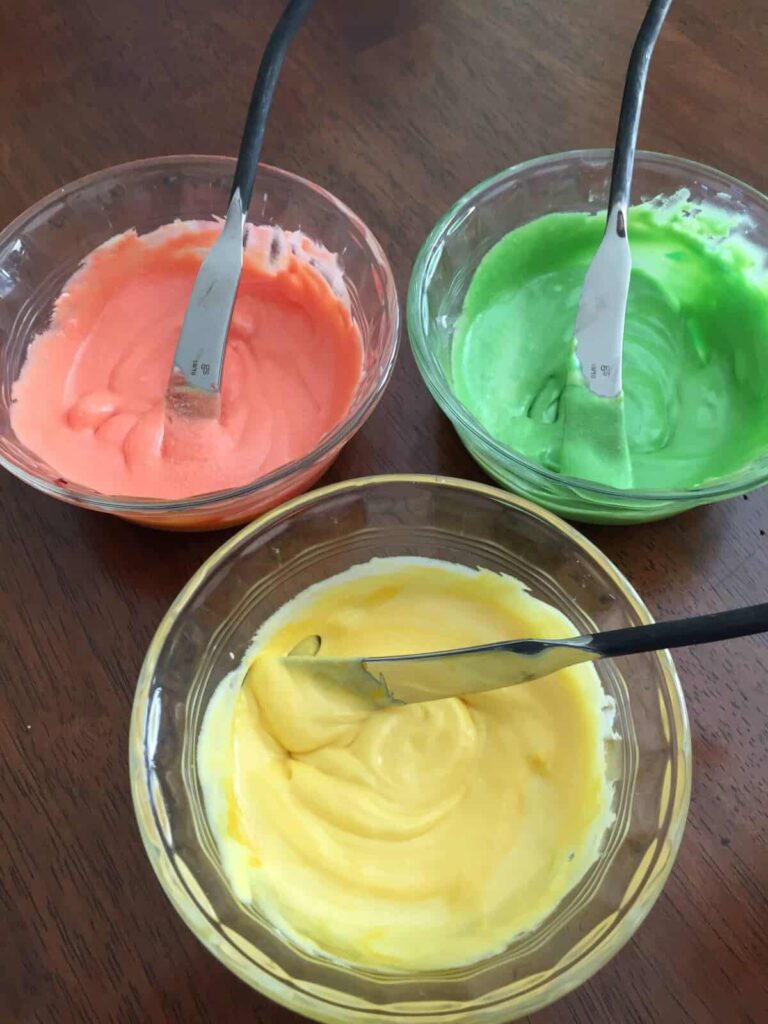
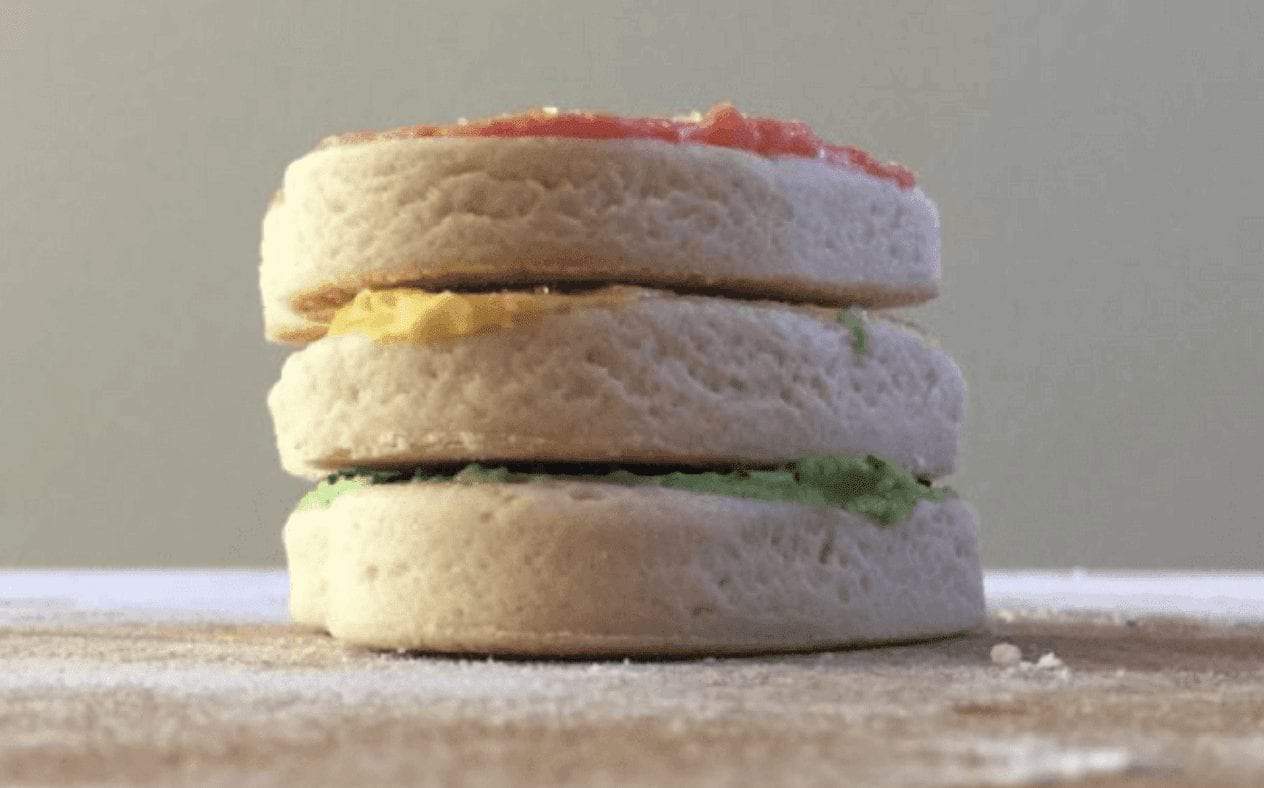
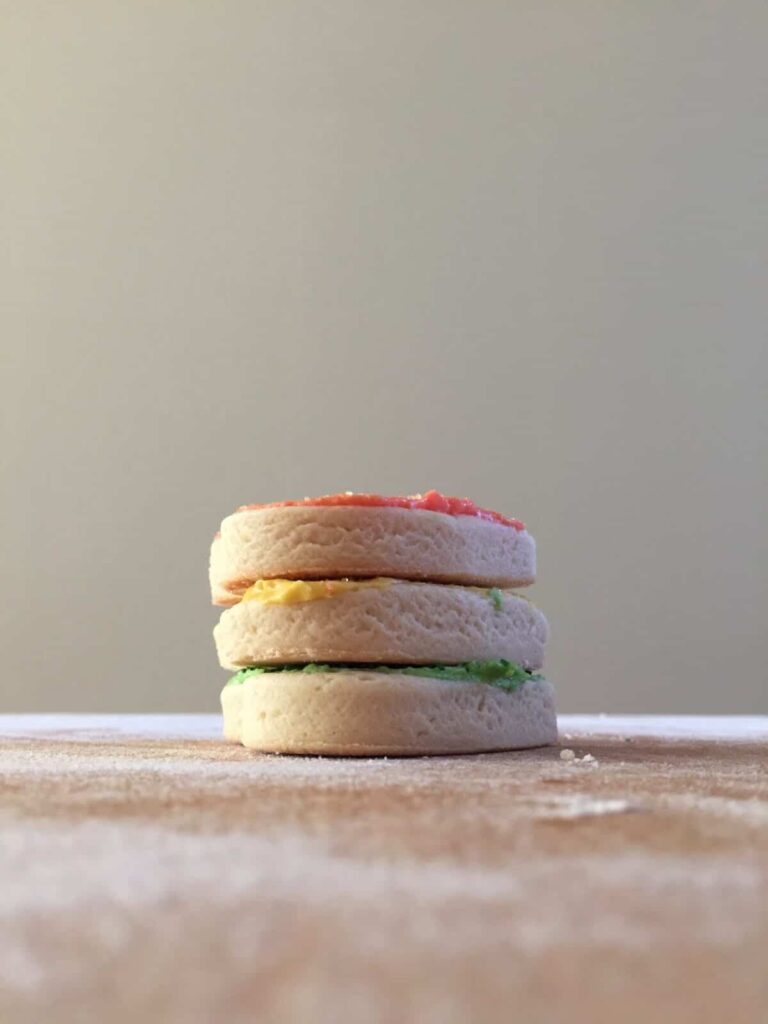
Use a cookie sheet to frost and add sprinkles to your cooled butter cookies. This is the best part for kids! The cookie sheet will help contain the mess and not allow quite so many sprinkles to escape on your table and floor.
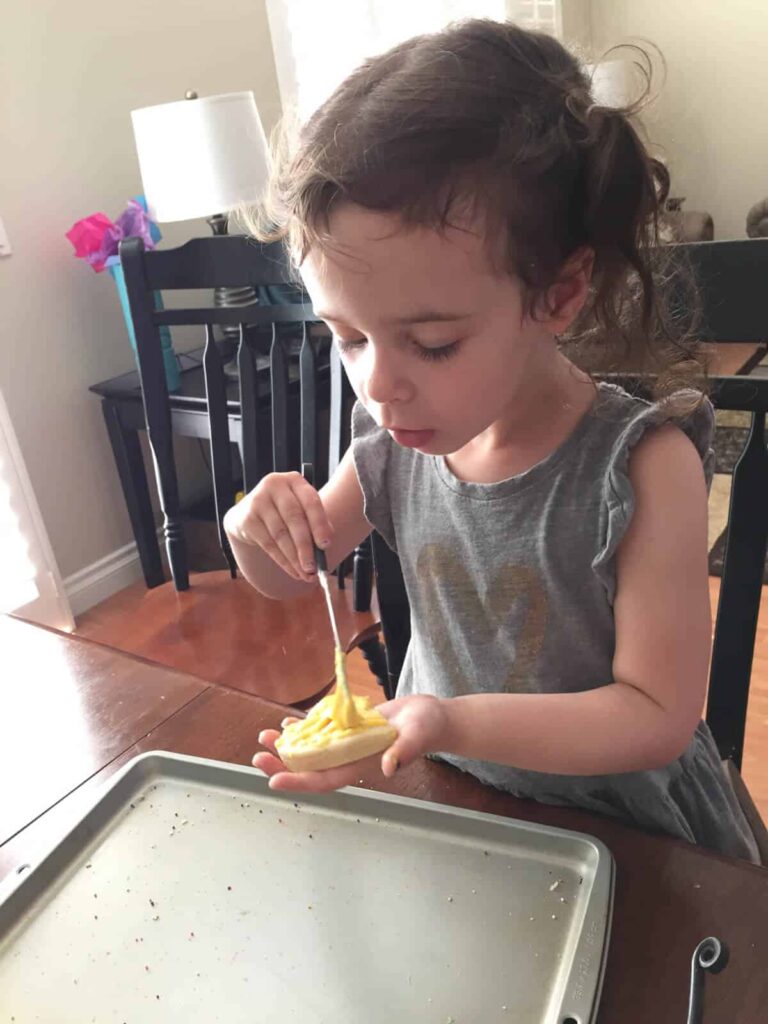 I love how the frosting and sprinkles gives everyone the creative license to make a beautiful cookie in their own way. This traditional style butter cookie is one for the memory books and I hope you and your family enjoy.
Related Images:

Karly Wood
Latest posts by Karly Wood (see all)
- Summer Chore Charts To Keep The Kids Busy - July 9, 2026
- 8 Family-Friendly Vegetarian Dinner Recipes - May 21, 2026
- 15 Wonderful White Kitchens to Inspire Your Dream Home Design - January 14, 2019