If you have a daughter, you learn very quickly how they start to accumulate girly things pretty quickly. There are many times I feel buried under my 2 year old’s piles of shoes, baby dolls and of course, hair accessories. Up until recently, she didn’t have much hair so we were pretty sparse in the bow department. But now that she has enough hair for at least a pony tail, we are stocking up on some pretty cute bows. Our meager collection has already outgrown our “hair stuff” jar, so I set out this weekend to create a holder that would not only maintain her bows, but look cute while doing it. Check out this easy embroidery hoop hair bow holder and get organized!
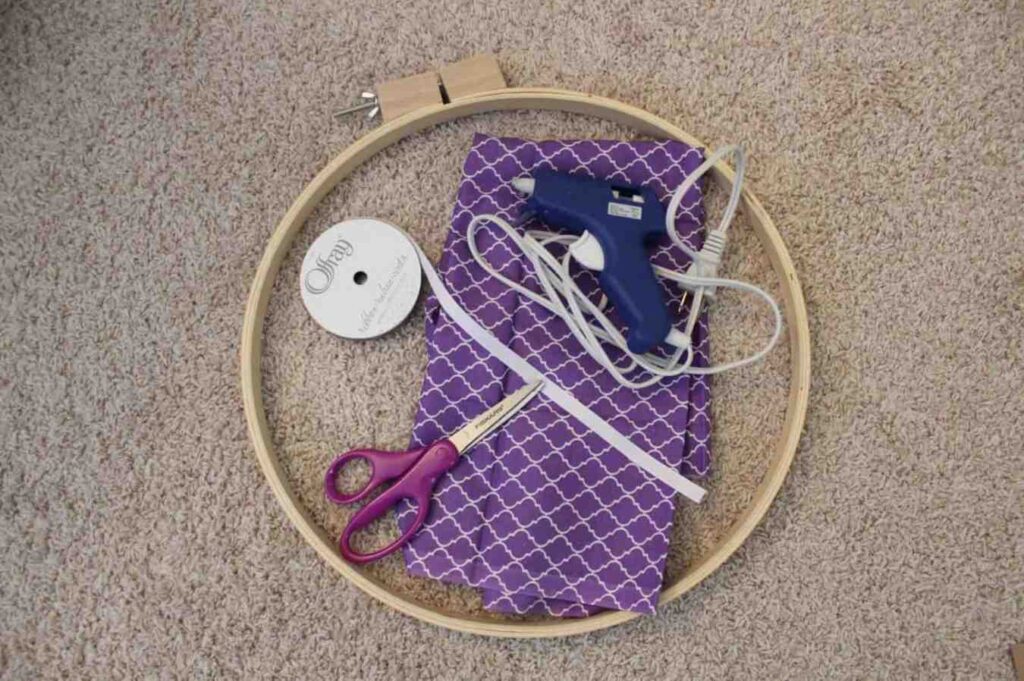
Here’s What You’ll Need
Embroidery or Quilting Hoop (I used a 14-inch one, and I wouldn’t go much smaller)
Fabric- about 1/4 yard (A precut quarter is a perfect amount for a 14-inch hoop. You will need larger if you have a bigger hoop
Ribbon
Fabric Scissors
Glue Gun
Iron
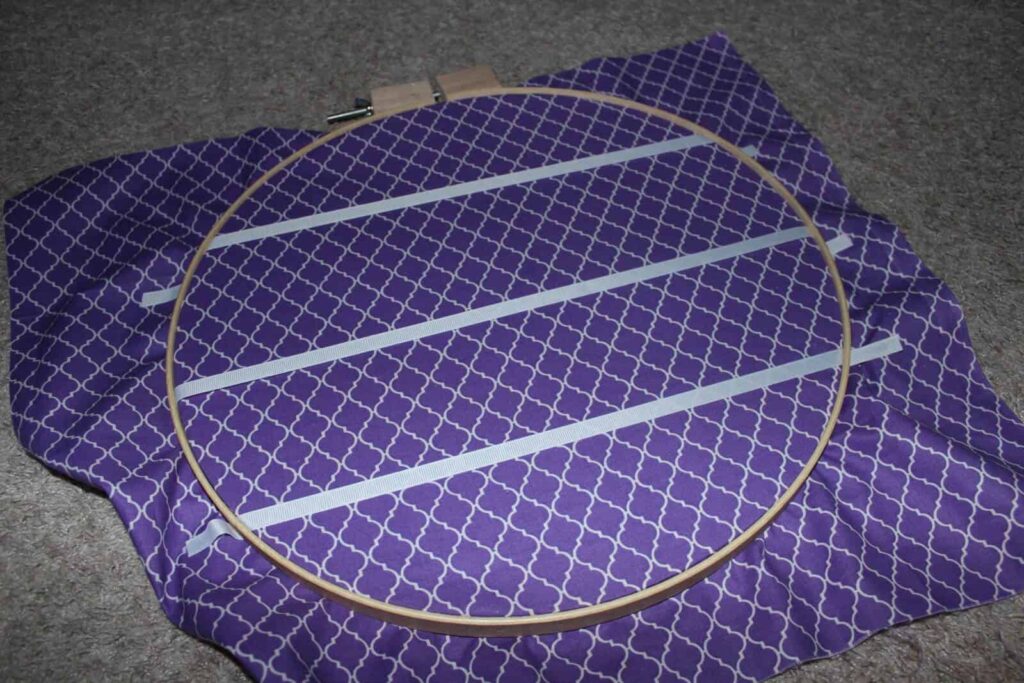
Start your bow holder by loosening the clip on the top of your embroidery hoop and separating the pieces.

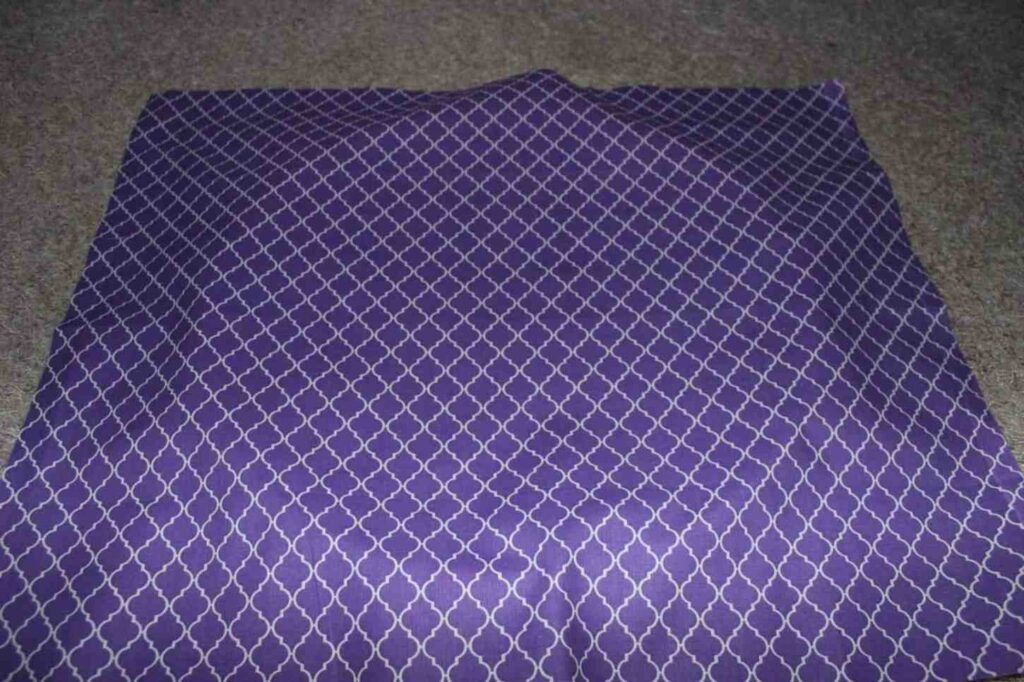
Depending on your fabric, you may need to iron out any creases. If you don’t, then just start the next step! Lay your fabric over the inner ring of the embroidery hoop.
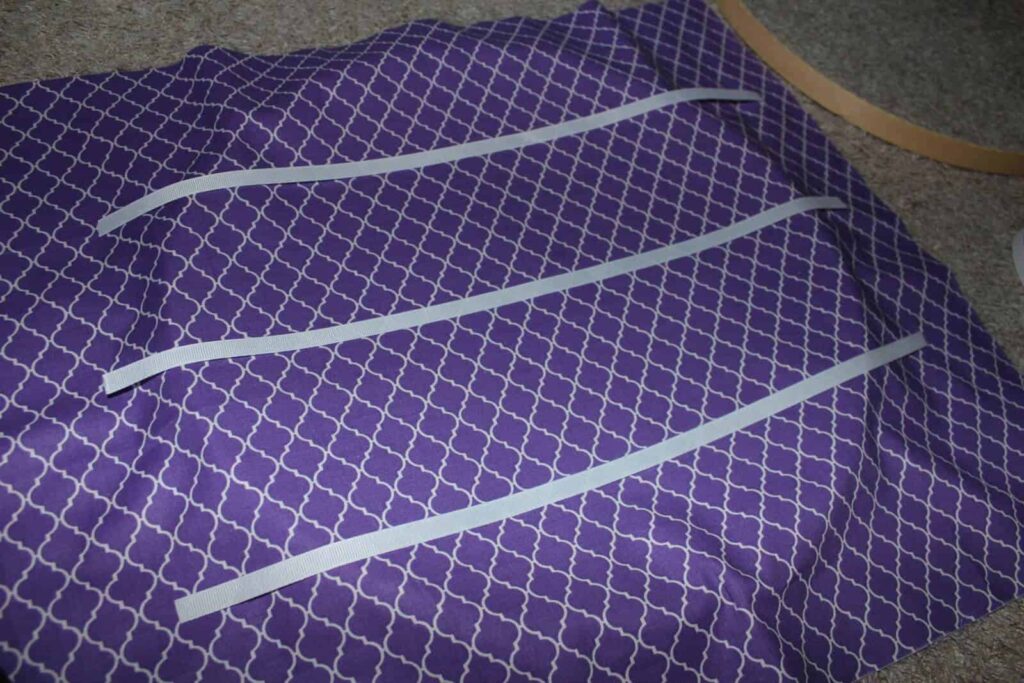
Then cut three strips of ribbon that will cover the width of the hoop, plus some extra length on each side. You will be stretching the ribbon tight once you put the outer ring on top. I recommend measuring to make sure your ribbons are evenly spaced. You can do as many ribbons as you like, just make sure it accommodates large bows if you have any!
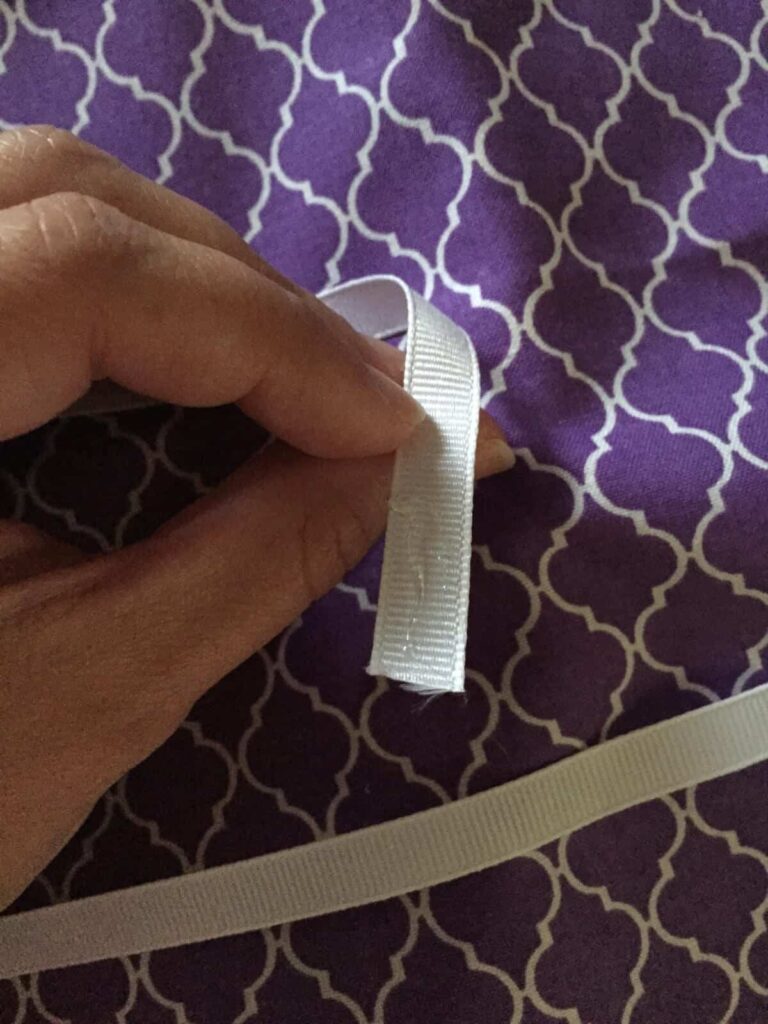
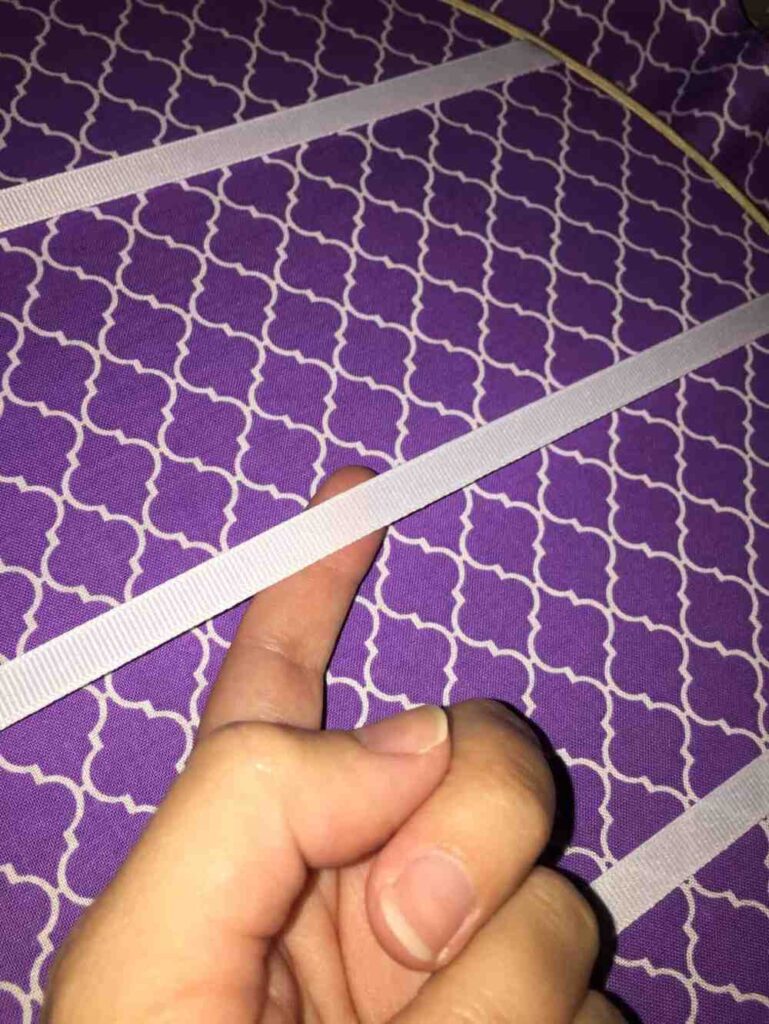
Take your glue gun and drop a small amount of glue on each end of the ribbon, and glue down the ends. This will help keep your measured ribbons in place as you put the outer ring of the hoop back on.
Once you have your fabric and ribbons aligned, stretch the outer hoop over the inner hoop. You may struggle little because it will be a tight fit. You can further loosen the clip on the top to make it an easier fit. After the outer ring is on, you will pull and stretch the fabric tight to remove any wrinkles.
Make sure your ribbons are fairly tight, because once you start putting bows on them, you want the ribbon to be taut, not droopy.
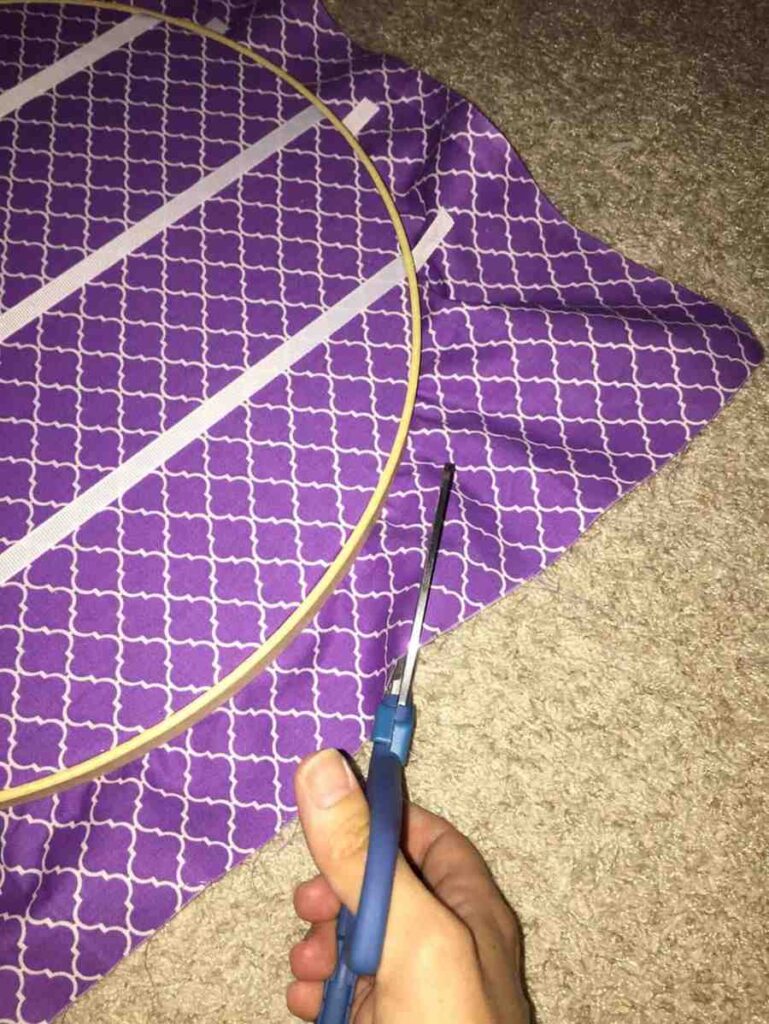
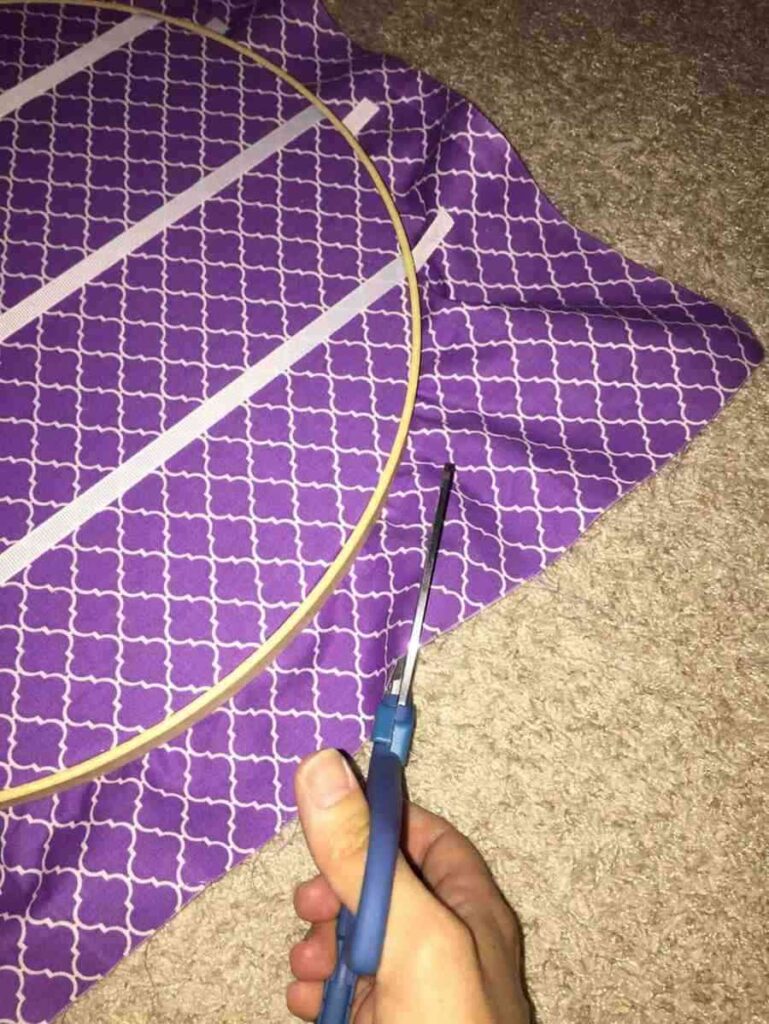
Once you’re happy with your fabric, tighten the outer hoop back up. Now you will trim any excess fabric from around your hoop. I recommend leaving about an inch of fabric remaining.
Now, turn your hoop over. You will be gluing down the remaining fabric to the inner side of the hoop to create a finished look. Just lay down a few inches of glue at a time and pull the fabric down tight as you lay it over the glue. Do this the entire perimeter.
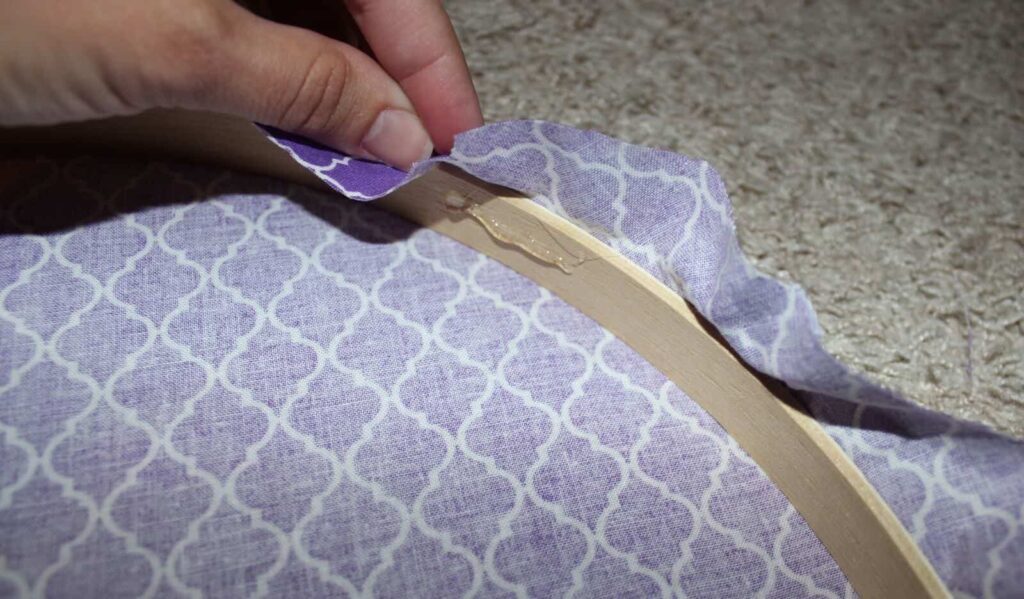
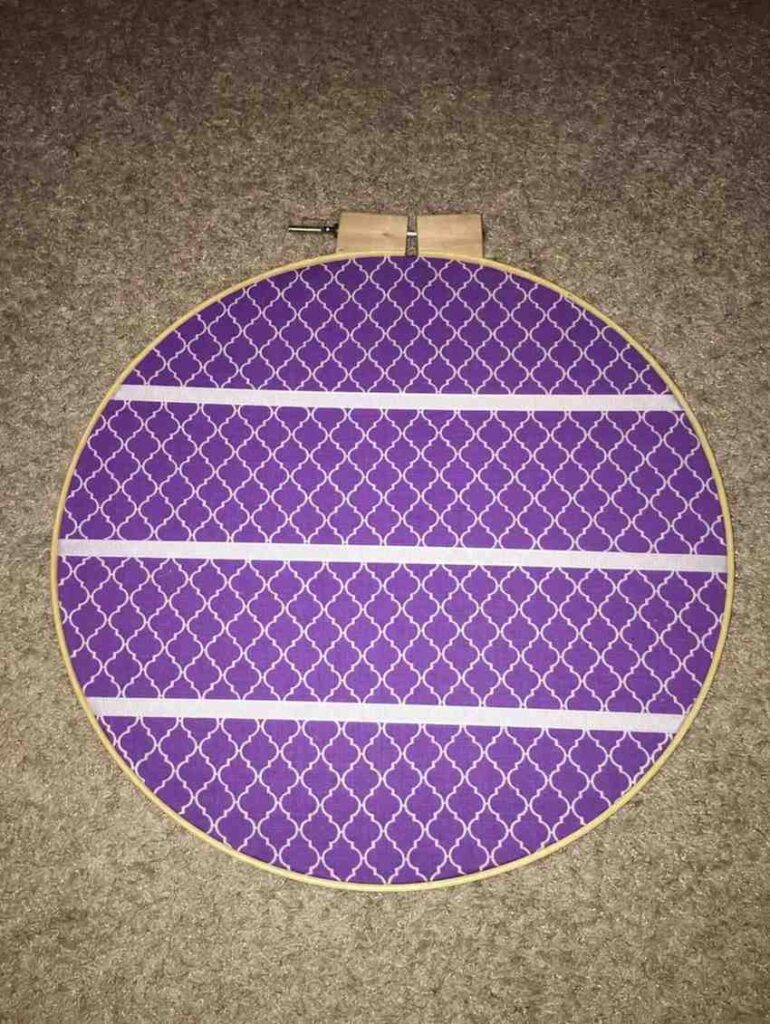
Your edges should start to look like this:
Then flip it over and marvel at your handy bow holder!
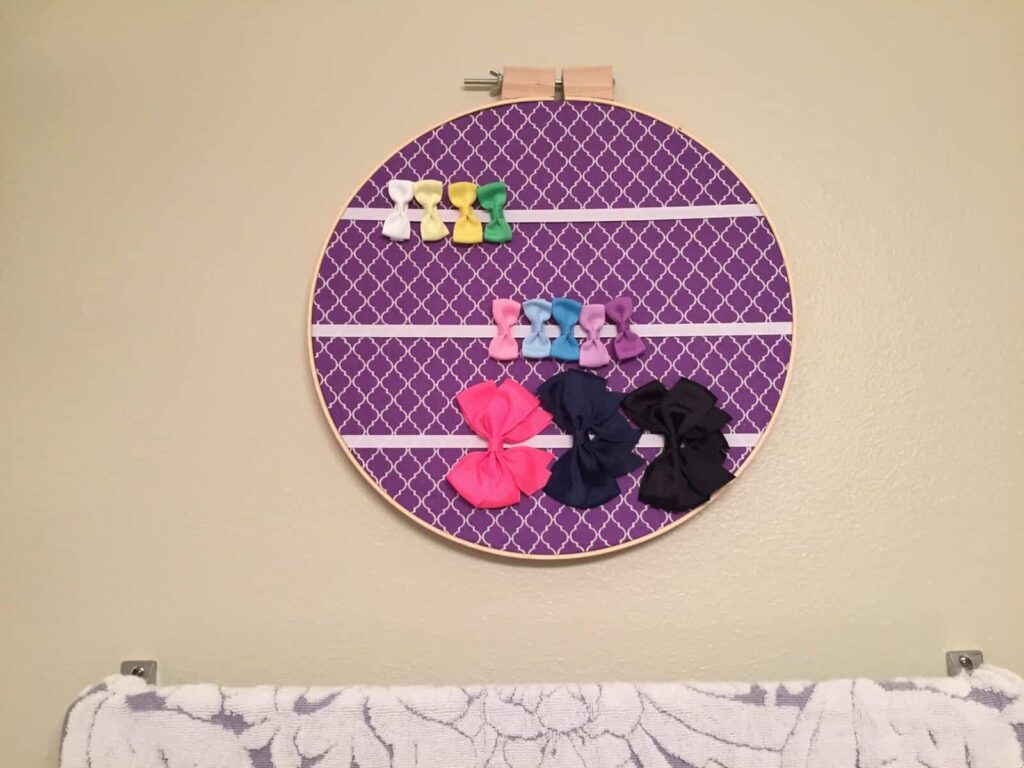
All that’s left is to find a cute place in your daughter’s bathroom or room and hang some bows! I personally hung it in our bathroom because that’s where I do her hair. It holds a cute place on the only wall space we have in our window and mirror-heavy bathroom above the towel rack. I used Command Poster Strips because that’s all I had and they worked great! You could also hang with a simple nail or use a Command hook.
This was a very easy craft that requires no sewing and no hammer and nails (a win-win in my book!). It cost me $8, but it may cost you less if you already have fabric and ribbon (which I didn’t!). If you end up trying this out, I’d love to see your finished products in our comments!
Related Images:

Karly Wood
Latest posts by Karly Wood (see all)
- Summer Chore Charts To Keep The Kids Busy - July 9, 2026
- 8 Family-Friendly Vegetarian Dinner Recipes - May 21, 2026
- 15 Wonderful White Kitchens to Inspire Your Dream Home Design - January 14, 2019