If you love decorating your home with the changing seasons, and are looking for a little something new for your door besides a customary wreath, then this DIY craft is for you! I love a festive door wreath, but there’s only so many months in the year you can swap out your decorations, so why not do something a little different? This year I decided to create my own twine covered monogram to hang on my front door, and couldn’t be happier with how it turned out! So check out this tutorial and adorn your door with something new this Fall.
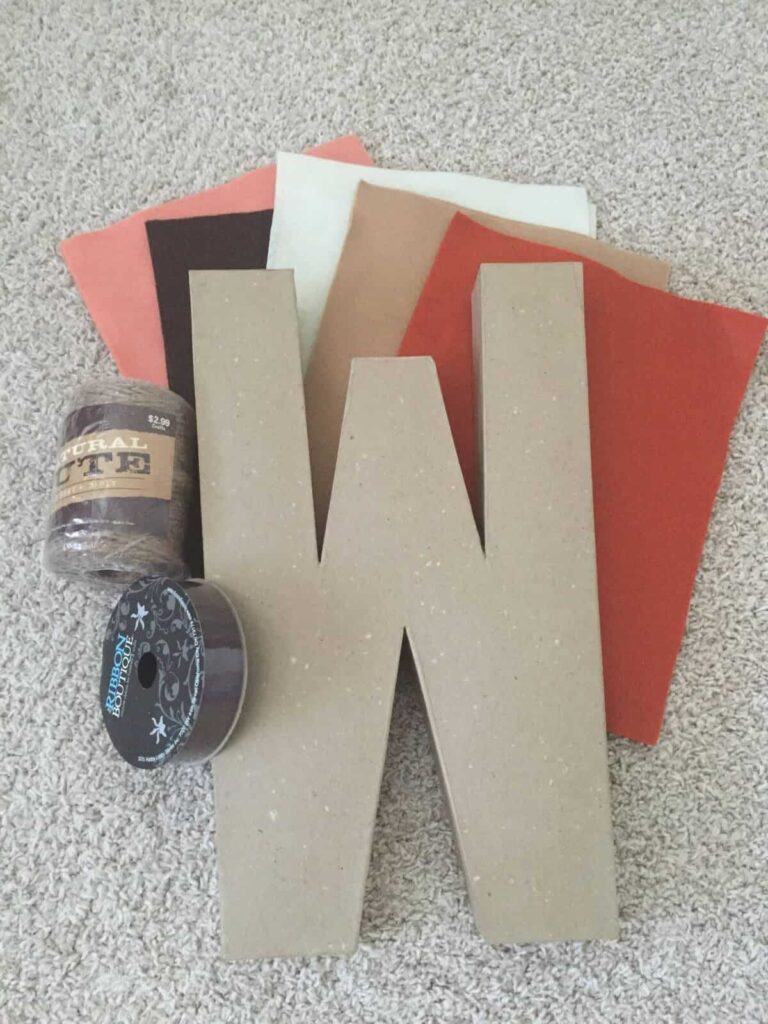
Here’s What You’ll Need:
– Paper Mache Letter (any size will do, but the bigger the letter, the better it will show on your door. I used a 16” one).
– Jute Twine
– Felt
– Ribbon
– Hot Glue
– Scissors
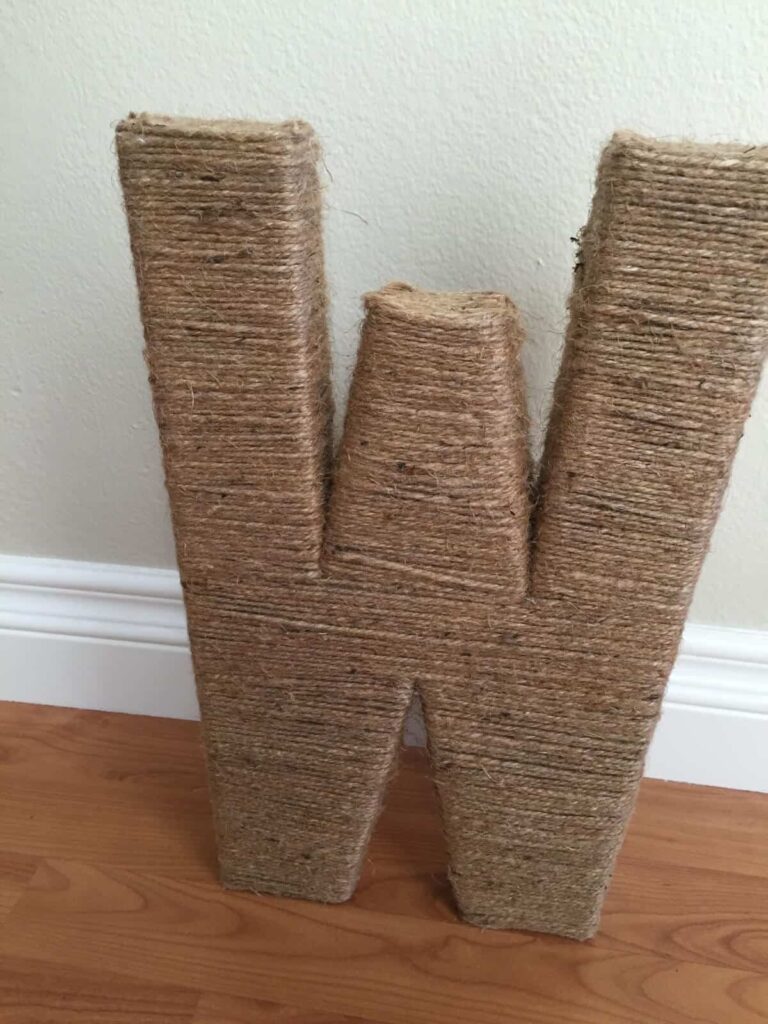
Take a look at your letter and determine which direction you will be wrapping it. Some letters can be done with both horizontal and vertical wrapping, and others only one direction. Do a quick Google and see if anyone has wrapped your letter before and it will be a huge help! Because I did a “W” I could only do one direction due to the slant and shape of the actual letter. As a result, I needed to cut individual pieces of twine to glue to the tops of my letter, because I wouldn’t be able to cover them by my regular wrapping.
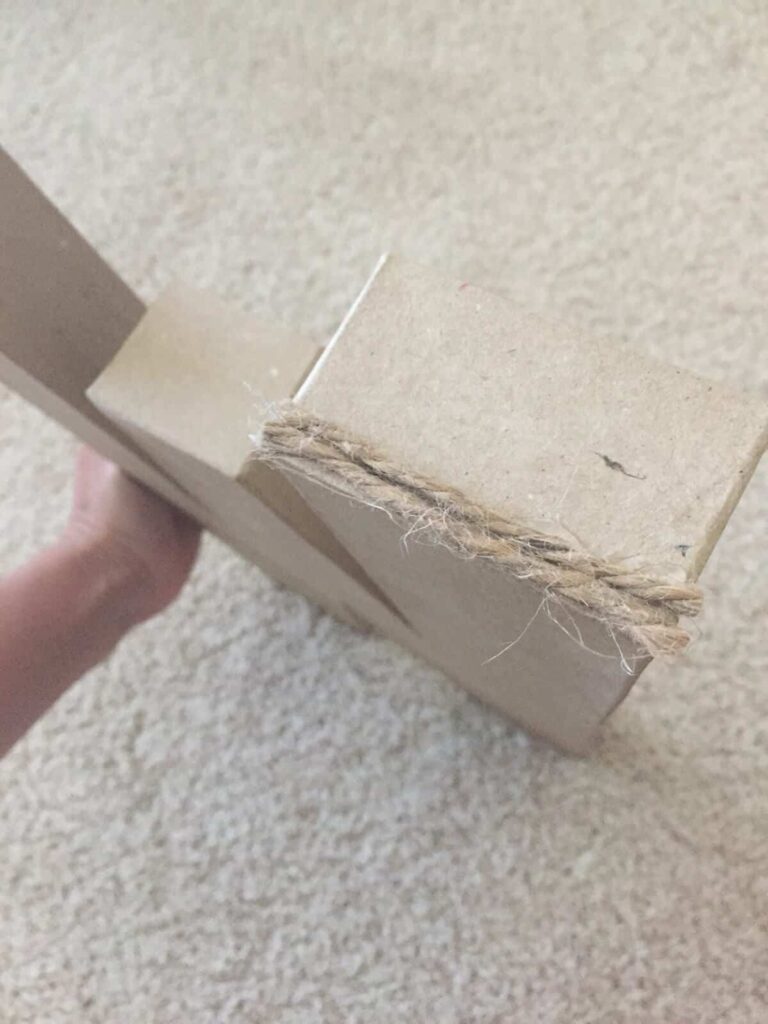
Cover the tops and bottoms of all your letters to ensure no paper mache is showing.
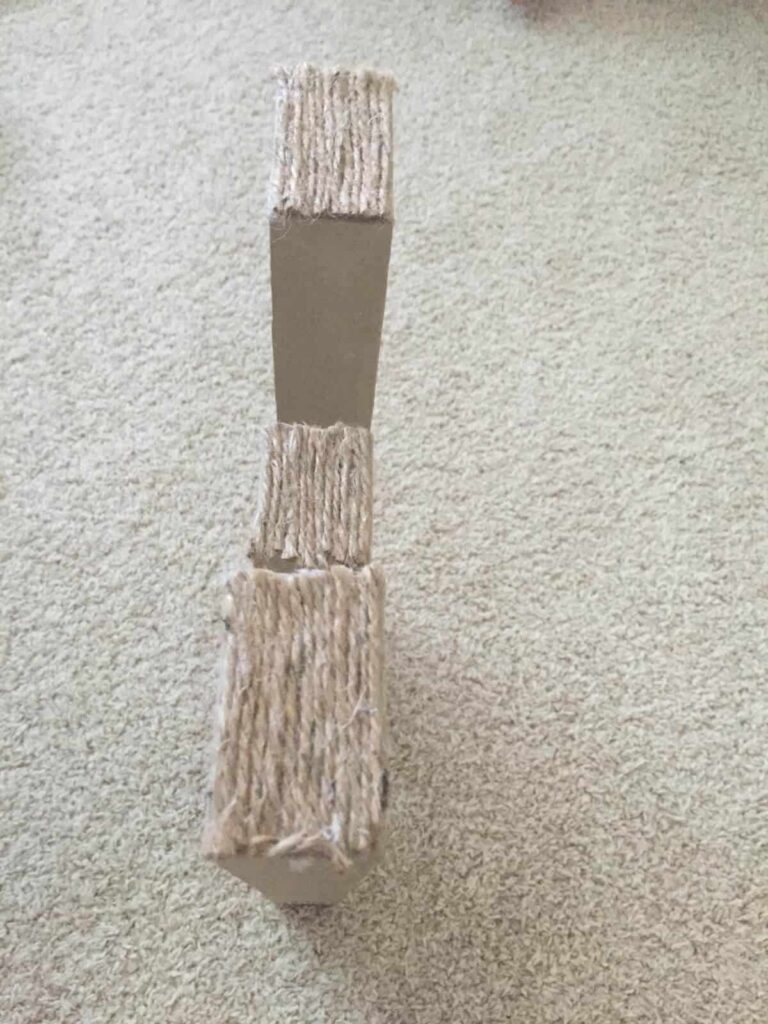
Now you can begin wrapping the rest of your letter. Glue the starting piece to the back and begin wrapping. This is the most time consuming part of this craft, and it took me about an hour and a half to completely wrap and cover the tops and bottom of my “W.” It’s optional, but it’s a wise idea to drop a dab of glue down (on the back!) every few rows to keep your twine from slipping. It will add to your wrapping time but will ensure this craft stays together for years to come.
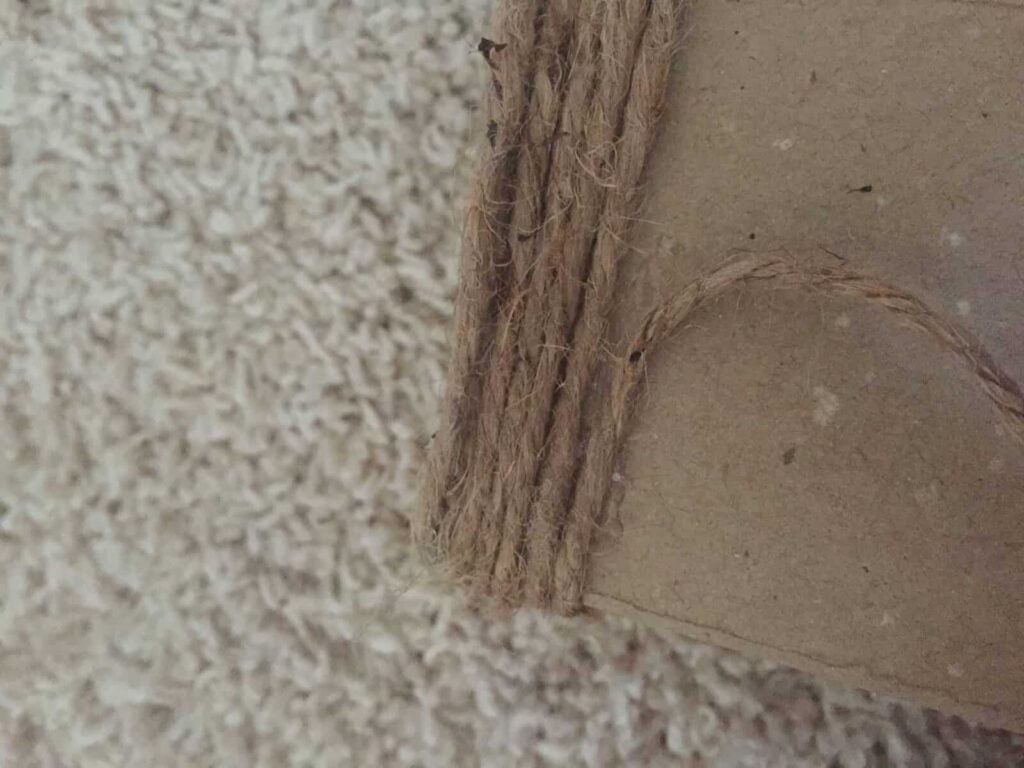
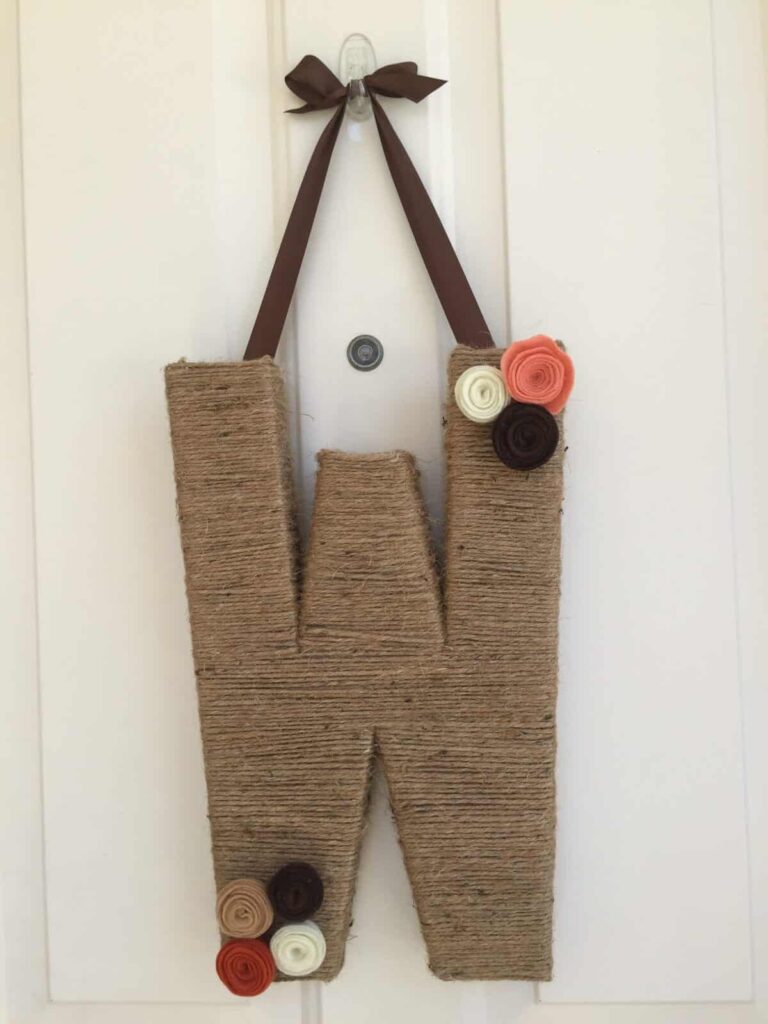
You may have areas where you need to stop wrapping, cut your twine and glue down. Then start again on another side or further down. For example, the lower part of my “W” splits apart, so I had to wrap each “leg” separately. When you’re done, you will have a gorgeous monogram that looks like this!
This final part of the craft is where you can let your imagination take off. You can add ribbon, felt flowers or floral pieces. I personally added felt rosettes to keep with the rustic look, but add some much needed color.
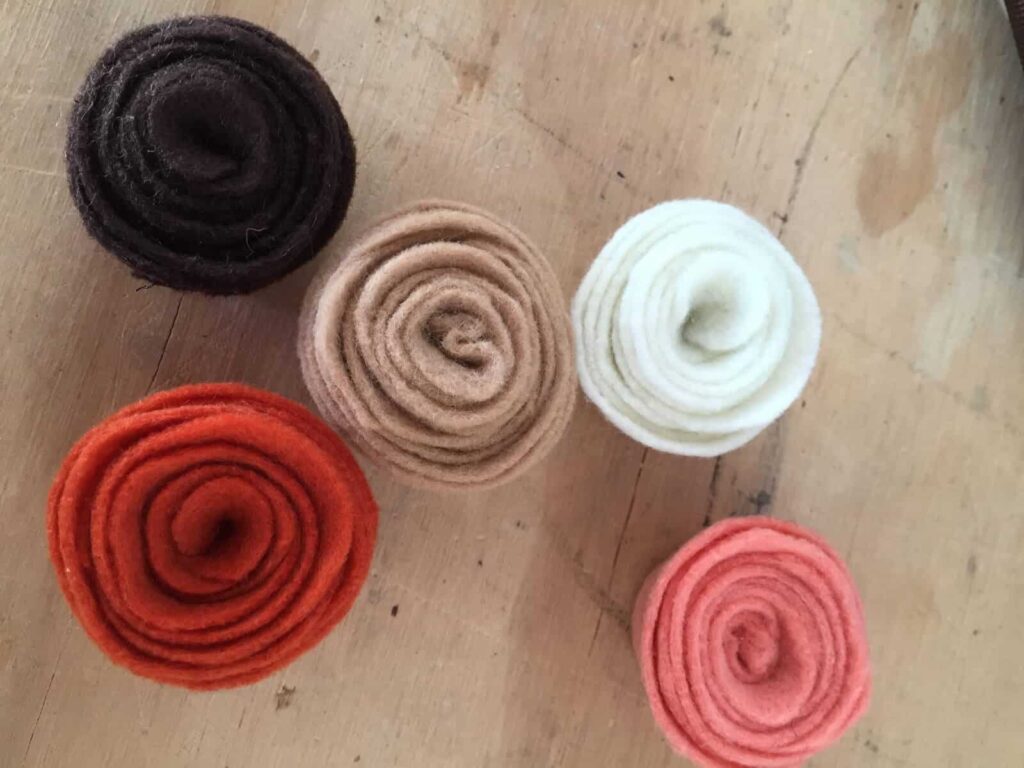
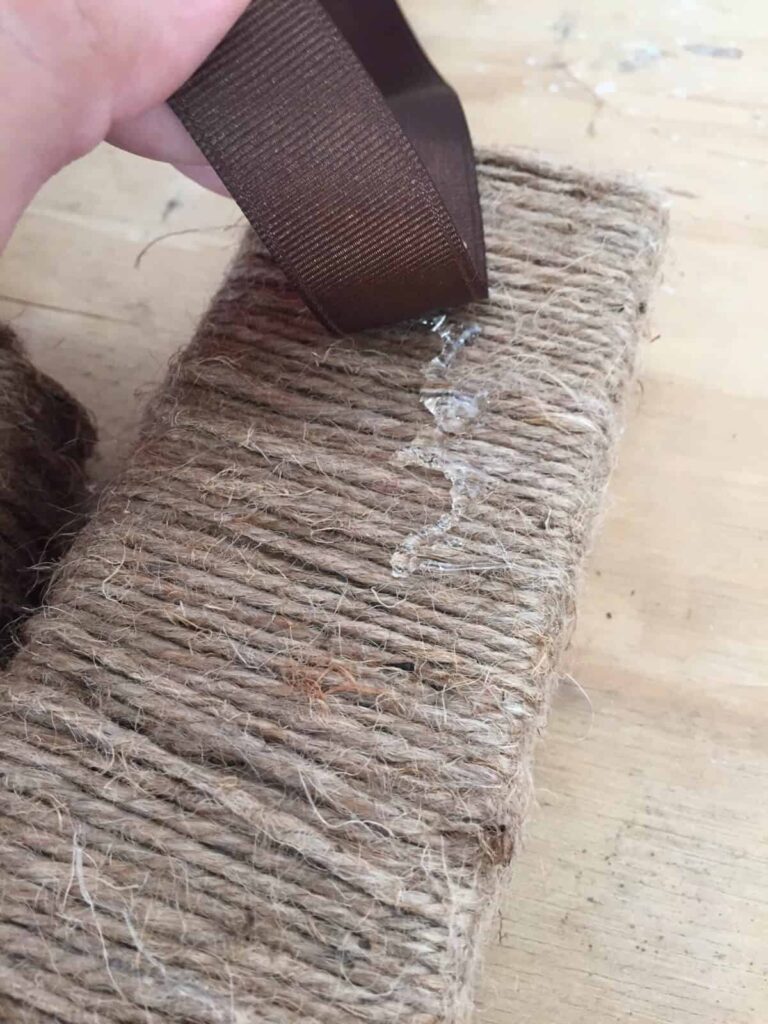
There is a great tutorial on making felt rosettes right here on one of our own Life As Mama posts, so don’t be afraid to craft some of your own! Before you start affixing your decorative pieces to your monogram, be sure to measure, cut and hot glue your ribbon to hang on the back of your letter. If you do it after your add your flowers, you may smash them! Just simply put a healthy amount of hot glue and lay down your ribbon.
Now just hot glue your flowers, etc. down!
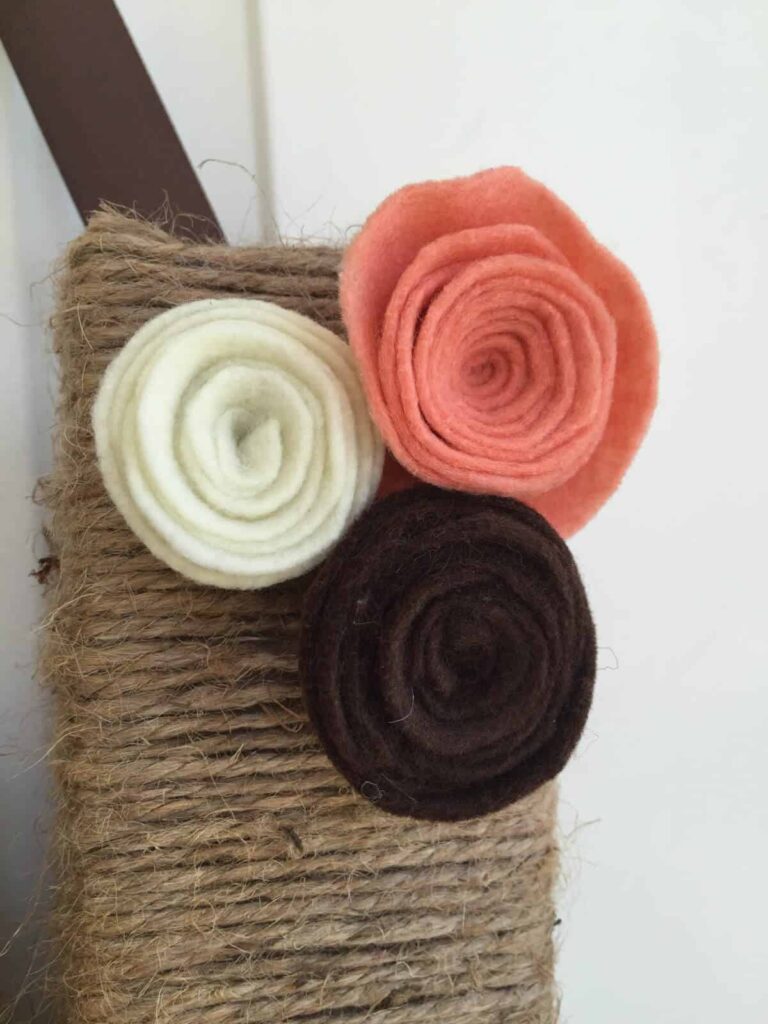
Hang and enjoy!
While this craft came out lovely, it didn’t go without some hard work. It was time consuming to wrap such a large letter and took some concentration to make sure it wrapped evenly, especially around some of the letter spaces. I suggest popping in a good movie and attempting this when the kids aren’t around. Otherwise you’ll get easily frustrated and it will take you twice as long! All of the supplies cost me less than $15 and I love that it’s a completely unique and handmade craft. Happy Fall!

Karly Wood
Latest posts by Karly Wood (see all)
- Summer Chore Charts To Keep The Kids Busy - July 9, 2026
- 8 Family-Friendly Vegetarian Dinner Recipes - May 21, 2026
- 15 Wonderful White Kitchens to Inspire Your Dream Home Design - January 14, 2019
Related Images:
Karly Wood
Latest posts by Karly Wood (see all)
- Summer Chore Charts To Keep The Kids Busy - July 9, 2026
- 8 Family-Friendly Vegetarian Dinner Recipes - May 21, 2026
- 15 Wonderful White Kitchens to Inspire Your Dream Home Design - January 14, 2019