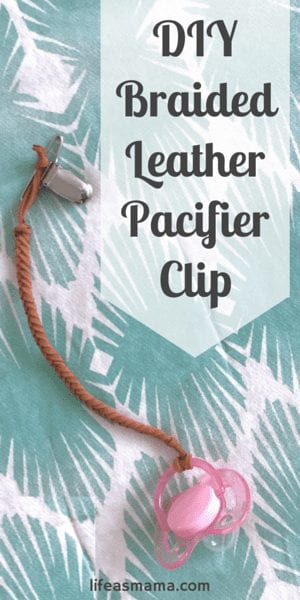
Currently I am expecting my second child and this time around it’s a girl! I couldn’t be more excited, especially since girl clothes and accessories are so much more adorable than boy things. One of the items I’ve been needing to get are some pacifier clips. My son was obsessed with his pacifier and we constantly had to have one attached to him, so I want to be prepared with this baby as well. Since the ones I already had were boy “themed” I obviously can’t use those for my precious little girl. I found some that I really liked online, but no matter where I looked they were all around $8 for one, and that didn’t include the shipping I would have to pay in order to get it. That means I would be spending over $10 for one pacifier clip. I know that doesn’t seem like a lot, but as I looked around I figured I could make the exact same pacifier clips myself, so I did and it turned out exactly how I wanted.
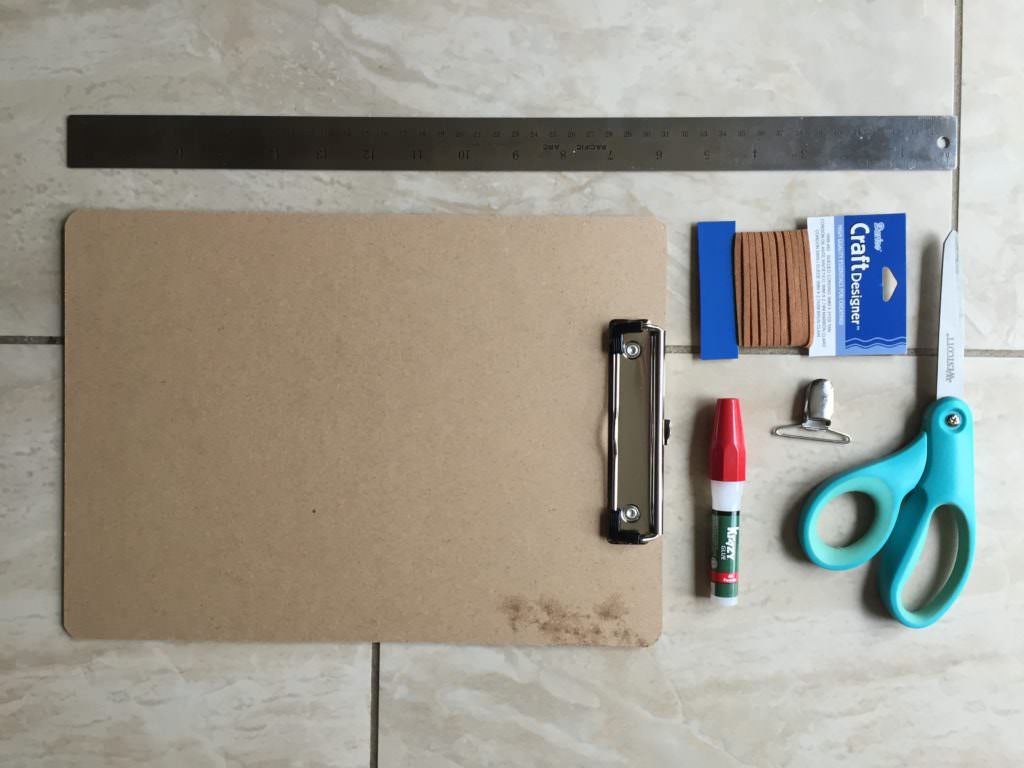
So here are the supplies you’ll need in order to make these adorable braided pacifier clips:
-leather or suede cording
-ruler
-scissors
-suspender clip (I used one I cut off of one of my son’s old ones, but you can buy these at the craft store)
-super glue
-clipboard
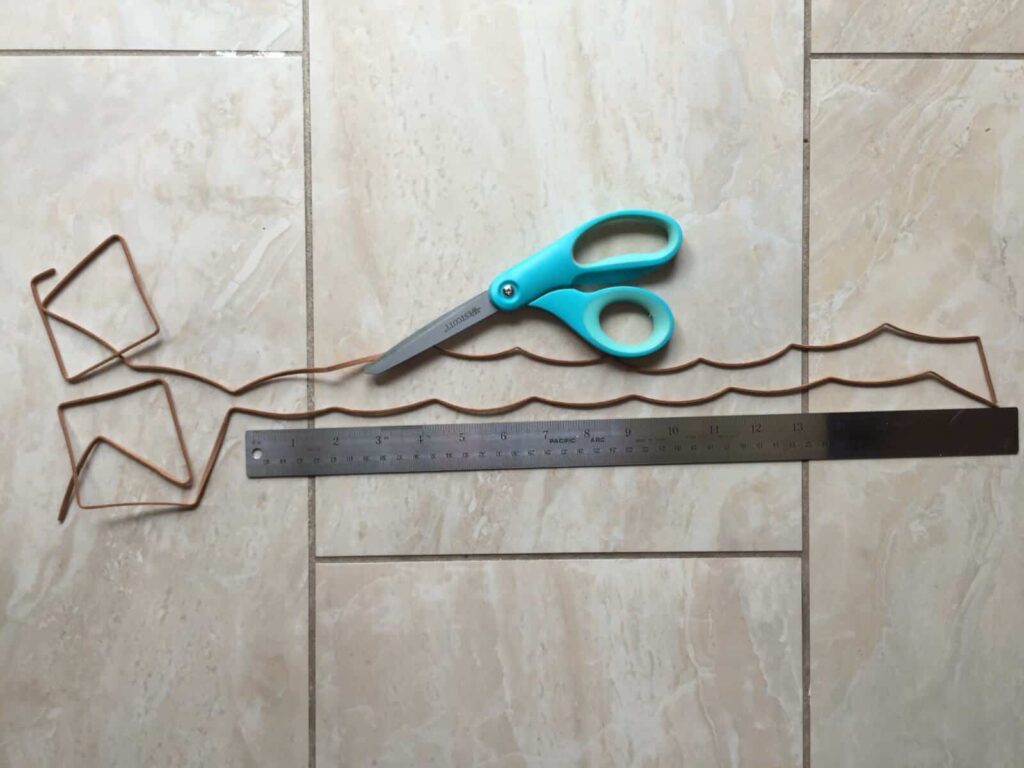
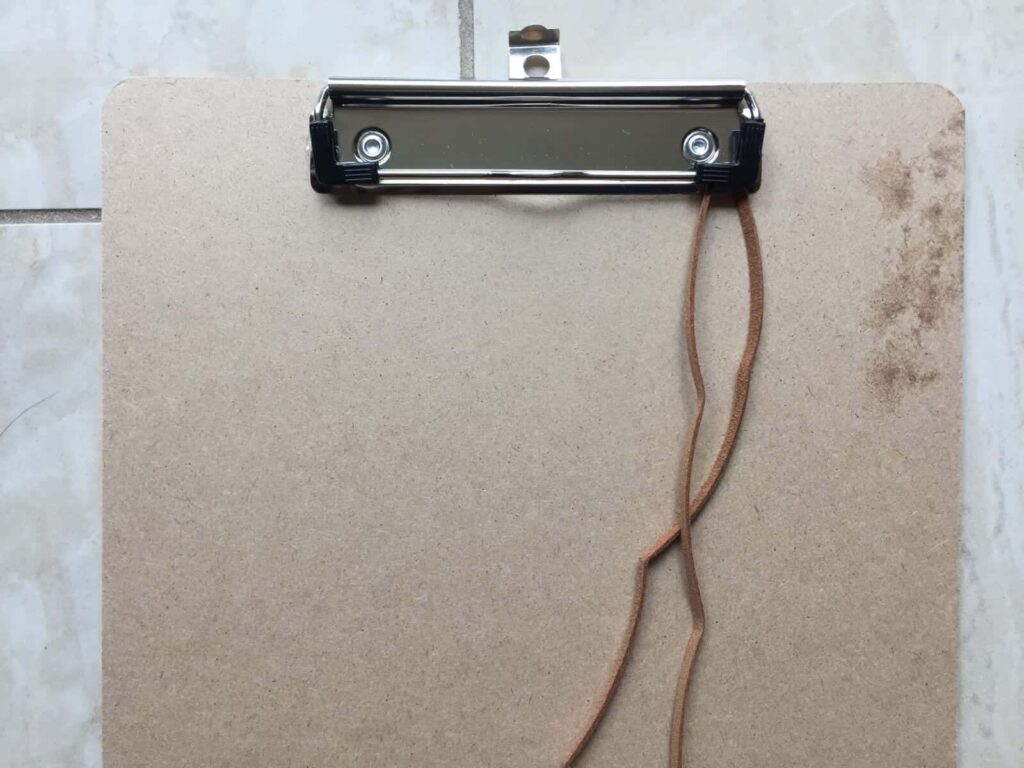
First off, you need to measure and cut two pieces of leather cording about 30-36 inches long.
Next fold the two pieces of cording exactly in half.
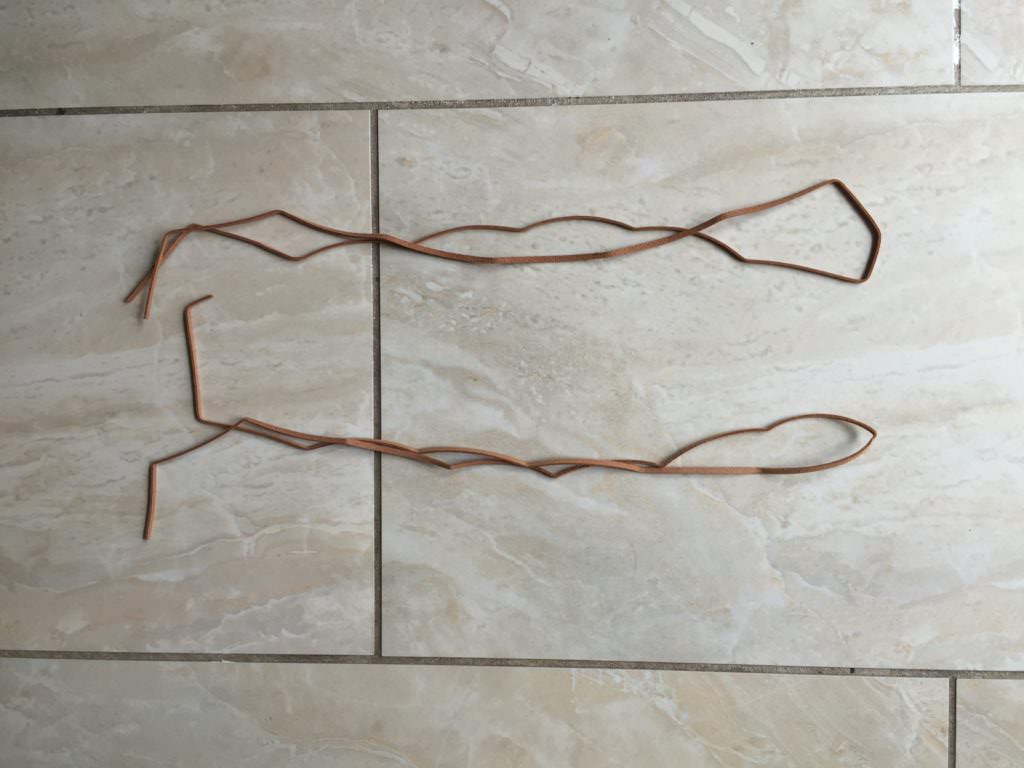
On one of the pieces, measure 1 1/2″ down from the loop at the top and make a small mark.

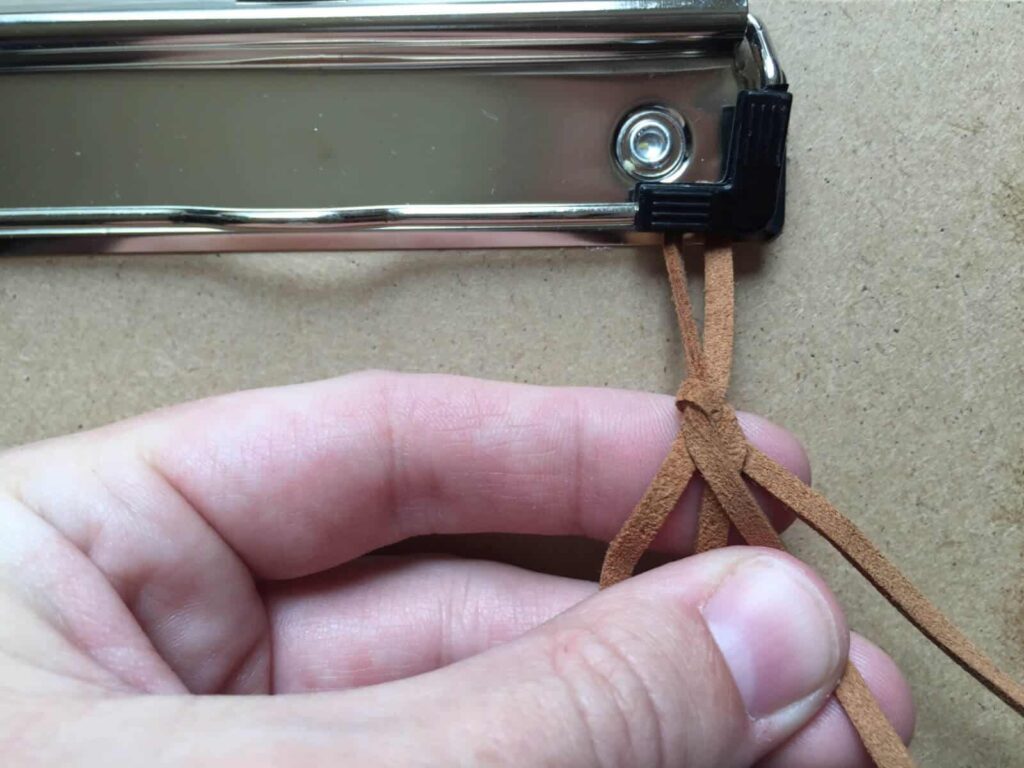
Now, clip the top of the loop into the clipboard where it will be most secure.
Take the other strand and at the halfway point put it underneath the cord attached to the clipboard where the mark is.
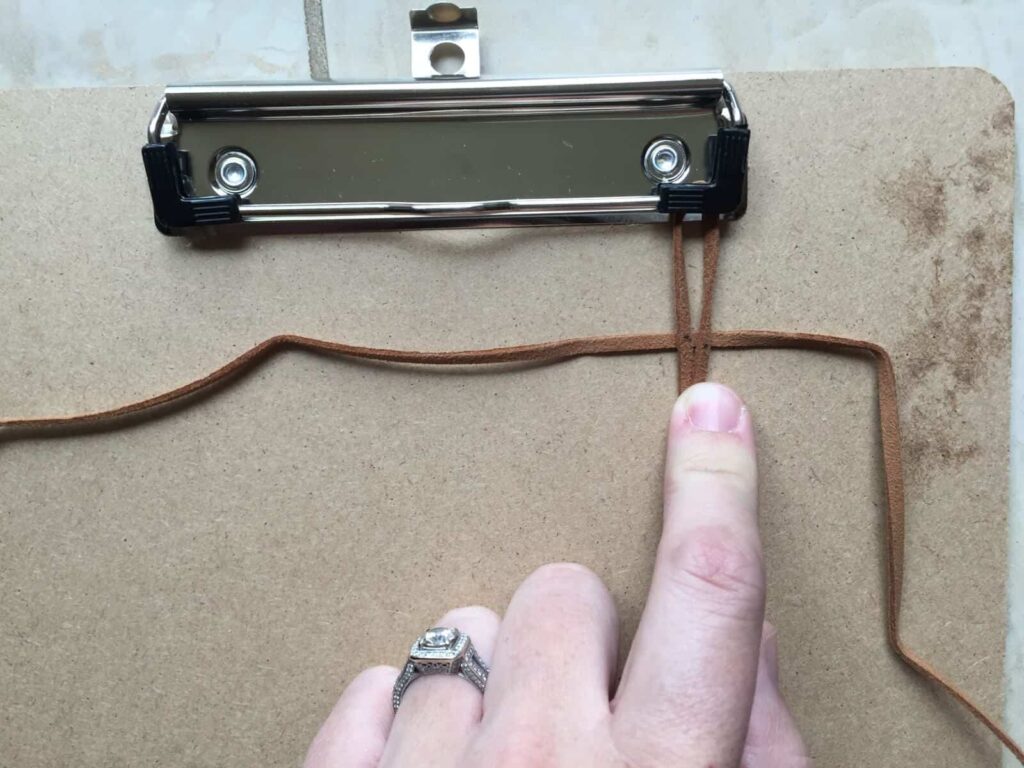
Now, take the left piece of the cord that is lying underneath and pull it over the two strands of cording that are attached to the clipboard.
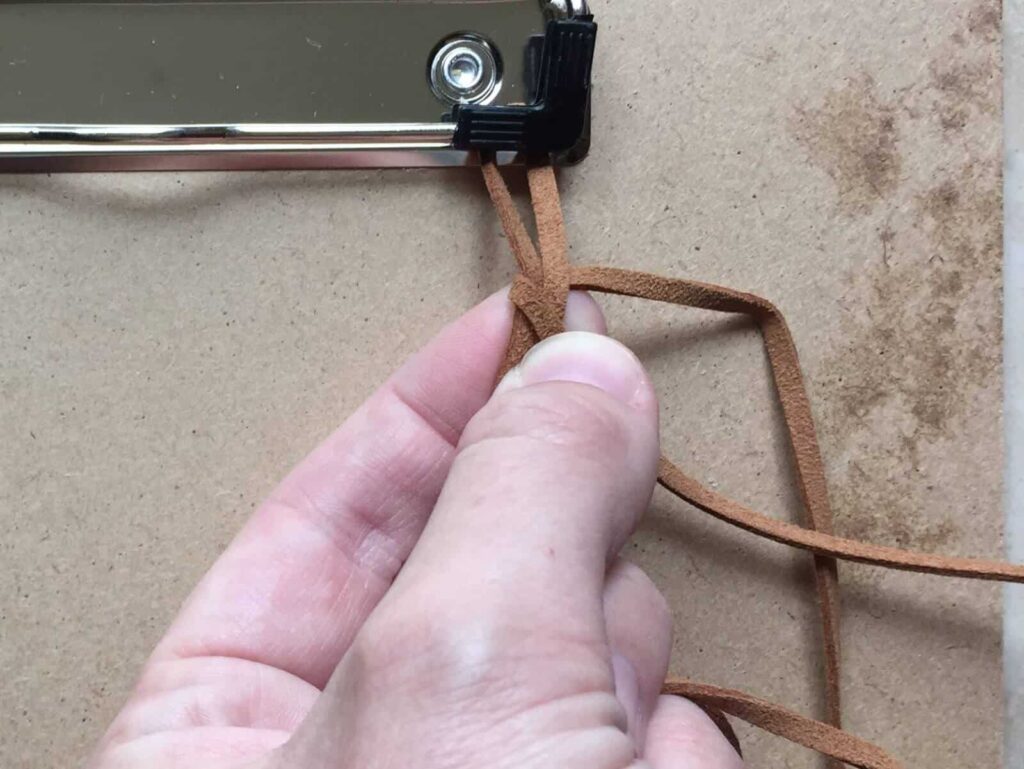
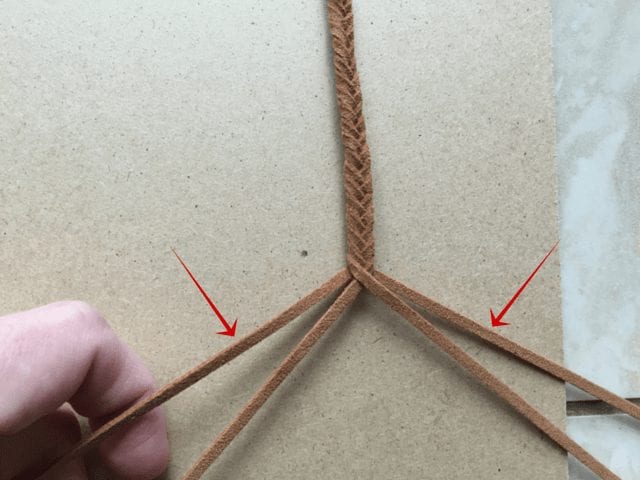
Next, take the right piece of cording that’s underneath and pull it over only one strand (the one that you pulled from the other side).
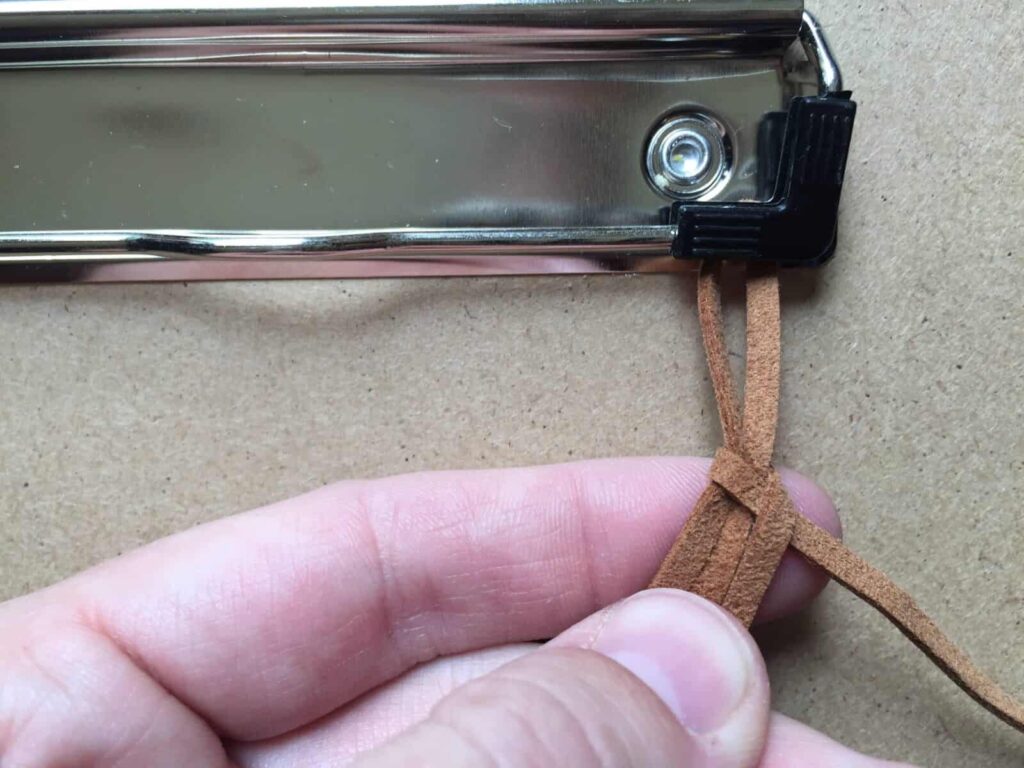
Take the farthest left strand and pull it over two strands, then take the farthest right strand and pull it over one strand. I know that sounds weird and doesn’t seem like it’ll make a normal looking braid, but trust me, it does.
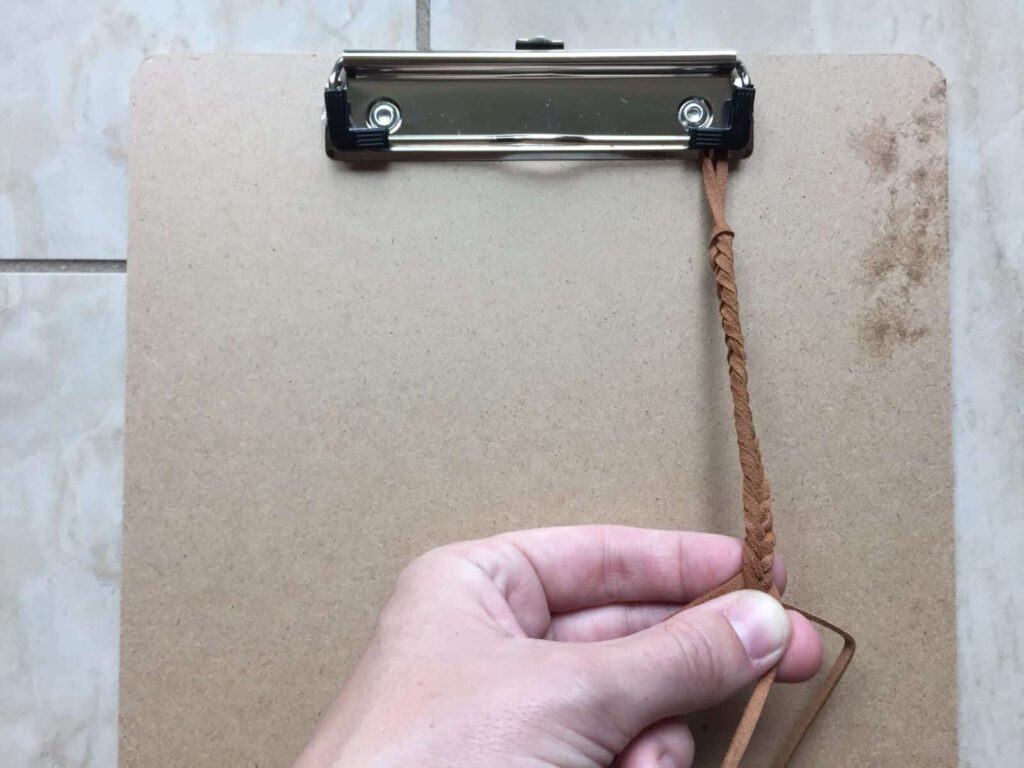
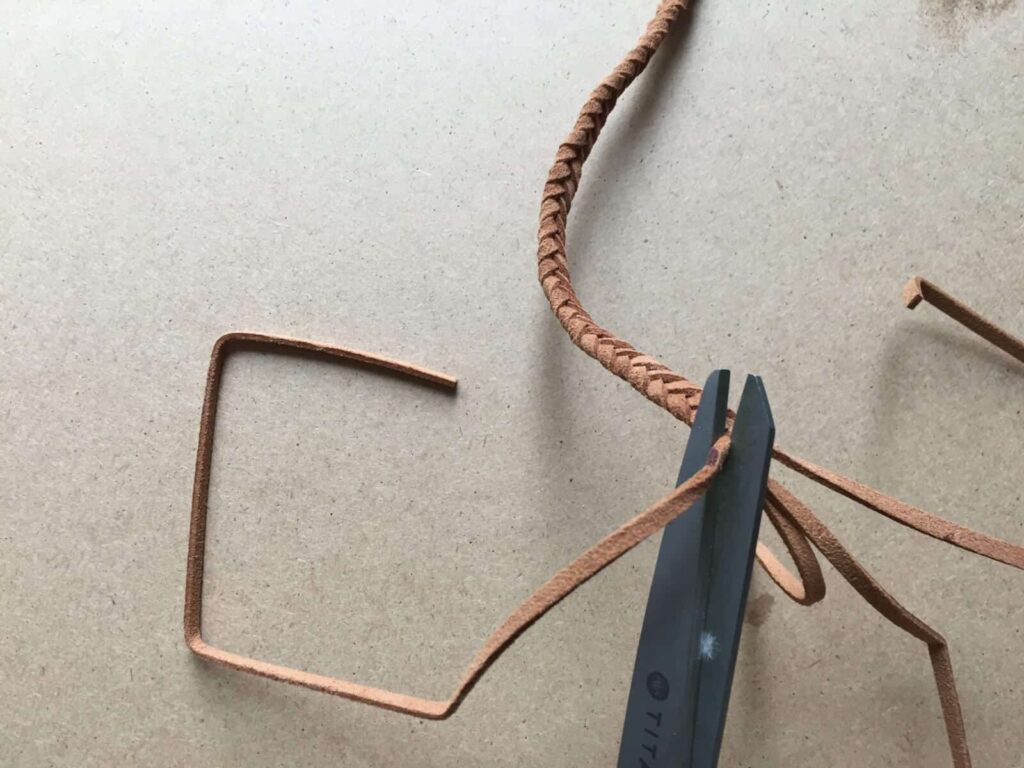
Continue this pattern until the braided part is about 5 1/2″.
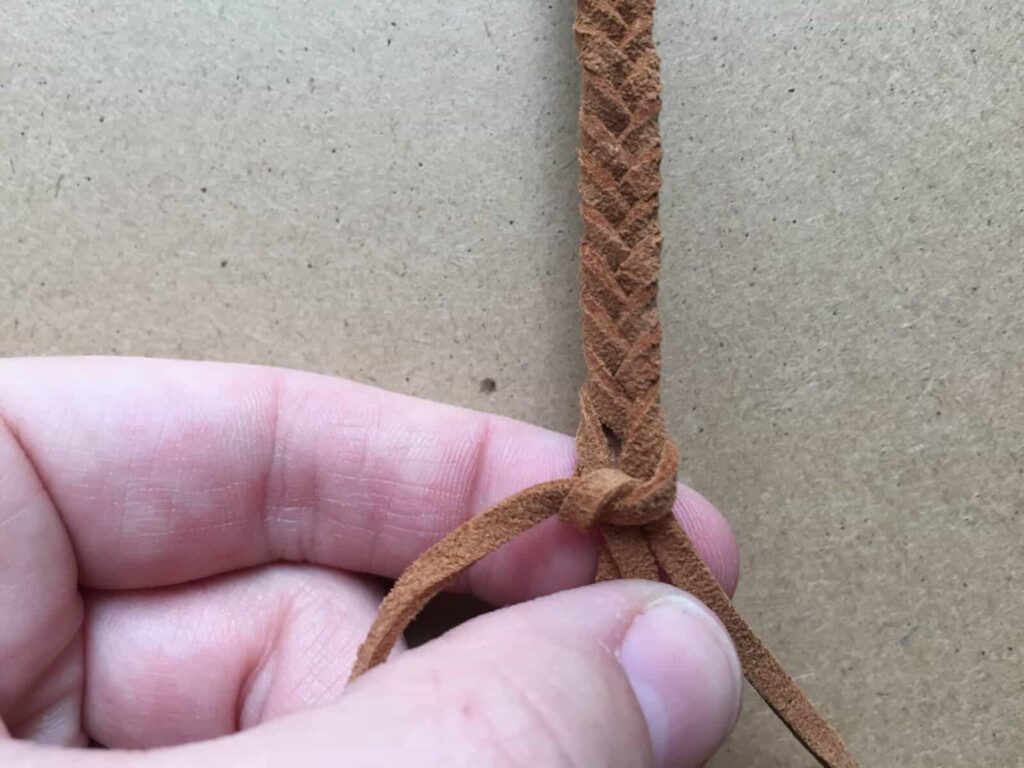
Now, take the two outermost strands and tie a simple knot over the inside two. Before you tighten it all the way, place a small amount of super glue under the knot (I forgot to snap a picture of this step), then tighten it over the glue and hold it in place for about 30 seconds. Take the same two strands from the knot that you just tied and pull them back around to the other side and tie another knot with them. Again, put a little super glue under the knot before you tighten it completely and hold for 30 seconds.
Now, cut the strands that made the two simple knots as close to the knot as you can possibly get it. The tight knots and the super glue will hold the knot and it won’t come undone.
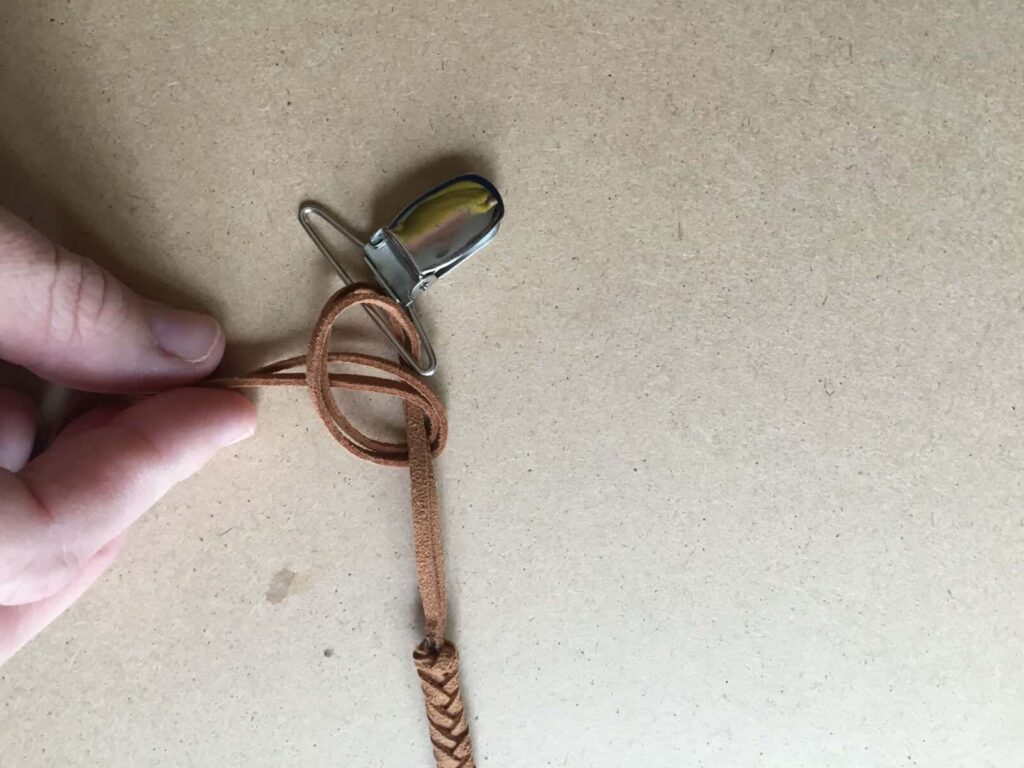
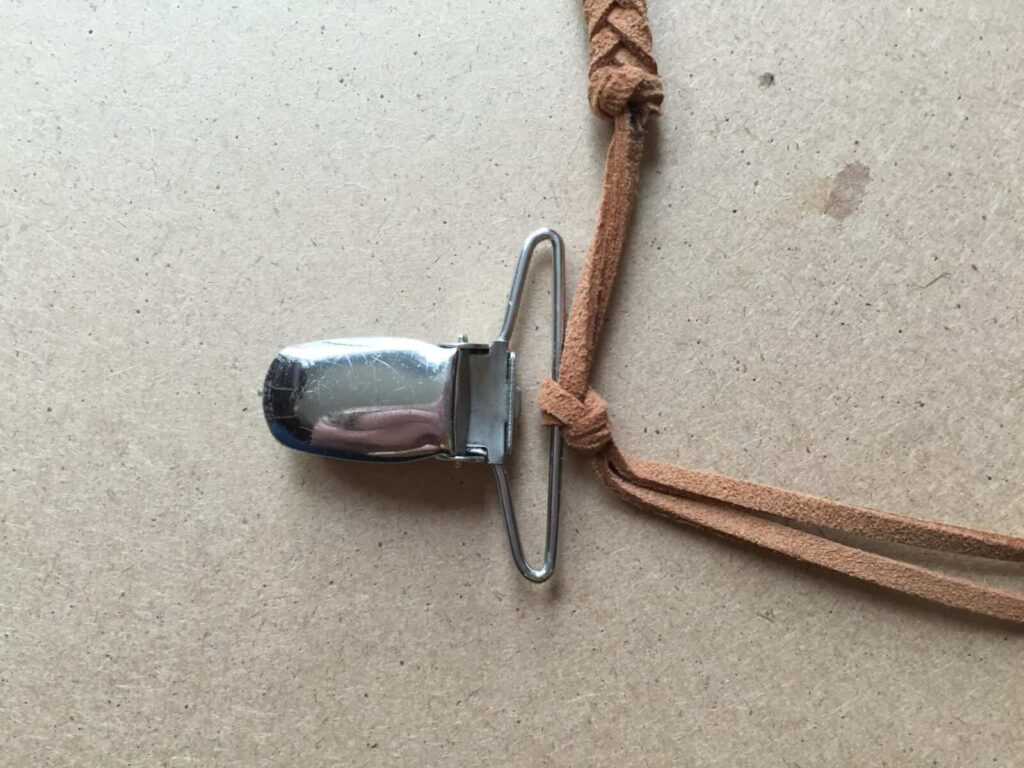
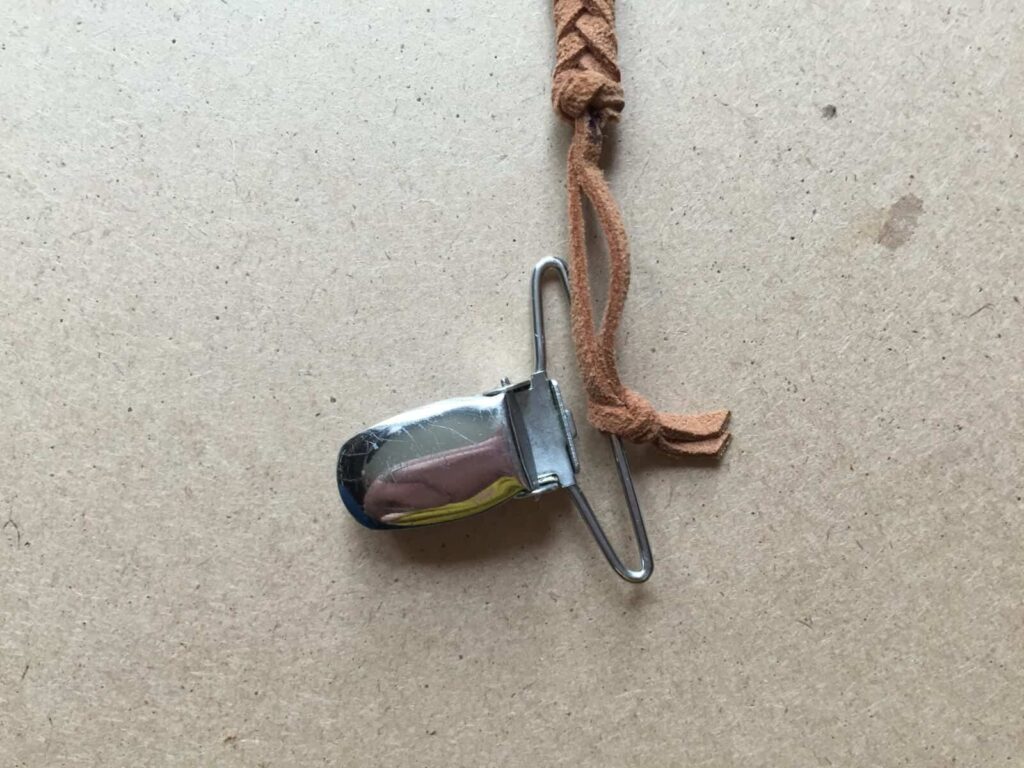
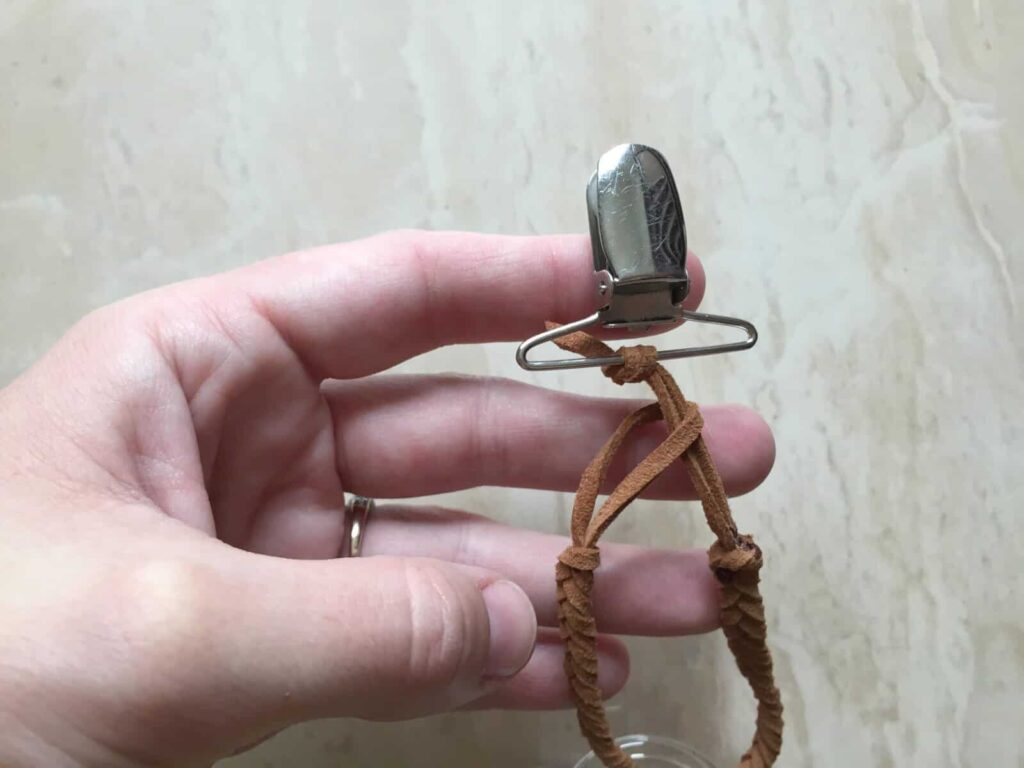
Next, take the two strands you have left and put them through the suspender clip. Tie a simple knot around the clip and tighten. Then cut the loose ends as short as you’d like them. If you’re going to cut them flush to the knot, you might want to use some super glue again.

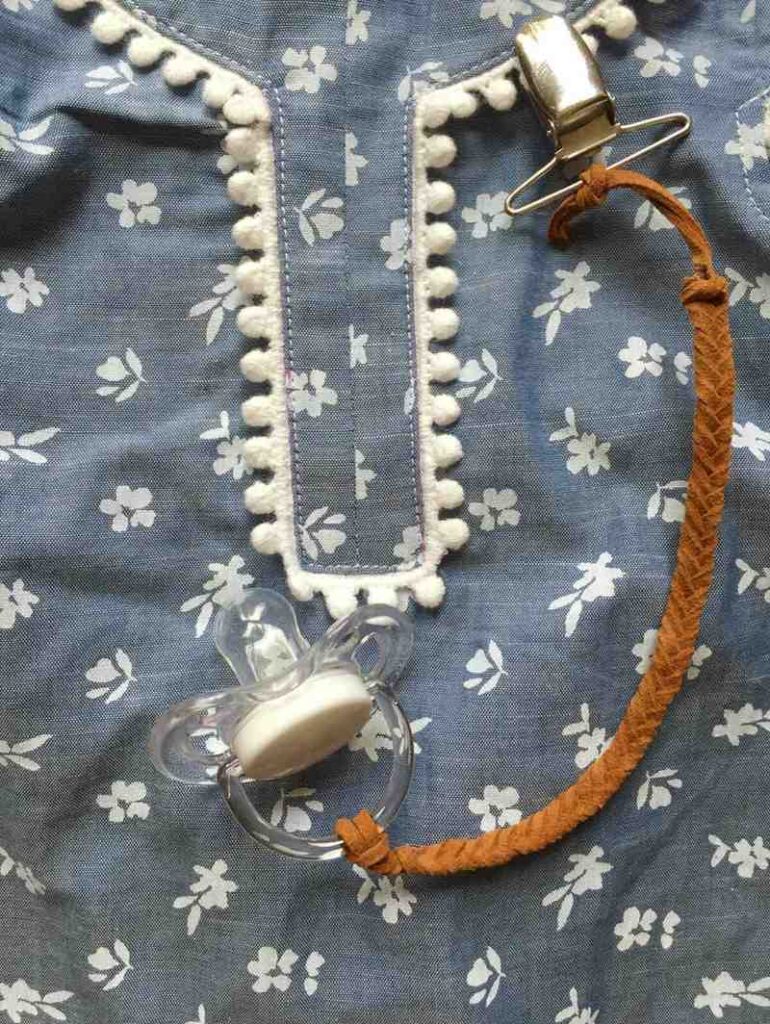
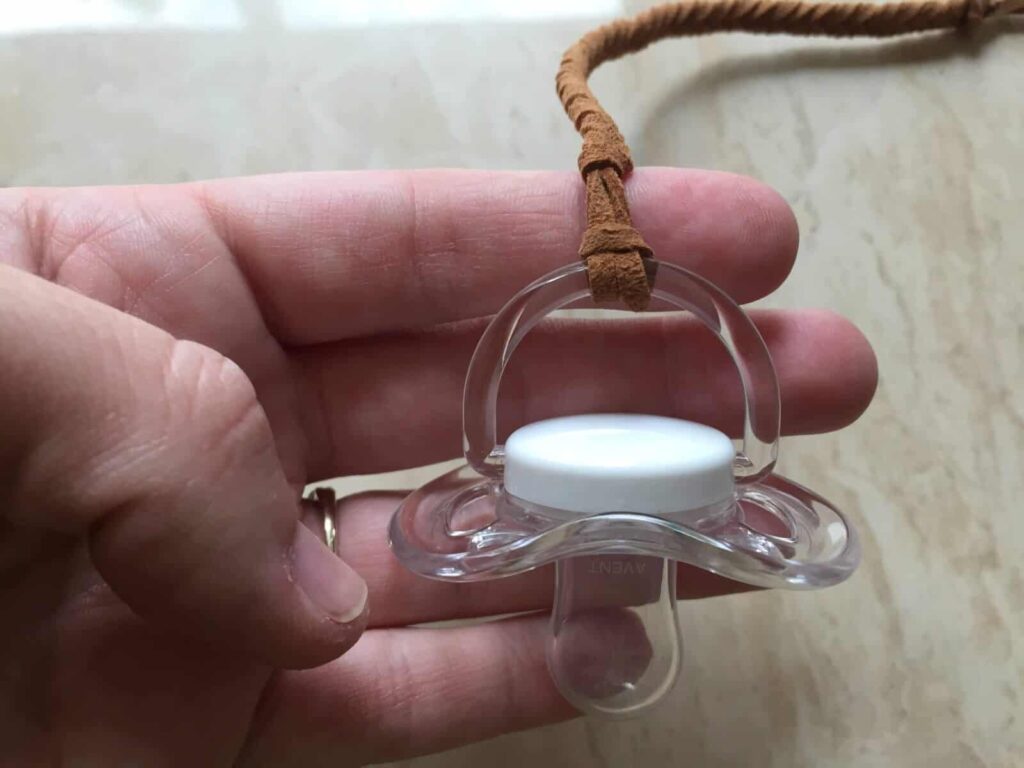
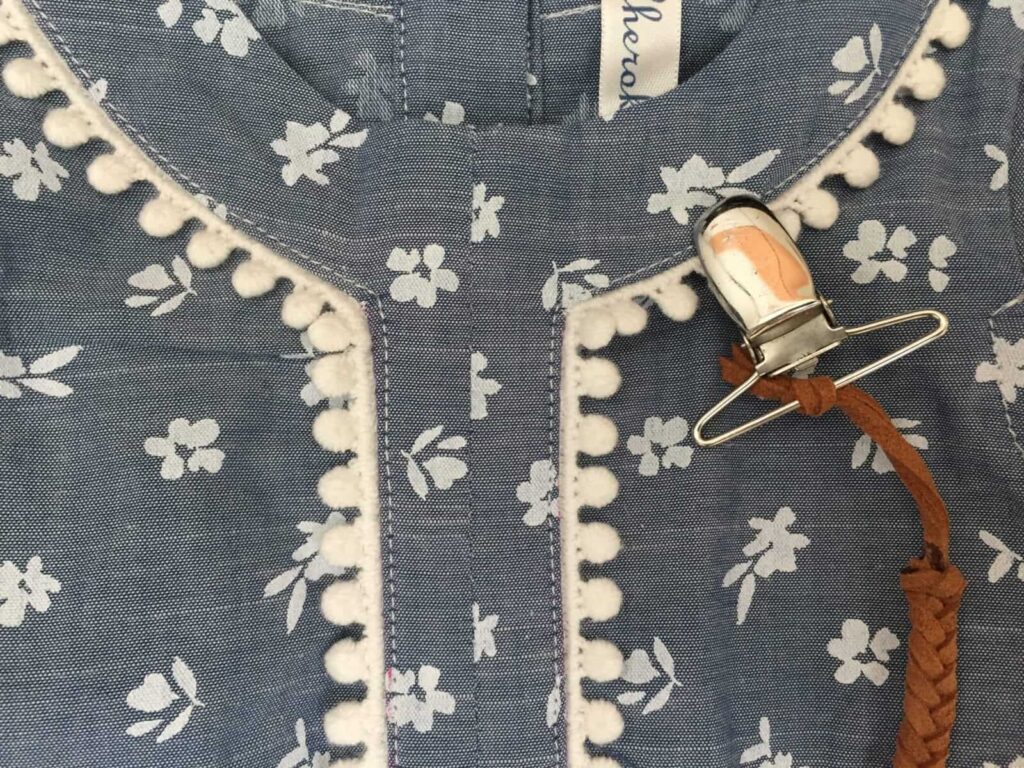
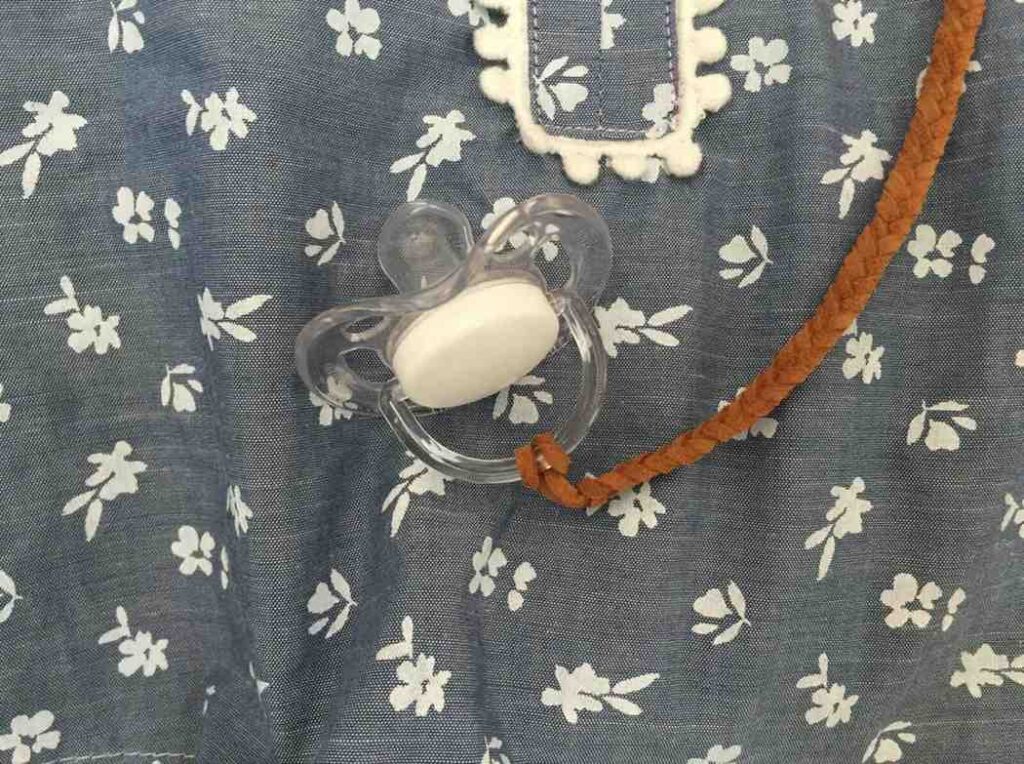
In order to attach the pacifier to the clip, put the braided cording through the pacifier, then loop it through that 1 1/2″ loop at the very top and pull it all the way through until you can completely fasten it around the pacifier.
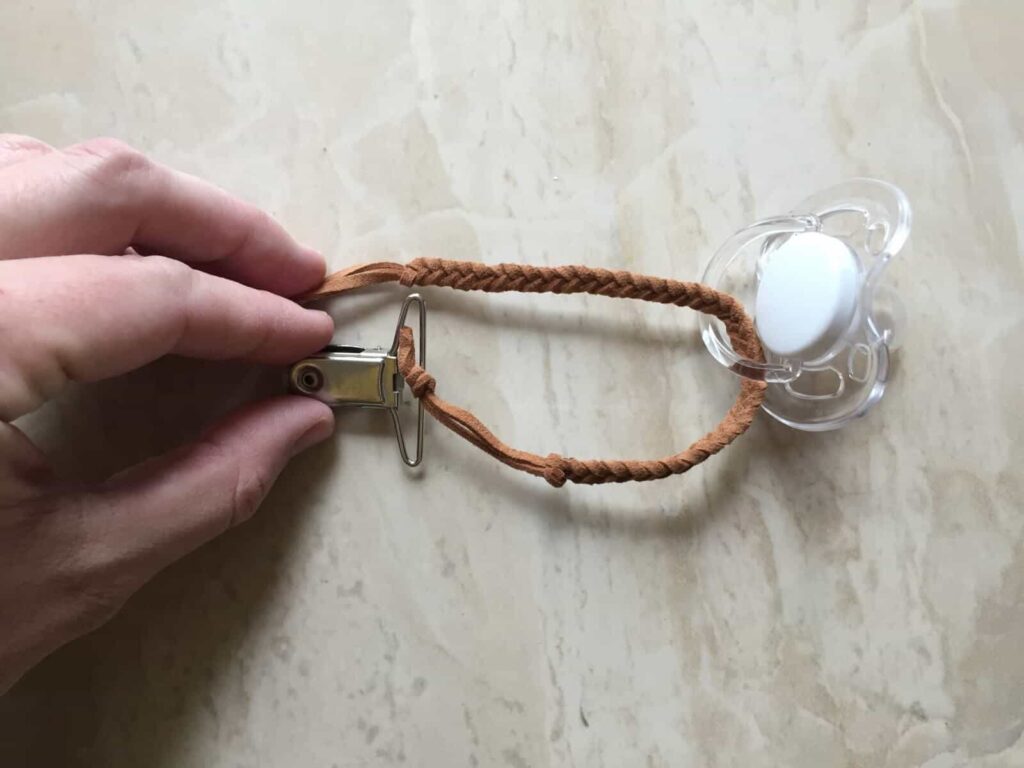
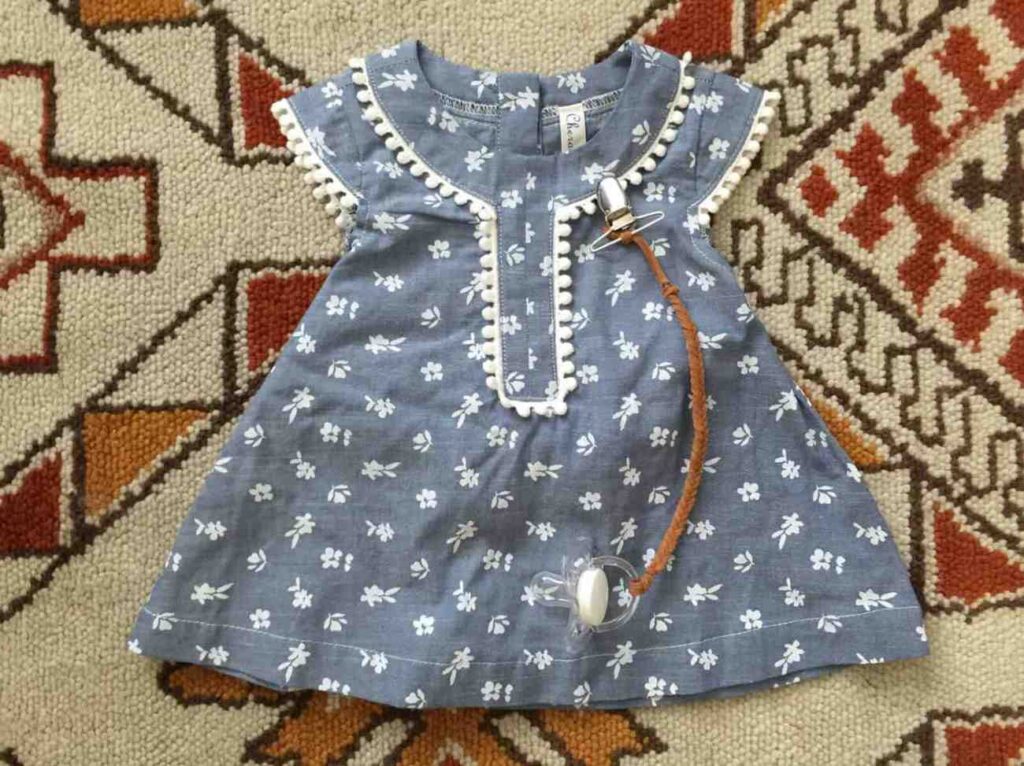
Now you’re done and you can use the pacifier clip as soon as you need it! I love the finished result. I looks just like the ones I was going to order online.

Related Images:

Mary Mulroney
Latest posts by Mary Mulroney (see all)
- 5 Easy Changes To A Healthier You - October 12, 2020
- 7 Great Resources For Affordable And Beautiful Rugs - October 12, 2020
- Switching to a Dairy Free Diet? 15 Tips to Make It Easy - September 29, 2020