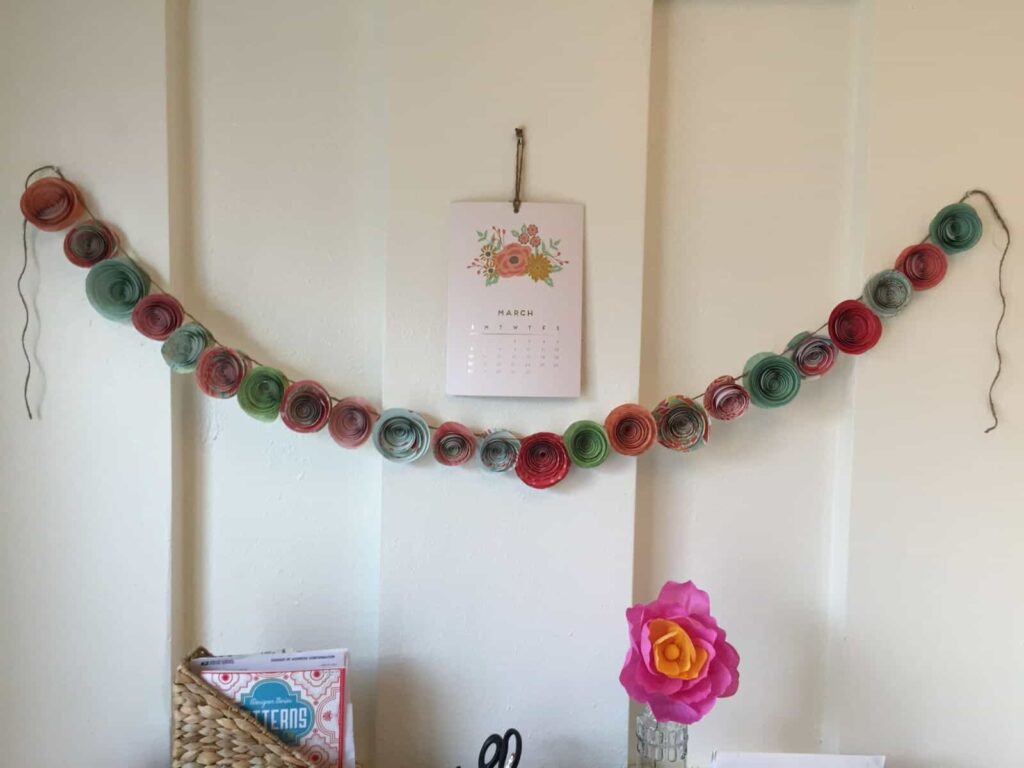
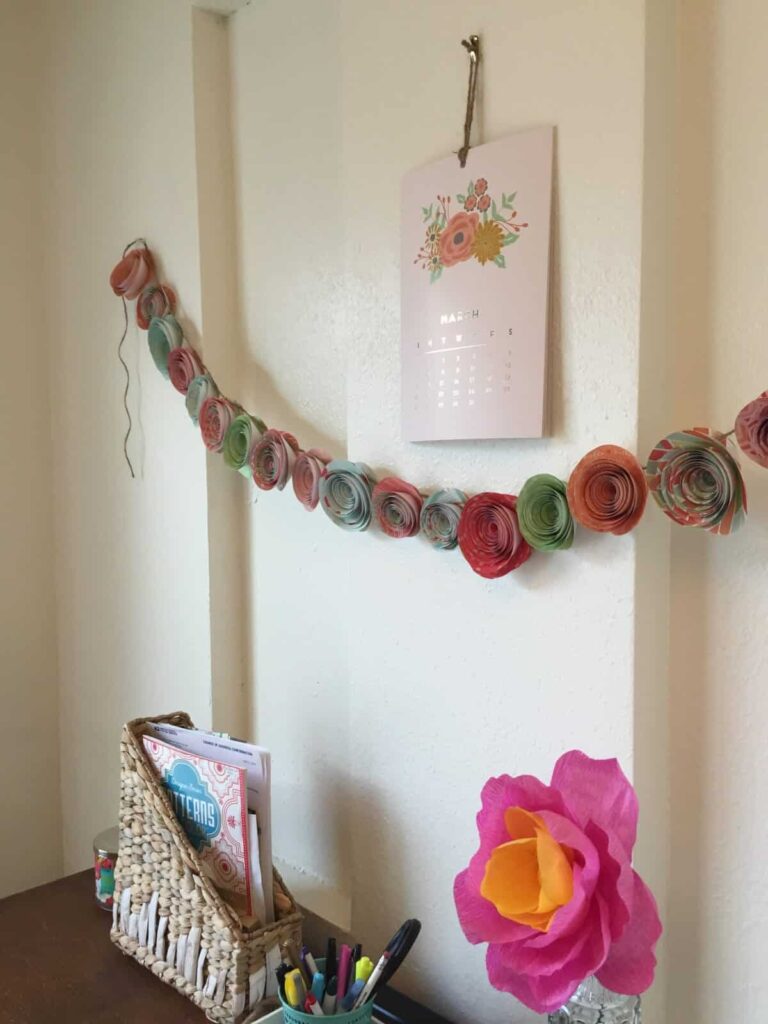
If you know me, you know that I am a bit obsessed with garlands. There is always a garland hanging up in my home even if it’s not a holiday. I just think they add such a fun little detail to the home decor and there are so many different ways you can make a garland and decorate with it. Since spring is approaching I decided to make one for the bright, cheery season. That meant it had to be pretty spring colors and have some sort of flowers on it. I actually saw one that I loved for sale on Etsy made out of paper rosettes and twine. I figured I could easily make my own, so I headed out to buy my supplies.
While this craft is pretty easy to make, it did actually take me quite a long time to finish it. It easily took a few hours, so just know that it’s definitely a more time consuming craft. But the great part is that you can easily do it while watching a movie or binge watching a show on Netflix. Friends marathon, anyone?
Here are the supplies you’ll need in order to make your own:
-scrapbook paper
-pen
-scissors
-hot glue gun
-twine
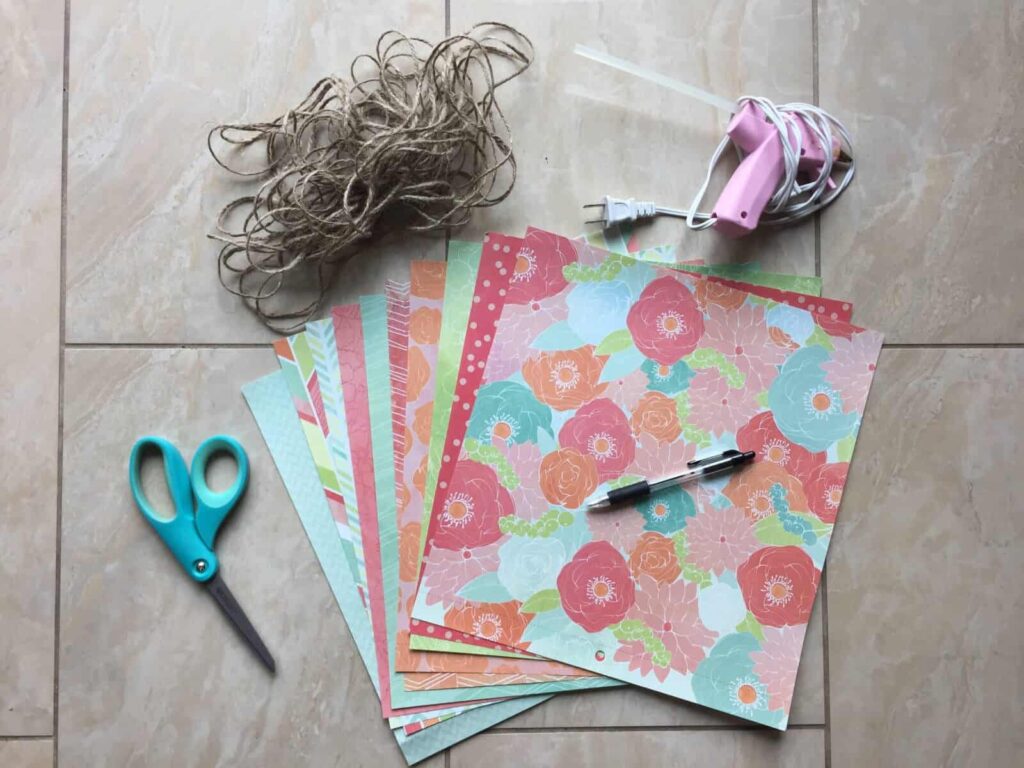
And that is all, my friends! Simple as that. Since I already had everything except for the scrapbook paper this garland only cost me $5 to make! I bought a book of scrapbook paper with 50 pages that was $5 and that was my only expense. I’m actually a little disappointed in how much darker the paper looks when it’s made into flowers. The pages looked so bright and fun, but when they were rolled into flowers they lost they’re bright color, which made me a little sad. I still love the final product, though.
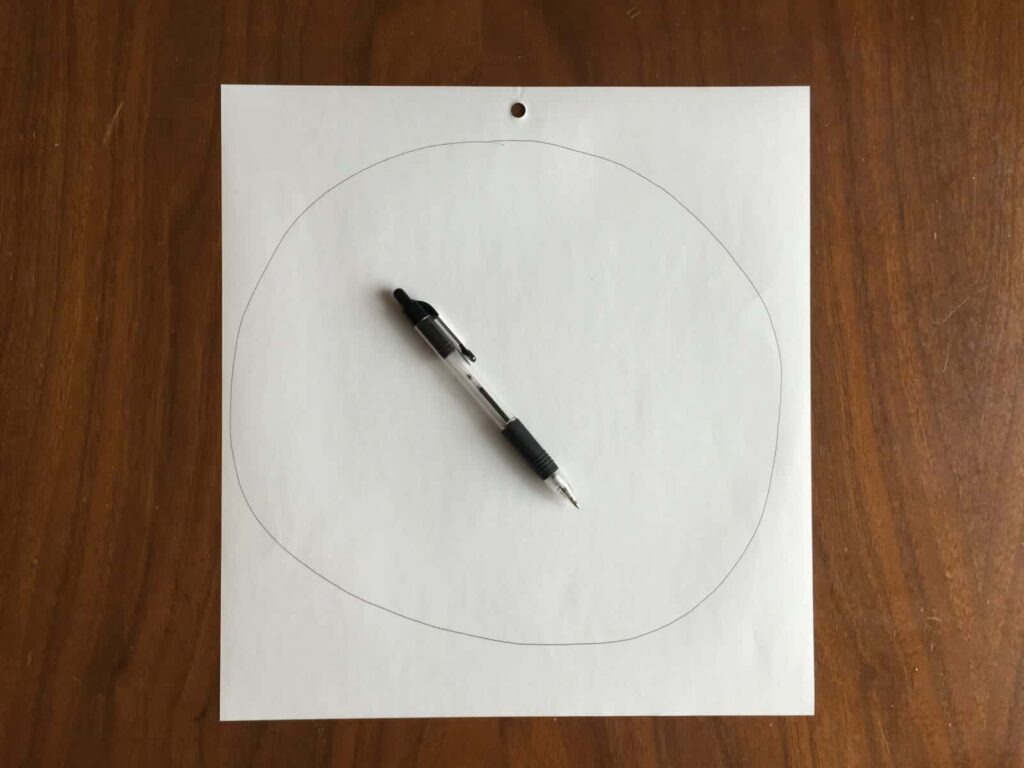
To start, you’ll want to choose what paper you want to use. Mine was 12″ x 12″, but you could certainly use smaller paper if you wanted smaller flowers. Also, figure out if you want all your rosettes to be the same color or not and if you want patterns on them or not. That will all dictate what paper you need to buy.
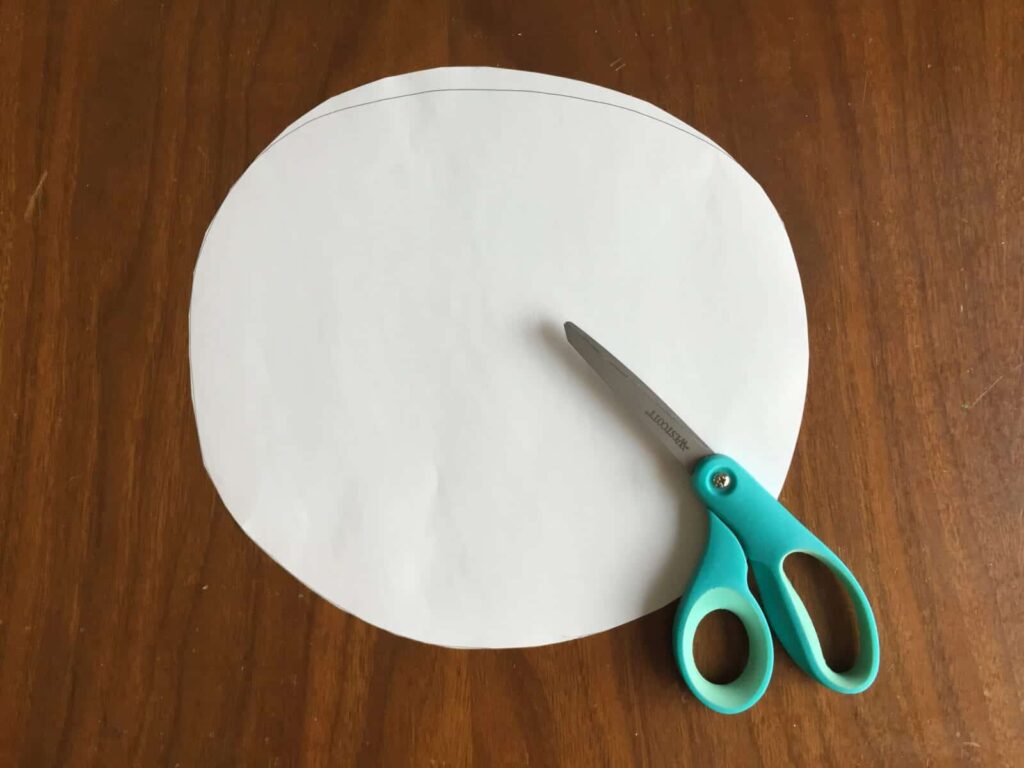
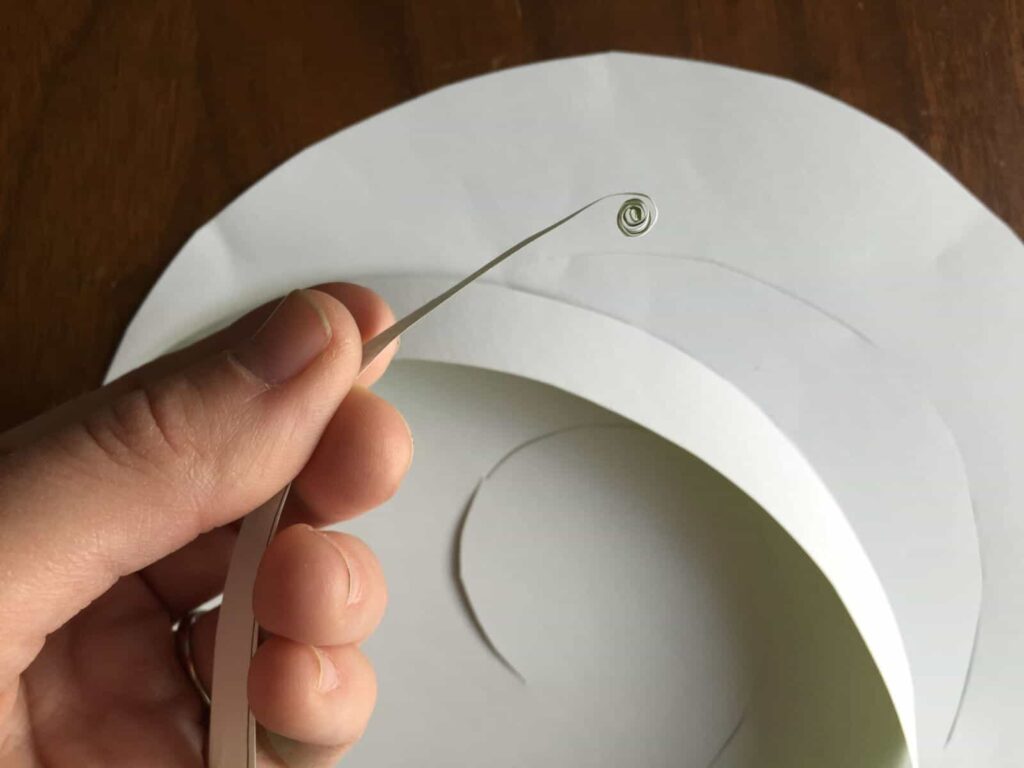
Next, draw a circle on the back of the paper and cut it out. It doesn’t have to be perfect, in fact, it’s better if it’s more “free form” because the flowers will look more natural.
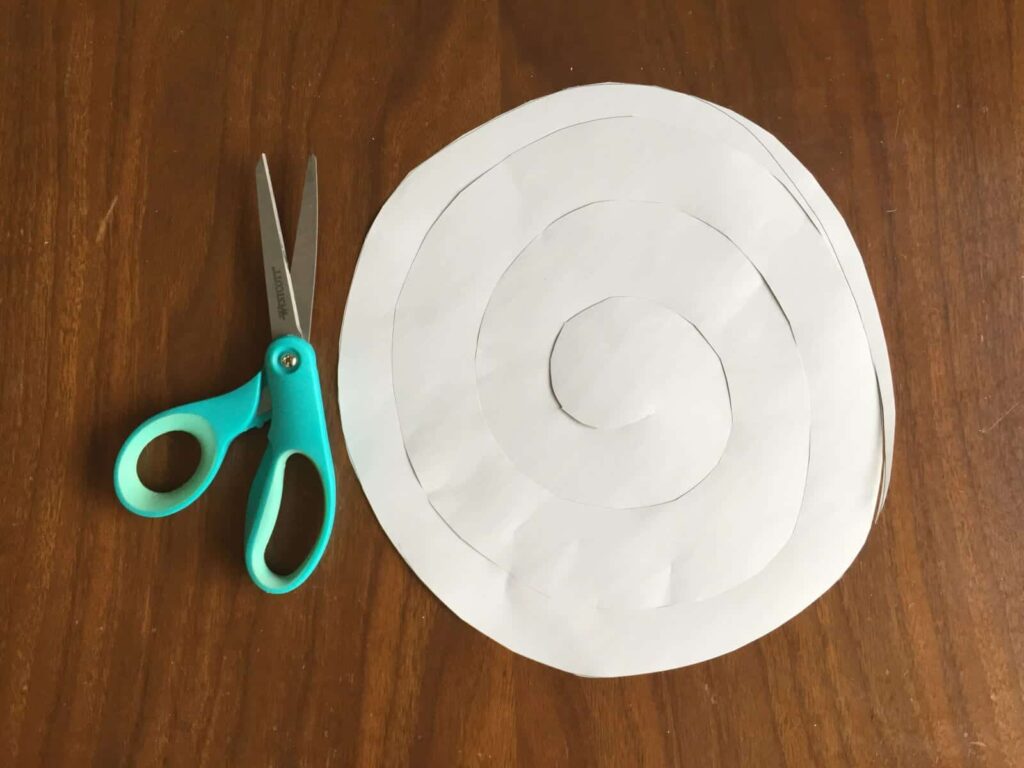
Now that you have your circle, start cutting a spiral into the paper from the outside all the way in. You’ll want to make the cuts slightly wider as you cut, but don’t go too wide. Your flower will be as tall as you make the spiral wide. So, shorter flowers will need thinner spirals, and taller flowers will need wider spirals. When you get close to the middle leave a little circle in the center, because that’s where you’ll be gluing the flower.
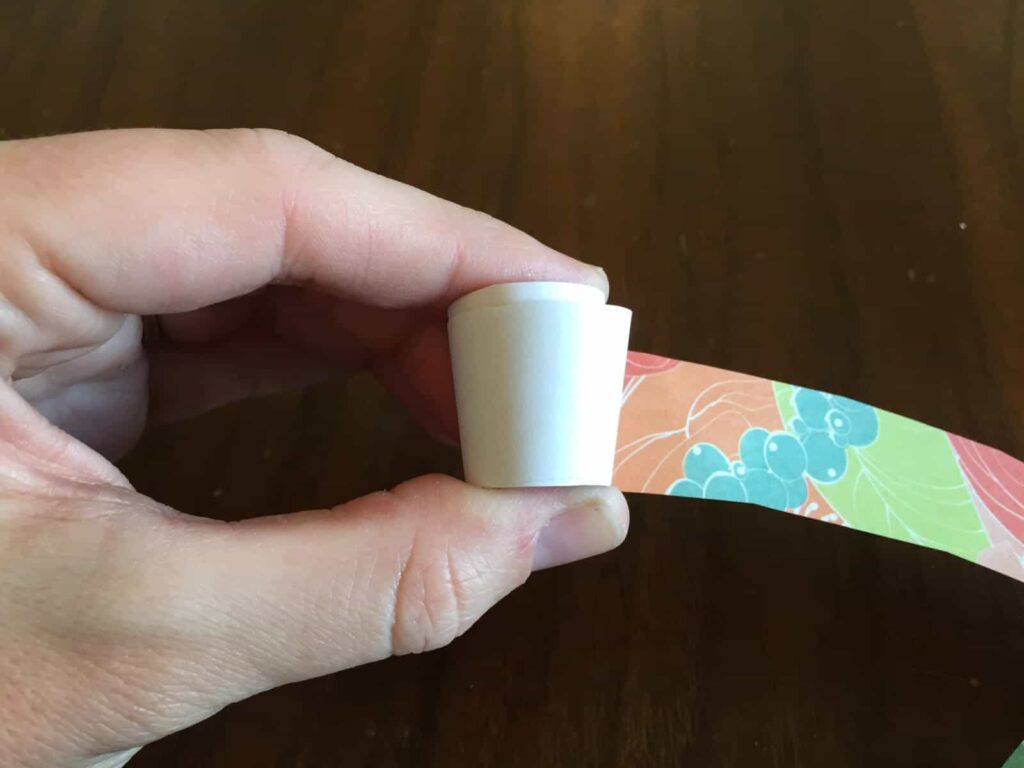
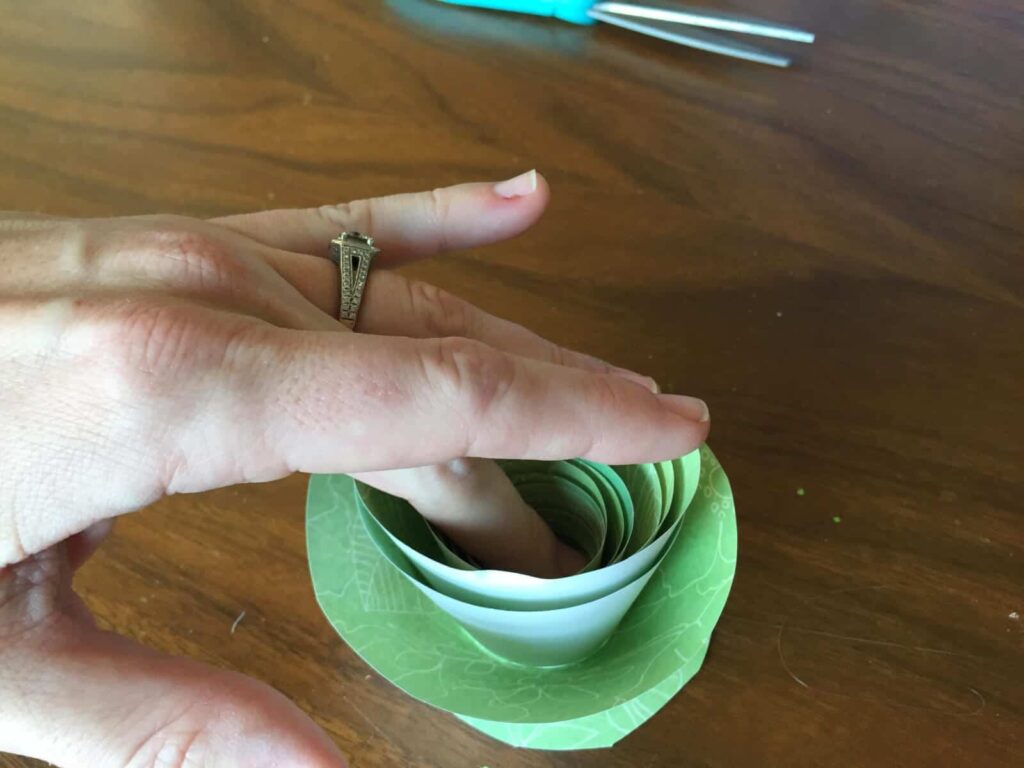
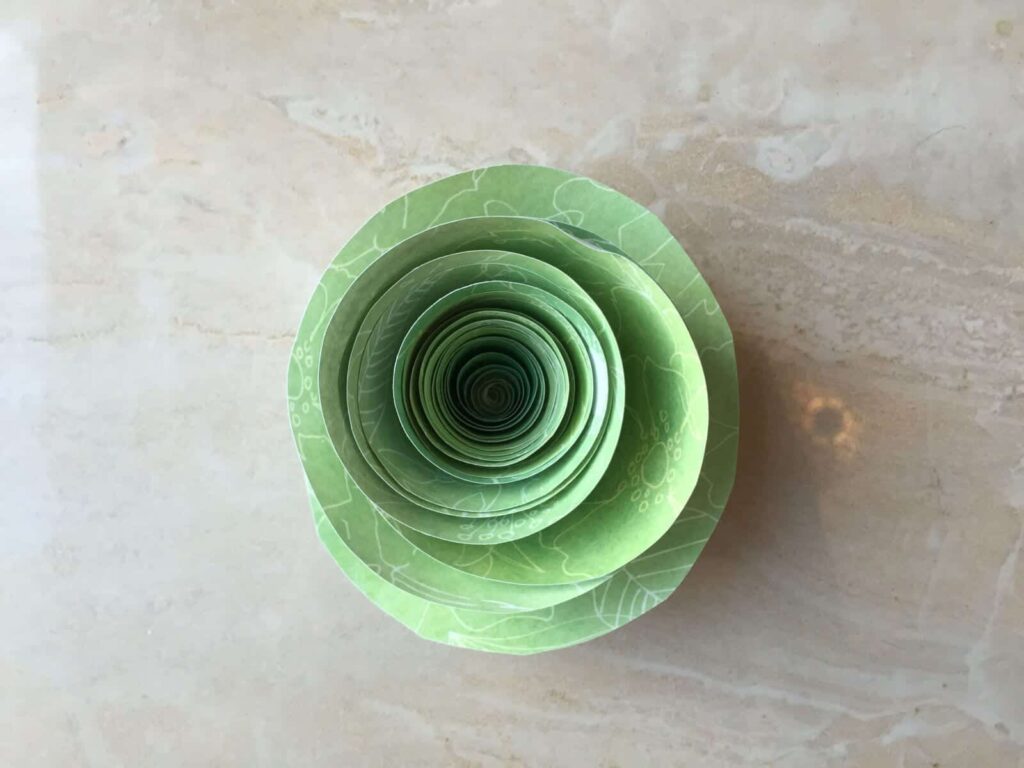
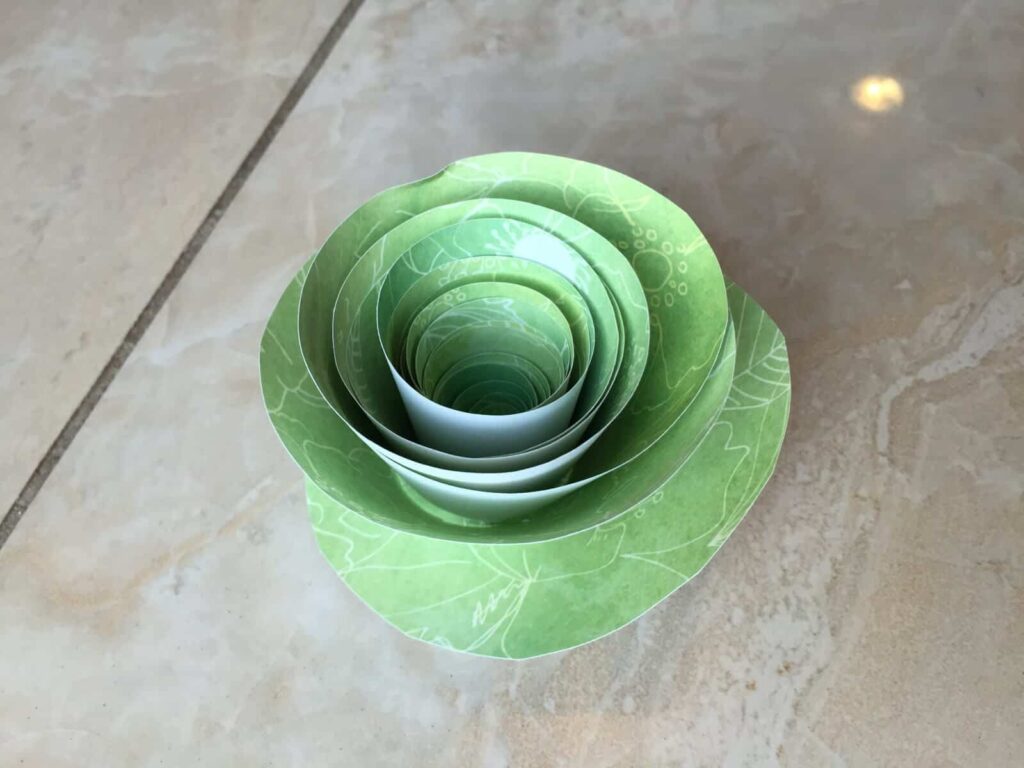
Take the pointed end of the spiral cut paper and start rolling it. Make sure that you roll the paper so that the design is rolling inside as you go. This will ensure that you can see the colors and design on the flower. To start rolling you may have to fold the tip into tiny pieces first to get it started.
Keep rolling the paper until you reach the center circle, then take some hot glue, put some on the circle, then press the flower down on top of the glue. Make sure you press down in the center of the flower as well so that every part of the flower gets glued on.
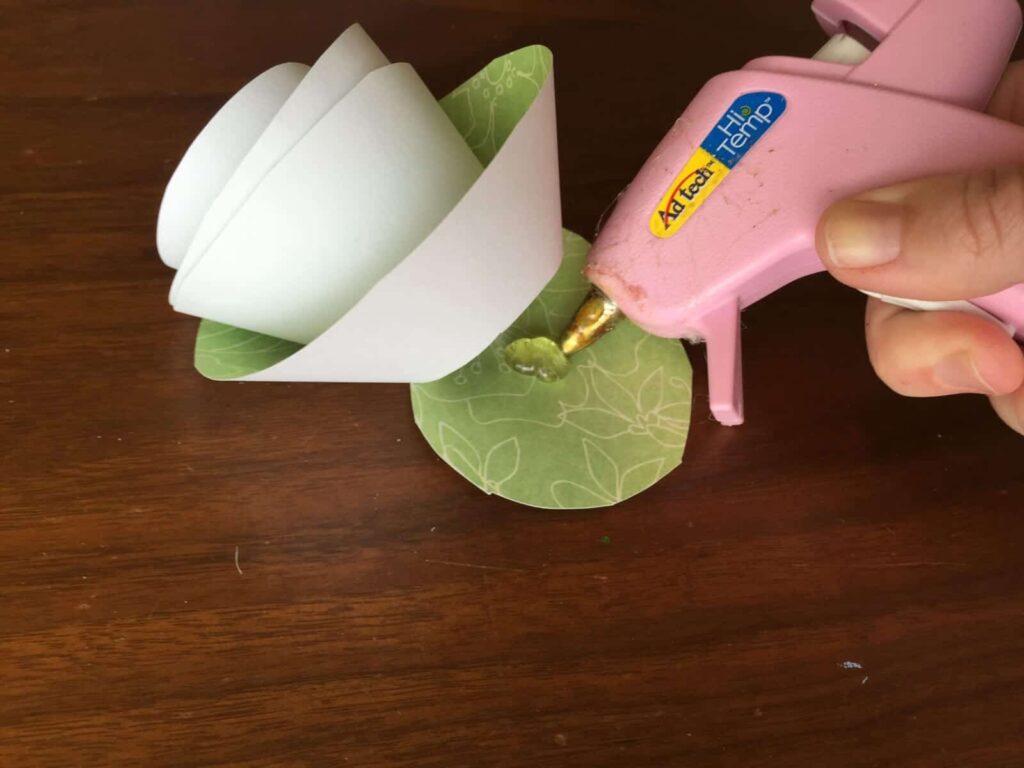
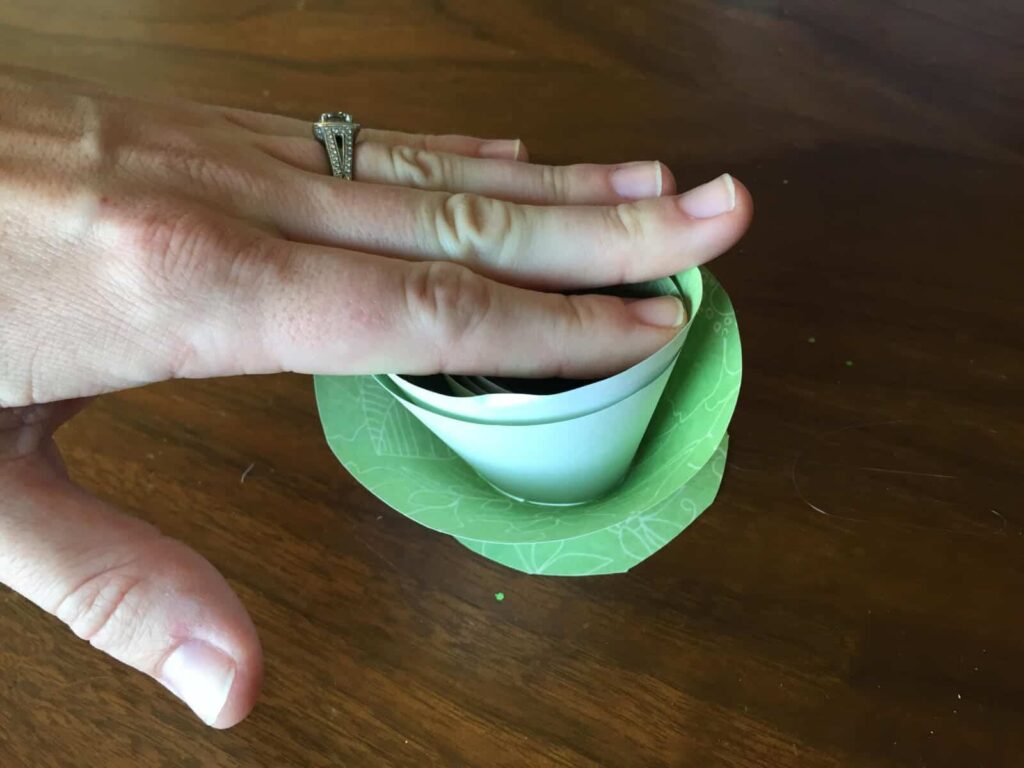
You now have one rosette. Repeat this as many times as you’d like. Obviously, the more flowers you have, the longer your garland will be. I made 23 flowers and my garland is about five and a half feet long.
Once all your flowers are made, you’ll want to glue them onto the twine. To do this, take each flower and put a little bit of hot glue on the inside of the spiral on one of the outer edges. Once that’s ready, place the twine in the glue and press down a bit to make sure it’s secure. Be careful not to burn yourself!
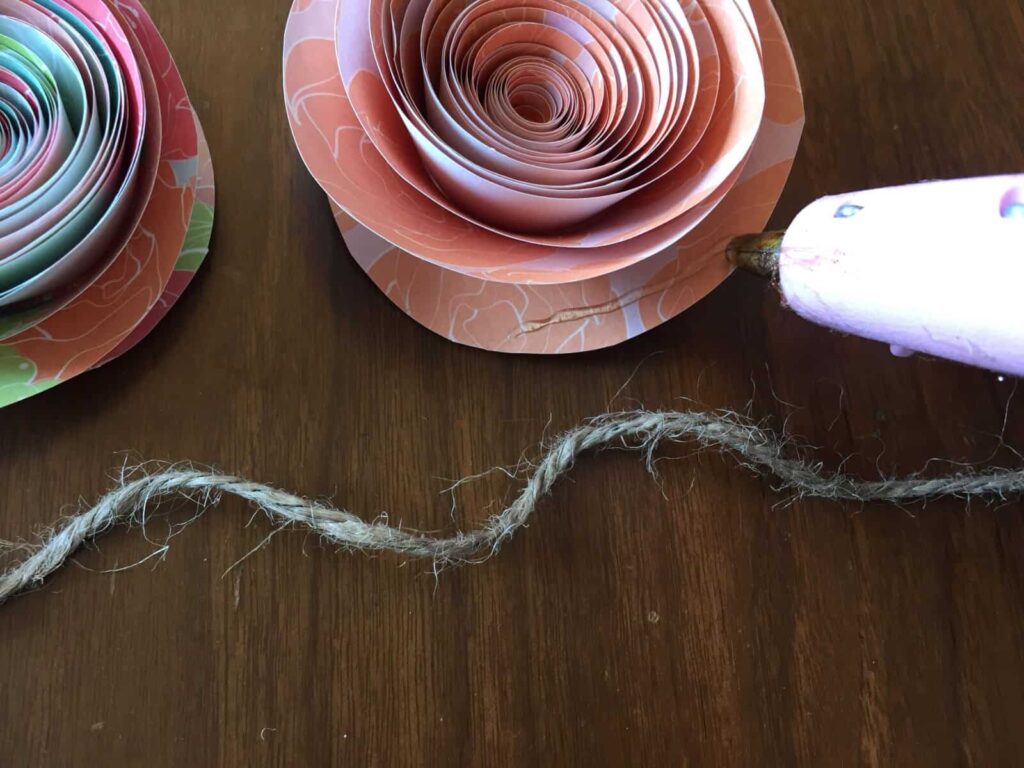
Repeat this on each flower. The closer you put your flowers together, obviously, the closer they will be when hanging up. I wanted mine to all be touching, so when I glued mine to the twine, I pushed them close together.
Once they’re all glued on you can hang your garland and enjoy your new spring decoration!


Mary Mulroney
Latest posts by Mary Mulroney (see all)
- 5 Easy Changes To A Healthier You - October 12, 2020
- 7 Great Resources For Affordable And Beautiful Rugs - October 12, 2020
- Tips For Switching To A Dairy-Free Diet - September 29, 2020
Related Images:
Mary Mulroney
Latest posts by Mary Mulroney (see all)
- 5 Easy Changes To A Healthier You - October 12, 2020
- 7 Great Resources For Affordable And Beautiful Rugs - October 12, 2020
- Tips For Switching To A Dairy-Free Diet - September 29, 2020