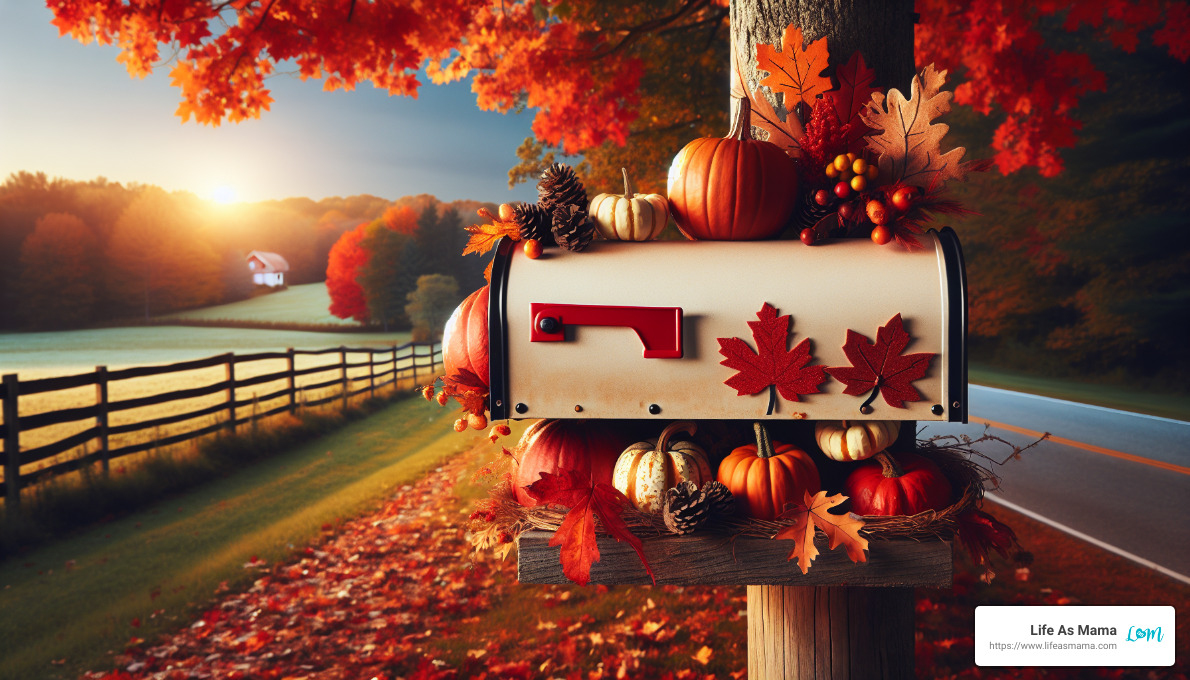
Lift Curb Appeal with DIY Fall Mailbox Decorations
If you’re seeking ways to get into the autumn spirit with diy fall mailbox decorations, you’re in the right place! Adorning your mailbox with vibrant fall elements can instantly boost your home’s curb appeal and get you in the festive mood. Here are some quick ideas to get you started:
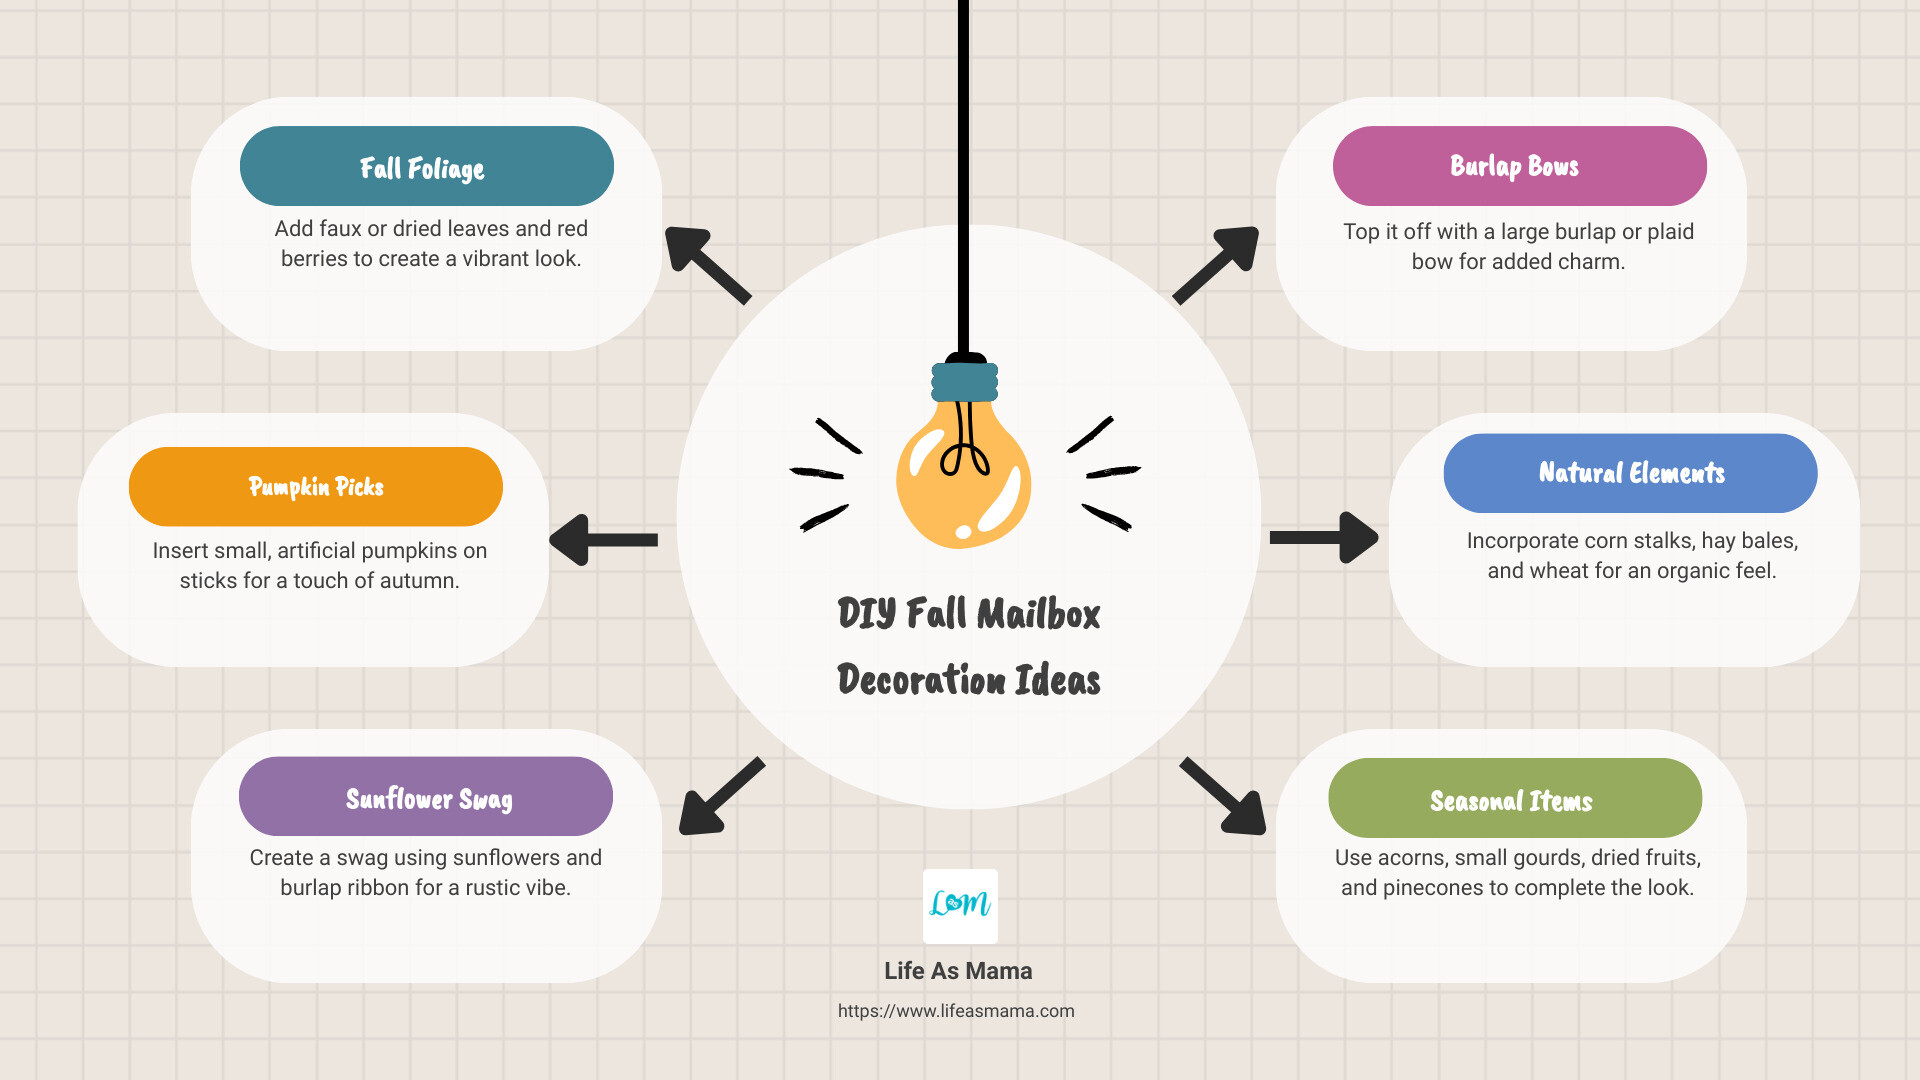
- Fall Foliage: Add faux or dried leaves and red berries.
- Pumpkin Picks: Insert small, artificial pumpkins on sticks.
- Sunflower Swag: Create a swag using sunflowers and burlap ribbon.
- Burlap Bows: Top it off with a large burlap or plaid bow.
Fall isn’t just a time for pumpkin spice lattes and cozy sweaters. It’s an opportunity to bring the vibrant hues of the season to your front yard, starting with your mailbox. By incorporating seasonal elements like pumpkins, colorful leaves, and sunflowers, you can transform your mailbox into a festive highlight that exudes warmth and charm.
I’m Amanda Schmitt, an expert in DIY projects and a dedicated mom. My journey with diy fall mailbox decorations began as a hobby and grew into a full-time passion. I aim to make projects accessible for every busy mom. Stay tuned for detailed steps on creating show-stopping fall decor!
Now, let’s dig into why decorating your mailbox for fall is worth every minute and penny!
Why Decorate Your Mailbox for Fall?
Decorating your mailbox for fall can transform the look of your home, making it the most inviting spot on the block. Here’s why you should consider sprucing up your mailbox this autumn:
Boost Your Curb Appeal
A well-decorated mailbox can significantly improve your home’s curb appeal. It’s one of the first things people notice when they pass by your house. Adding diy fall mailbox decorations like pumpkins, colorful leaves, and sunflowers can make your home look well-maintained and festive.

Create a Festive Atmosphere
Fall decorations can bring a festive atmosphere right to your doorstep. Imagine the warm, cozy feelings evoked by a beautifully adorned mailbox featuring fall foliage and rustic elements. It sets the tone for the entire season, welcoming guests with a touch of autumn charm.
Be the Envy of the Neighborhood
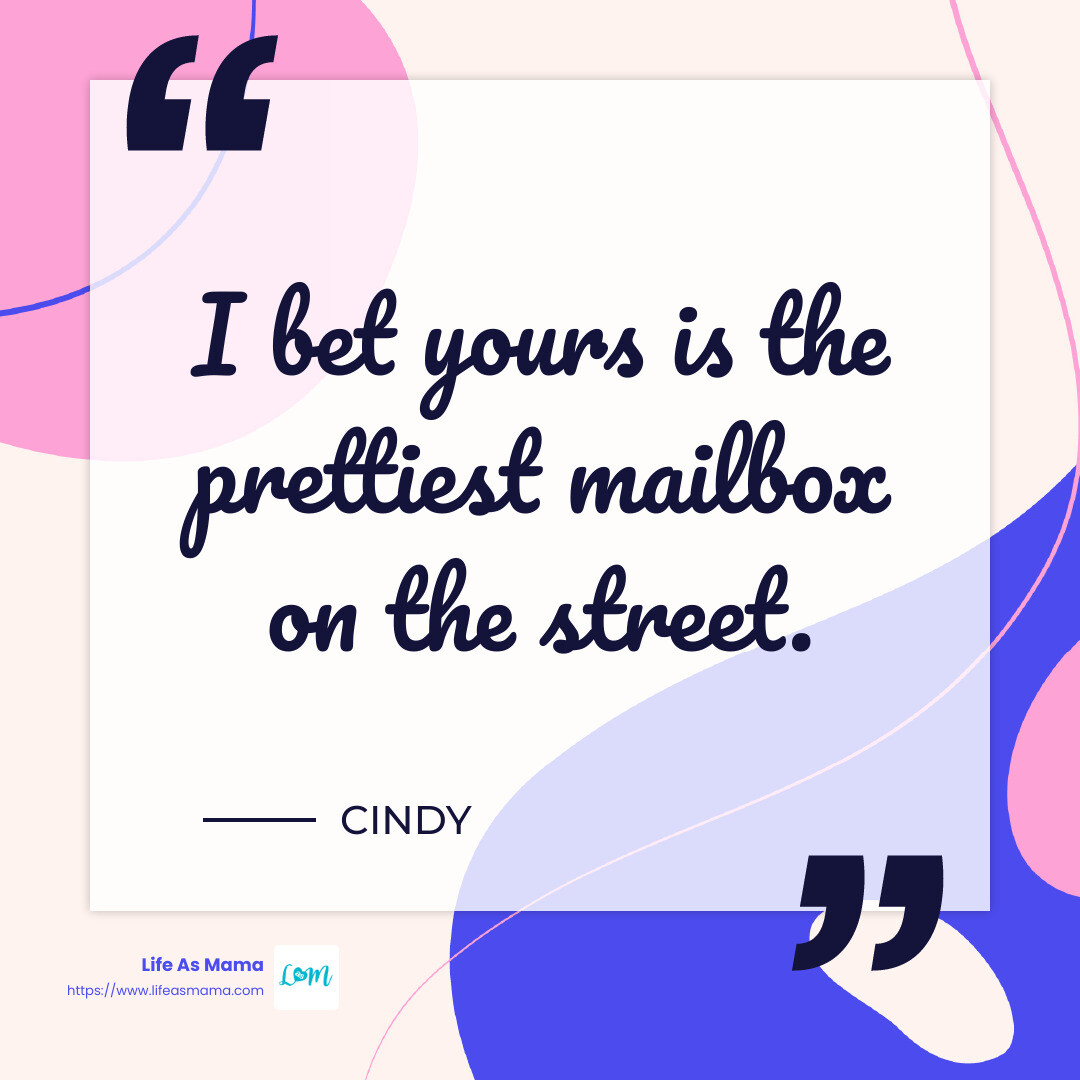
Who doesn’t love a bit of friendly competition? A creatively decorated mailbox can make your home stand out and become the envy of the neighborhood. As Cindy commented on Pinterest, “I bet yours is the prettiest mailbox on the street.” Plus, it’s a fun way to express your creativity and seasonal spirit.
Simple and Inexpensive
Believe it or not, you don’t need to break the bank to decorate your mailbox. Using simple materials like burlap, faux pumpkins, and floral wire, you can create stunning decorations without spending much. As one Pinterest user mentioned, “Super easy. Super cute! Inexpensive way to add a little fall to your mailbox!”
Engage with the Community
Decorating your mailbox can also be a great way to engage with your community. Neighbors might stop to compliment your decorations, sparking conversations and fostering a sense of community. It’s a small gesture that can lead to meaningful interactions.
Legal and Safe
Worried about whether it’s legal to decorate your mailbox? Rest assured, it is! Just ensure that you don’t cover up your address or obstruct the mail carrier’s access. Use wire or zip ties to secure your decorations without causing any inconvenience.
Now that you know why decorating your mailbox for fall is a fantastic idea, let’s move on to the essential materials you’ll need to get started!
Essential Materials for DIY Fall Mailbox Decorations
Ready to transform your mailbox into a fall masterpiece? Here are the essential materials you’ll need to get started:
Styrofoam
Start with a 4.8-inch cube of styrofoam. This will serve as the base for your decorations. Cut out one corner to create a “V” shape, which will fit snugly on top of your mailbox. This base will hold all your fall elements securely.
Floral Wire
Floral wire is crucial for securing your decorations to the styrofoam base. Push stiff floral wire through the foam in two different spots about an inch apart. Bend the wire into a “W” shape to prevent it from cutting through the styrofoam. This ensures your decorations stay in place.
Faux Greenery
Faux greenery adds a lush, full look to your mailbox swag. Choose stems with stiff bases that can easily be inserted into the styrofoam. Greenery serves as the backdrop for all your colorful fall elements, making the arrangement look fuller and more vibrant.
Fall Picks
Fall picks are decorative elements like faux pumpkins, sunflowers, mums, and autumn berries. These can be found at your local dollar store. They come with stiff stems that can be pushed into the styrofoam. Make sure to distribute these evenly to create a balanced look.
Ribbon
Choose a coordinated ribbon wide enough to cover the floral wire. Secure the ribbon to the styrofoam using floral pins. The ribbon is purely decorative and not meant to hold the swag in place. It adds a polished, finished look to your mailbox decoration.
Floral Pins
Floral pins are essential for securing both the ribbon and any additional decorative elements to the styrofoam. These pins ensure that everything stays in place, even in windy conditions.
With these materials in hand, you’re well on your way to creating stunning DIY fall mailbox decorations. Up next, we’ll dive into the step-by-step process of building and decorating your fall mailbox swag!
Step-by-Step Guide to Creating a Fall Mailbox Swag
Build Your Base
Begin with your 4.8-inch styrofoam cube. Cut out one corner to create a “V” shape. This piece will fit snugly on top of your mailbox.
To secure the base, push stiff floral wire through the foam in two spots about an inch apart. Bend the wire into a “W” shape to prevent it from cutting through the styrofoam. This ensures your base stays in place.
Extend the length of the wires to secure them beneath the mailbox. These wires will hold your swag securely on the mailbox.
Time to Decorate
Now, it’s time to bring your fall vision to life!
1. Cover the Wires:
– Use a coordinated ribbon wide enough to cover the floral wire. Secure it to the styrofoam with floral pins. This step is purely decorative.
2. Add Faux Greenery:
– Begin with your faux greenery. Insert stems with stiff bases into the styrofoam. This will serve as the lush backdrop for your fall elements.
3. Incorporate Fall Picks:
– Add decorative elements like faux pumpkins, sunflowers, mums, and autumn berries. These can be found at your local dollar store. Make sure to distribute them evenly to create a balanced look.
4. Fill in the Gaps:
– Turn your swag around and ensure there are no exposed spots of styrofoam. Add more fall leaves or picks as needed to create a full, vibrant arrangement.
Attaching the Swag to Your Mailbox
With your swag complete, it’s time to attach it to your mailbox.
1. Secure with Wire:
– Take your swag outside and place it on your mailbox. Use the extended wires or pipe cleaners to twist them tightly together beneath the mailbox. This will hold your decoration securely in place.
2. Cover the Wires:
– Use the ribbon to cover the wires, giving your mailbox a polished and finished look.
3. Final Adjustments:
– Make any final adjustments to ensure your swag looks perfect from all angles.
Enjoy having the prettiest mailbox on the street this fall! Your mail carrier and neighbors will surely be impressed with your festive DIY fall mailbox decorations.
Additional DIY Fall Mailbox Decoration Ideas
If you want to take your DIY fall mailbox decorations to the next level, consider incorporating natural elements and seasonal items. These additions can make your mailbox a true standout.
Using Natural Elements
Corn Stalks:
– Corn stalks add height and texture. Tie a few around the base of your mailbox post using twine. They give a rustic, farm-like feel.
Hay Bales:
– Small hay bales can be placed at the base of your mailbox. They act as a pedestal for pumpkins or other decorations. Secure them with stakes to prevent them from blowing away.
Wheat:
– Bundles of wheat can be added to your arrangement. They bring a touch of golden color and are easy to secure with floral wire.
Dried Grapevine:
– Create a wreath or garland from dried grapevine. Drape it around the mailbox or use it as a base for other decorations. It adds a natural and organic look.
Incorporating Seasonal Items
Acorns:
– Scatter acorns around the base of your mailbox or glue them onto your swag. They add a small but charming detail.
Small Gourds:
– Use small gourds in various shapes and colors. They can be nestled among the hay bales or attached to the swag. Gourds are durable and can withstand outdoor conditions.
Dried Fruits:
– Dried fruits like orange slices or apples add a pop of color and texture. Attach them to your swag with floral pins or glue.
Pinecones:
– Pinecones are a fall staple. They can be tucked into the swag or placed around the base of the mailbox. For an extra touch, spray paint them gold or silver.
By using these natural elements and seasonal items, your mailbox will not only look festive but also unique. These additions are easy to find and can be assembled quickly, making your DIY fall mailbox decorations both simple and stunning.
Frequently Asked Questions about DIY Fall Mailbox Decorations
How can I decorate around my mailbox?
Decorating around your mailbox can be as simple or elaborate as you like. Here are a few ideas:
- Spray Paint: Use outdoor-rated spray paint to give your mailbox a fresh coat of color. Choose fall-themed colors like deep reds, oranges, or golds.
- Vinyl Decals: Add vinyl decals in autumn shapes like leaves, pumpkins, or acorns. These are easy to apply and remove.
- Potted Flowers: Place potted mums or other fall flowers around the base of your mailbox. They add a splash of color and are easy to replace as the season changes.
What are the rules for decorating a mailbox?
When decorating your mailbox, keep these rules in mind to stay safe and compliant:
- Mailbox Accessories: Ensure any accessories or decorations do not obstruct the mailbox door or flag.
- Safety Hazards: Avoid using materials that could become a tripping hazard or interfere with traffic.
- Mail Delivery: Make sure your decorations do not block access to the mailbox for your mail carrier. The mailbox should be easy to open and close.
How to put swag on a mailbox?
Creating and attaching a swag to your mailbox is straightforward. Follow these tips for a secure and stylish look:
- Hooking Swags: Use sturdy floral wire to create hooks that will hold your swag in place. Make sure the hooks are secure and won’t slip.
- Bending Hooks: Bend the hooks around the mailbox post or the mailbox itself, ensuring they are tight enough to hold the swag firmly.
- Hiding Hooks with a Bow: Once your swag is in place, use a wide ribbon to cover the hooks. This not only hides the hooks but also adds a decorative touch.
By following these simple steps and guidelines, you can create beautiful DIY fall mailbox decorations that are both safe and eye-catching. Enjoy the festive season with a mailbox that stands out in your neighborhood!
Final Thoughts on DIY Fall Mailbox Decorations for 2024
Decorating your mailbox for fall is a fantastic way to add a touch of seasonal joy to your home. It doesn’t just improve curb appeal but also spreads festive cheer throughout your neighborhood.
At Life As Mama, we believe that simple DIY projects can make a big difference in how you feel about your home. By following our easy steps and using affordable materials, you can transform your mailbox into a fall masterpiece that will be the envy of your street.
Imagine driving up to your house and being greeted by a beautifully decorated mailbox. It’s a small change that makes a big impact. Whether you go for a rustic look with hay bales and pumpkins or a more refined design with faux sunflowers and autumn leaves, your mailbox will shine.
Ready to Get Started?
Why wait? Gather your materials and start creating your own DIY fall mailbox decorations today. You’ll not only enjoy the process but also the compliments from neighbors and passersby.
For more inspiring home decor ideas, check out our 8 Awesome Home Decor Ideas Using Rope article. It’s packed with creative tips to make your home even more inviting.
Happy decorating!
Related Images:
Amanda Schmitt
Latest posts by Amanda Schmitt (see all)
- Fruit Infused Waters That Make Summer Hydration Fun - July 1, 2025
- Light Up Your Life: Home Lighting Decoration Ideas - June 30, 2025
- Let’s Taco Party! Easy Steps for a Perfect Taco Bar Setup - June 27, 2025