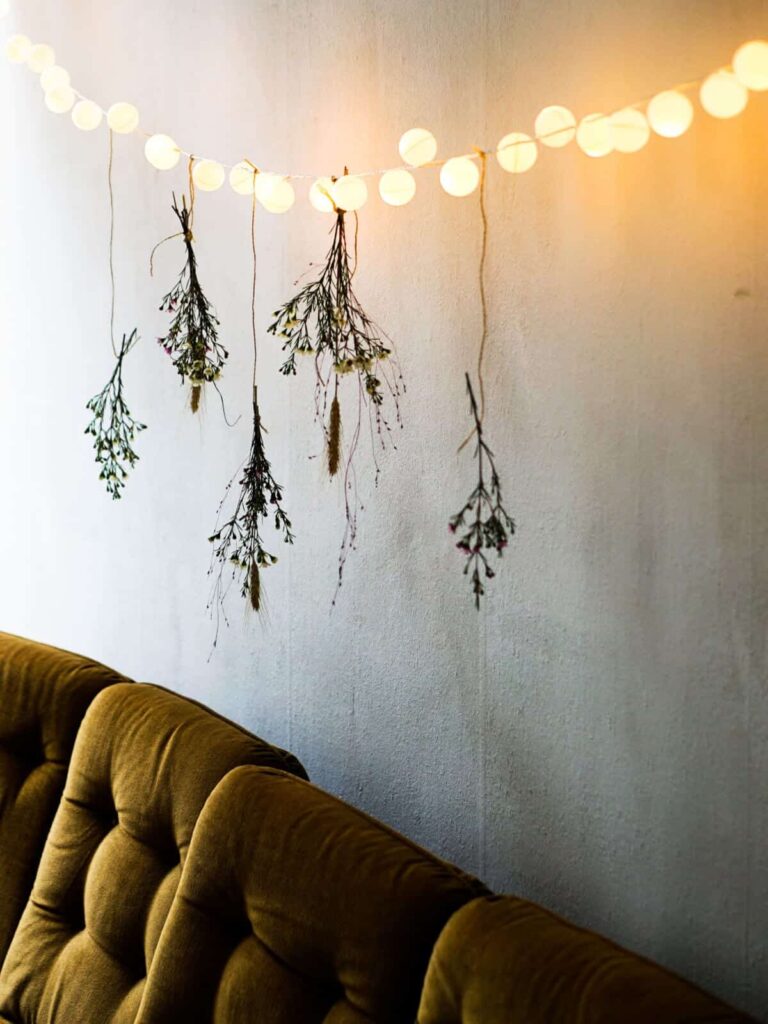
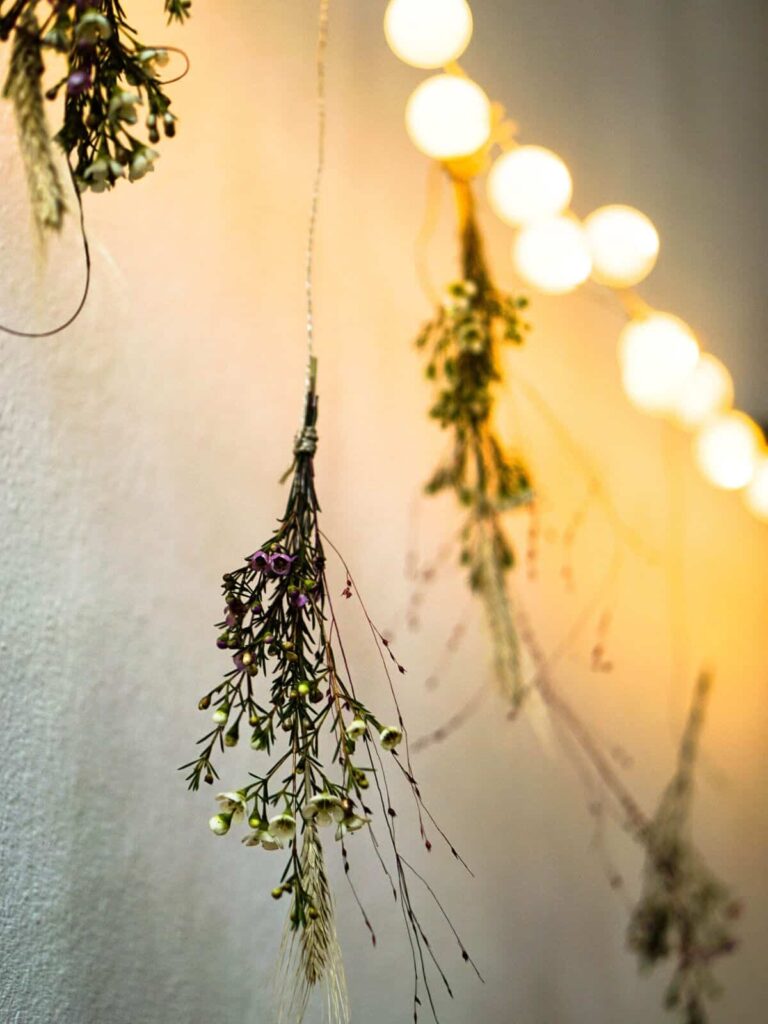
This DIY lighting project is such a great way to add a soft glow to a room. You can use them to add a decorative touch to almost any space, from the nursery to your outdoor patio.
What lights should I use?
One of the best things about DIY projects is being able to use up stuff you already have in the house. If you’re wondering whether those old Christmas lights will do, the answer is yes, as long as they have LED bulbs which don’t get hot. This is really important, so plug them in before you get started to make sure they don’t get hot, and also check all your bulbs are still working.
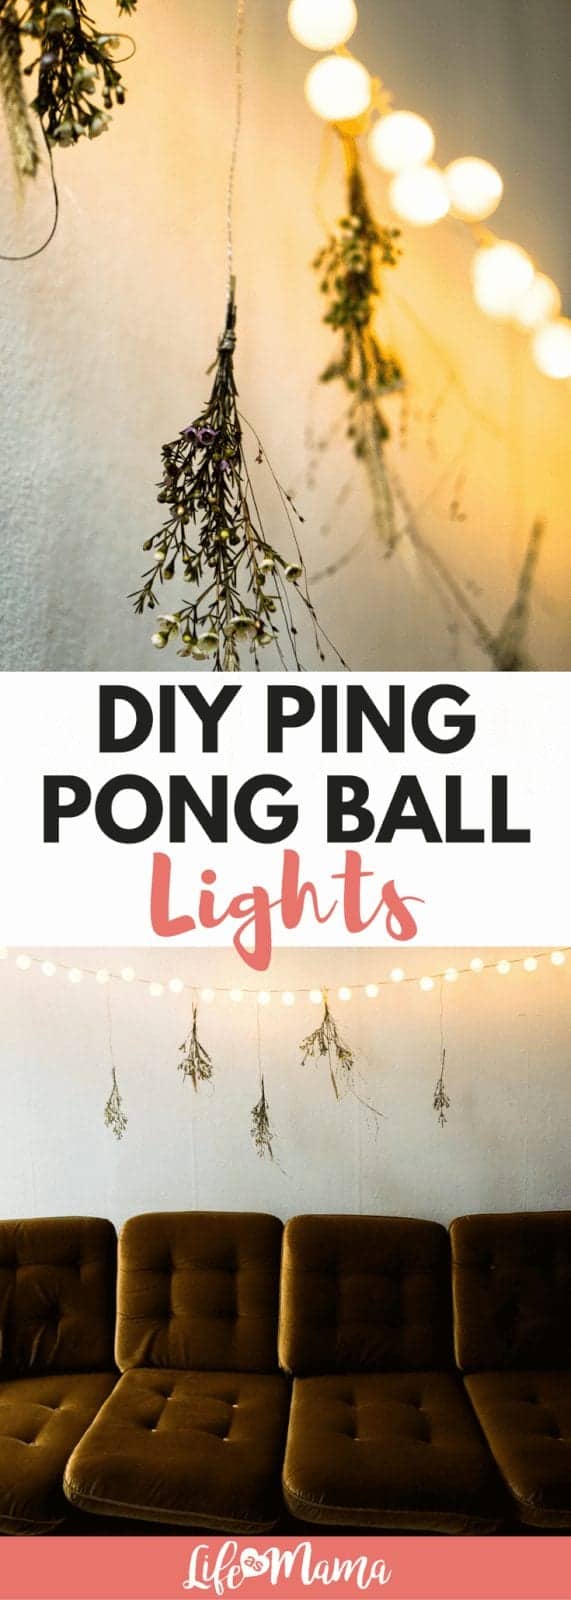
DIY Ping Pong Ball Lights: Fun Home Decor Project for Moms
How many ping pong balls will I need?
This depends on the amount of bulbs on your LED strand. Some only have 10, whilst longer ones have about 100. Once you know what lights you’re going to be working with, count the bulbs and buy enough for at least one ball per light. Ping pong balls are fiddly things, so it’s always best to have a few extras, just in case. Amazon usually offers great deals on bulk orders, so if your local store only sells them in packets of 2 or 3, this is a good place to look and keep the project economical.
Brighten up your home
As well as adding a soft glow to your living room, bedroom, or nursery, these lights look great hanging in outdoor spaces like patios, balconies, and gazebos. If you’re planning on using them outside, check your lights are rated for outdoor use. You’ll also need to seal them to avoid any rainwater getting in, which is easy to do with silicone or glue (I prefer silicone, as it’s easy to peel off when you need to replace a bulb).
Step by Step Guide:
Things you’ll need
- Strand of LED lights (white or coloured, whichever you prefer)
- Ping pong balls (enough for each bulb)
- Precision knife
- Silicone sealer or glue (optional)
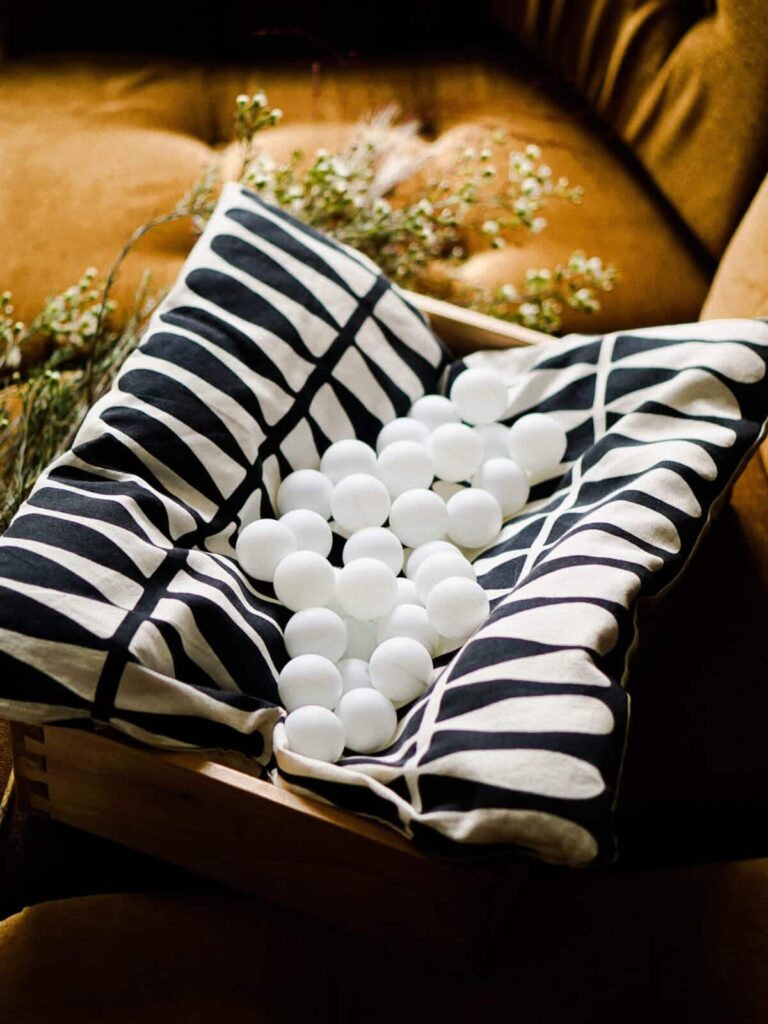
Step 1
Using a precision knife, carefully cut an X into each ping pong ball. You can hold them in place with an empty egg carton, as they can easily slip out of your hand.
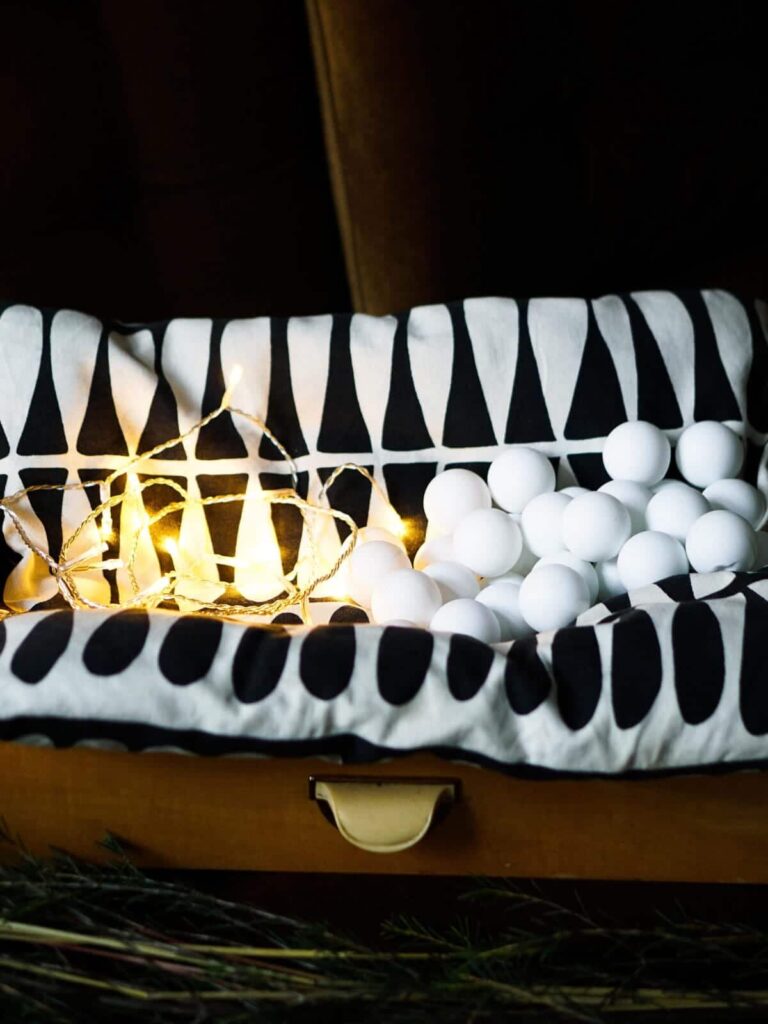
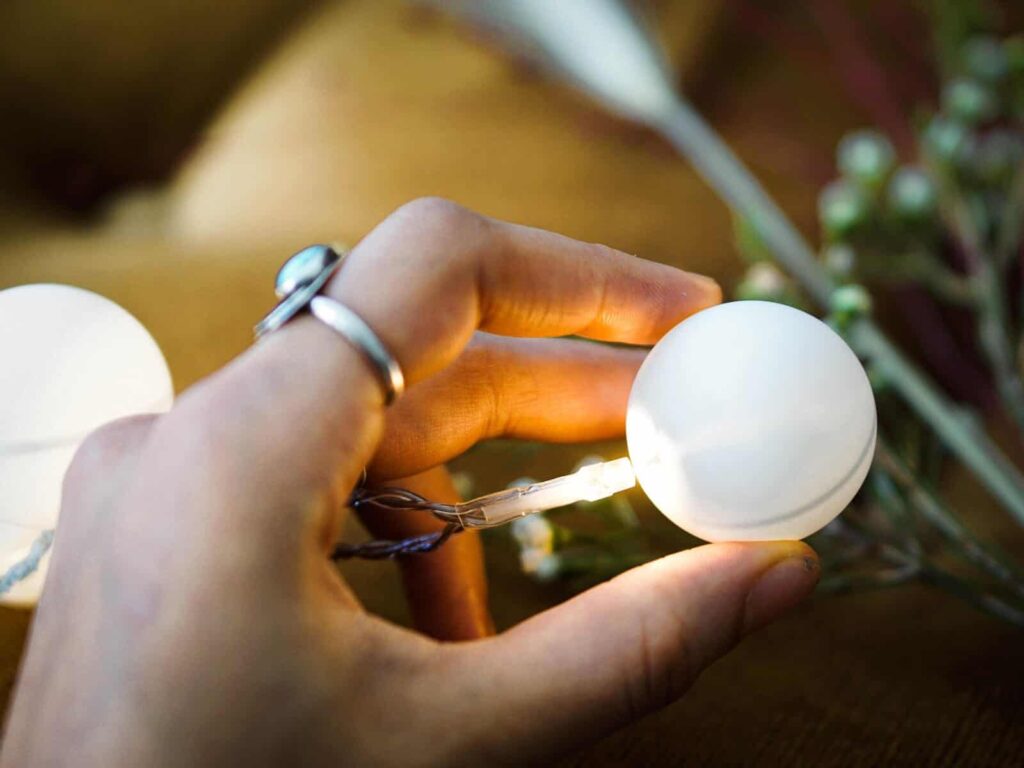
Step 2
Grab your strand of LEDs, and push each bulb through the X you’ve made in the balls. Make sure the bulb isn’t touching the inside, and push them right in so the balls stay in place.
Step 3
If you’re not planning on using these lights outside or feel the balls are secure enough as they are, you can go straight to Step 4. But if you need to make the lights watertight, simply add some silicone around the bulb socket and cover the X area. Remember to let them dry on a flat surface before you hang them up.
Step 4
Almost done! Now all that’s left to do is hang your lights, plug them in, and enjoy the soft ambience you’ve created.

Author Bio
Callum is the co-owner of LED World – an Australian based lighting design firm. In his spare time, he enjoys photography and creating DIY projects with his children.
Related Images:
Guest Post
Latest posts by Guest Post (see all)
- 23 Luminous Ways To Spruce Up Your Bedroom - July 10, 2025
- 4 Easy Ways To Take Care Of Your Feet During Pregnancy - December 28, 2018
- 6 Fun Activities That Will Get Your Family Into The Holiday Spirit - December 18, 2018