Fall is by far my favorite time of year. All the colors, scents, pumpkins, leaves, boots, scarves, and sweaters take me to my happy place. I am always searching for cute fall decor for my home and I often times end up making a lot of it on my own. A few months ago I put some fabric in an embroidery hoop and hung it on my wall and I have to say it’s by far one of my favorite decorations. Since I love it so much I decided to make a similar one for fall. I am obsessed with how it turned out and I can’t wait to hang it on my wall this summer.
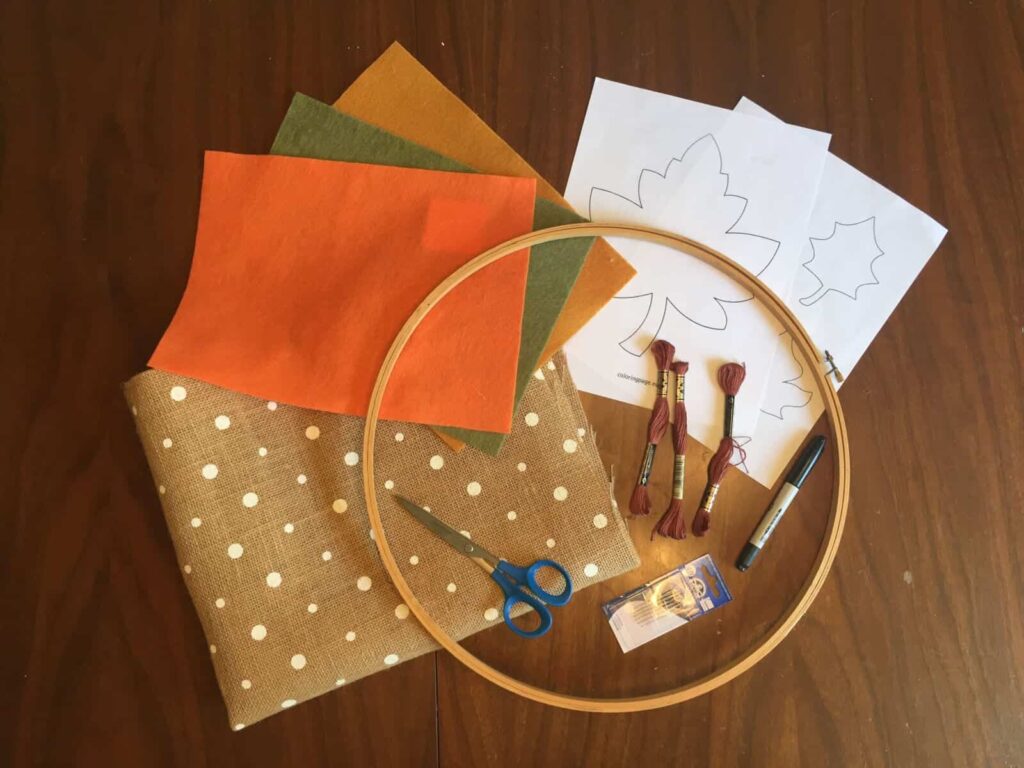
If you want to make your own fall embroidery hoop decor, here’s what you’ll need:
-Printer and paper
-Scissors
-Permanent marker
-Felt sheets
-Burlap (printed or plain)
-Embroidery floss
-Large needle
-Embroidery Hoop
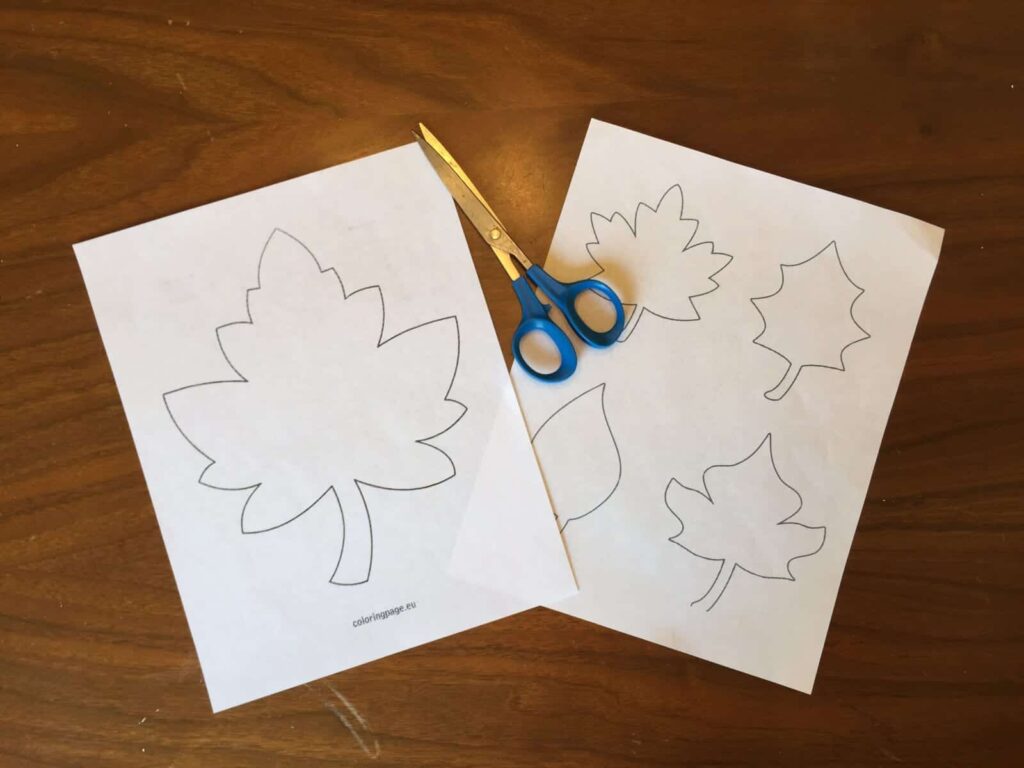
Once I decided what color felt I wanted and what print I wanted on my burlap, I got home and printed off my leaf templates. I just searched for “leaf template” on Google, and found the ones I wanted. I then printed them off on paper and cut them with scissors to make a template.
Place the templates on your felt sheets and trace them with with a permanent marker.
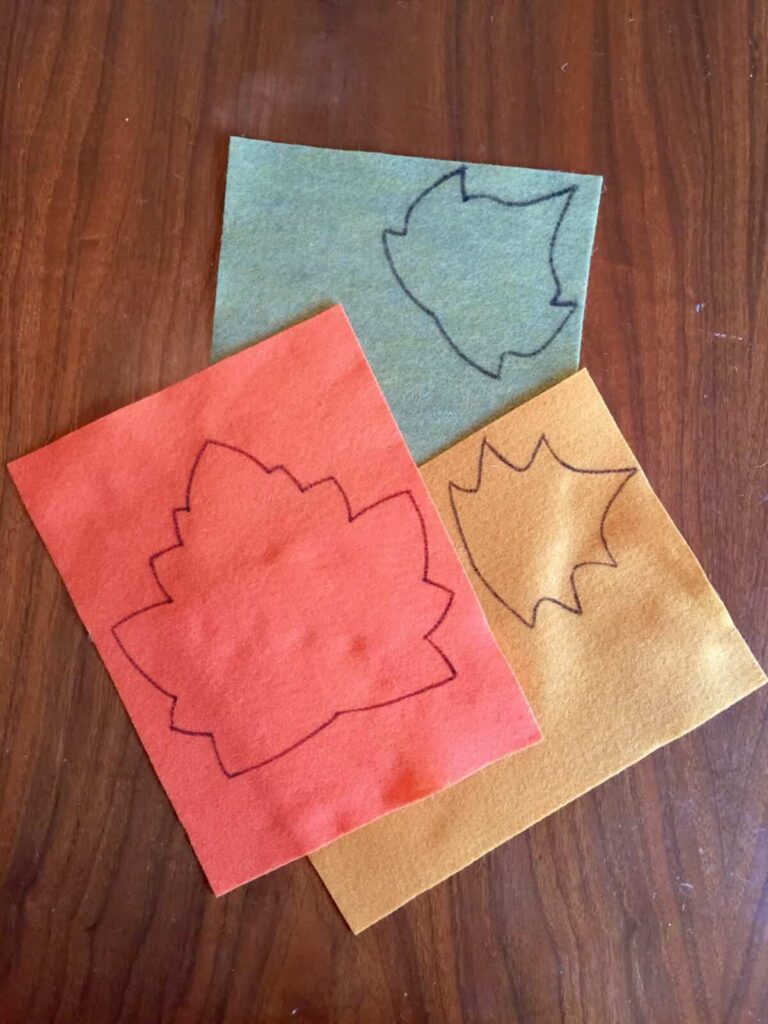
Once you’re done tracing, use your scissors to cut out the felt leaves.

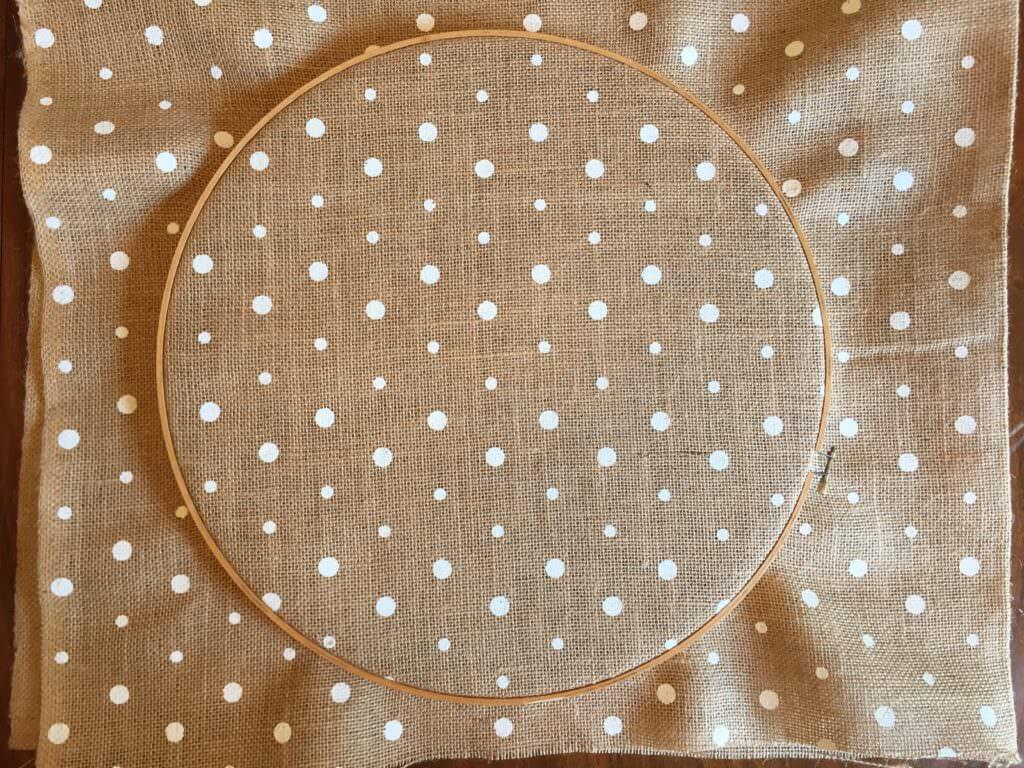
Now you need to get your embroidery hoop and burlap ready. The size of the hoop and the amount of burlap you will need will depend on how big you want to make this piece of decor. I personally wanted to make mine large, so I used a 16 inch hoop. Since it was so big I bought 3/4 yard of burlap. I probably could have bought a 1/2 yard, but I wanted to make sure I had enough.
Take the burlap and secure it between the two pieces of your embroidery hoop then tighten the hoops together.
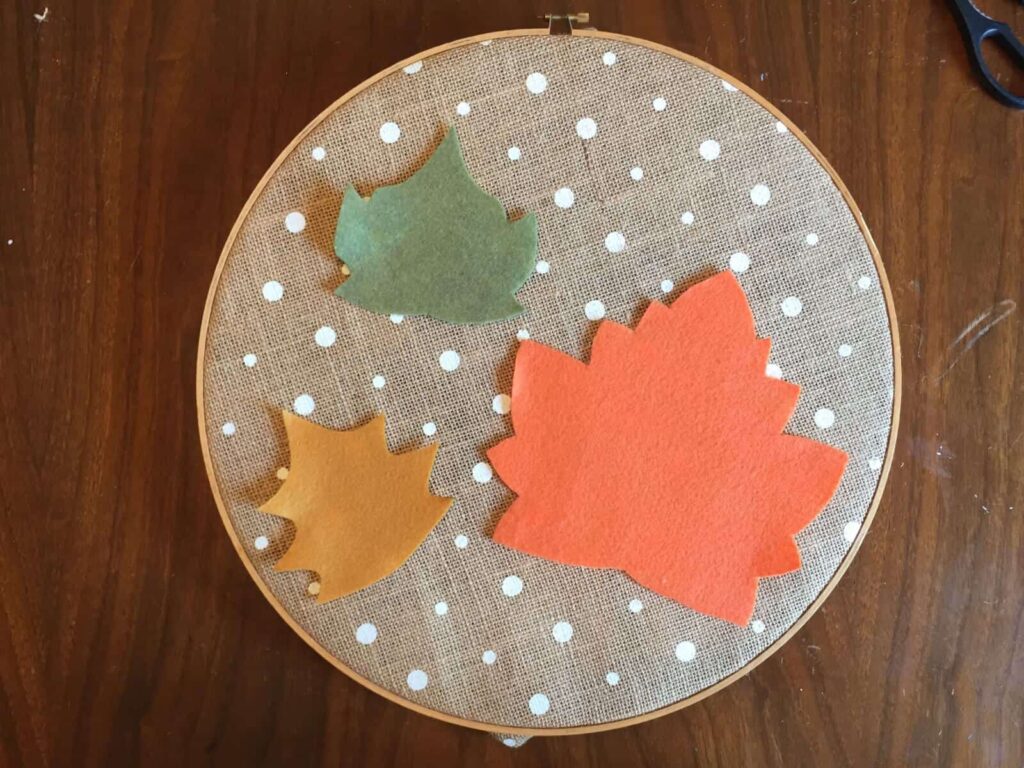
Place the felt leaf cut outs on your burlap and play around with how you want them to be laid out. In order to better see how it would look when done, I folded the excess burlap under so it wasn’t showing.
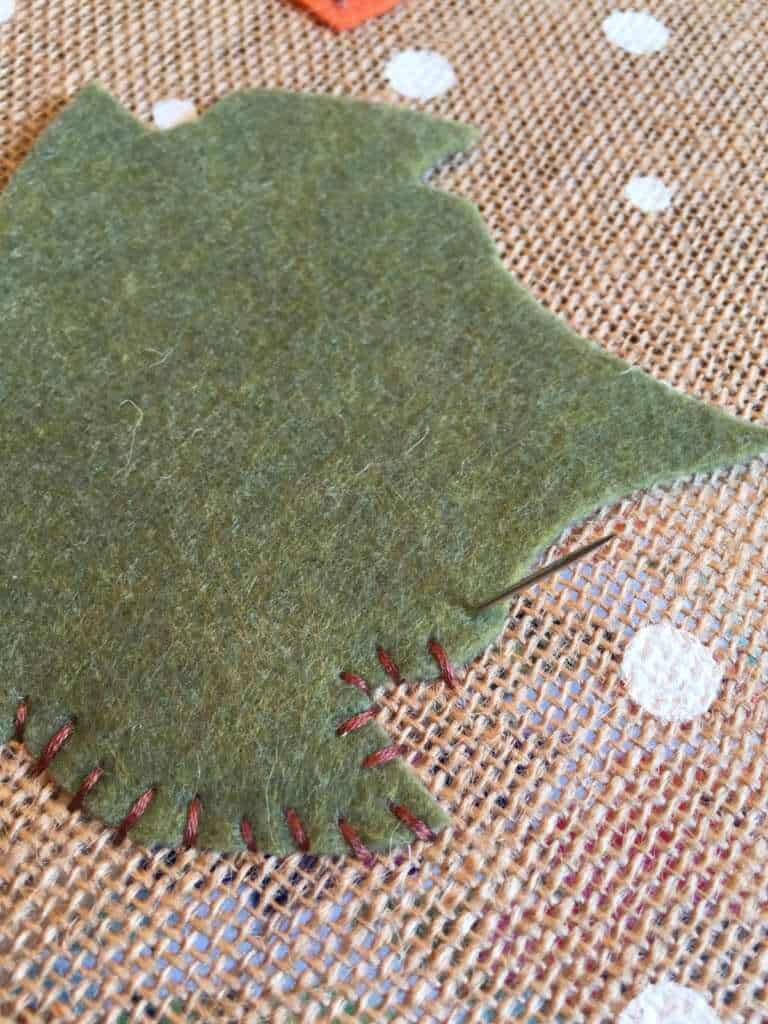
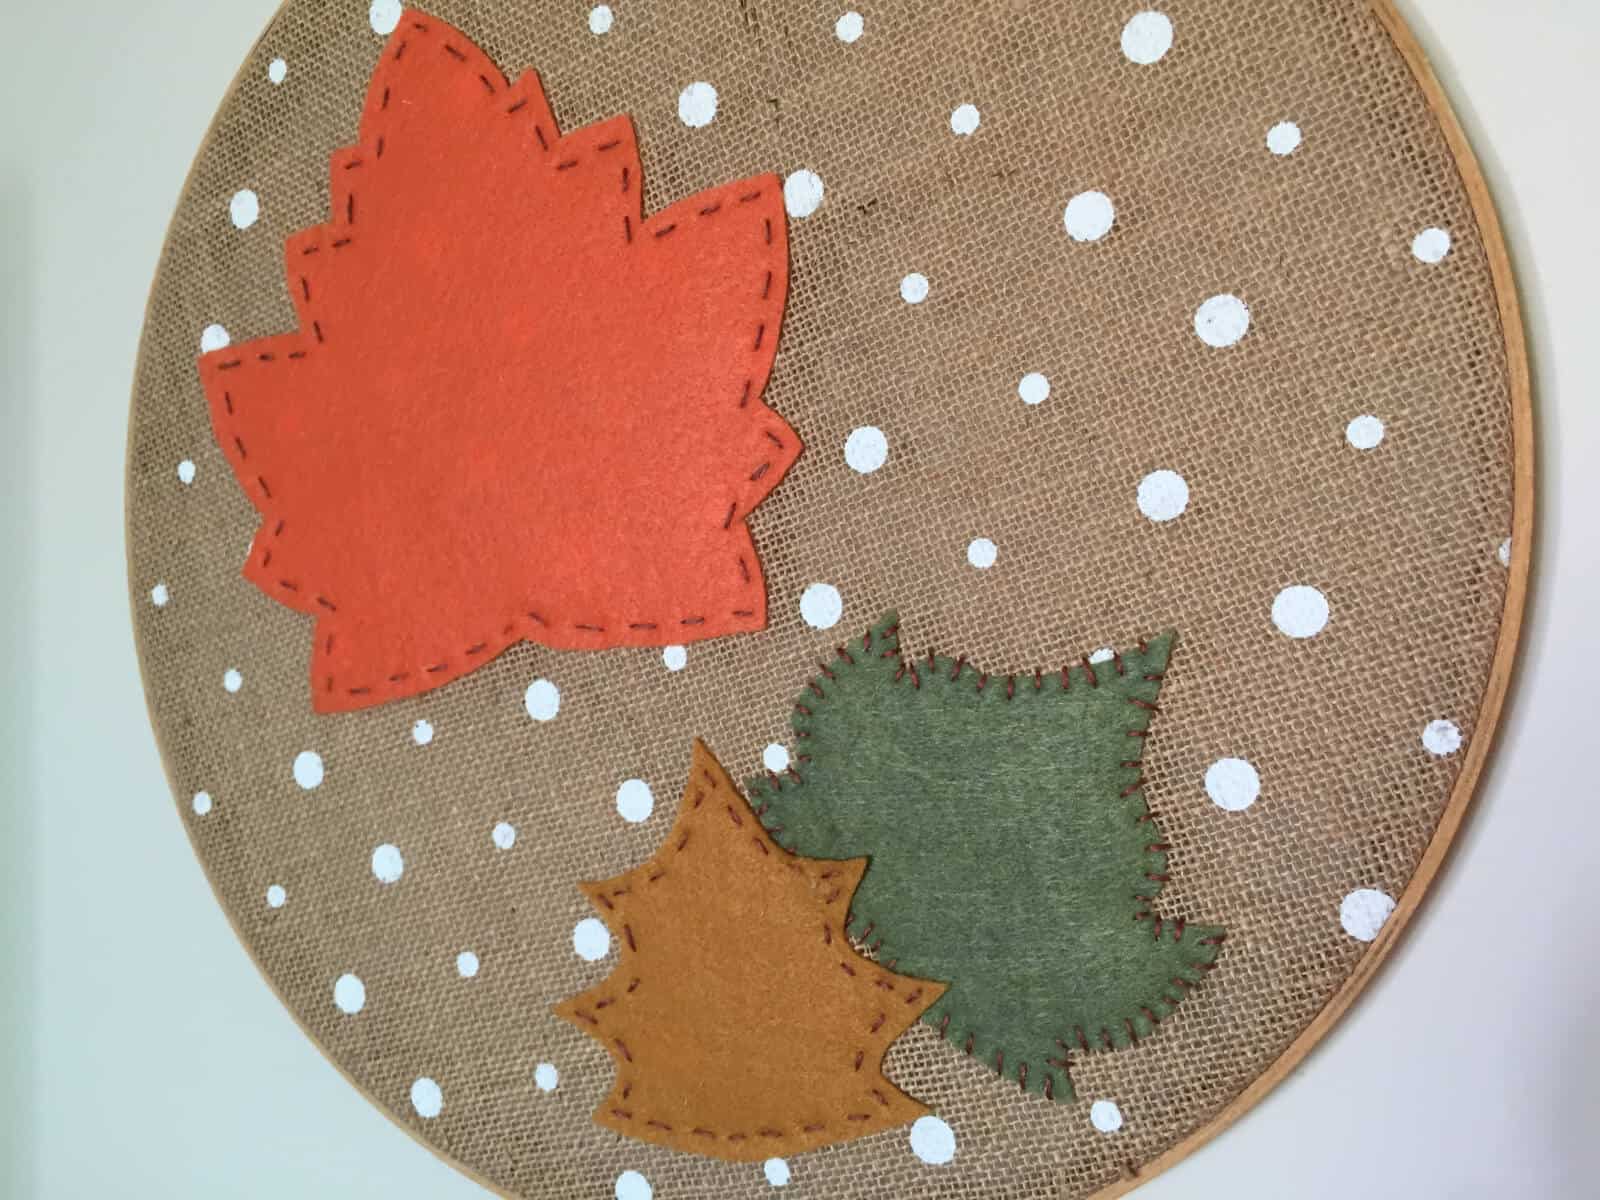
Once you have the felt leaves in place where you want them, you can start sewing them onto the burlap. Take the embroidery floss and thread it through your needle. Be sure to start your thread underneath the burlap so the excess doesn’t show. Do a simple over under stitch all the way around the leaf until you have stitched all the edges down.
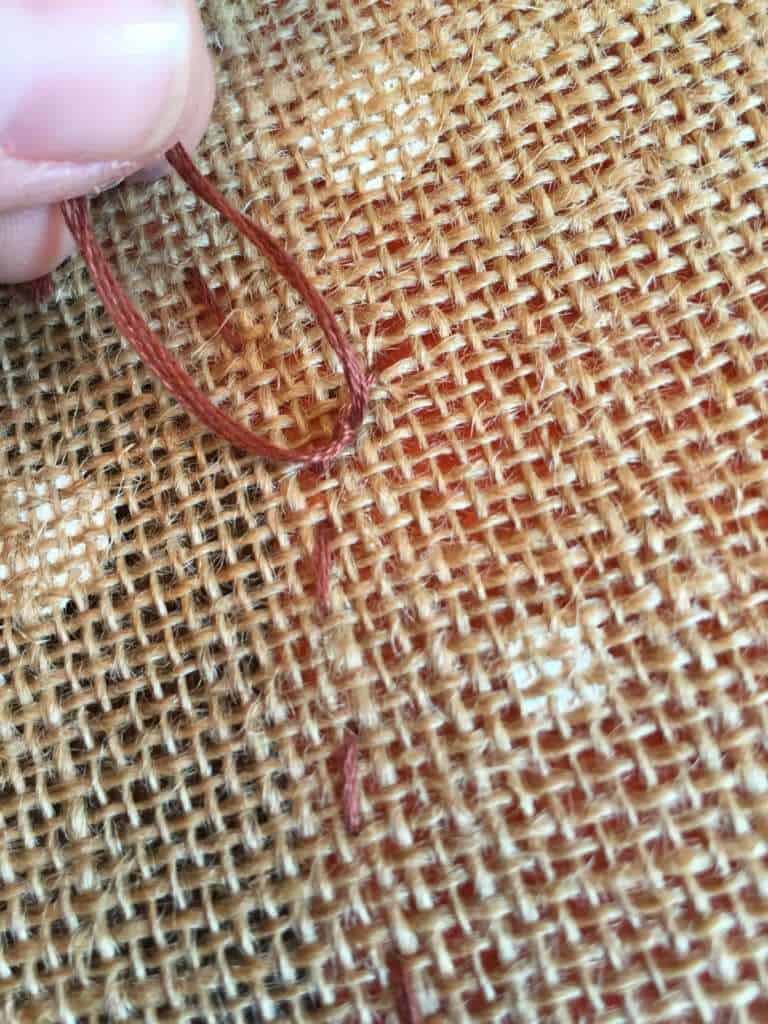
When you have met back where you started with the embroidery floss, simply tie a knot on the back with the starting thread and the ending thread. I tied about three or four knots so it was really secure. Repeat this same process for each leaf. I varied the directions of my stitches as well to keep it a little more visually interesting.
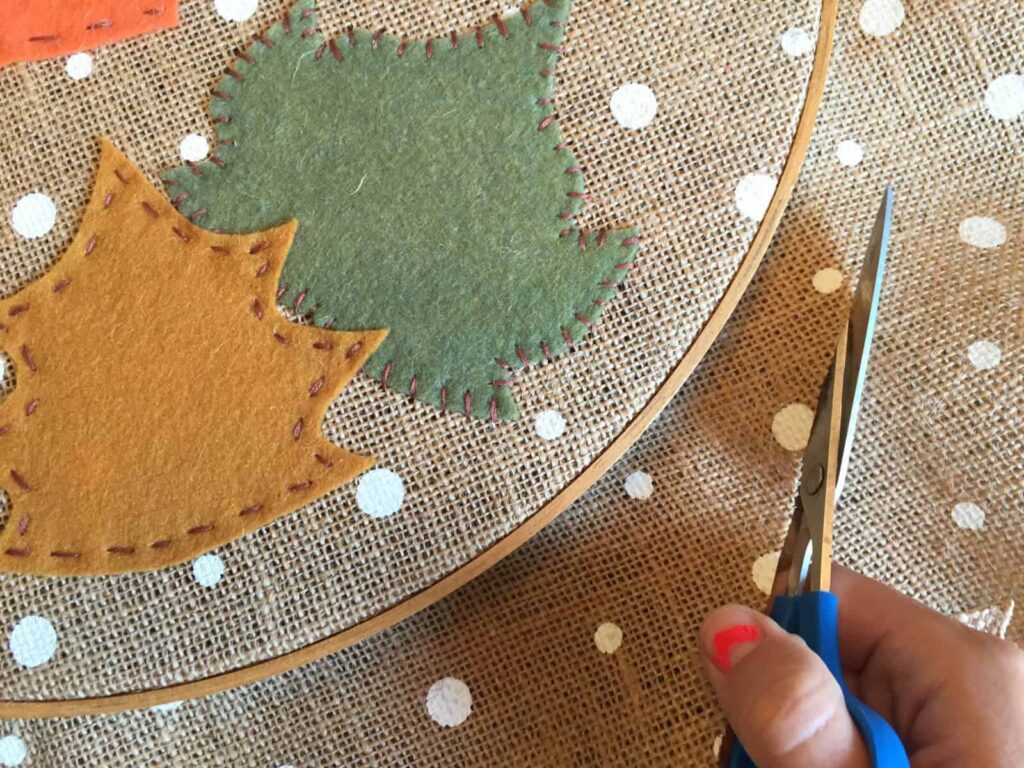
Now that all your leaves are secure, cut the burlap all the way around the embroidery hoop so you have about 1/2 inch to 1 inch excess fabric.
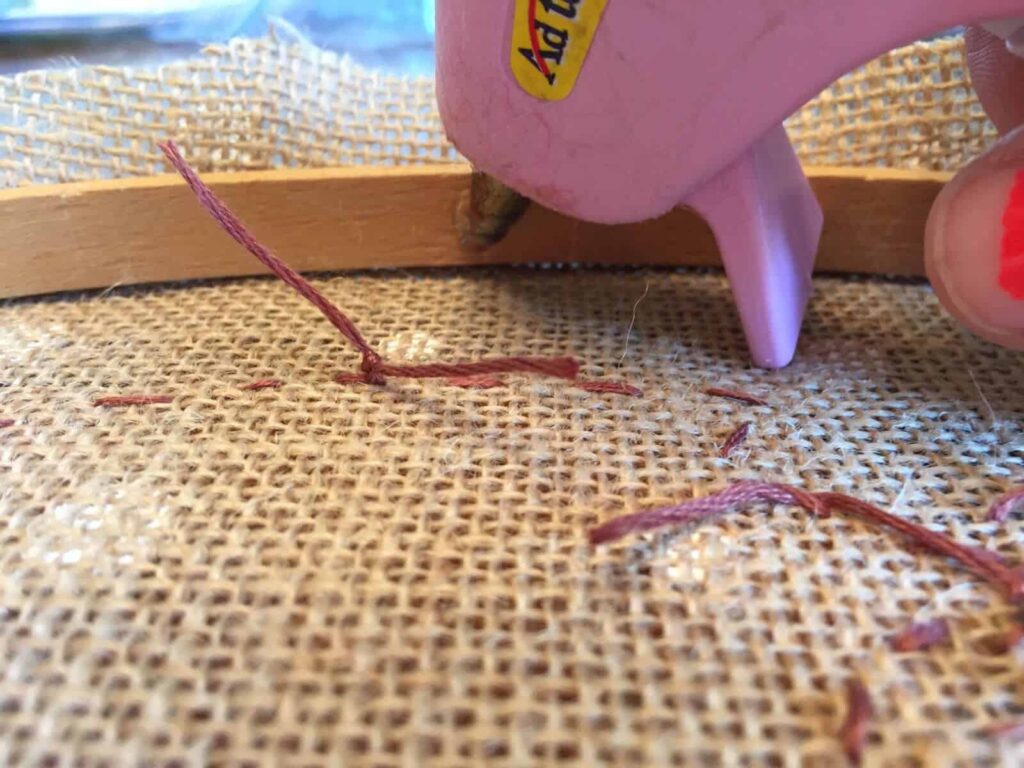
To hide the excess burlap, take your hot glue gun and put some glue on the inside of the hoop, then pull the burlap around and press down on the glue. Be careful because you can feel the heat from the glue through the burlap. Ouch!
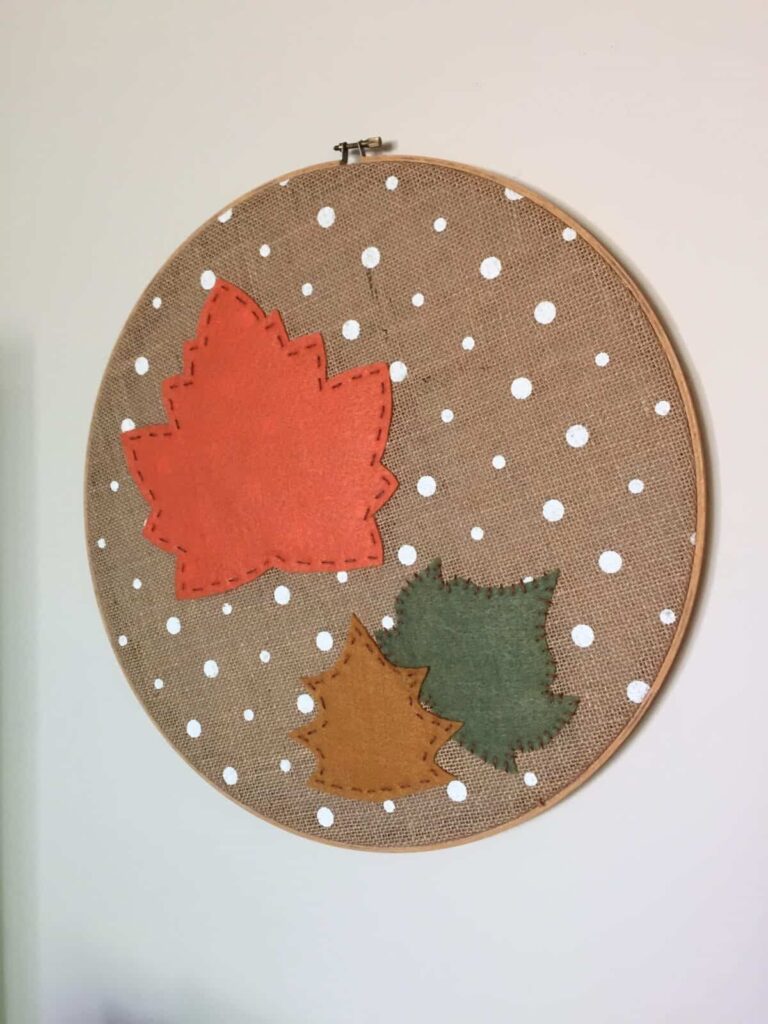
Once you have all the edges secured you’re ready to hang your adorable new fall decoration. You can even rest this on a mantle or shelf as a piece of decor as well and it will still look great.
Related Images:

Mary Mulroney
Latest posts by Mary Mulroney (see all)
- 5 Easy Changes To A Healthier You - October 12, 2020
- 7 Great Resources For Affordable And Beautiful Rugs - October 12, 2020
- Tips For Switching To A Dairy-Free Diet - September 29, 2020