Motherhood and Moms Lifestyle – Live like a Mom | LifeAsMama
  • Motherhood
  • Pregnancy
  • Beauty
  • Health
  • Kids
    • Baby
    • Toddler
    • Little Kid
    • Pre-Teen
    • Teenager
    • Adoption
  • Lifestyle
    • Career
    • Beauty & Style
    • Home
    • Inspirational
    • Food
    • Fitness
    • Travel
  • DIY
    • Printable Coloring Pages
    • Crafts
    • Design
    • Holiday
  • Contact Us
CleaningDIYTips & Ideas

12 Helpful Hacks For Repairing Ruined Clothes

by Mary Mulroney October 10, 2015
by Mary Mulroney 1.4K views
1.4K


We all have those moments when we spill something on our white shirt, scuff up our brand new leather shoes, break a button on our most comfy shirt, or break the zipper on our favorite pants. Most of the time you think to yourself that you’ll have to throw that clothing item away because it’s ruined. Well, you may be surprised to find out that there are lots of great hacks when it comes to repairing ruined clothes. You may think it’s ruined, but try these 12 great hacks first to see if you can bring it back to life before you throw it in the trash.

source:

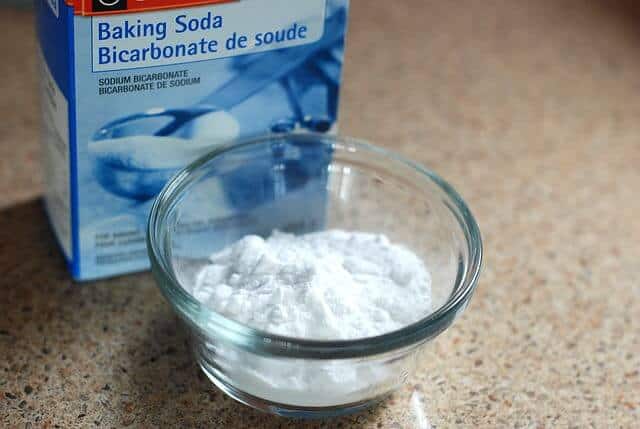
1. Remove Armpit Stains With Baking Soda

You know those pesky yellow armpit stains you get in light colored shirts? Did you know that you can actually remove those stains? I’ll admit I never knew that and would always end up throwing those shirts away because I thought they had reached the end of their lifetime. I am so glad to learn that you can actually remove those yucky yellow stains by mixing baking soda and water together. Make a paste with the two ingredients, then rub the paste all over the stain. Let it sit for a few minutes, then rinse it off before throwing it in the wash and laundering it like normal.

source:

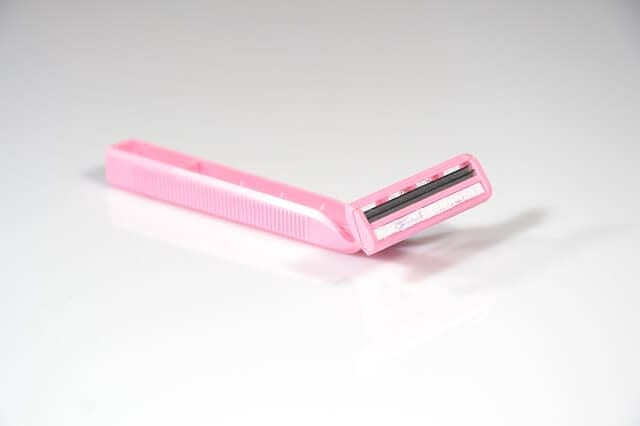
2. Use A Razor To Remove Pilling On Sweaters

Do you have that one favorite sweater that you’ve only worn a few times because every time you wear it you end up with tiny little balls all over it? That’s called pilling and you can actually remove those annoying little pills with a razor. Just take the razor and lightly go over the fabric as if you were shaving. It will cut the pills off and then you can take a lint remover to lift them off the sweater. It will look as good as new again.


source:

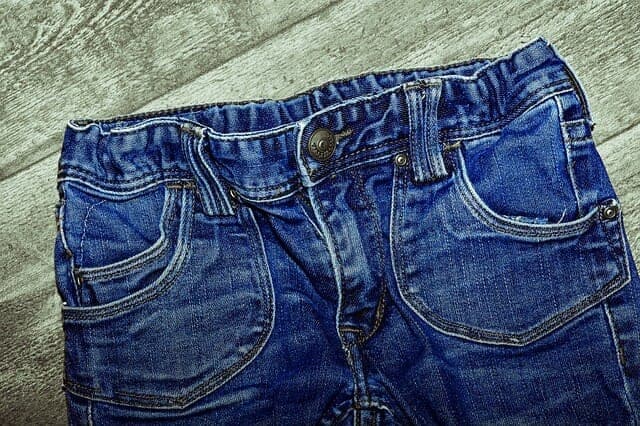
3. Put Your Pants In The Freezer To Remove Odors

I don’t know about you but every once in a while I’ll buy a pair of jeans, get them home, and while I’m wearing them I’ll notice this strange odor coming from them. No matter how many times I wash those jeans, the stubborn odor never comes out. Thankfully you can easily remove the odor without even laundering them. All you have to do is put your jeans in a plastic back and stick them in the freezer over night. The cold will actually kill the odor-causing bacteria without having to wash them a million times only to have them fade and wear out or even shrink.

Related Images:


  • Bio
  • Pinterest
  • Latest Posts
Mary Mulroney

Mary Mulroney

Hi there! I'm a beach lover, thrift store addict, crafting and DIY obsessed, mama of one son, and soon to be one daughter. My husband and I have been married for 5 and a half years and honestly couldn't be happier. We love our little life together as a family and spend every minute that we can together.
Mary Mulroney

Mary Mulroney

Mary Mulroney

Latest posts by Mary Mulroney (see all)

  • 5 Easy Changes To A Healthier You - October 12, 2020
  • 7 Great Resources For Affordable And Beautiful Rugs - October 12, 2020
  • Tips For Switching To A Dairy-Free Diet - September 29, 2020

Pages: 1 2 3 4

1 FacebookTwitterPinterestEmail

You may also like

DIY Minimalist Halloween: 20 Subtle Spooky Decor Ideas...

20 Hammock Area Ideas for Ultimate Relaxation

18 Children’s Play Area Ideas That Blend with...

20 Small Outdoor Space Ideas That Maximize Impact

20 Activities That’ll Make Your Kid’s Summer Unforgettable

21 Fall Wreath Ideas You Can DIY This...

01andreas1973
Mary Mulroney

Hi there! I'm a beach lover, thrift store addict, crafting and DIY obsessed, mama of one son, and soon to be one daughter. My husband and I have been married for 5 and a half years and honestly couldn't be happier. We love our little life together as a family and spend every minute that we can together.

previous post
8 Crucial Dos And Don’ts Of Home Decorating
next post
Never Buy Makeup Remover Again! Make Your Own Using This Video

Search

Trending

  • 20 DIY Easter Centerpieces That Aren’t Just for Kids

  • 18 Adult Birthday Party Themes for a Sophisticated Celebration

  • 20 Classic Orange & Black Halloween Traditional Ideas with Modern Twists

  • Digital Detox Home: 15 Screen-Free Family Activity Corners

  • Facebook
  • Instagram
  • Pinterest
Footer Logo
  • DMCA Policy
  • Contact Us

@2024 - All Right Reserved. Designed and Developed by LifeAsMama


Back To Top
Motherhood and Moms Lifestyle – Live like a Mom | LifeAsMama
  • Motherhood
  • Pregnancy
  • Beauty
  • Health
  • Kids
    • Baby
    • Toddler
    • Little Kid
    • Pre-Teen
    • Teenager
    • Adoption
  • Lifestyle
    • Career
    • Beauty & Style
    • Home
    • Inspirational
    • Food
    • Fitness
    • Travel
  • DIY
    • Printable Coloring Pages
    • Crafts
    • Design
    • Holiday
  • Contact Us

4. Sew On A New Button

When you lose a button on your favorite shirt or jacket, it can feel like the item is ruined for good. However, sewing on a new button is a quick and easy fix that can save your garment from an untimely demise. All you need is a new button and a needle and thread that matches the item, and you’re set to give your clothing a second chance.

Start by selecting a button that complements your clothing. Position it where the old button used to be or in a place that makes sense for the garment's design. Thread your needle, and make several stitches through the buttonholes to secure it tightly, ensuring it’s sturdy enough to withstand regular use. In just a few minutes, you’ll have a fully functional piece that looks good as new.

5. Repair Small Tears With Fabric Glue

Small tears can be a nuisance, especially on favorite garments. Instead of reaching for the sewing kit, consider using fabric glue as a quick solution. This adhesive performs well for minor rips and can restore the integrity of the fabric without the need for sewing skills.

Apply the fabric glue around the edges of the tear, pressing the fabric together firmly. Make sure to follow the manufacturer’s instructions for drying times to ensure a strong bond. Once dry, you should be able to wear your clothing without worrying about the tear worsening, and it will be almost invisible to the naked eye.

6. Use Heat to Fix Iron-On Transfers

If you have a favorite shirt with a peeling or lifting iron-on transfer, don't despair just yet. A simple heat application can often reattach or restore these transfers, bringing your beloved shirt back to life. This method can revive both graphic tees and embellished garments, giving them a fresh lease on wearability.