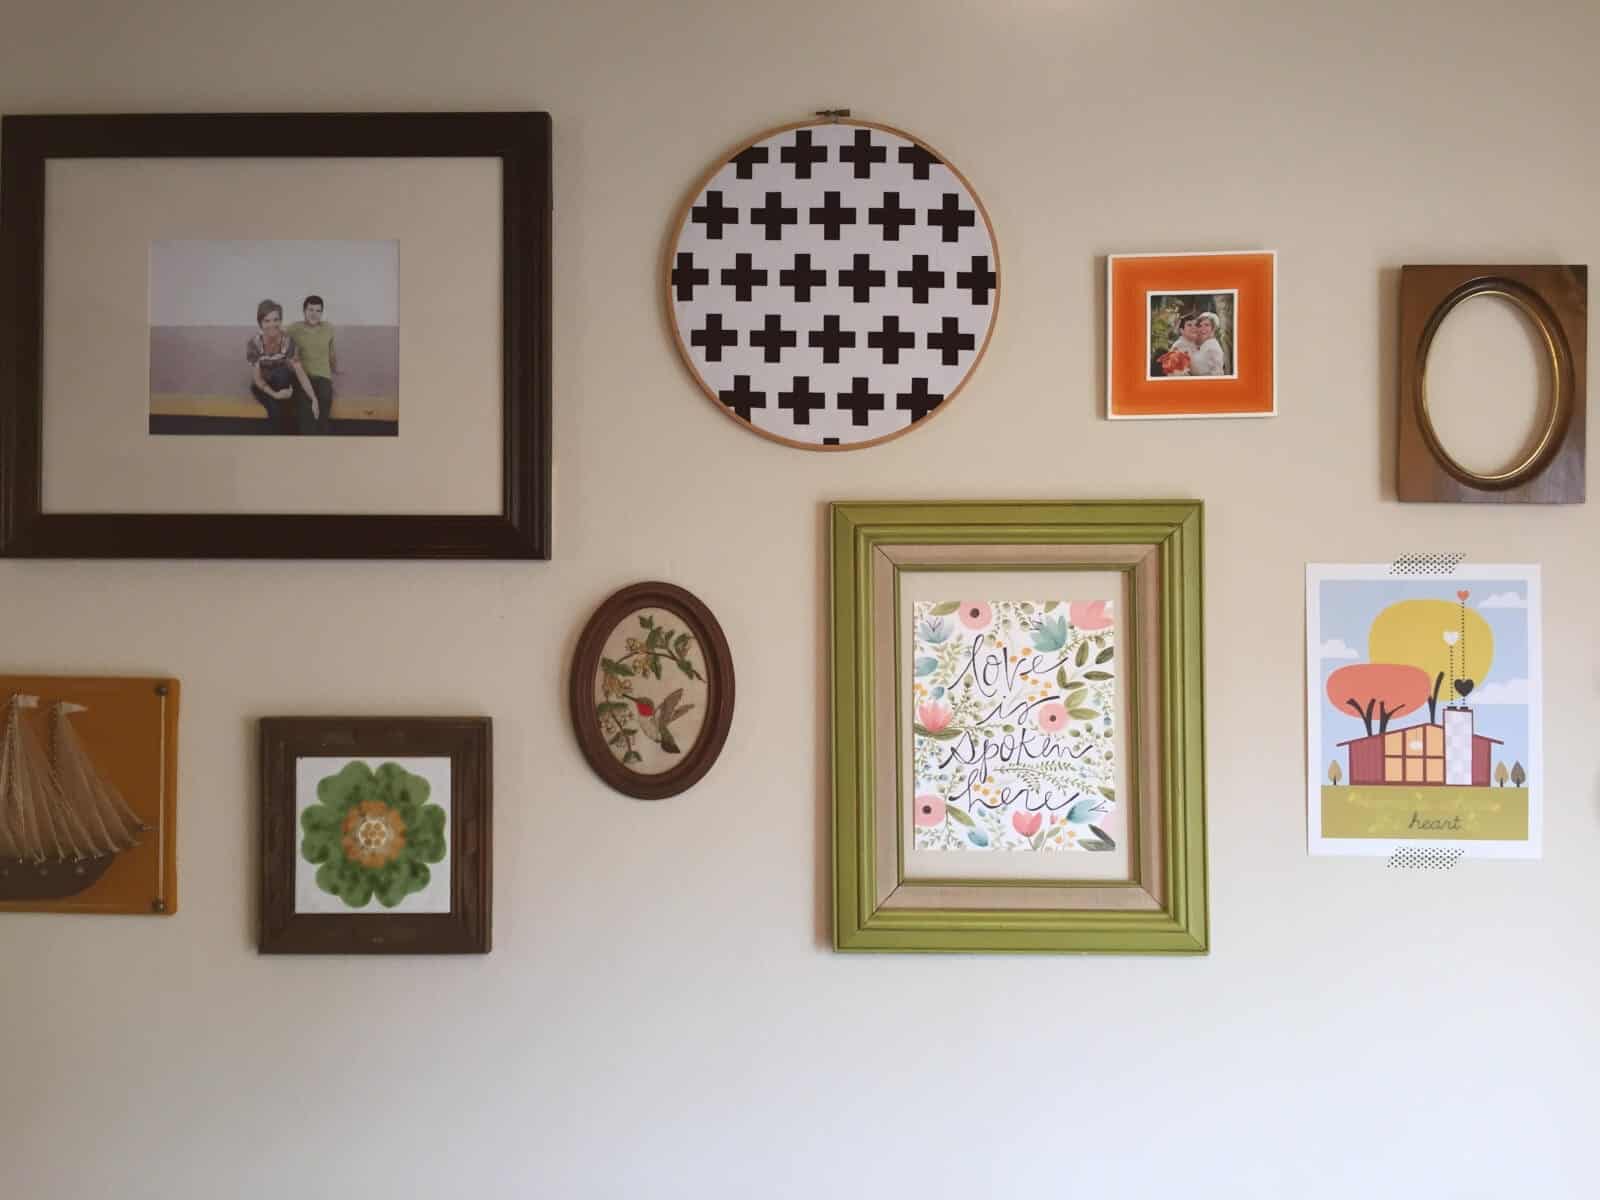
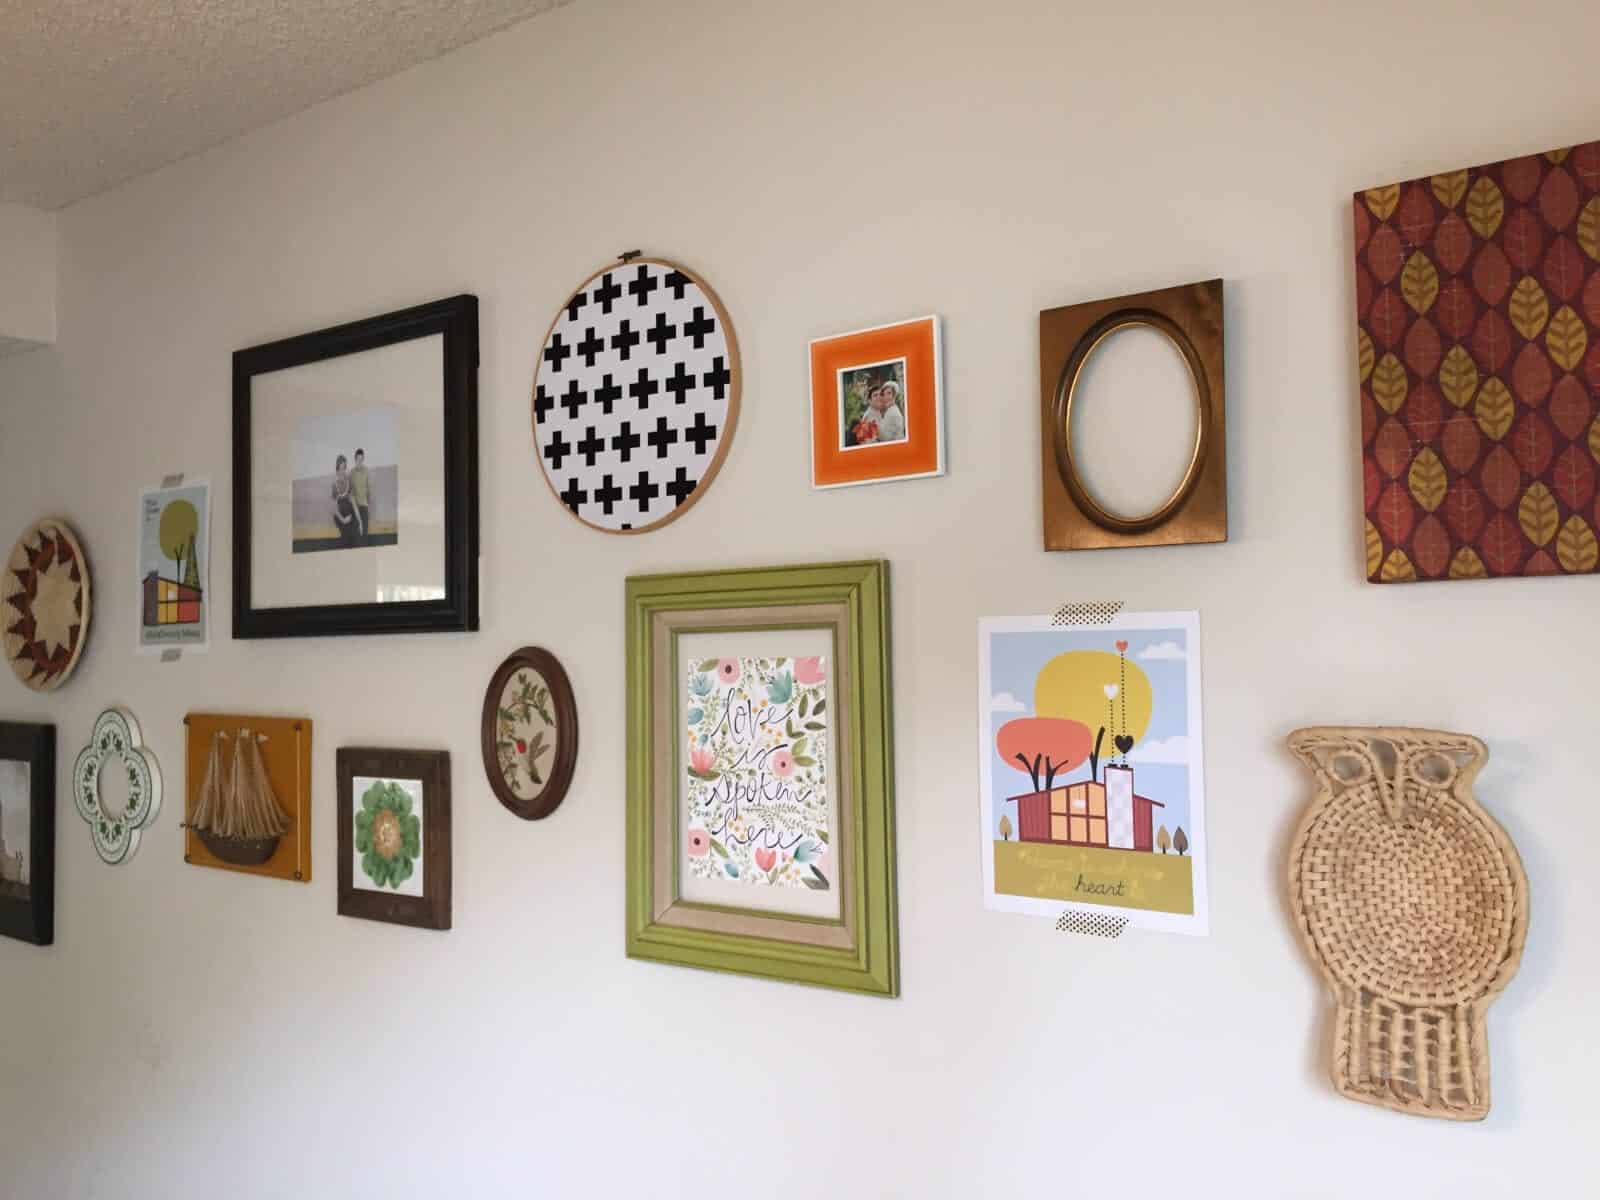
For years I have been wanting to use an embroidery hoop covered in fabric as wall art, but I’ve just never actually made it. I think it’s an incredibly unique piece of decoration and I love the way they look hanging on the wall. Well, last weekend I saw that down the street someone was having an estate sale, so I decided to check it out. I ended up finding tons of embroidery hoops and they were selling them for only $1! I was so excited. I bought a bunch and brought them home. I looked around my house and figured out where I wanted to hang one or more of them. There was a spot on a gallery wall I have in our dining room that was in desperate need of a piece of decoration. I decided that’s where I would hang it. I am so happy with the results and I love the way it looks hanging on our gallery wall. I’m kind of addicted to making these now and may have to make a few and hang them in a cluster together. If you want to make your own, here’s the simple tutorial of how.
First things first, here are the supplies you’ll need to make this:
1. Fabric
2. Scissors
3. Embroidery hoop
4. Hot glue gun
5. Iron
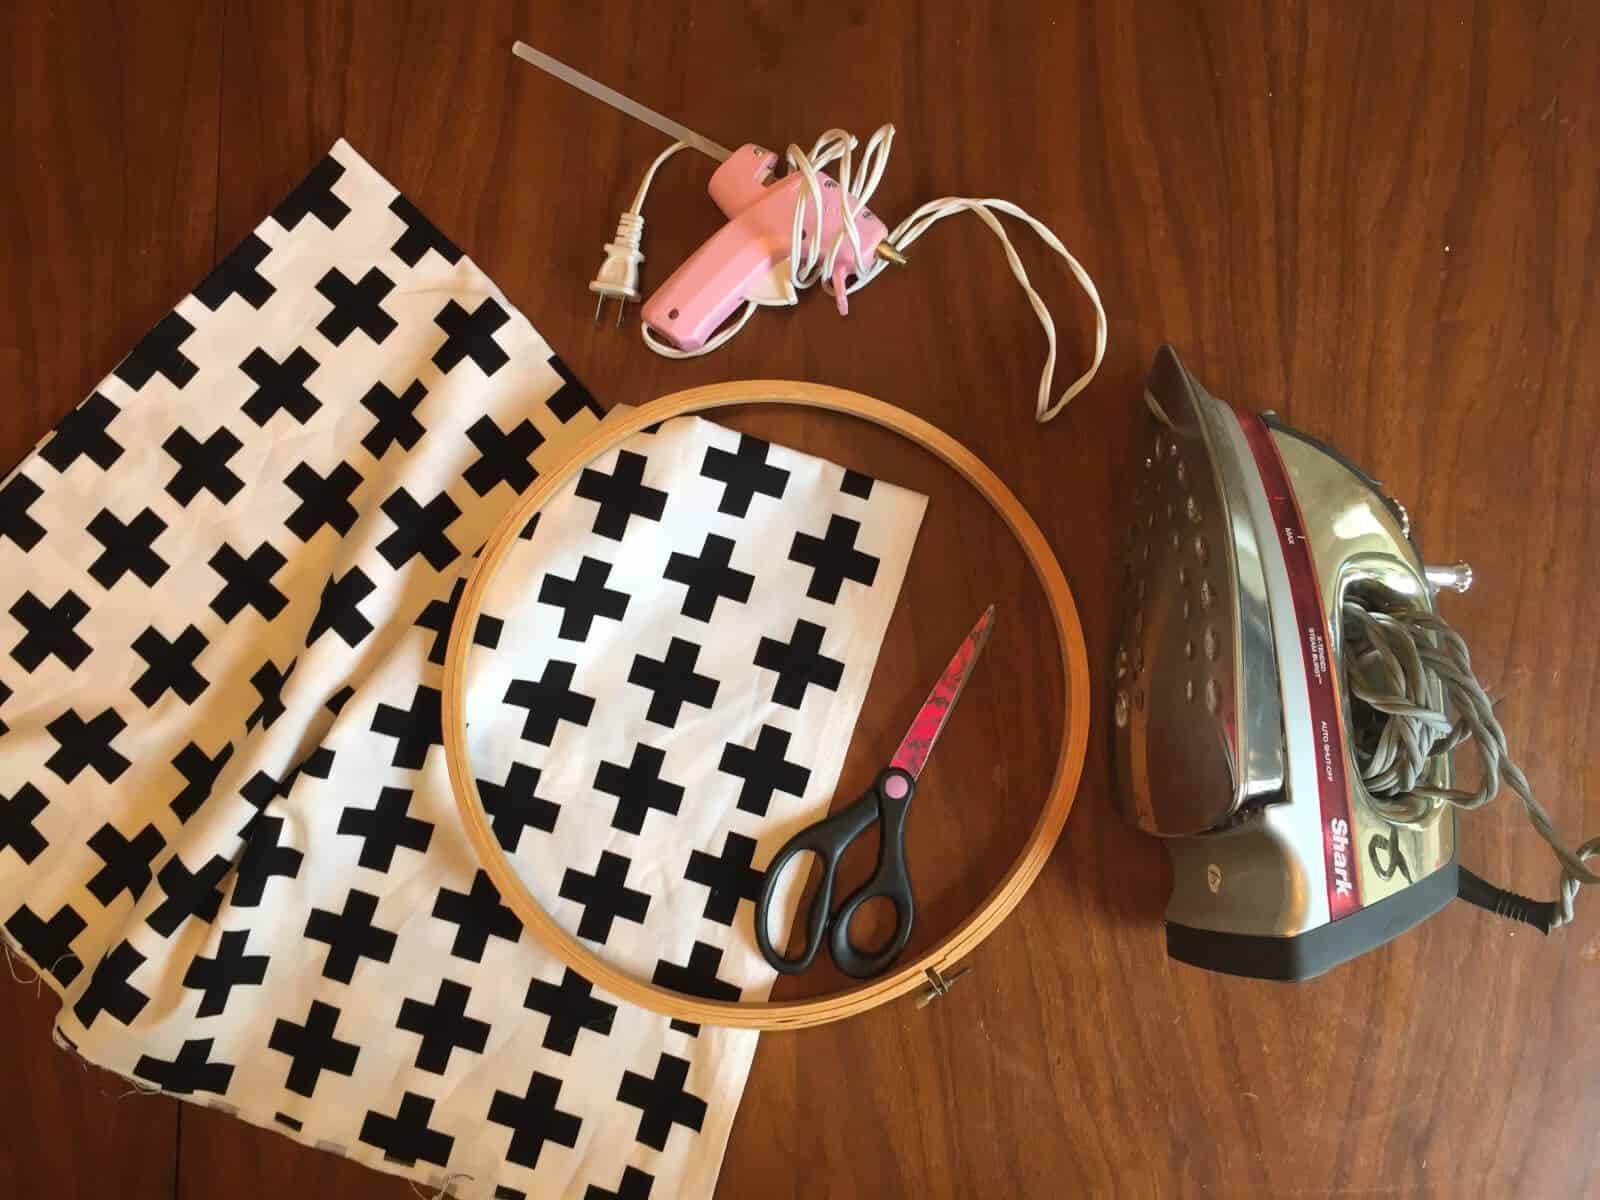
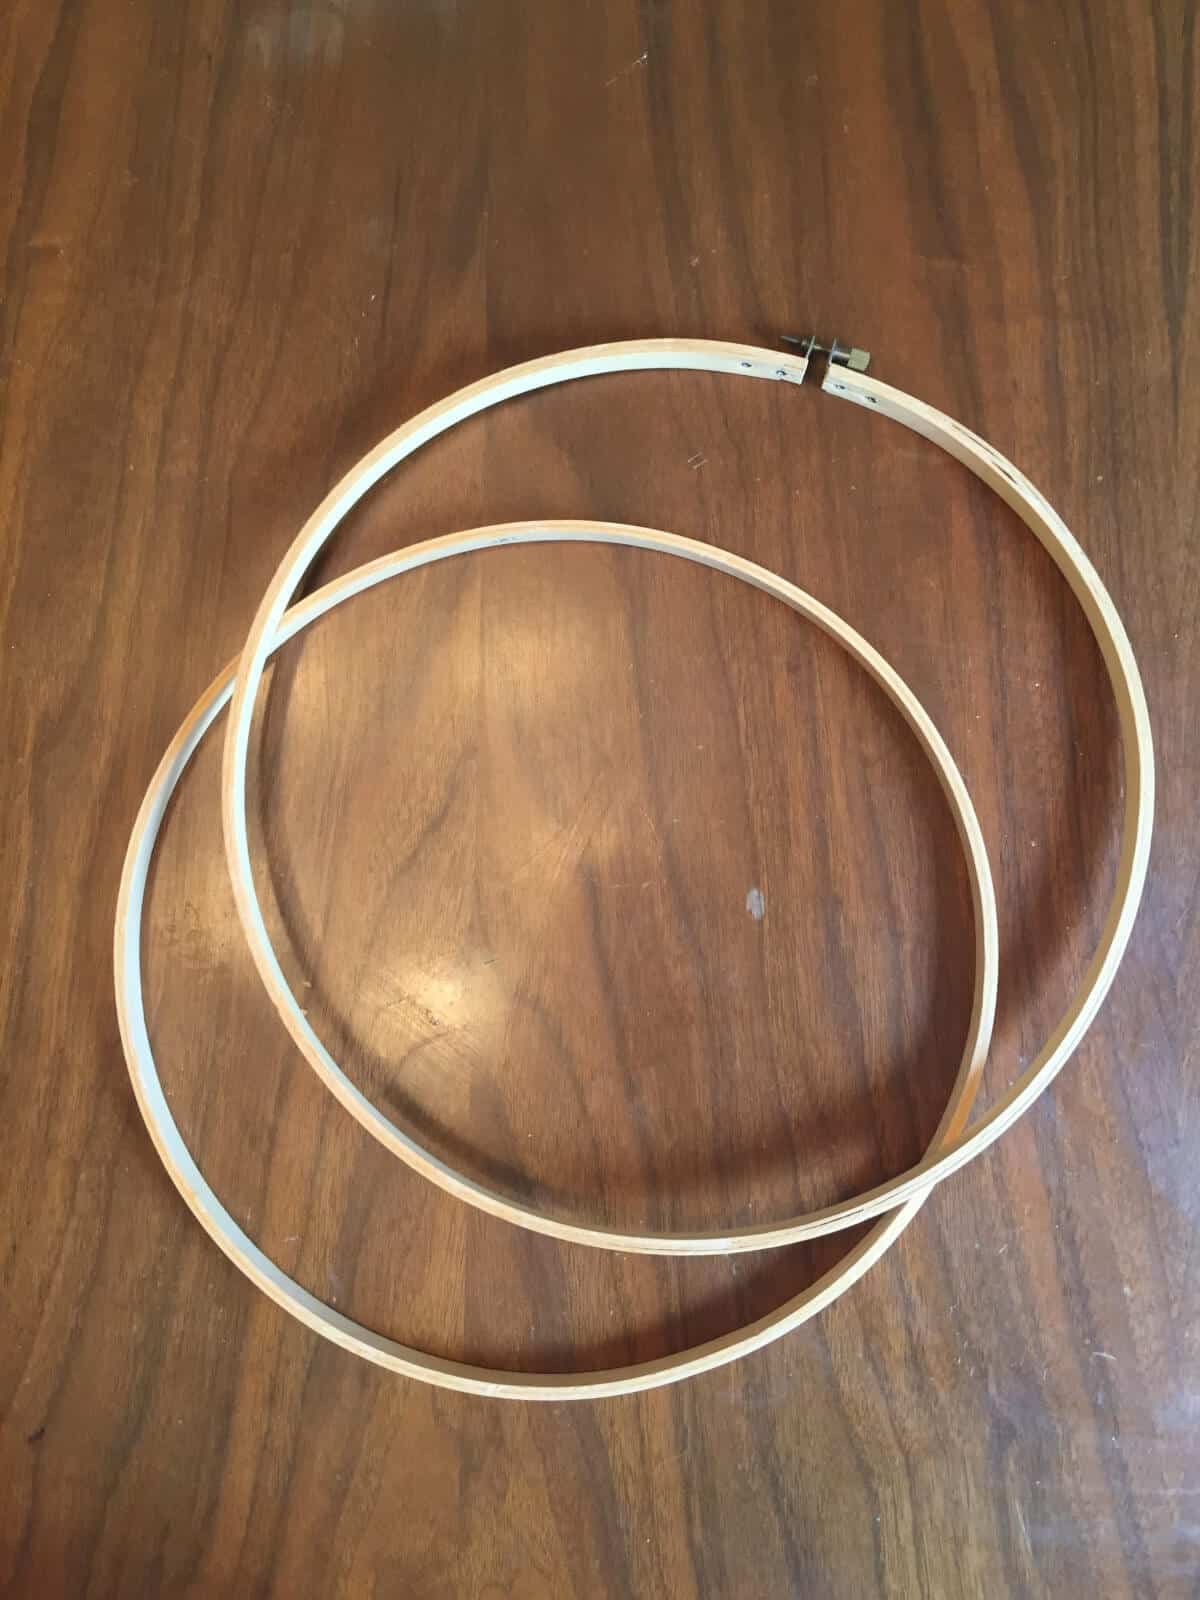
The supplies list is pretty simple, right? You probably already have most of these in your craft closet right now. Once you have all the supplies, the first thing you need to do is loosen up the embroidery hoop and separate the two pieces.
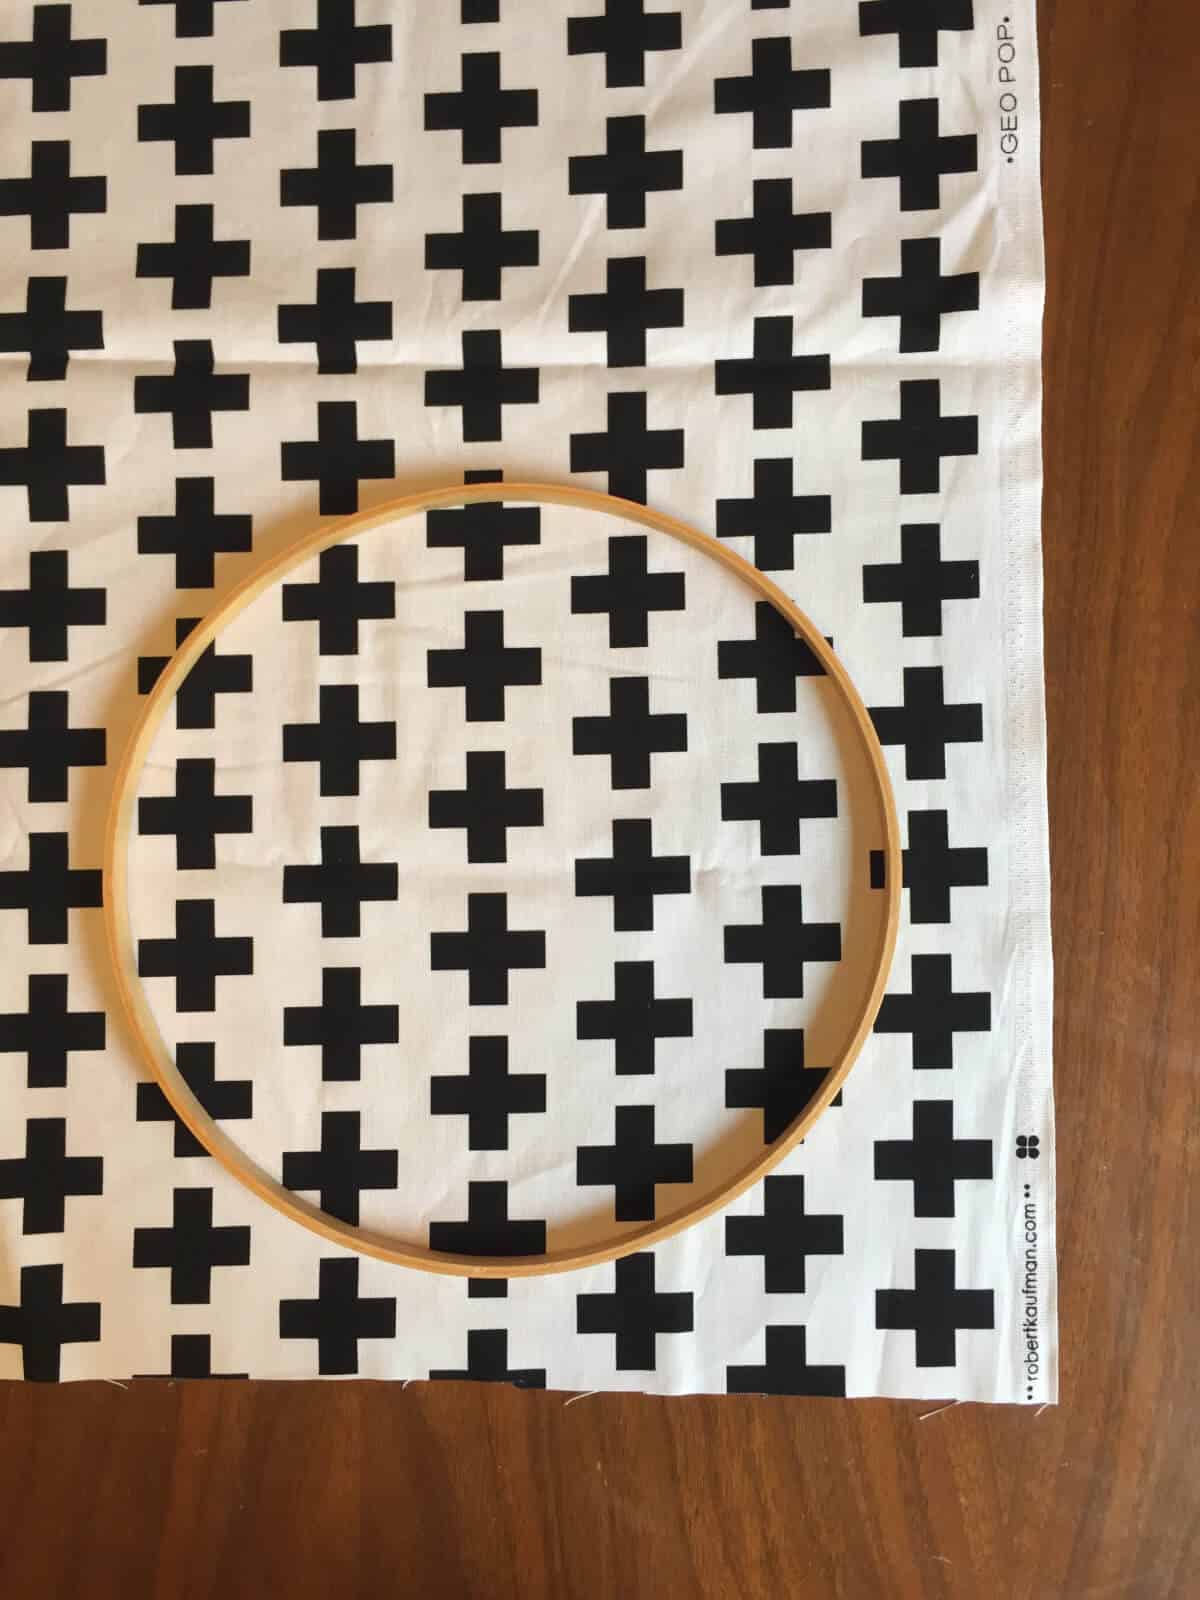
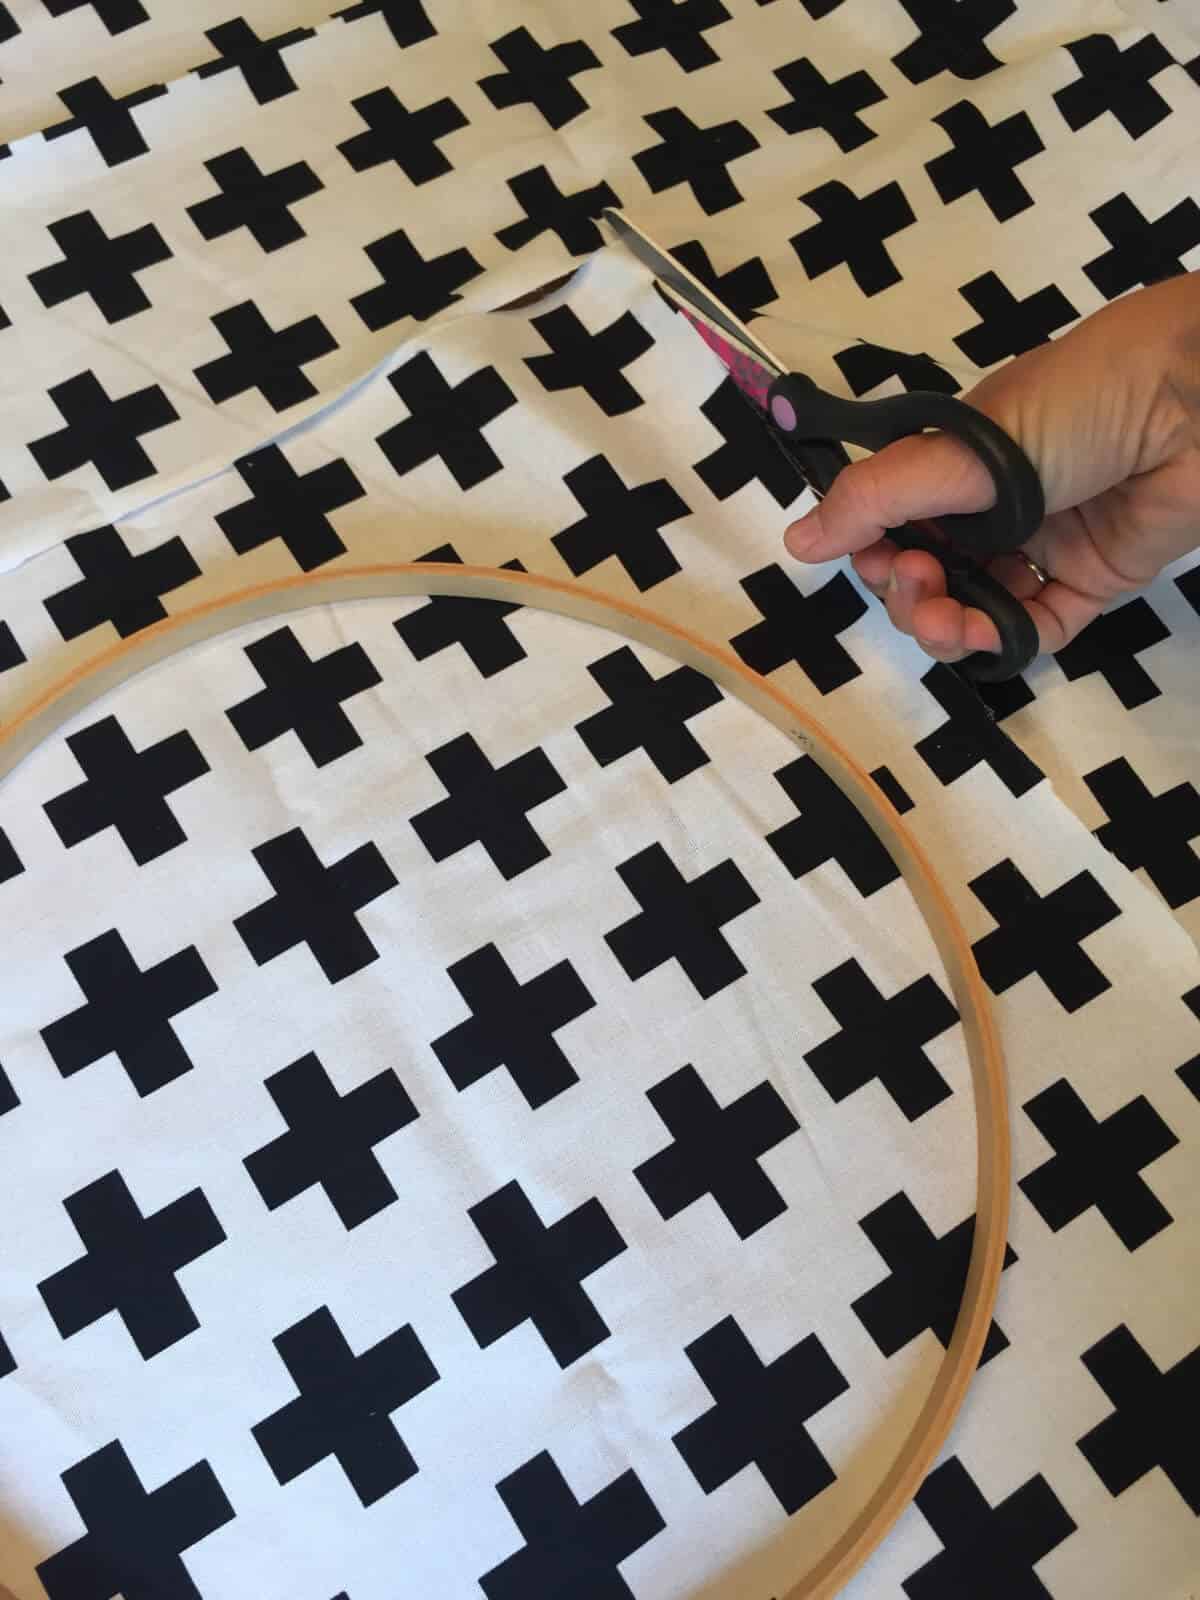
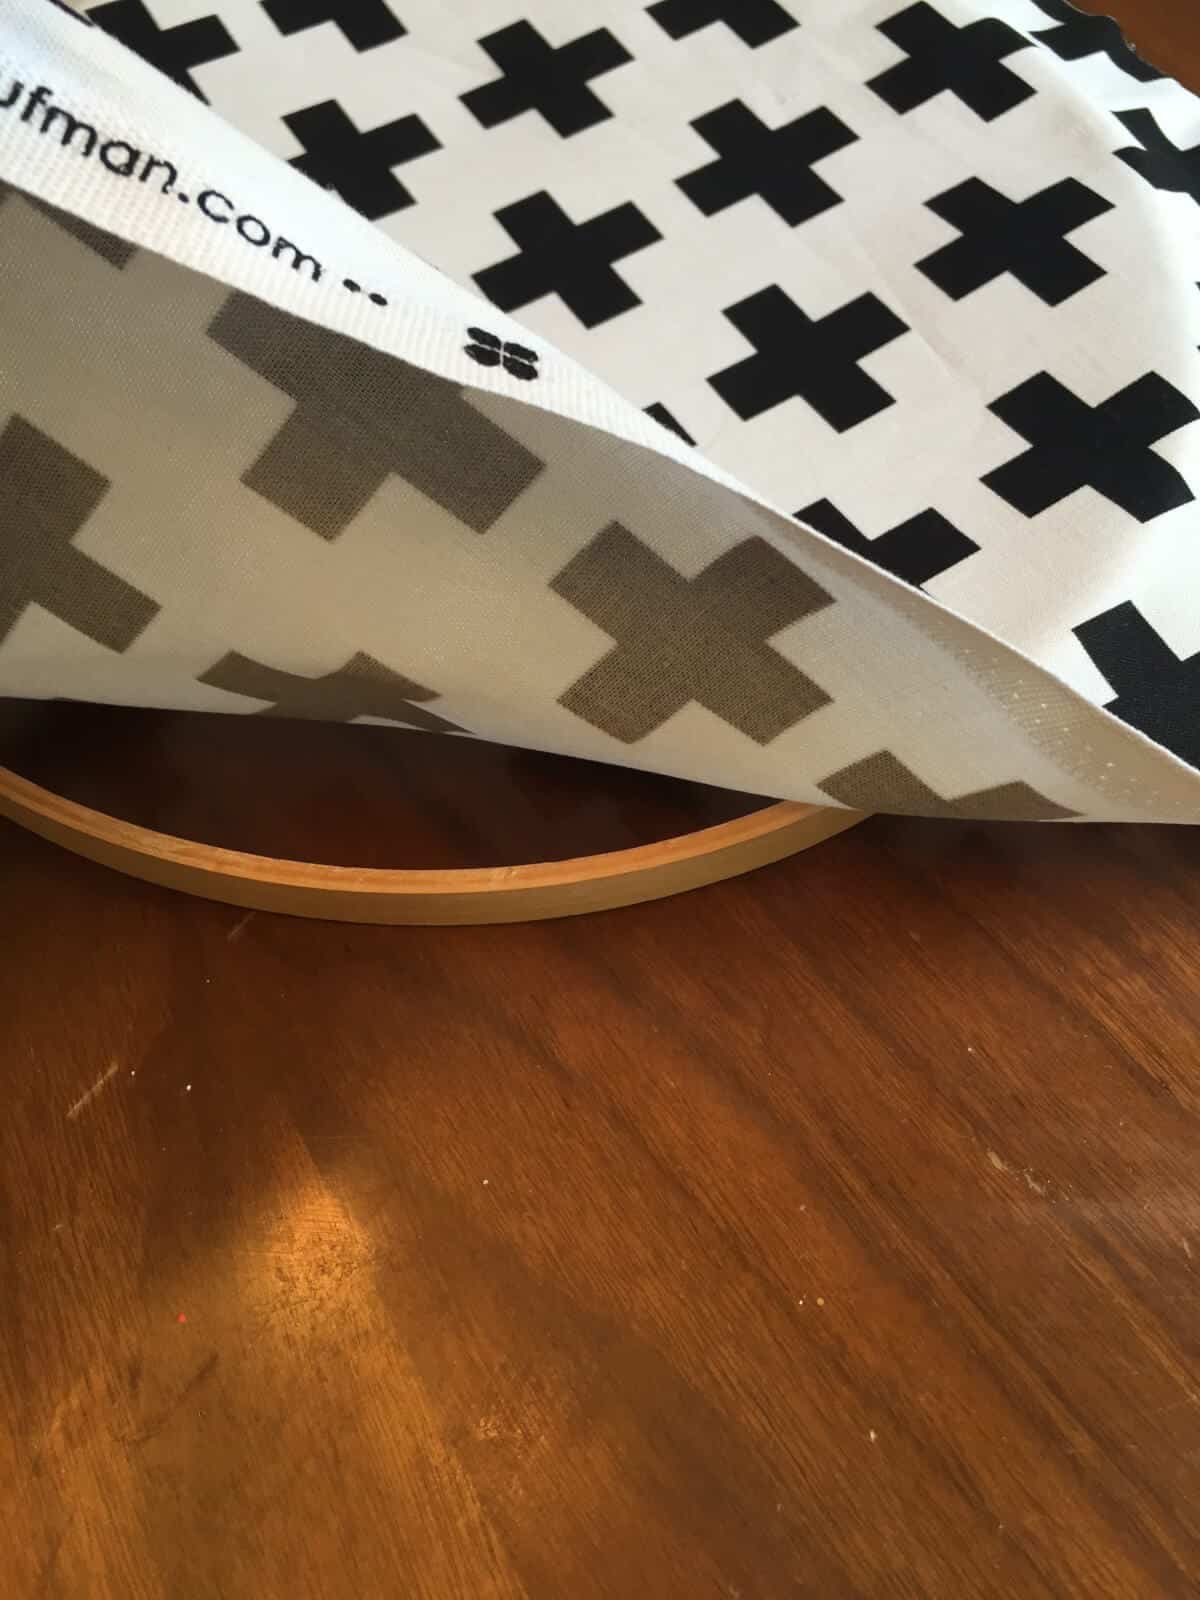
Next you’ll need to cut your fabric to size. To do this I laid the embroidery hoop over the fabric and cut a square around it leaving about an inch of fabric on the closest edges to the hoop.
Once you have your fabric square you’ll want to iron the fabric. It’s likely that your fabric has some wrinkles in it and it will look best if it’s all ironed out so that when it’s hanging on the wall you won’t see any wrinkles.

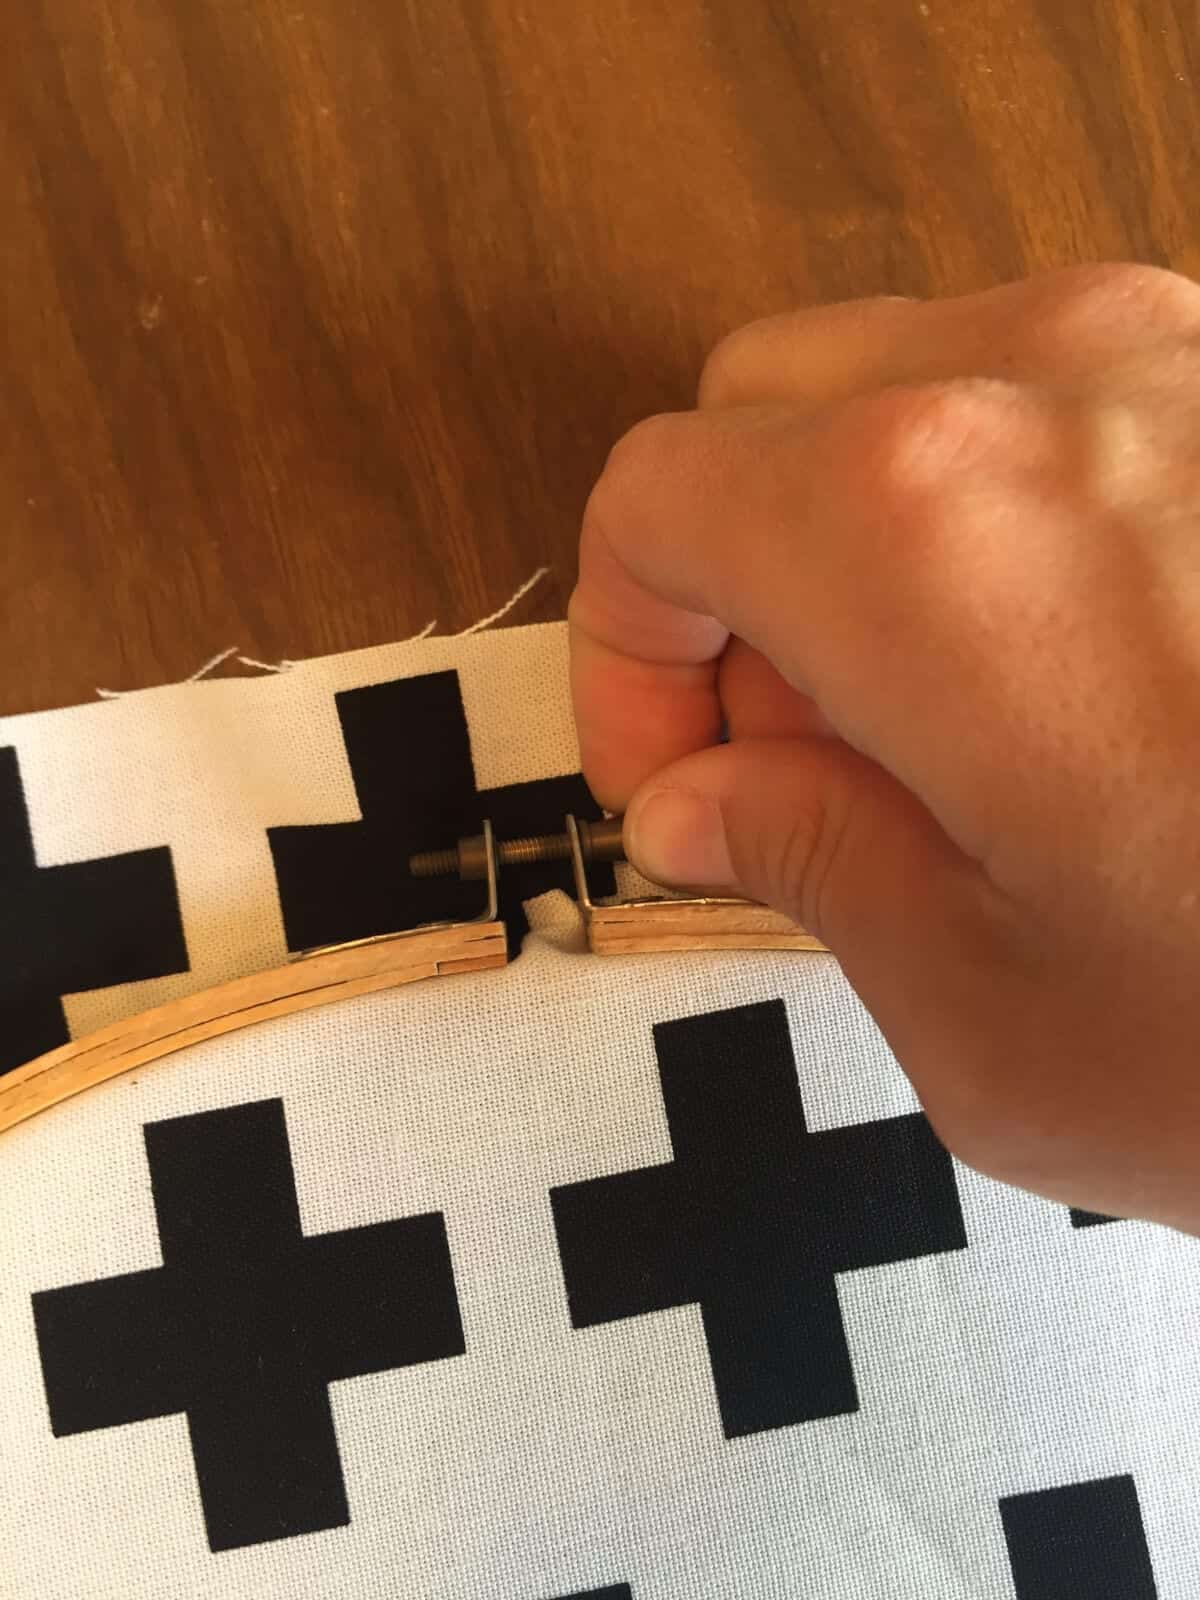
Once your fabric is wrinkle free, lay it over the inner piece of the embroidery hoop, then lay the outer piece on top and press down so that the inner piece fits inside the outer piece and the fabric is pinned between the two pieces. Before you press down, be sure to position the fabric how you want it to look with the fastening screw at the top of the hoop where you’ll hang it on the wall.

Once your fabric is going in the right direction and the hoop is in place, you can start fastening the two hoops together by tightening the screw at the top.
Now, turn the hoops over and pull the fabric taught in each direction so that it’s nice and tight. Then, cut the fabric around the hoops so that you have about an inch hanging out around the whole circumference.

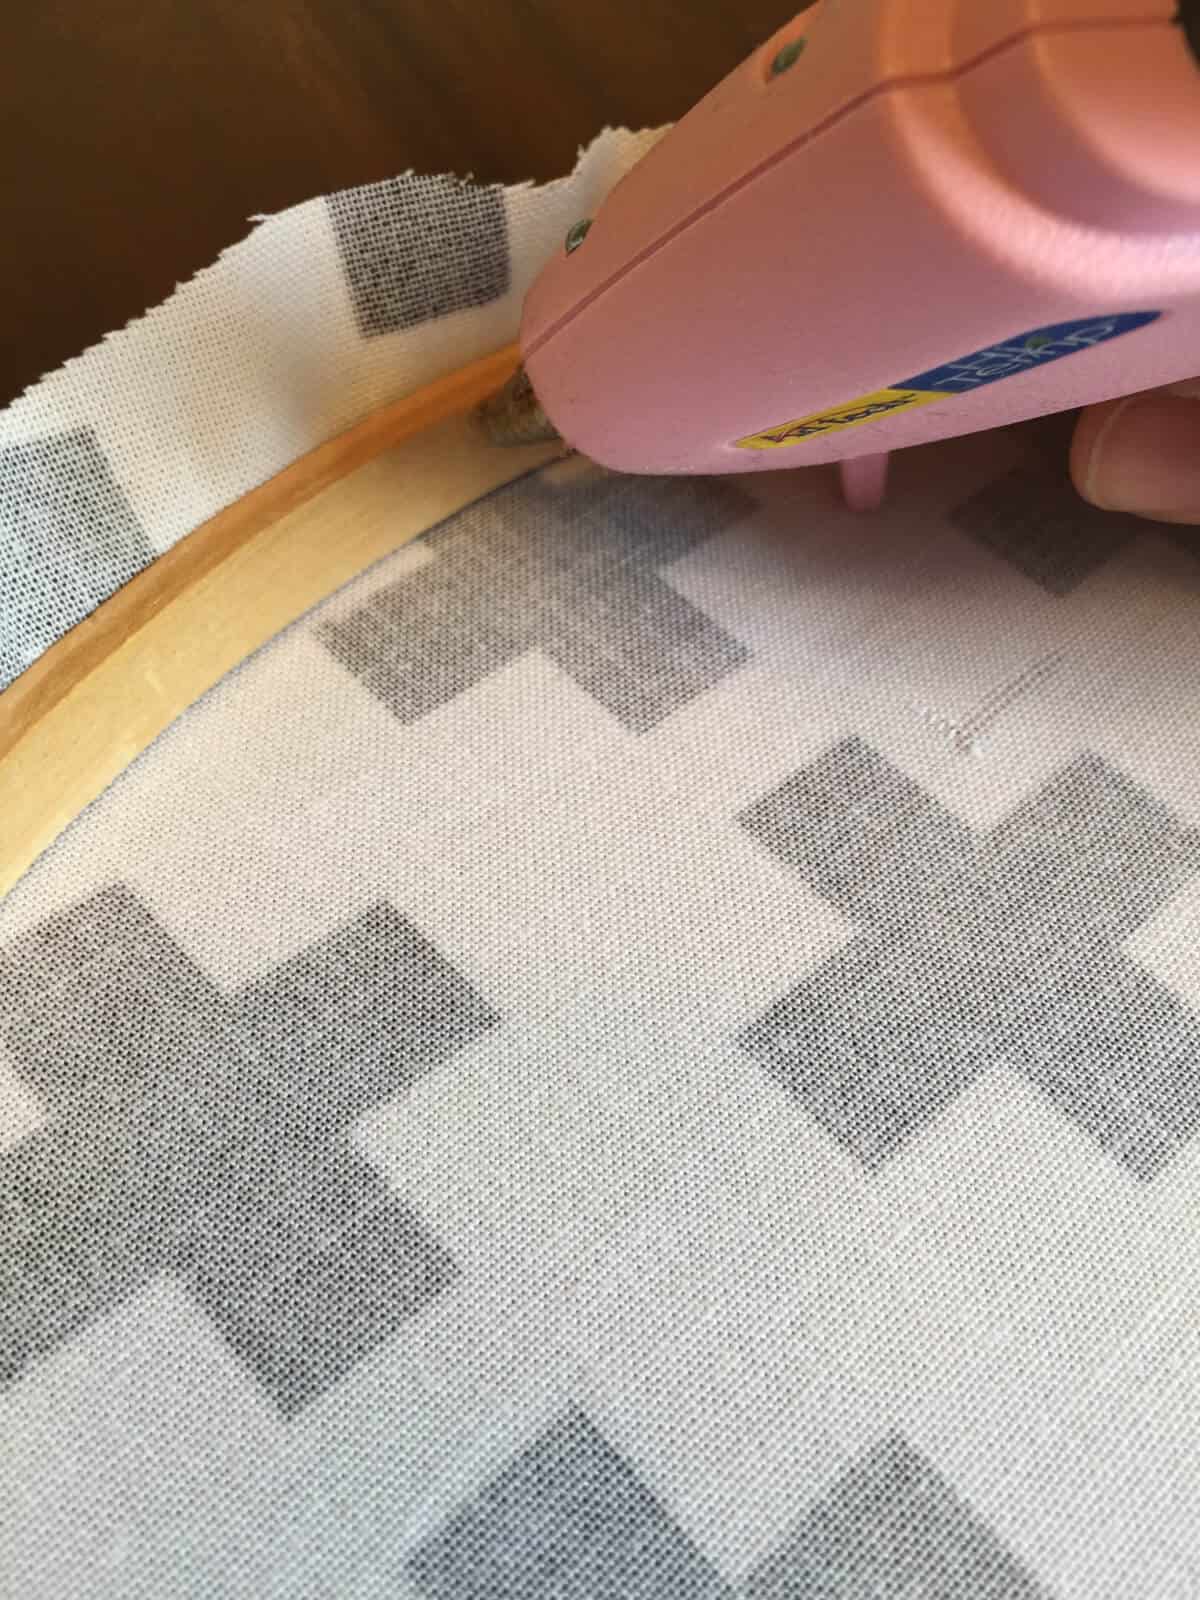
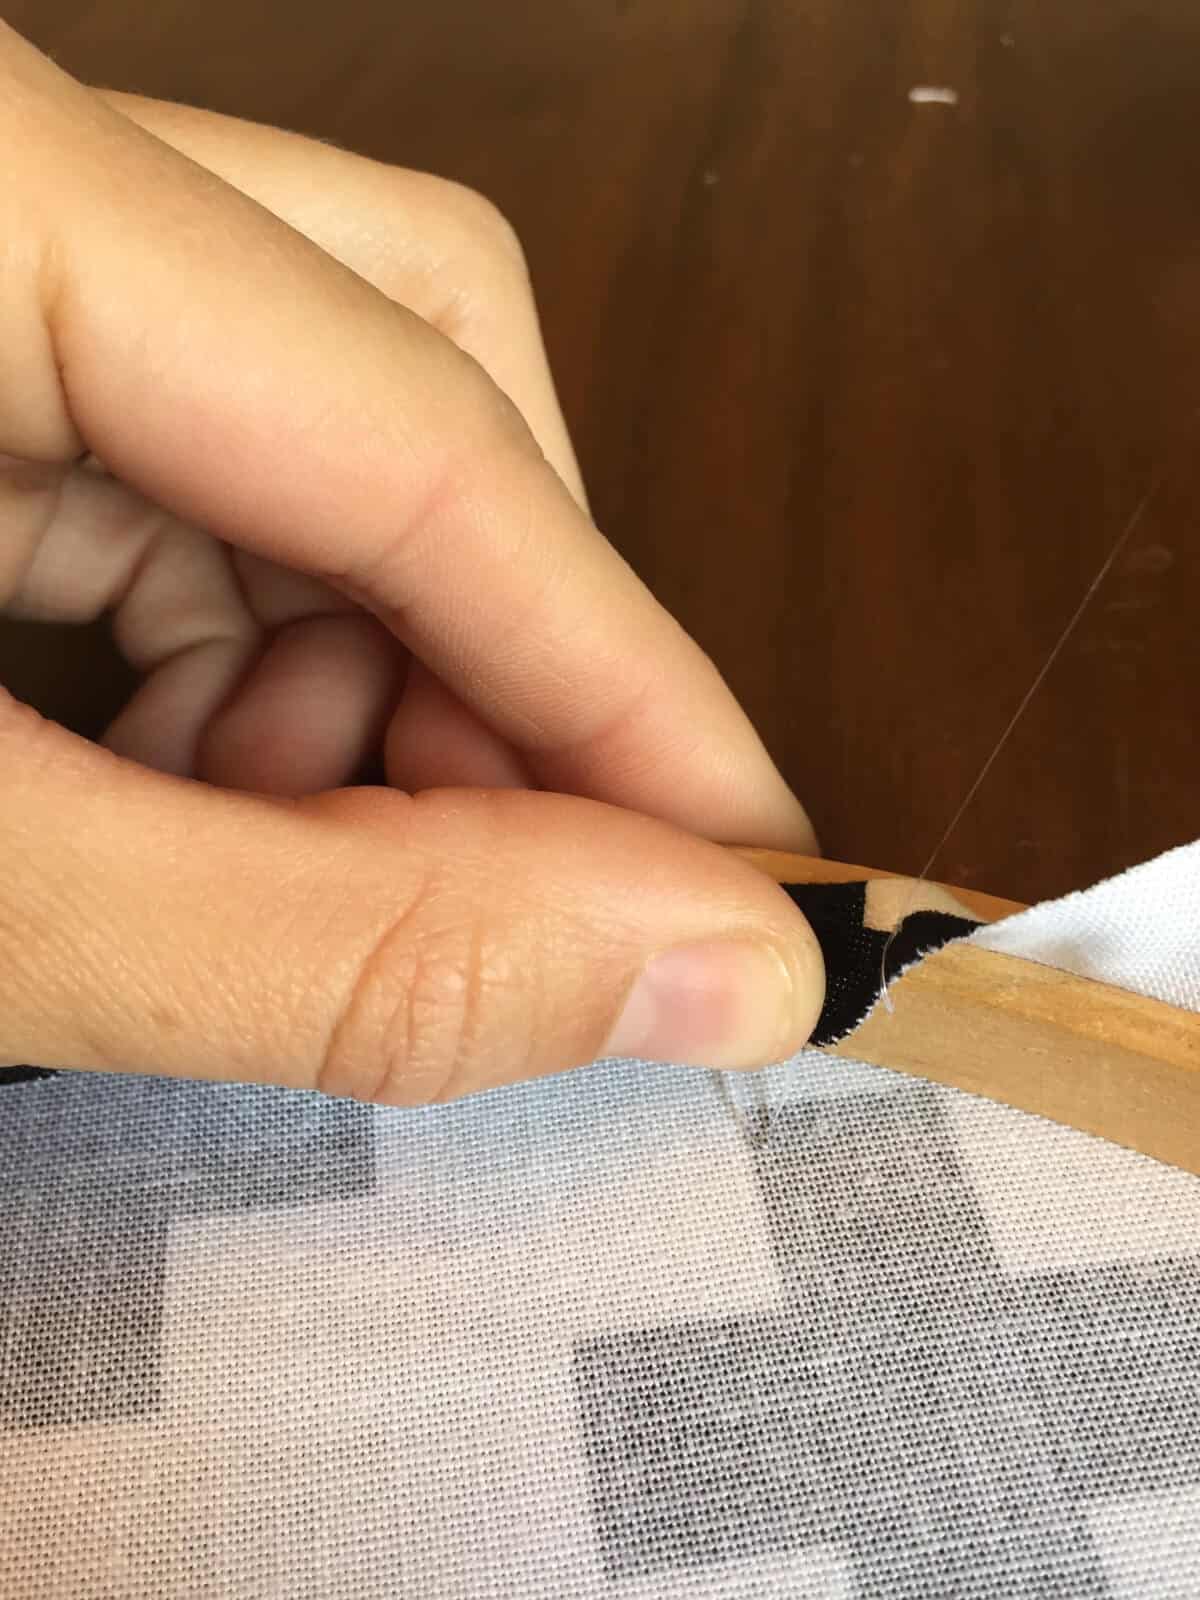
Once your fabric is cut, you can now begin glueing the fabric inside the hoop. To do this, squeeze a line of hot glue from your hot glue gun inside the embroidery hoop, then pull the fabric tight and press it onto the glue. Do this all the way around the hoop until all the loose fabric is glued down.
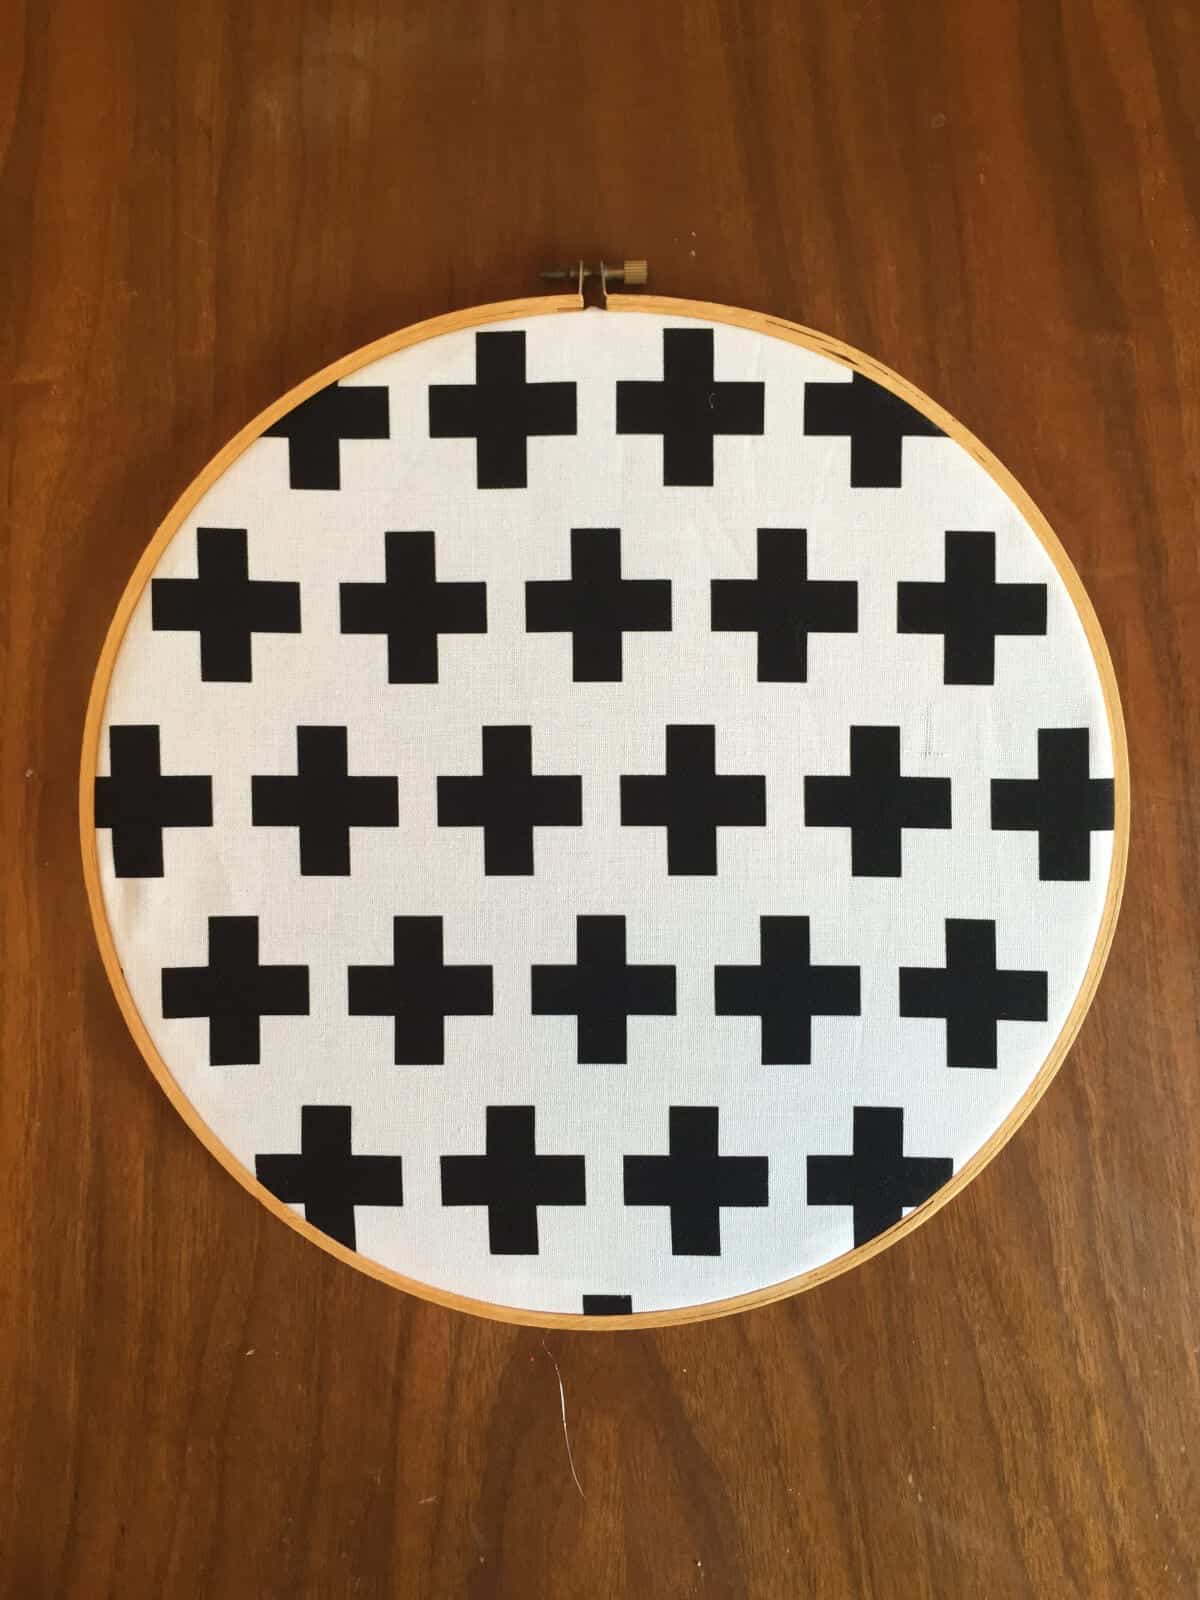
Now, flip it over and admire your handy work! It’s probably one of the most simple crafts you’ll ever do and one of the cutest ones as well!
All that’s left to do is to hang it up on the wall! Here’s what mine looked like on our gallery wall. Like I said, I’m obsessed with how it turned out. It perfectly completes the wall. I hope you enjoy yours as much as I do mine!
Related Images:

Mary Mulroney
Latest posts by Mary Mulroney (see all)
- 5 Easy Changes To A Healthier You - October 12, 2020
- 7 Great Resources For Affordable And Beautiful Rugs - October 12, 2020
- Tips For Switching To A Dairy-Free Diet - September 29, 2020